マシンランナーの Linux へのインストール
このページの内容
このページでは、Linux に CircleCI のマシンランナーをインストールする方法を説明します。
前提条件
マシンランナーをインストールし、ジョブを実行するには、root 権限があり、以下のユーティリティとツールがシステムにインストールされている必要があります:
-
coreutils (Linux のみ)
-
curl (macOS ではデフォルトでインストール済み)
-
sha256sum (プリインストールされていない場合):
-
macOS の場合は、
brew install coreutils( Homebrew が必要) -
Ubuntu/Debain の場合は、`sudo apt install coreutils -
Red Hat の場合は、
sudo yum install coreutils
-
-
sepolicy ( RHEL 8 のみ)
-
rpmbuild ( RHEL 8 のみ)
-
コマンドラインからランナーをインストールする場合は、 CircleCI CLIを使用します。
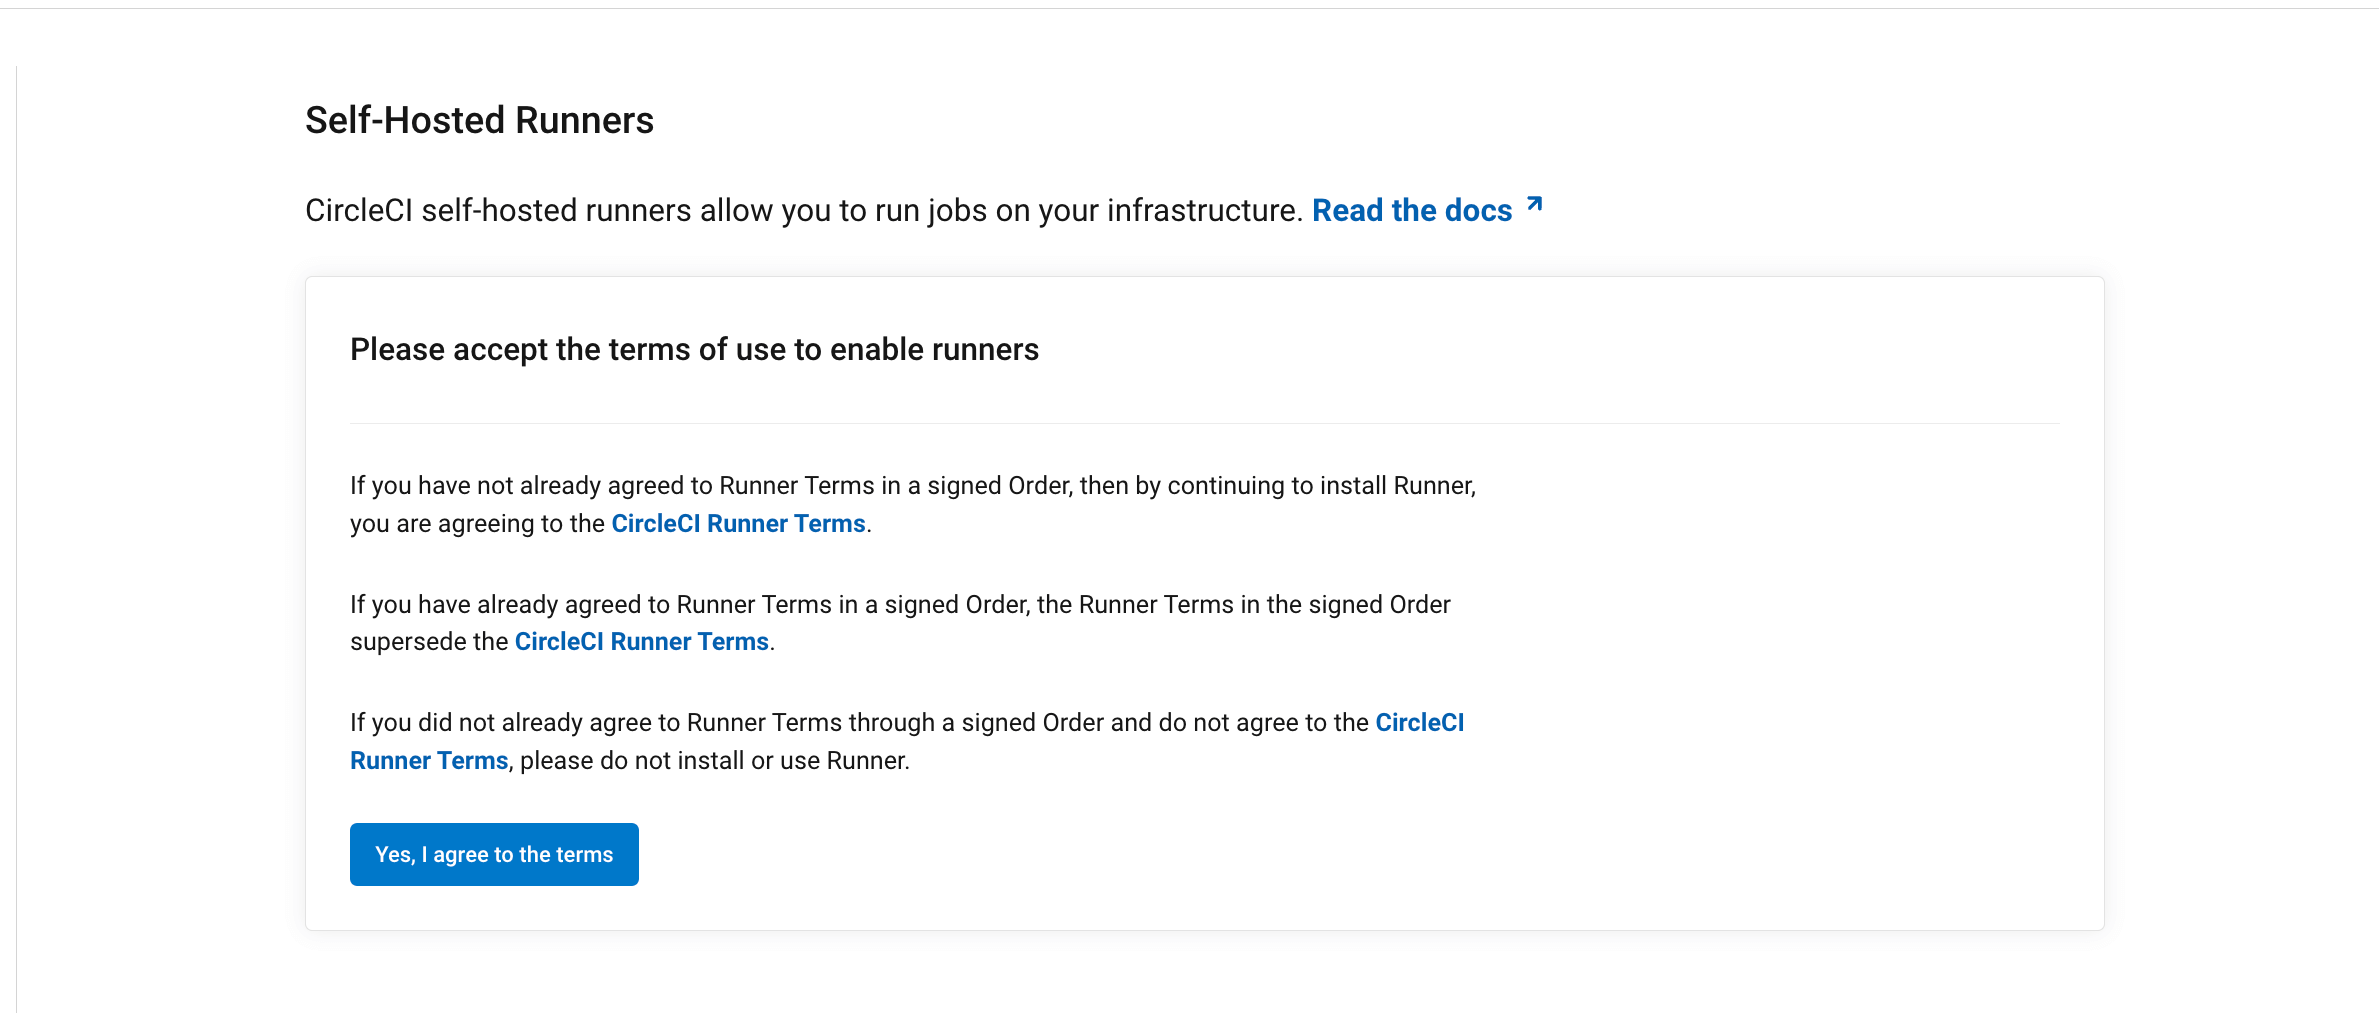
セルフホストランナーの利用条件
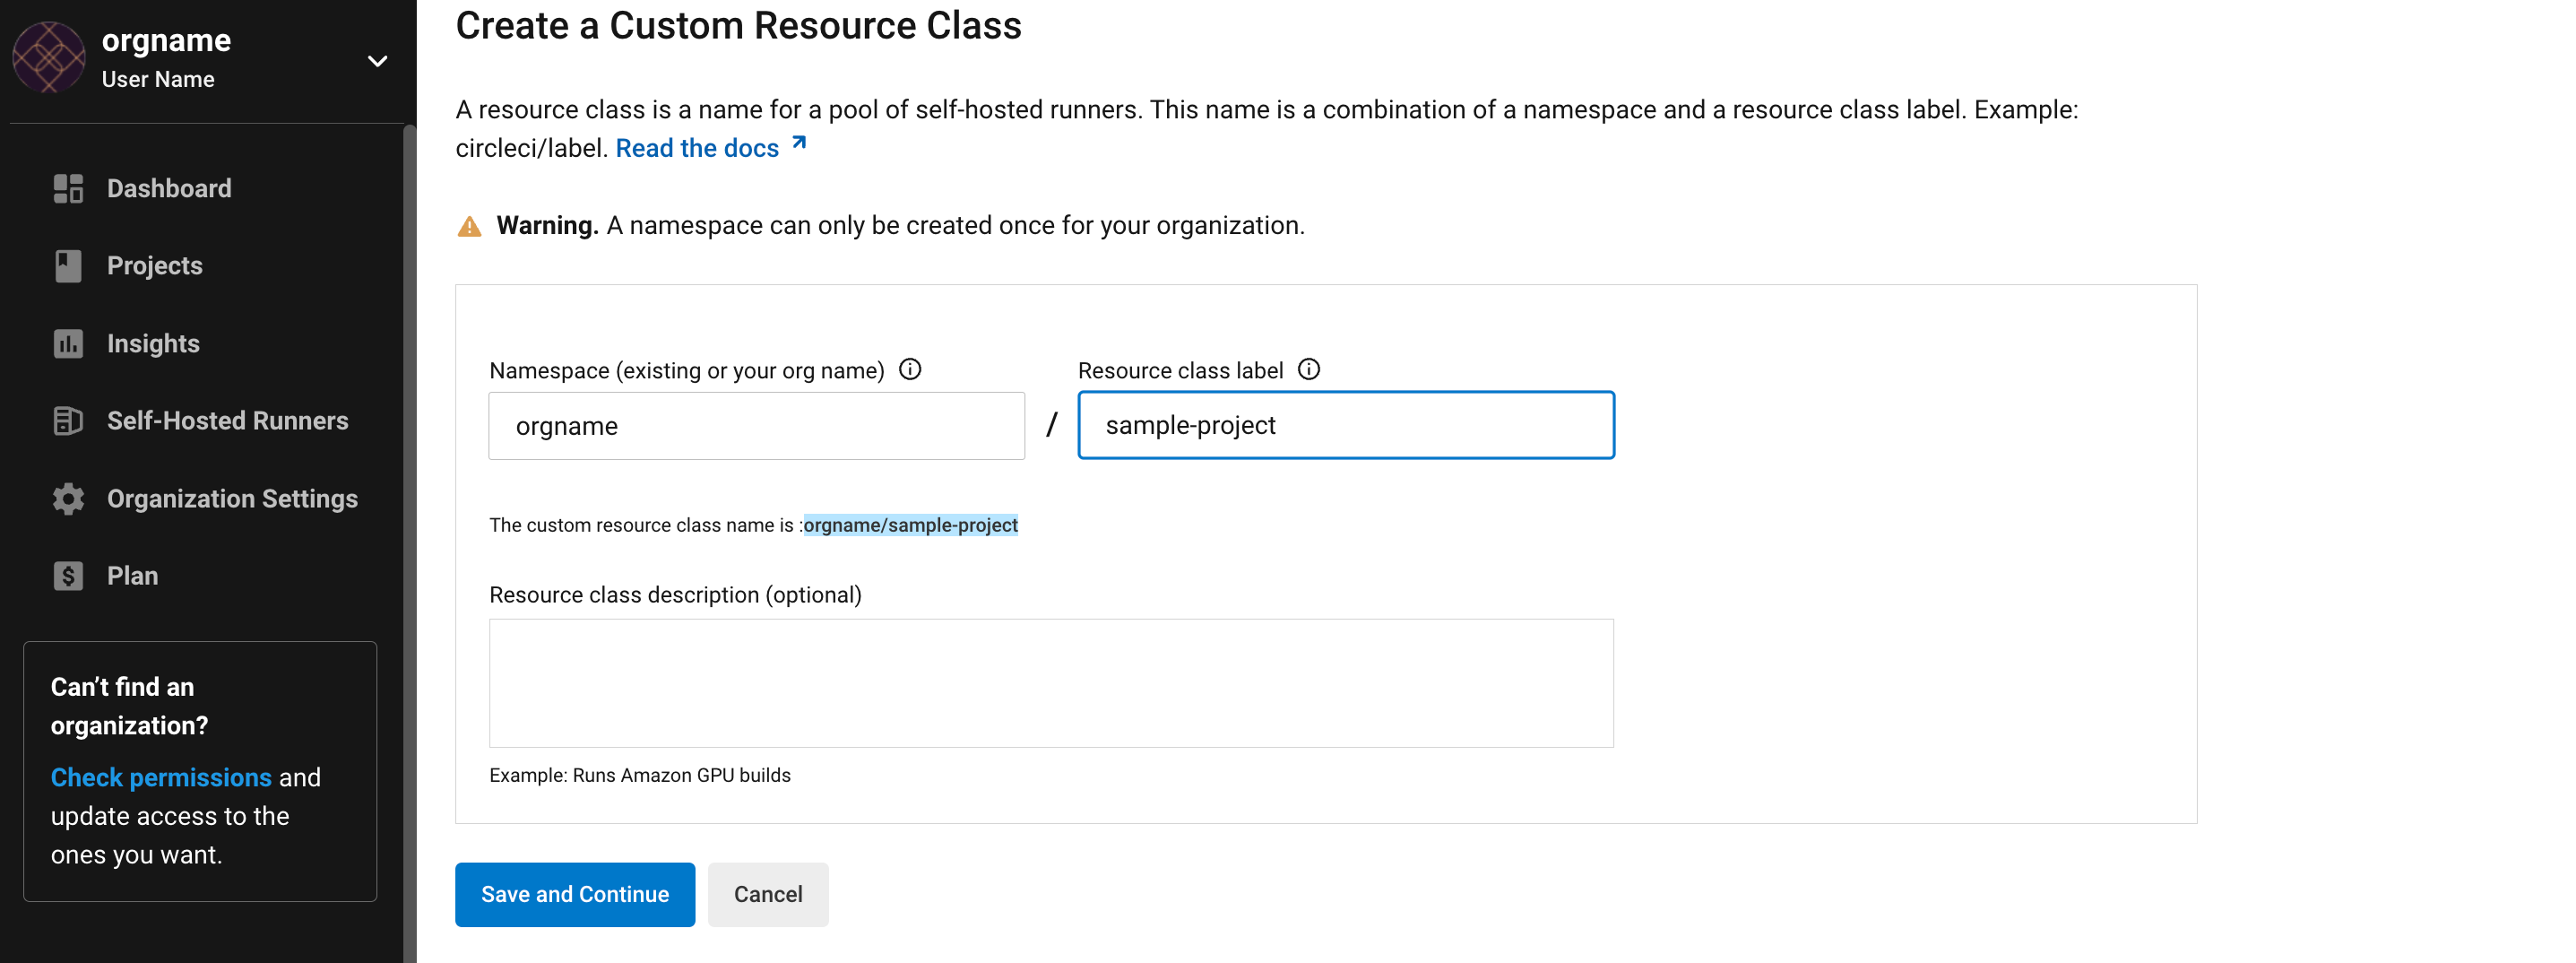
1. ネームスペースとリソースクラスの作成


2. launch-agent スクリプトをダウンロードし、バイナリをインストールする。
-
Save the download-launch-agent script in the root of your project. When run (see the next step) the script will download the launch-agent binary, verify the checksum, and set the launch agent version.
Self-hosted runners on cloud auto-update to the latest supported versions. For server, specific self-hosted runner versions are validated for interoperability, and self-hosted runners do not auto-update.
-
Set your target platform and run the
download-launch-agent.shscript to download, verify, and install the binary.-
If you are using cloud, use the table below to find your platform variable:
Installation Target Variable -
For server v3.1.0 and up, use the table below to find the compatible machine runner launch-agent version for the version of server you are running:
Server version Launch agent version 3.0
Runner not supported
3.1
1.0.11147-881b608
3.2
1.0.19813-e9e1cd9
3.3
1.0.29477-605777e
3.4
1.1.73695-40bf772
4.0
1.1.73695-40bf772
4.1
1.1.73695-40bf772
4.2
1.1.73695-40bf772
4.3
1.1.73189-8792751
Substitute
<launch-agent-version>with your launch-agent version for server and run the following:export agent_version="<launch-agent-version>" && sh ./download-launch-agent.shOnce your runner is successfully set up, you can delete the download-launch-agent.shfile.
-
3. circleci ユーザーと作業ディレクトリを作成する
RHEL 8 システムでセルフホストランナーがジョブを受け取り、起動するには、SELinux ポリシーが必要です (RHEL 8 より前のバージョンはサポートされていません)。 このポリシーは、このセルフホストランナーインストール環境で実行される個々のジョブで必要となる可能性のある権限を追加するものではないのでご注意ください。 GECOS については、 Wiki ページを参照してください。
Ubuntu/Debian
id -u circleci &>/dev/null || sudo adduser --disabled-password --gecos GECOS circleciCentOS/RHEL
id -u circleci &>/dev/null || sudo adduser -c GECOS circleci作業ディレクトリを作成し、権限を設定する
sudo mkdir -p /var/opt/circlecisudo chmod 0750 /var/opt/circlecisudo chown -R circleci /var/opt/circleci /opt/circleciセルフホストランナーでクラウド上で動作する認定 Orb をエラーなく使用するには、下記の追加コマンドの実行をご検討ください。 これにより、コードによるマシン上でのルートコマンドの実行が可能になり、システムへの変更はジョブの実行後も保持される場合があるのでご注意ください。
echo "circleci ALL=(ALL) NOPASSWD:ALL" | sudo tee -a /etc/sudoers4. CircleCI セルフホストランナー設定ファイルを作成する
launch-agent-config.yaml ファイルを、パス /etc/opt/circleci/launch-agent-config.yaml、所有者 circleci、アクセス許可 600 で作成します。 次のコマンドを使用します。
sudo /opt/circleci/circleci-launch-agent --config /etc/opt/circleci/launch-agent-config.yamlsudo chown -R circleci: /etc/opt/circlecisudo chmod 600 /etc/opt/circleci/launch-agent-config.yamlこの設定ファイルを VCS プロバイダーにプッシュすると、セルフホストランナーを使ってジョブが実行されます。
api:
  auth_token: AUTH_TOKEN
  # On server, set url to the hostname of your server installation. For example,
  # url: https://circleci.example.com

runner:
  name: RUNNER_NAME
  working_directory: /var/opt/circleci/workdir
cleanup_working_directory: true-
Replace
AUTH_TOKENwith the resource class token created in the set up process. -
RUNNER_NAMEを任意のセルフホストランナー名に置き換えます。RUNNER_NAMEは、ランナーをインストールするマシン一意の名前です。RUNNER_NAMEには、任意の値を設定でき、名前空間やリソースクラス名を含む必要はありません。 CircleCI Web アプリでステータスやジョブ結果を確認する際にエージェントを特定できるよう、名前にはマシンのホスト名を使用することをお勧めします。 The only special characters accepted in RUNNER_NAME are. () - _.
SELinux ポリシーを設定する (RHEL 8)
RHEL 8 システムでセルフホストランナーがジョブを受け取り、起動するには、SELinux ポリシーが必要です (RHEL 8 より前のバージョンはサポートされていません)。 このポリシーは、このセルフホストランナーインストール環境で実行される個々のジョブで必要となる可能性のある権限を追加するものではないのでご注意ください。
/etc/opt/circleci/policy というディレクトリを作成し、最初のポリシーモジュールを生成します。
sudo mkdir -p /etc/opt/circleci/policy# Install sepolicy and rpmbuild if you haven't already
sudo yum install -y policycoreutils-devel rpm-buildsudo sepolicy generate --path /etc/opt/circleci/policy --init /opt/circleci/circleci-launch-agent次の Type Enforcement ファイル circleci_launch_agent.te をダウンロードして、ポリシーをインストールします。
sudo curl https://raw.githubusercontent.com/CircleCI-Public/runner-installation-files/main/rhel8-install/circleci_launch_agent.te --output /etc/opt/circleci/policy/circleci_launch_agent.tesudo /etc/opt/circleci/policy/circleci_launch_agent.sh5. マシンランナーを起動する
マシンランナーを以下のように起動できるようになりました。
sudo /opt/circleci/circleci-launch-agent --config /etc/opt/circleci/launch-agent-config.yamlYou can also optionally run machine runner as a systemd service.
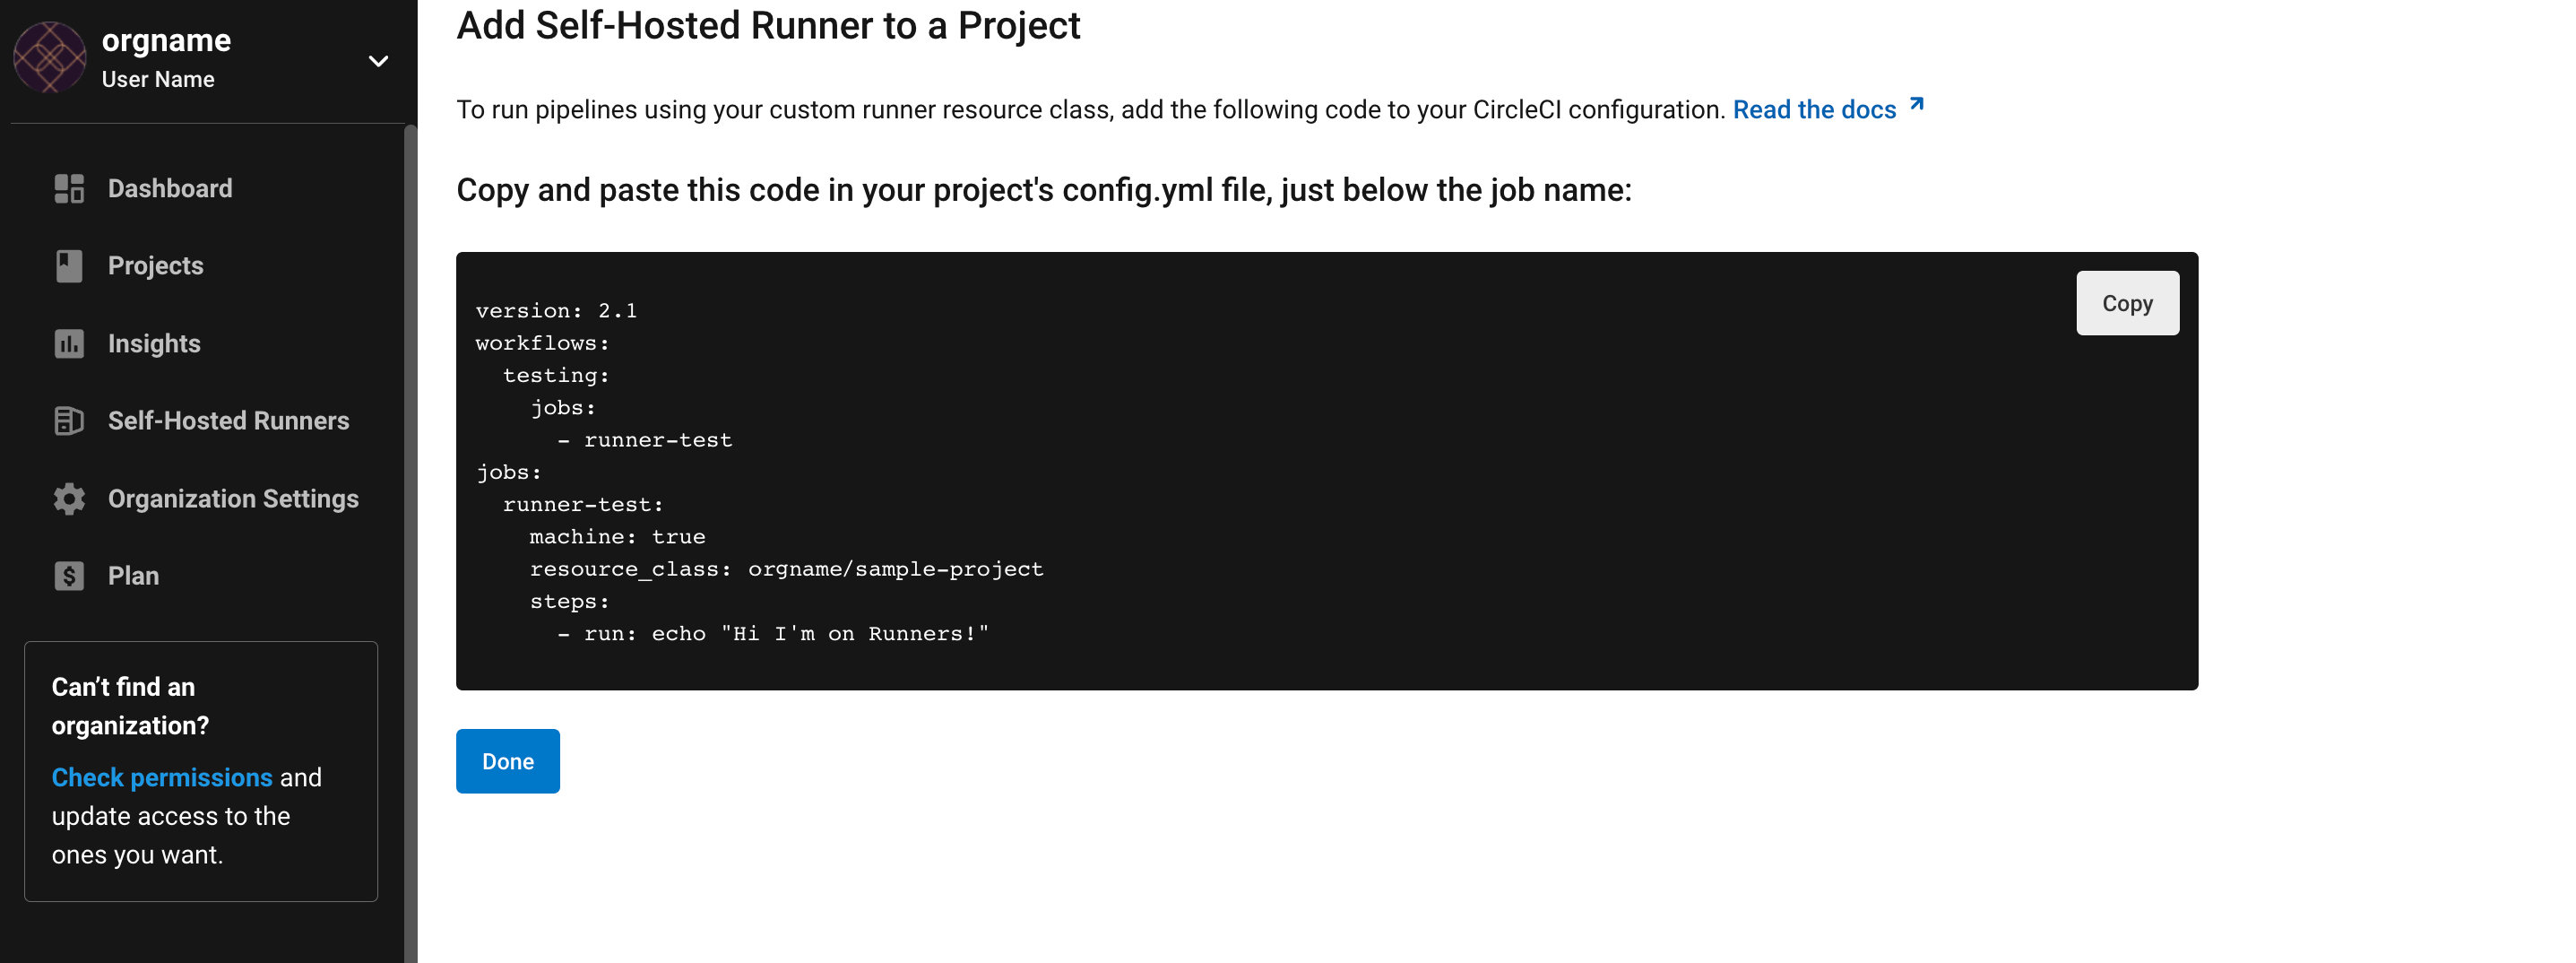
マシンランナーの設定例
セルフホストランナーを使って実行する特定のジョブについて、以下のフィールドを設定する必要があります。
-
machine: true -
resource_class: <namespace>/<resource-class>
以下は、ジョブ設定のシンプルなコード例です。
version: 2.1

workflows:
  build-workflow:
    jobs:
      - runner
jobs:
  runner:
    machine: true
    resource_class: <namespace>/<resource-class>
    steps:
      - run: echo "Hi I'm on Runners!"
この設定ファイルを VCS プロバイダーにプッシュすると、セルフホストランナーを使ってジョブが実行されます。
systemd ユニットを有効にする
| この手順はオプションです。 |
このオプション手順を実行するには、バージョン 235 以降の systemd のインストールが必要です。
所有者を root にして /usr/lib/systemd/system/circleci.service を作成し、権限を 755 に設定します。
sudo touch /usr/lib/systemd/system/circleci.servicesudo chown root: /usr/lib/systemd/system/circleci.servicesudo chmod 755 /usr/lib/systemd/system/circleci.serviceTimeoutStopSec のデフォルト値は 5 時間ですが、タスクの総実行時間よりも大きい値を指定する必要があります。
CircleCI のセルフホストランナーがマシン起動時に起動するようにインストール環境を設定する場合、マシンランナーは起動されるとすぐにジョブを開始しようとするので注意が必要です。そのため、起動する前に適切に設定しておく必要があります。 マシンランナーはサービスとして設定することができ、下記のスクリプトで systemd により管理できます。
[Unit]
Description=CircleCI Runner
After=network.target
[Service]
ExecStart=/opt/circleci/circleci-launch-agent --config /etc/opt/circleci/launch-agent-config.yaml
Restart=always
User=circleci
NotifyAccess=exec
TimeoutStopSec=18300
[Install]
WantedBy = multi-user.target
circleci ユーザーの環境を使用するタスクエージェントとは異なり、ローンチエージェントでは、その設定ファイルで明示的に定義されている環境変数 (プロキシ設定など) が必要です。 これは Environment= または EnvironmentFile= で設定できます。 詳細については、 systemd のドキュメント をご覧ください。
次に、下記コマンドによりサービスを有効化します。
sudo systemctl enable circleci.serviceサービスを起動する
CircleCI のセルフホストランナーサービスは起動するとすぐにジョブを実行しようとするため、サービスの初回起動前に設定を適切に行なっておく必要があります。
sudo systemctl start circleci.serviceサービスの実行状態を確認する
systemctl コマンドで表示されるシステムレポートの status フィールドで、簡単な実行状態を確認できます。 このフィールドには、CircleCI API との接続状態に応じて、Healthy (正常) または Unhealthy (異常) と表示されます。
エージェントの状態は、次のコマンドを実行して確認できます。
systemctl status circleci.service --no-pagerこのコマンドの出力は次のようになります。
circleci.service - CircleCI Runner
   Loaded: loaded (/var/opt/circleci/circleci.service; enabled; vendor preset: enabled)
   Active: active (running) since Fri 2020-05-29 14:33:31 UTC; 18min ago
 Main PID: 5592 (circleci-launch)
   Status: "Healthy"
    Tasks: 8 (limit: 2287)
   CGroup: /system.slice/circleci.service
           └─5592 /opt/circleci/circleci-launch-agent --config /etc/opt/circleci/launch-agent-config.yaml
また、次のコマンドを実行してシステムのログを確認することもできます。
journalctl -u circleciトラブルシューティング
Refer to the Troubleshoot Machine Runner section of the Troubleshoot Self-hosted Runner guide if you encounter issues installing or running machine runner on Linux.