Migrate from launch agent to machine runner 3.0 on Windows
This page describes how to migrate an existing launch agent installation to machine runner 3.0. Machine runner 3.0 on Windows.
Migrating from launch agent to machine runner 3.0 is a straightforward process. The prerequisites remain the same. First, uninstall and remove launch agent, then, install the machine runner 3.0 agent. The configuration file is 1:1 compatible between the agents so no modifications are needed during the migration
1. Uninstall launch agent
The first step is to uninstall launch agent.
-
Download the
Uninstall-CircleCIRunner.ps1script from GitHub to an easily accessible location. -
Open PowerShell as an administrator and navigate to the directory where you placed the script file.
-
Run the following in your PowerShell:
./Uninstall-CircleCIRunner.ps1
2. Copy current launch agent configuration
Machine runner 3.0 is backwards compatible with the launch-agent configuration file. Using PowerShell copy the existing launch-agent config for use with the machine runner 3.0 installation.
$desktopDir = [Environment]::GetFolderPath("Desktop")
copy "$env:ProgramFiles\CircleCI\runner-agent-config.yaml" "$desktopDir/runner-agent-config.yaml"
3. Install machine runner 3.0
-
Download the
Install-CircleCIRunner.ps1script from GitHub to an easily accessible location. -
Open PowerShell as an administrator and navigate to the directory where you placed the script file.
-
Run the following in your PowerShell:
Set-ExecutionPolicy Bypass -Scope Process -Force; [System.Net.ServicePointManager]::SecurityProtocol = [System.Net.ServicePointManager]::SecurityProtocol -bor 3072;
./Install-CircleCIRunner.ps1
The installation will be output into your PowerShell interface.
-
As part of the installation, the configuration file for the machine runner (
launch-agent-config.yaml) will open in Notepad. Fill in the information from the previous configuration file copied in step 2. The configuration file is located in the installation directory,C:\Program Files\CircleCI, by default.
After setup completes, the machine runner starts automatically and begins looking for jobs to process.
Machine runner configuration example
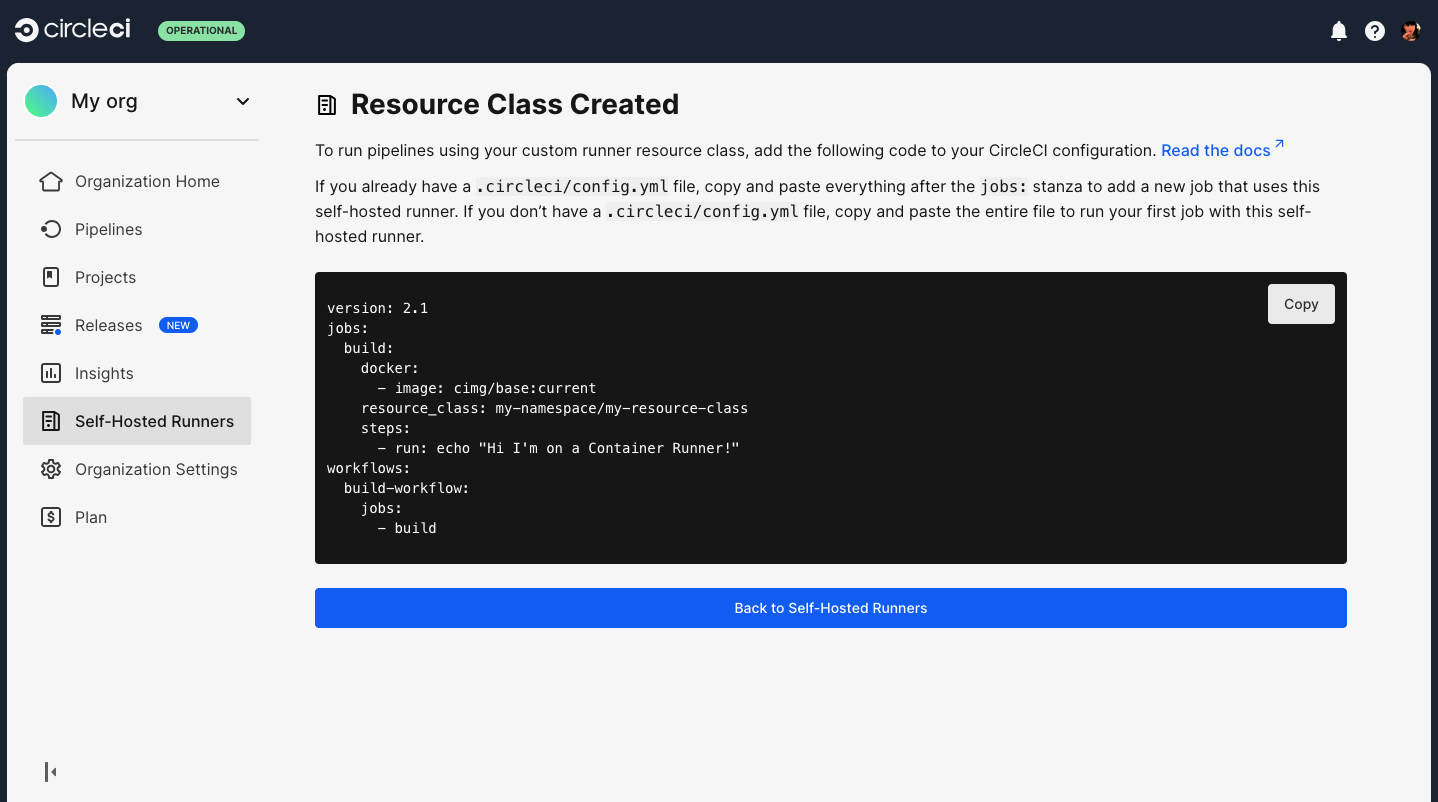
Once you have installed configuration runner, select btn:[Continue] in the CircleCI web app and you will be presented with an example configuration snippet showing a job configured to use your new self-hosted runner resource class.

The fields you must set for a specific job to run using your machine runners are:
-
machine: true -
resource_class: <namespace>/<resource-class>
Simple example of how you could set up a job:
version: 2.1

workflows:
  build-workflow:
    jobs:
      - runner
jobs:
  runner:
    machine: true
    resource_class: <namespace>/<resource-class>
    steps:
      - run: echo "Hi I'm on Runners!"
The job will then execute using your self-hosted runner when you push the .circleci/config.yml to your VCS provider.