Orb Authoring Process
On This Page
- Introduction
- Orb Development Kit
- Create, test and publish an orb
- Getting started
- Writing your orb
- Orb source
- @orb.yml
- Commands
- Examples
- Executors
- Jobs
- Scripts
- Why include scripts?
- Using parameters with scripts
- Testing orbs
- Publishing your orb
- Listing your orbs
- Categorizing your orb
- Listing categories
- Add an orb to a category
- Remove an orb from a category
- Viewing an orb’s categorizations
Introduction
This orb authoring guide assumes you have read the Introduction to orbs document, the Introduction to authoring an orb document, and claimed your namespace. Now you are ready to develop an orb.
Whether you are writing your first orb or getting ready for production level, we recommend using our orb development kit to get started. Alternatively, as orbs are packages of reusable configuration, they can be written manually, as singular yaml files, and published using our circleci orb cli.
Orb Development Kit
The orb development kit refers to a suite of tools that work together to simplify the orb development process, with automatic testing and deployment on CircleCI. The orb init command is the key to using the orb development kit. This command initiates a new orb project based on a template, and that template uses the other tools in the kit to automatically test and deploy your orb.
The orb development kit is made up of the following components:
The orb template is a repository with CircleCI’s orb project template, which is automatically ingested and modified by the orb init command.
The CircleCI CLI contains two commands which are designed to work with the kit. The orb init command initializes a new orb project, and the orb pack command packs the orb source into a single orb.yml file.
The orb tools orb is an orb for creating orbs.
Create, test and publish an orb
Follow the steps below to create, test and publish your own orb, using the orb development kit.
Getting started
To get started with orb authoring, first follow the Create an orb tutorial.
Writing your orb
Before you begin working on your orb, ensure you are on a non-default branch. We typically recommend starting your orb on the alpha branch.
$ git branch

* alpha
  main
If you have run the circleci orb init command, you will automatically be in the alpha branch and have a repository with .circleci and src directories.
Example: Orb Project Structure
Orb source
Navigate to the src directory to look at the included sections.
Example: Orb Project “src” Directory
The directories listed above represent orb components that can be included with your orb. @orb.yml acts as the root of your orb. In addition to the directories representing your orb’s yaml components, you will also see a ‘ scripts/’ directory where we can store code we want to inject into our components.
Each directory within src corresponds with a reusable configuration component type, which can be added or removed from the orb. If, for example, your orb does not require any executors or jobs, these directories can be deleted.
@orb.yml
@orb.yml acts as the “root” to your orb project and contains the config version, the orb description, the display key, and imports any additional orbs if needed.
Use the display key to add clickable links to the orb registry for both your home_url (the home of the product or service), and source_url (the git repository URL).
version: 2.1

description: >
  Sample orb description

display:
  home_url: "https://www.website.com/docs"
  source_url: "https://www.github.com/EXAMPLE_ORG/EXAMPLE_PROJECT"
Commands
Author and add Reusable Commands to the src/commands directory. Each YAML file within this directory will be treated as an orb command, with a name which matches its filename.
This example shows a simple command which contains a single run step, which will echo “hello” and the value passed in the target parameter.
description: >
  # What will this command do?
  # Descriptions should be short, simple, and clear.
parameters:
  target:
    type: string
    default: "Hello"
    description: "To whom to greet?"
steps:
  - run:
      name: Hello World
      environment:
        ORB_PARAM_TARGET: << parameters.target >>
      command: echo "Hello ${ORB_PARAM_TARGET}"
Examples
Author and add Usage Examples to the src/examples directory. Usage Examples are not for use directly by end users in their project configs, but they provide a way for you, the orb developer, to share use-case specific examples on the Orb Registry for users to reference.
Each YAML file within this directory will be treated as an orb usage example, with a name which matches its filename.
View a full example from the Orb Template.
Executors
Author and add Parameterized Executors to the src/executors directory.
Each YAML file within this directory will be treated as an orb executor, with a name that matches its filename.
View a full example from the Orb Template.
Jobs
Author and add Parameterized Jobs to the src/jobs directory.
Each YAML file within this directory will be treated as an orb job, with a name that matches its filename.
Jobs can include orb commands and other steps to fully automate tasks with minimal user configuration.
View the hello.yml job example from the Orb Template.
description: >
  # What will this job do?
  # Descriptions should be short, simple, and clear.

docker:
  - image: cimg/base:current
parameters:
  greeting:
    type: string
    default: "Hello"
    description: "Select a proper greeting"
steps:
  - greet:
      greeting: "<< parameters.greeting >>"
Scripts
One of the major benefits of the orb development kit is a script inclusion feature. When using the circleci orb pack command in the CLI (automated when using the orb development kit), you can use the value <<include(file)>> within your orb config code, for any key, to include the file contents directly in the orb.
This is especially useful when writing complex orb commands, which might contain a lot of bash code, (although you could use python too!).
Why include scripts?
CircleCI configuration is written in YAML. Logical code such as bash can be encapsulated and executed on CircleCI through YAML, but, for developers, it is not convenient to write and test programmatic code within a non-executable format. Also, parameters can become cumbersome in more complex scripts as the <<parameter>> syntax is a CircleCI native YAML enhancement, and not something that can be interpreted and executed locally.
Using the orb development kit and the <<include(file)>> syntax, you can import existing scripts into your orb, locally execute and test your orb scripts, and even utilize true testing frameworks for your code.
Using parameters with scripts
To keep your scripts portable and locally executable, it is best practice to expect a set of environment variables within your scripts and set them at the config level. The greet.sh file, which was included with the special <<include(file)>> syntax above in our greet.yml command file, looks like this:
echo Hello "${PARAM_TO}"
This way, you can both mock and test your scripts locally.
Testing orbs
Much like any software, to ensure quality updates, we must test our changes. There are a variety of methods and tools available for testing your orb from simple validation, to unit and integration testing.
In the .circleci/ directory created by the orb development kit, you will find a config.yml file and a test-deploy.yml file. You will find in the config.yml file, the different static testing methods we apply to orbs, such as linting, shellchecking, reviewing, validating, and in some cases, unit testing. While, the test-deploy.yml config file is used to test a development version of the orb for integration testing.
Read our full Orb Testing Methodologies documentation.
Publishing your orb
With the orb development kit, a fully automated CI and CD pipeline is automatically configured within .circleci/config.yml. This configuration makes it simple to automatically deploy semantically versioned releases of your orbs.
For more information, see the Orb Publishing Process guide.
Listing your orbs
List your available orbs using the CLI:
To list public orbs:
circleci orb list <my-namespace>
To list private orbs:
circleci orb list <my-namespace> --private
For more information on how to use the circleci orb command, see the CLI documentation.
Categorizing your orb
You can categorize your orb for better discoverability in the Orb Registry. Categorized orbs are searchable by category in the Orb Registry. CircleCI may, from time to time, create or edit orb categorizations to improve orb discoverability.
Listing categories

You can select up to two categories for your orb. These are the available categories:
- Artifacts/Registry
- Build
- Cloud Platform
- Code Analysis
- Collaboration
- Containers
- Deployment
- Infra Automation
- Kubernetes
- Language/Framework
- Monitoring
- Notifications
- Reporting
- Security
- Testing
The list of categories can also be obtained by running the circleci orb list-categories CLI command. You can view the detailed docs for this command here.
Add an orb to a category

Add your orb to your chosen category by running circleci orb add-to-category <namespace>/<orb> "<category-name>". You can view the detailed docs for this command here.
Remove an orb from a category
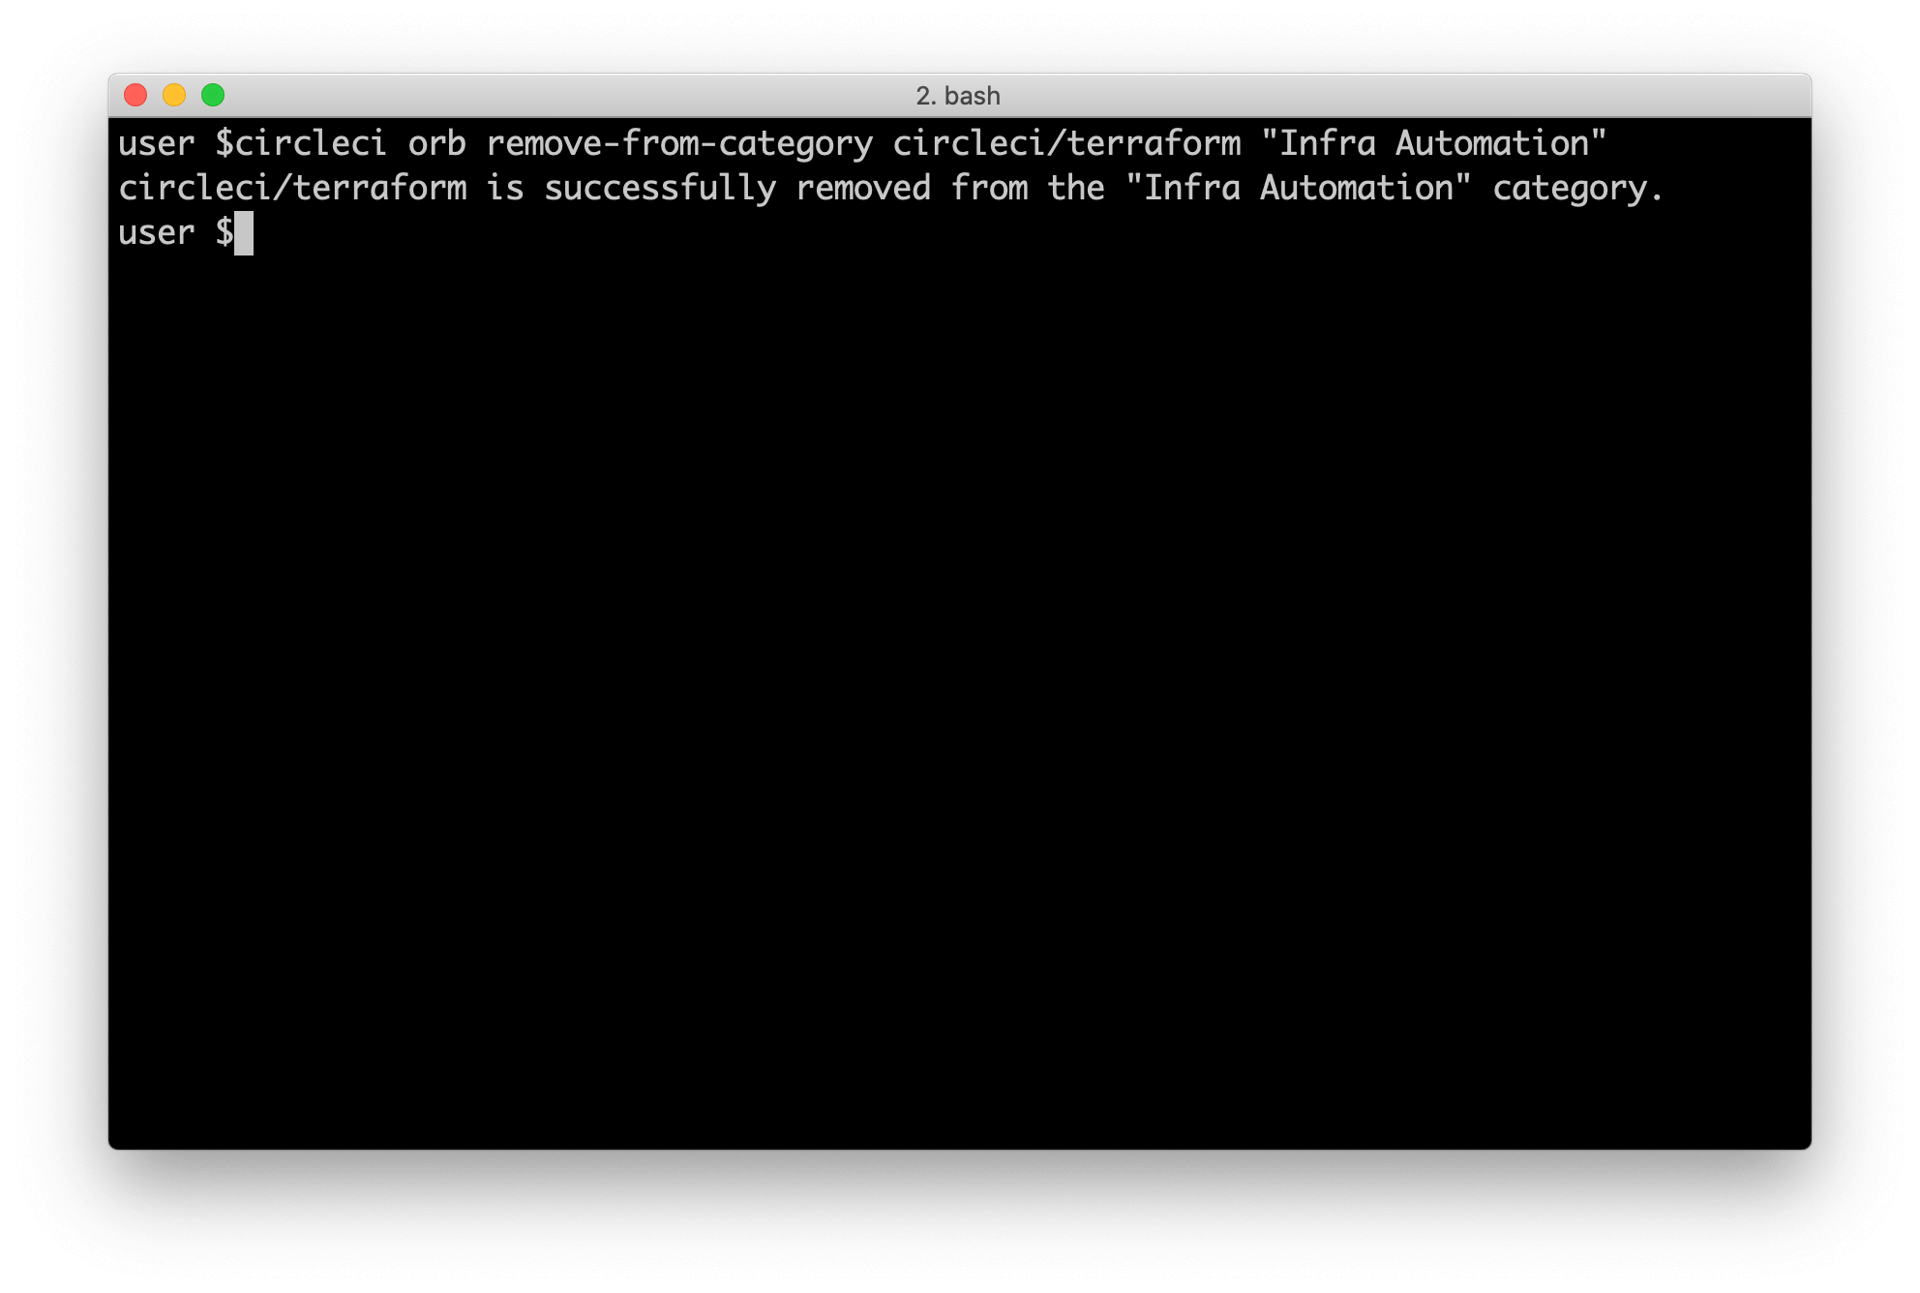
Remove an orb from a category by running circleci orb remove-from-category <namespace>/<orb> "<category-name>". You can view the detailed docs for this command here.
Viewing an orb’s categorizations
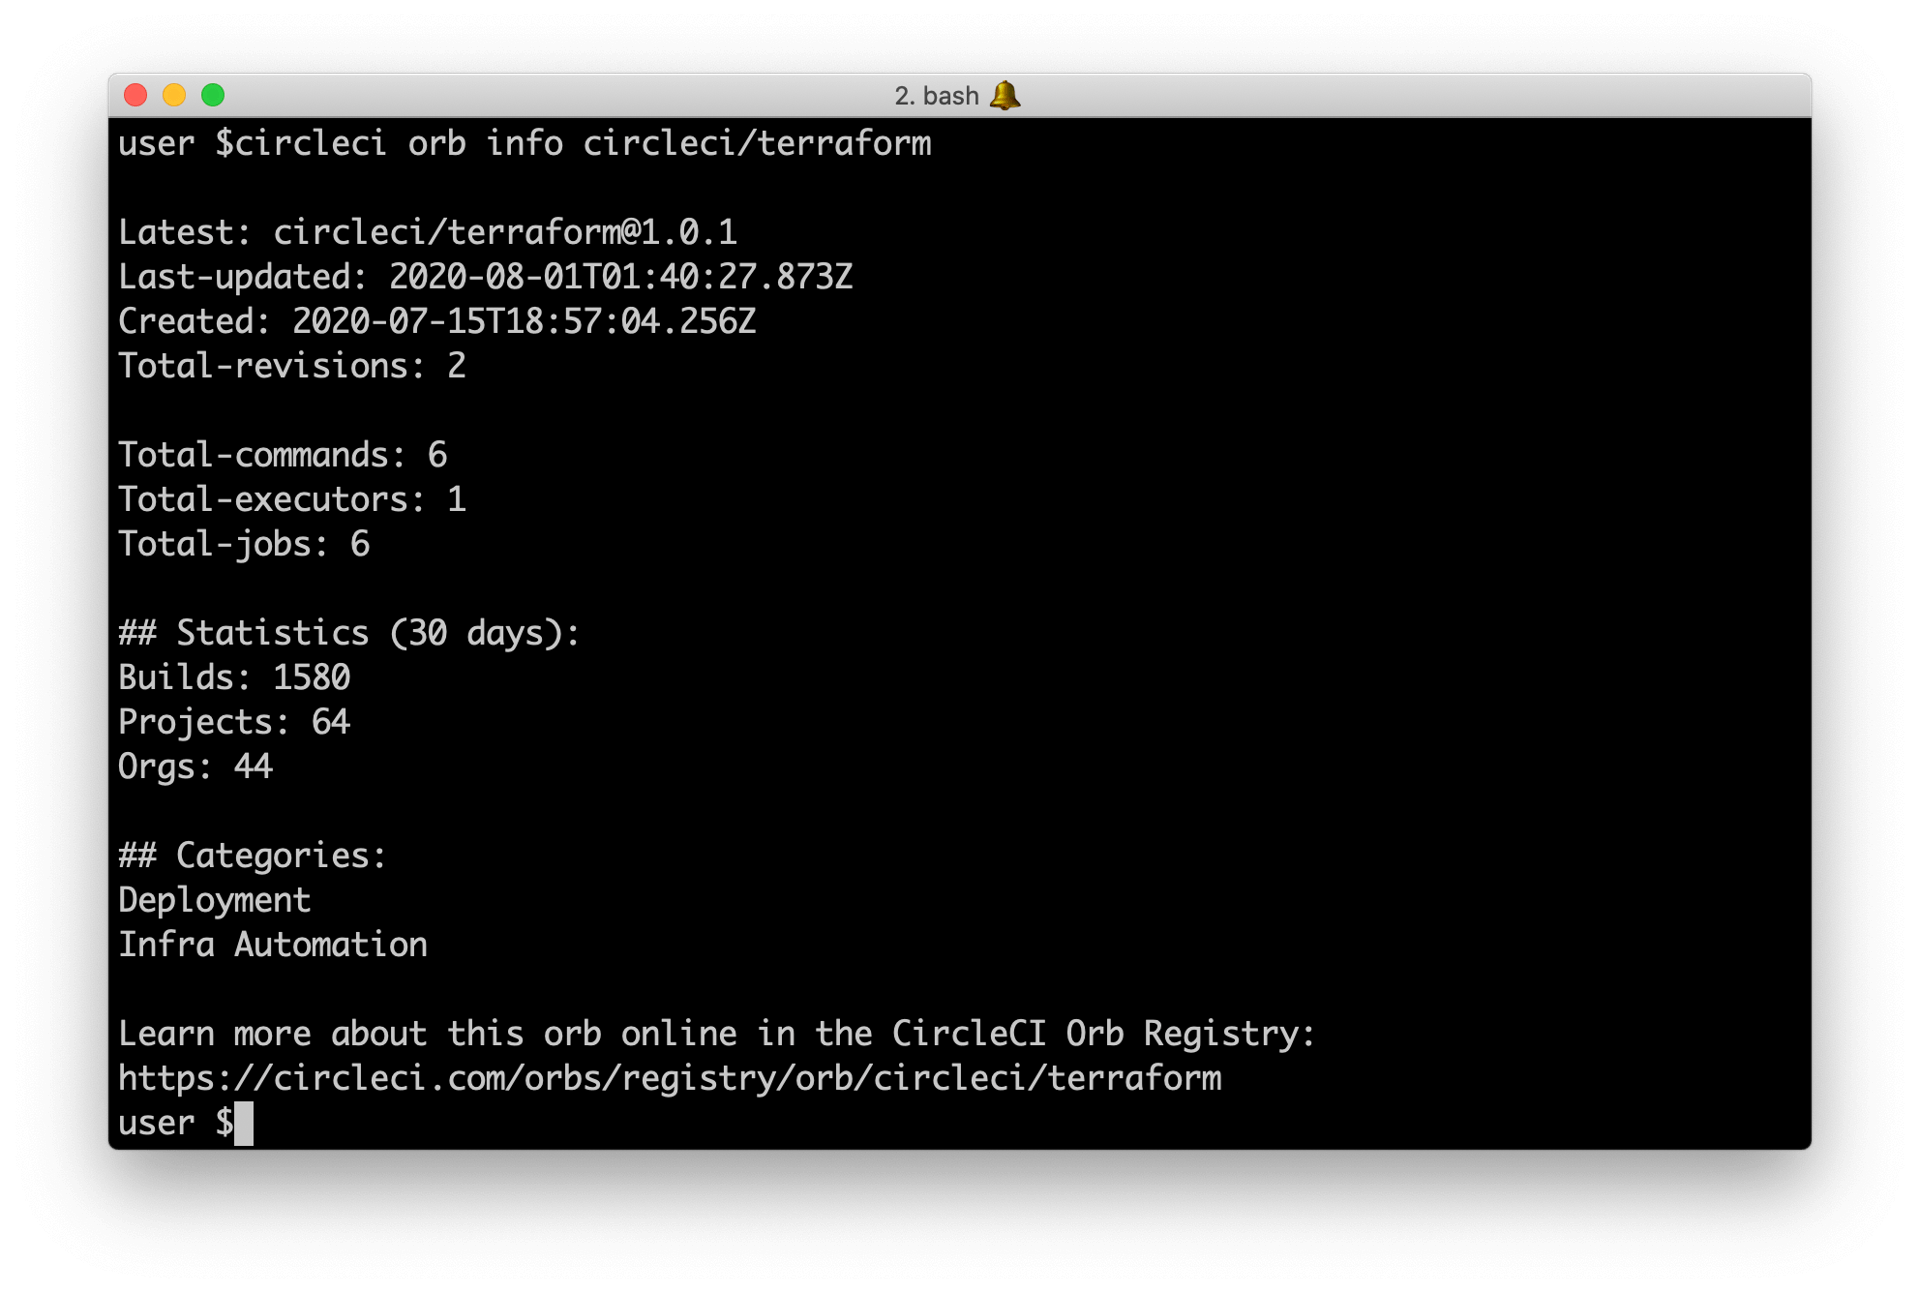
To see which categorizations have been applied an orb, check the output of circleci orb info <namespace>/<orb> for a list. You can view the detailed docs for this command here.