Automate deployment of a Vue.js application to Firebase

Fullstack Developer and Tech Author

A quick search online reveals many services available for freely hosting single page applications (SPAs) or static sites. Firebase is one of these services. Firebase is a development platform developed by Google that provides file storage, hosting, database, authentication, and analytics. It is free, provides an SSL certificate by default, and offers impressive speed across multiple regions.
In this tutorial, I will guide you through using the Firebase CLI to deploy an existing Vue.js application for free. Then we will go beyond manual deployment to set up a continuous deployment (CD) pipeline using CircleCI.
Prerequisites
Make sure that you have the following set up before following along with the tutorial.
You will need:
- Node.js installed. Firebase CLI requires version
^14.18.0 >=16.4.0. - A CircleCI account
- A GitHub account
- Vue CLI installed. This tutorial uses Vue CLI 5.
- Familiarity with building apps with Vue.js
Setting up the demo project
Start by cloning the demo application into a vue-firebase-app folder on your computer. Enter this command:
Change directory into the project. Install all its dependencies and serve the application using:
Go to http://localhost:8080 to review the homepage on your local machine.
Running the unit test locally
Now that the application runs as expected, you need to make sure that the unit test written for its components are passing. Open a new terminal, and enter this command:
Here is the expected output:
> vue-user-app@0.1.0 test:unit
> vue-cli-service test:unit

 PASS  tests/unit/user.spec.js
  User List component unit tests:
    ✓ renders props when passed (13 ms)
    ✓ Renders the list (6 ms)
    ✓ creates a user (7 ms)

Test Suites: 1 passed, 1 total
Tests:       3 passed, 3 total
Snapshots:   0 total
Time:        0.632 s
Ran all test suites.
That is it! Your application is properly set up locally. Your next step is to create a project for the app on Firebase. Later on in the tutorial you will deploy your application using CircleCI and Firebase CLI.
Creating a project on Firebase
If you already have a Firebase account, you can skip this step.
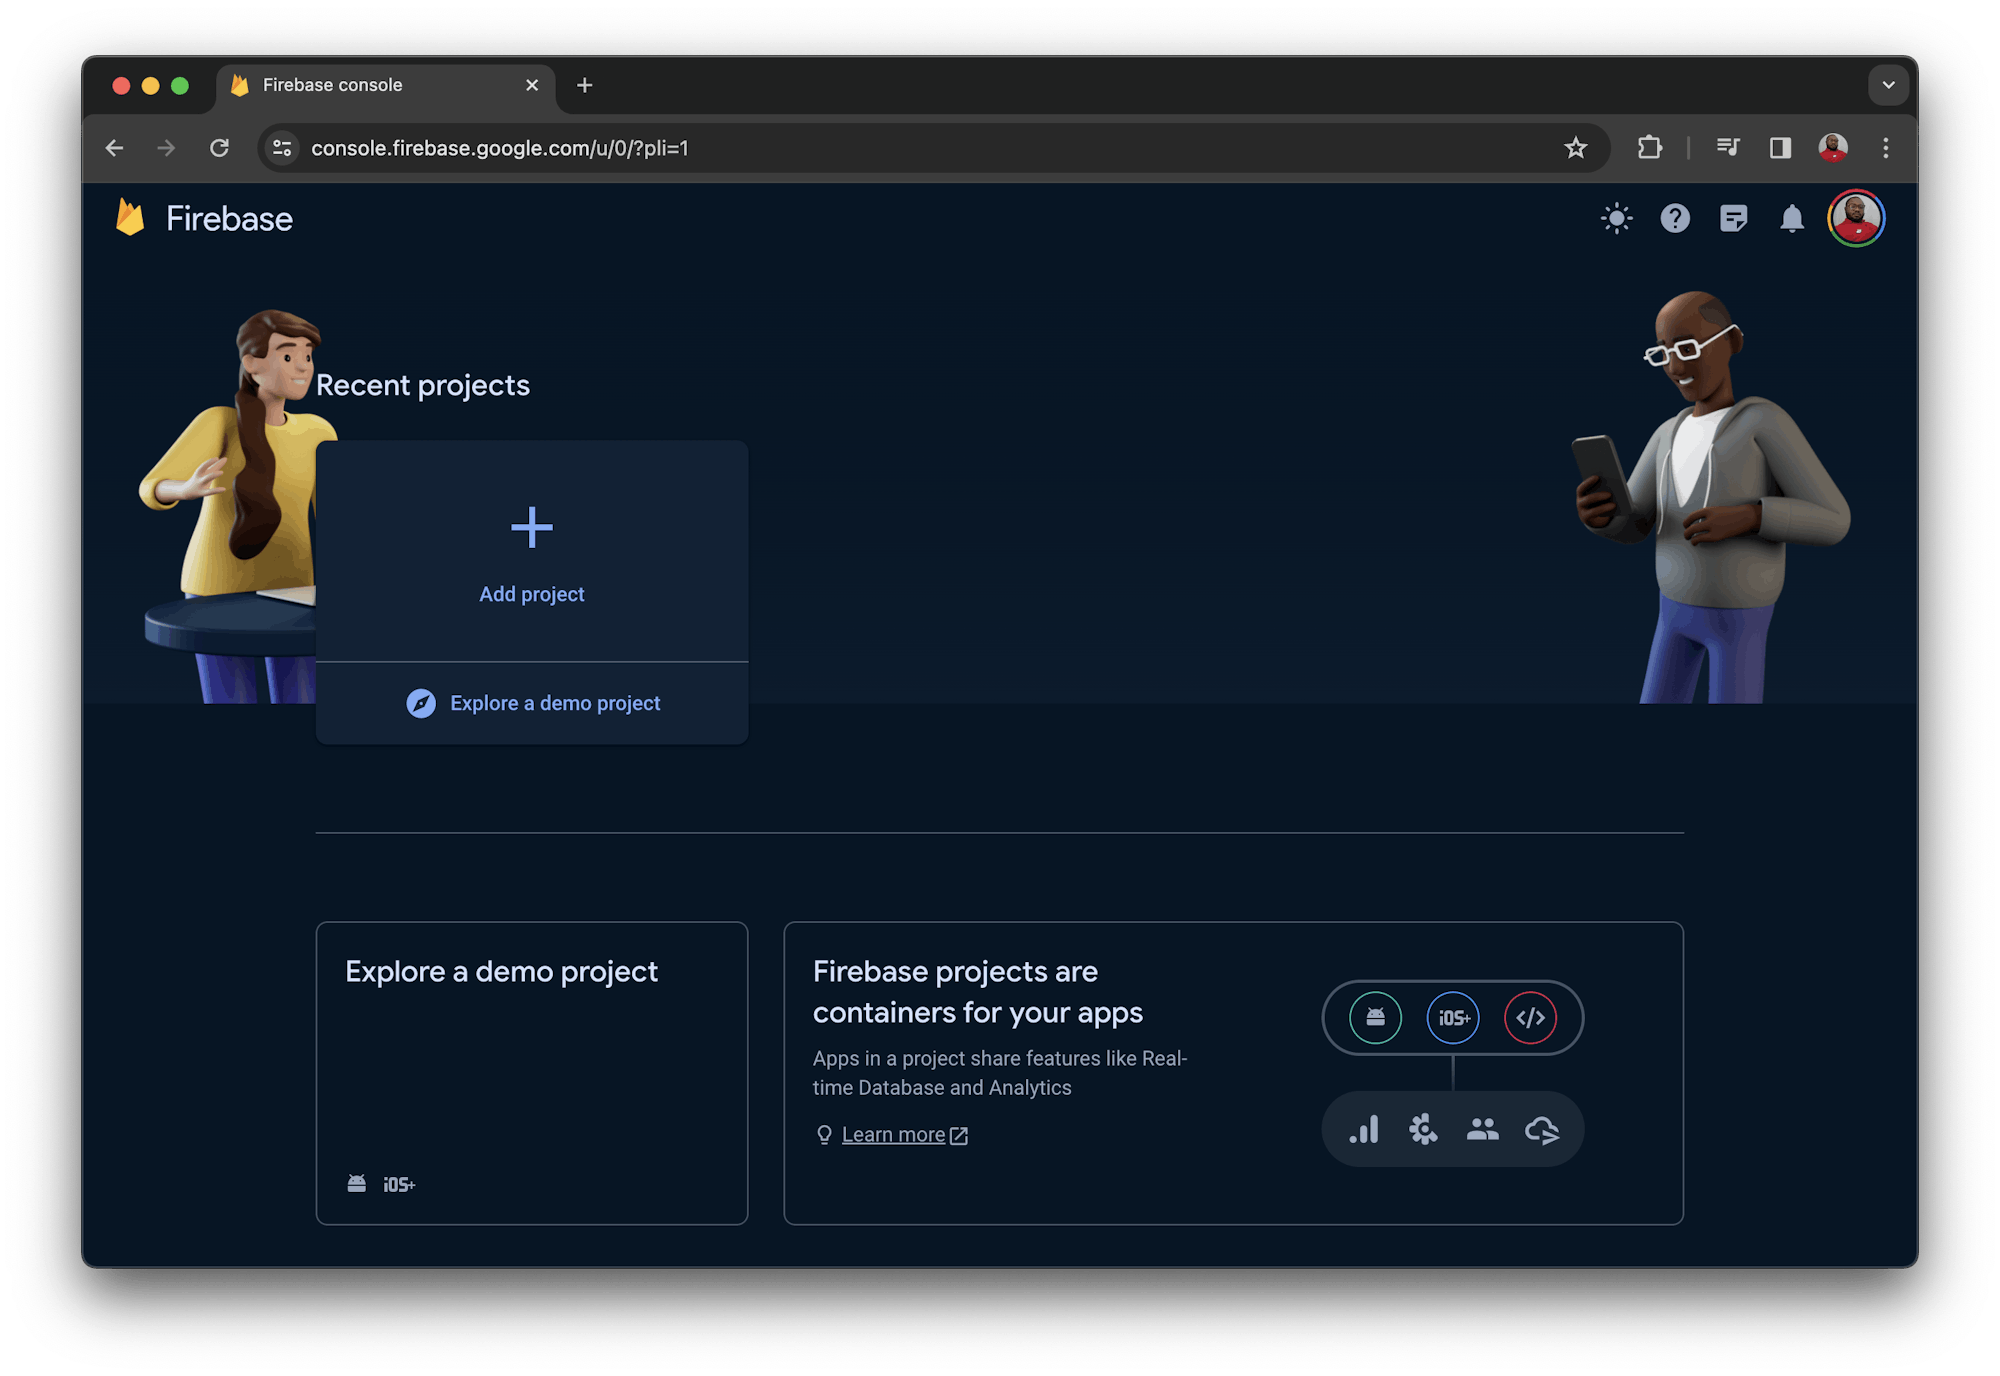
To create an account, go to the Firebase homepage, and click Get started. You will be redirected to a new page with instructions for adding a new project.
Adding a project to Firebase
- Click the Add project button.
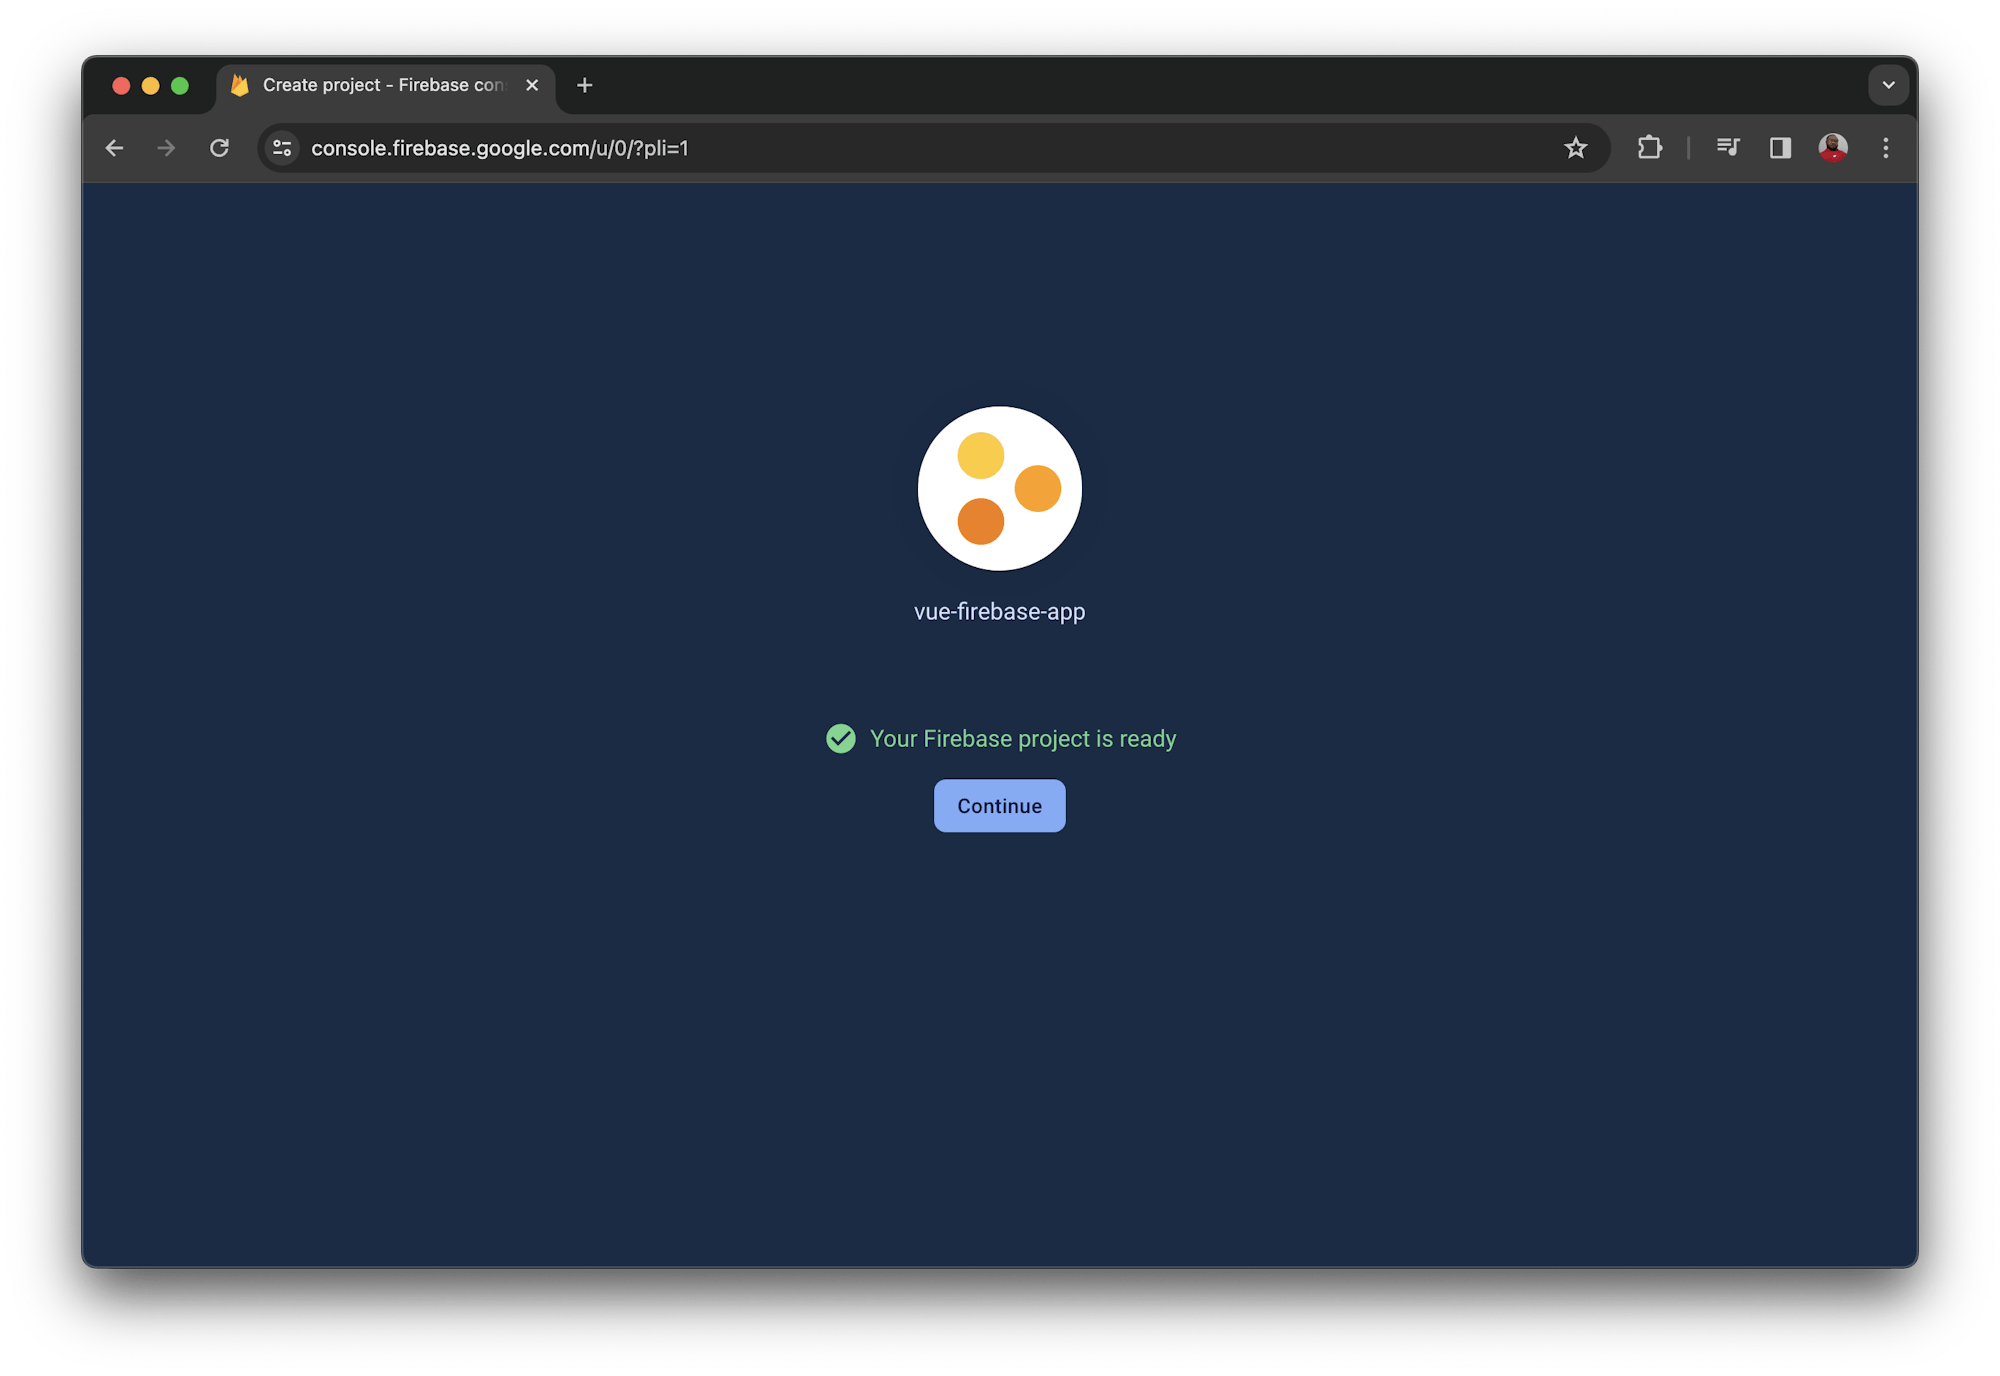
- Enter a name for your project. I have named mine
vue-firebase-app. - Click Continue.
- Disable Google Analytics; it is not required for this project.
- Click Continue again.
You have now successfully created a project on Firebase. Next, you will associate your local project with the Firebase account.
Setting up Firebase hosting
To successfully host your application on Firebase, you need to install its tools and initialize it within your project.
Installing the Firebase CLI
Open a new terminal. To install Firebase tools globally, run this command:
You now have global access to the Firebase Command Line Interface tools. You can use them to deploy code and assets to your newly created Firebase project.
Connecting Vue to Firebase
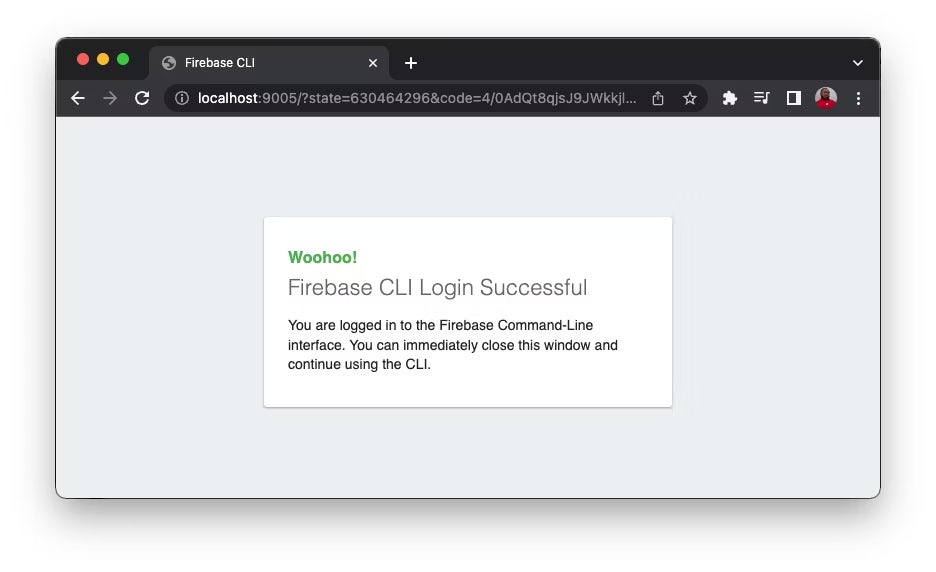
From the terminal, sign in to your Firebase account:
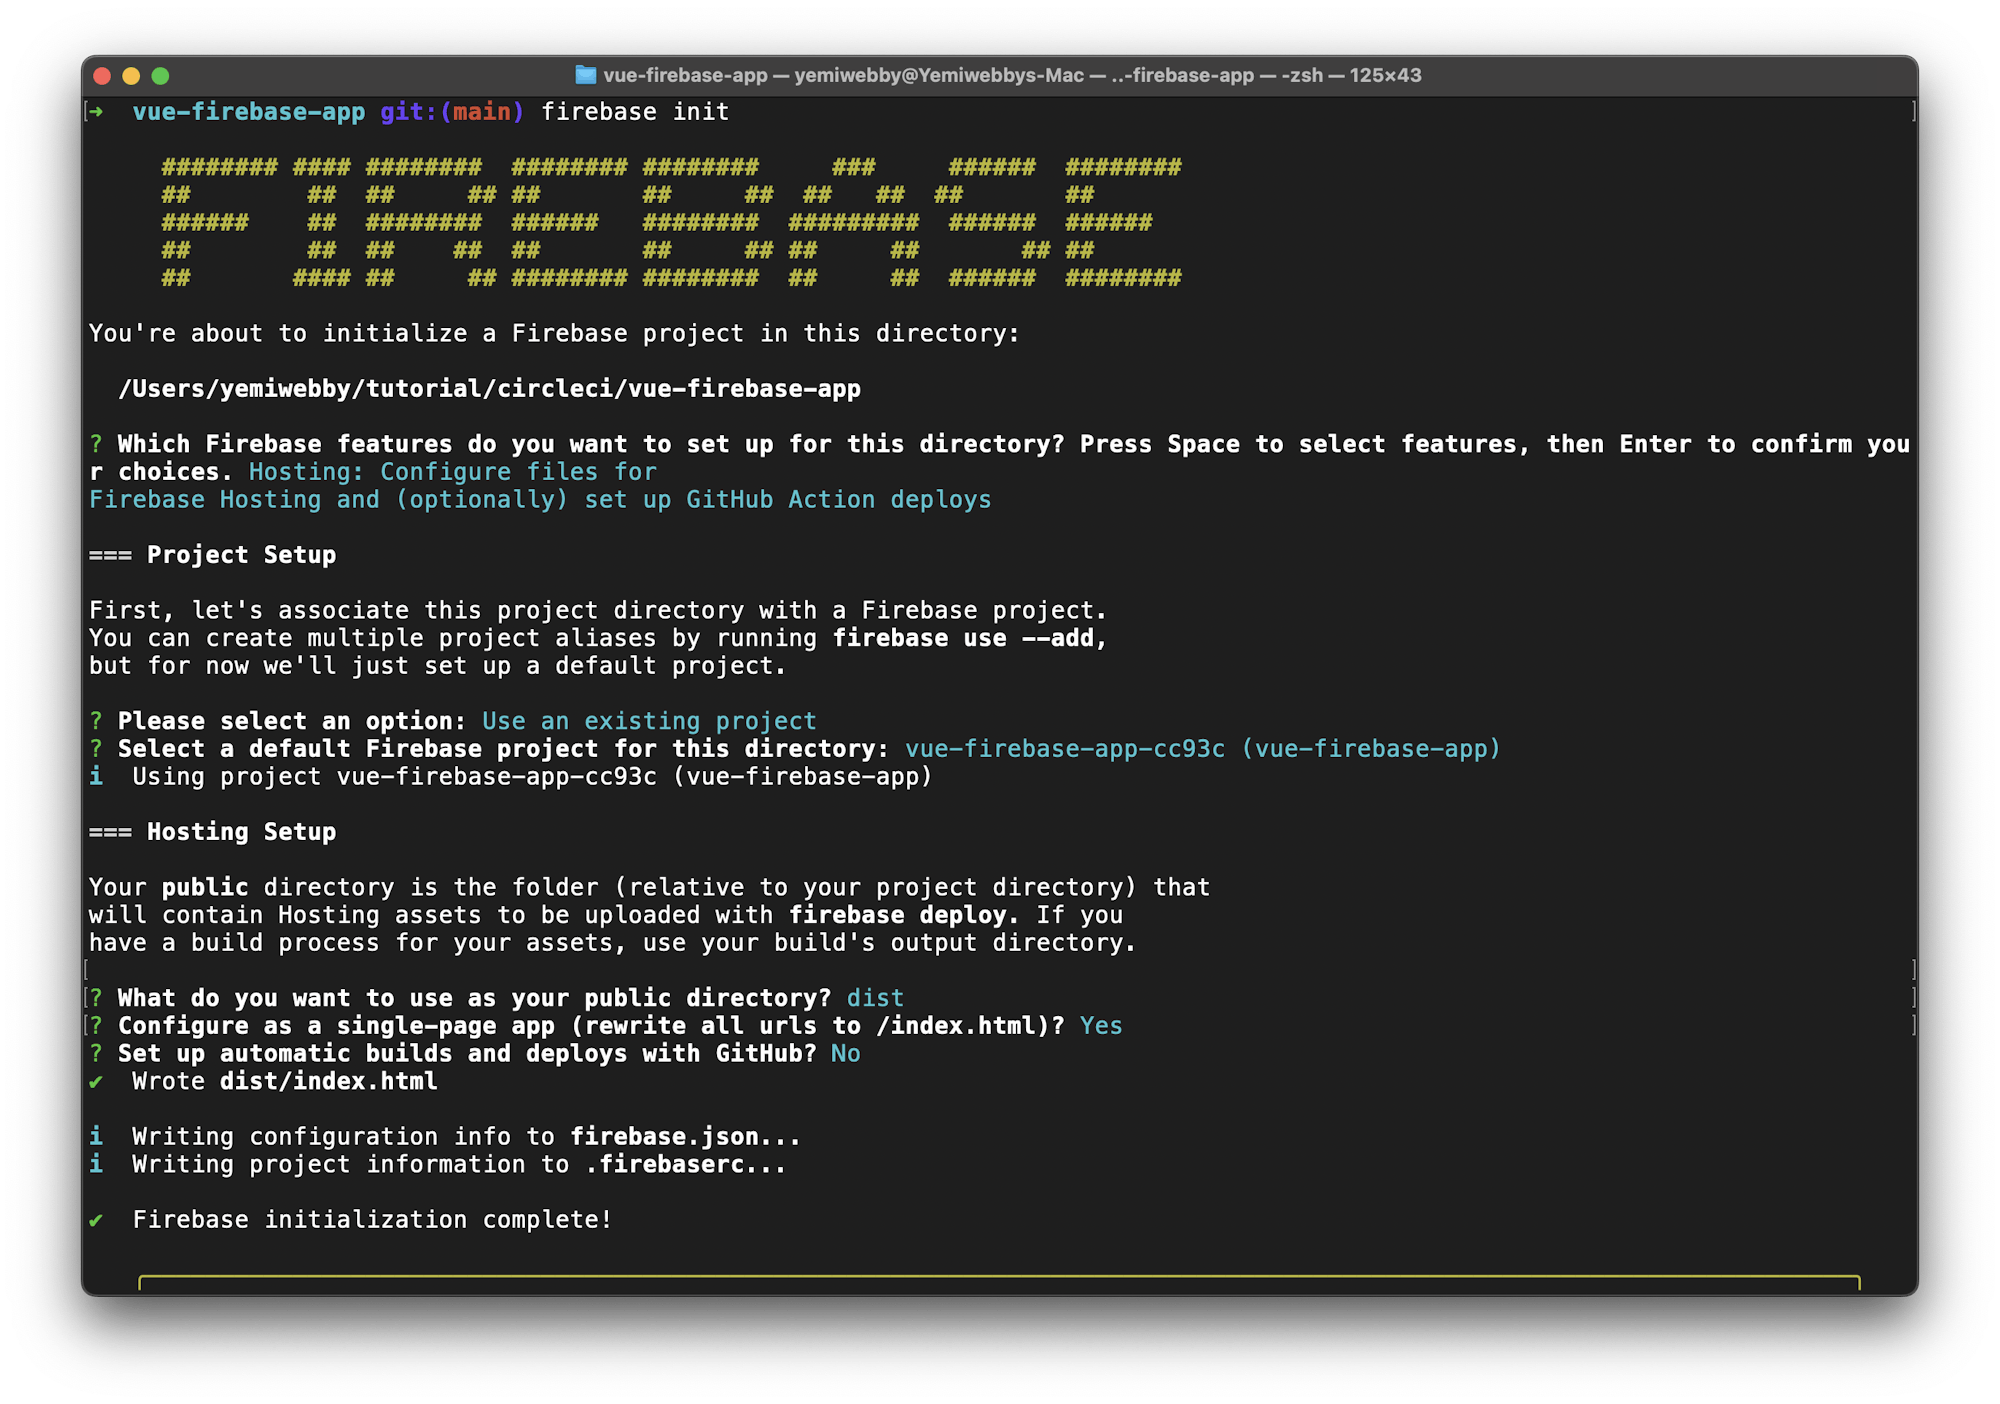
Next, go to the root of the vue-firebase-app project. Initialize the project:
Here is how to respond to the prompts:
- Choose hosting: Configure files for Firebase Hosting and (optionally) set up GitHub Action deploys.
- Use an existing project: Select the Firebase project you created earlier; I named mine
vue-firebase-app. - Enter
distas the public directory. - Configure as a single-page app: Yes.
- Set up automatic builds and deploys with GitHub: No. For this tutorial we are using CircleCI to run tests and handle deployment.
The initialization process generates two unique files at the root of your project. These files are required for successful deployment and must be checked into source control:
firebase.jsoncontains your project’s hosting configuration. Its content instructs the Firebase CLI about updating and deploying the files in your project directory..firebasercspecifies the project to connect to the uploaded code once you successfully deploy to Firebase.
Configuring CircleCI
Replace the content of .circleci/config.yml with this:
version: 2.1
jobs:
  build-and-test:
    working_directory: ~/project
    docker:
      - image: cimg/node:21.7.1
    steps:
      - checkout
      - run:
          name: Update NPM
          command: "sudo npm install -g npm"
      - restore_cache:
          key: dependency-cache-{{ checksum "package-lock.json" }}
      - run:
          name: Install Dependencies
          command: npm install
      - run: npm install --save-dev firebase-tools
      - save_cache:
          key: dependency-cache-{{ checksum "package-lock.json" }}
          paths:
            - ./node_modules
      - run:
          name: Run test for the application
          command: npm run test:unit
      - run:
          name: Build application for production
          command: npm run build
      - run:
          name: "Generate Service Account Authentication"
          command: 'echo "$GOOGLE_APPLICATION_CREDENTIALS_BASE_64" | base64 --decode > $GOOGLE_APPLICATION_CREDENTIALS'
      - run:
          name: "Deploy app to Firebase Hosting"
          command: "./node_modules/.bin/firebase deploy --non-interactive"
      - run:
          name: "Remove credentials file"
          command: "rm $GOOGLE_APPLICATION_CREDENTIALS"
workflows:
  build-and-test:
    jobs:
      - build-and-test
This configuration specifies all the required tools to install and run the test for your application on CircleCI. The config installed the Firebase tool with npm install --save-dev firebase-tools and set up a command to automatically deploy your application to Firebase once the tests are successful.
This script:
- Pulls in the CircleCI Docker image for Node.js
- Uses the image to install all required dependencies
- Runs the test for your application on CircleCI
- Installs the Firebase tool using
npm install --save-dev firebase-tools - Sets up a command to deploy your application to Firebase when tests are successful
Deployment to Firebase requires authentication from a service account with appropriate privileges on the project. The credentials required for this authentication are provided in a JSON file — the name of which is saved in the GOOGLE_APPLICATION_CREDENTIALS variable.
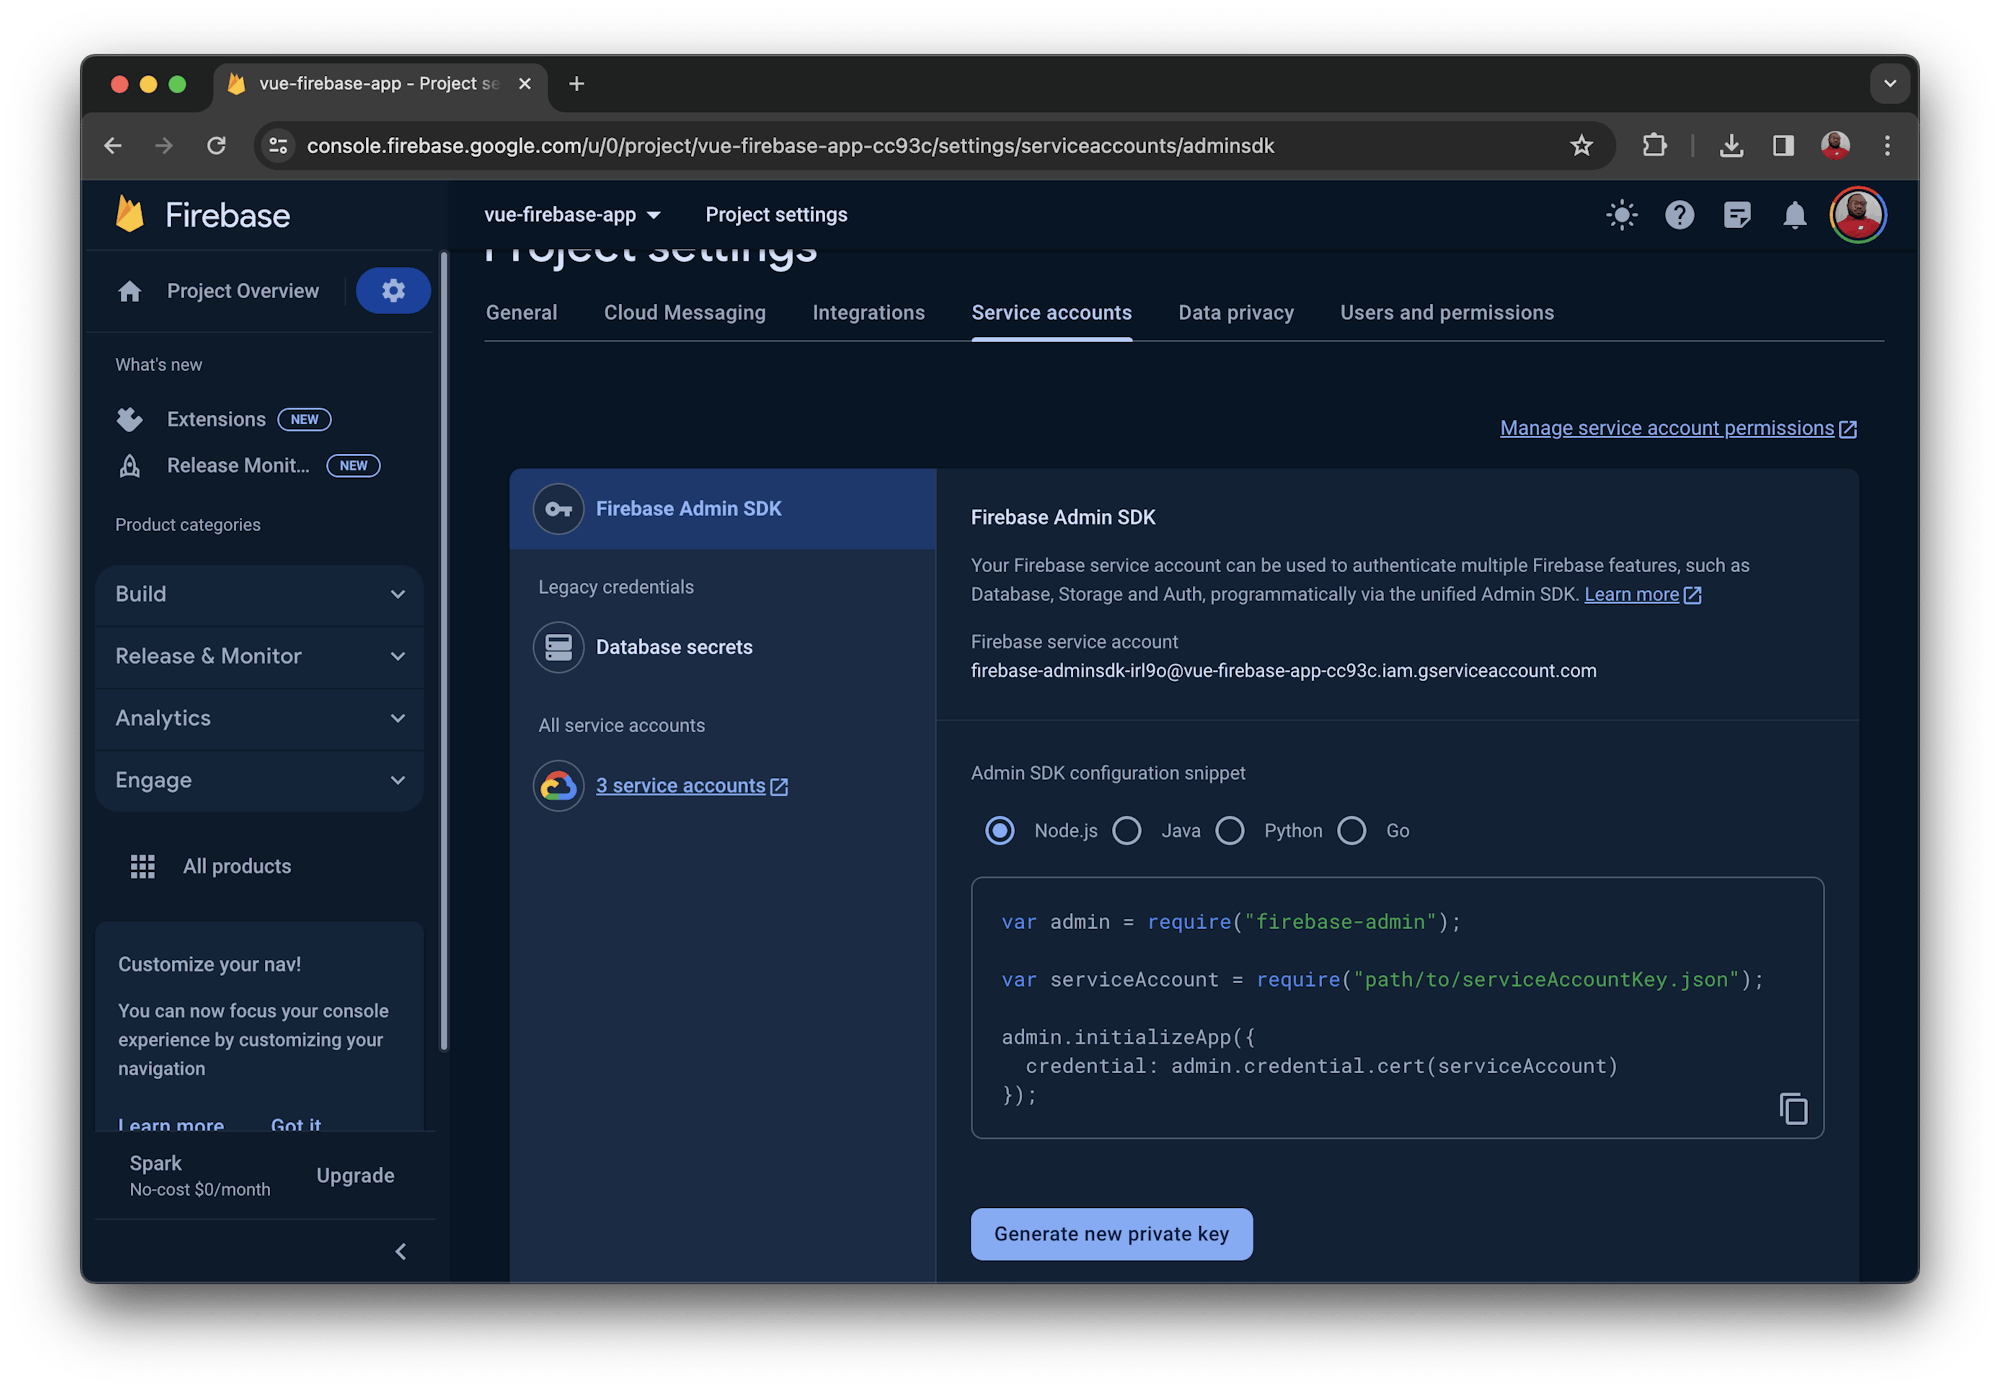
To get this JSON file, open your Firebase project console and select the Service accounts tab. Click the Generate new private key button to download the JSON file.
NOTE: This key is used for demonstration purposes only. Using the default service account is not recommended, because that account is highly privileged, which violates the principle of least privilege.
The JSON file you just downloaded will need to be base64 encoded to get the string value of GOOGLE_APPLICATION_CREDENTIALS_BASE_64. Run this command:
Replace <</path/to/json/file>> with the path to the JSON file you downloaded earlier.
Copy the output of the command and save it somewhere convenient. You will need it later on CircleCI.
When CircleCI is deploying your application to Firebase, the GOOGLE_APPLICATION_CREDENTIALS_BASE_64 variable will be decoded to a file whose name is the value of GOOGLE_APPLICATION_CREDENTIALS. This file will then be used by Firebase to authenticate and deploy the changes.
The next step is to set up a repository on GitHub and link the project to CircleCI. Review Pushing a project to GitHub for instructions.
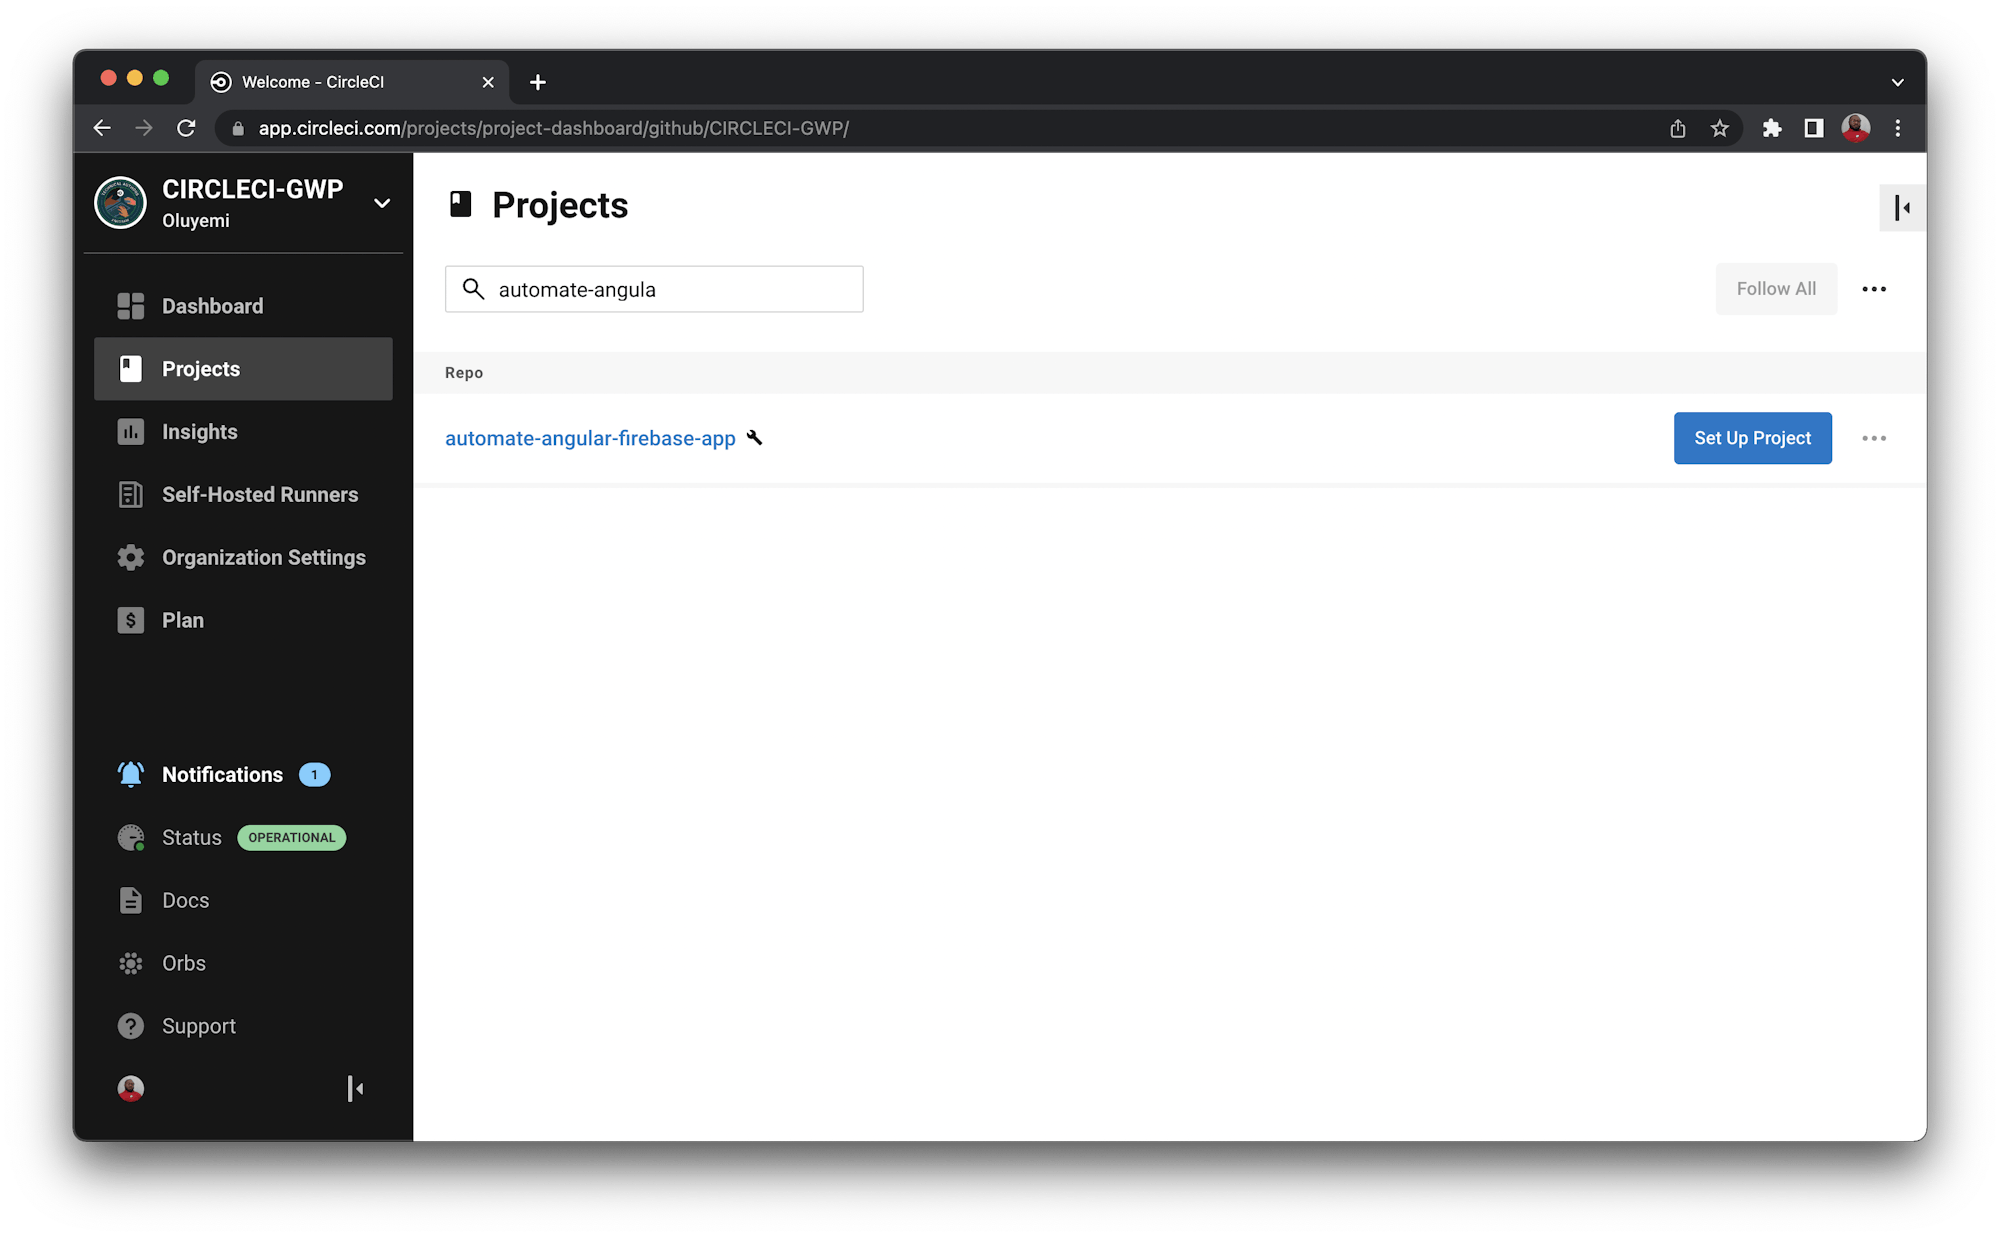
Log into your CircleCI account. If you signed up with your GitHub account, all your repositories will be available on your project’s dashboard.
Next to your angular-circle-ci-project project, click Set Up Project.
You will be prompted to either write a new configuration file or use the existing one. Select the existing one and enter the name of the branch your code is on. Click Let’s Go.
Your first workflow will start running, but the build will fail. That is expected, because because you have not yet created the GOOGLE_APPLICATION_CREDENTIALS_BASE_64 and GOOGLE_APPLICATION_CREDENTIALS environment variables.
To add them, click Project Settings.
Click Environment Variables on the left sidebar and create these variables:
GOOGLE_APPLICATION_CREDENTIALS_BASE_64is the value of the base64 encoded JSON you generated from the terminal earlier.GOOGLE_APPLICATION_CREDENTIALSis the name of your credentials file for example credentials.json. Ensure that whatever name you choose has the .json extension.
Go back to the dashboard. Click Rerun Workflow from Failed.
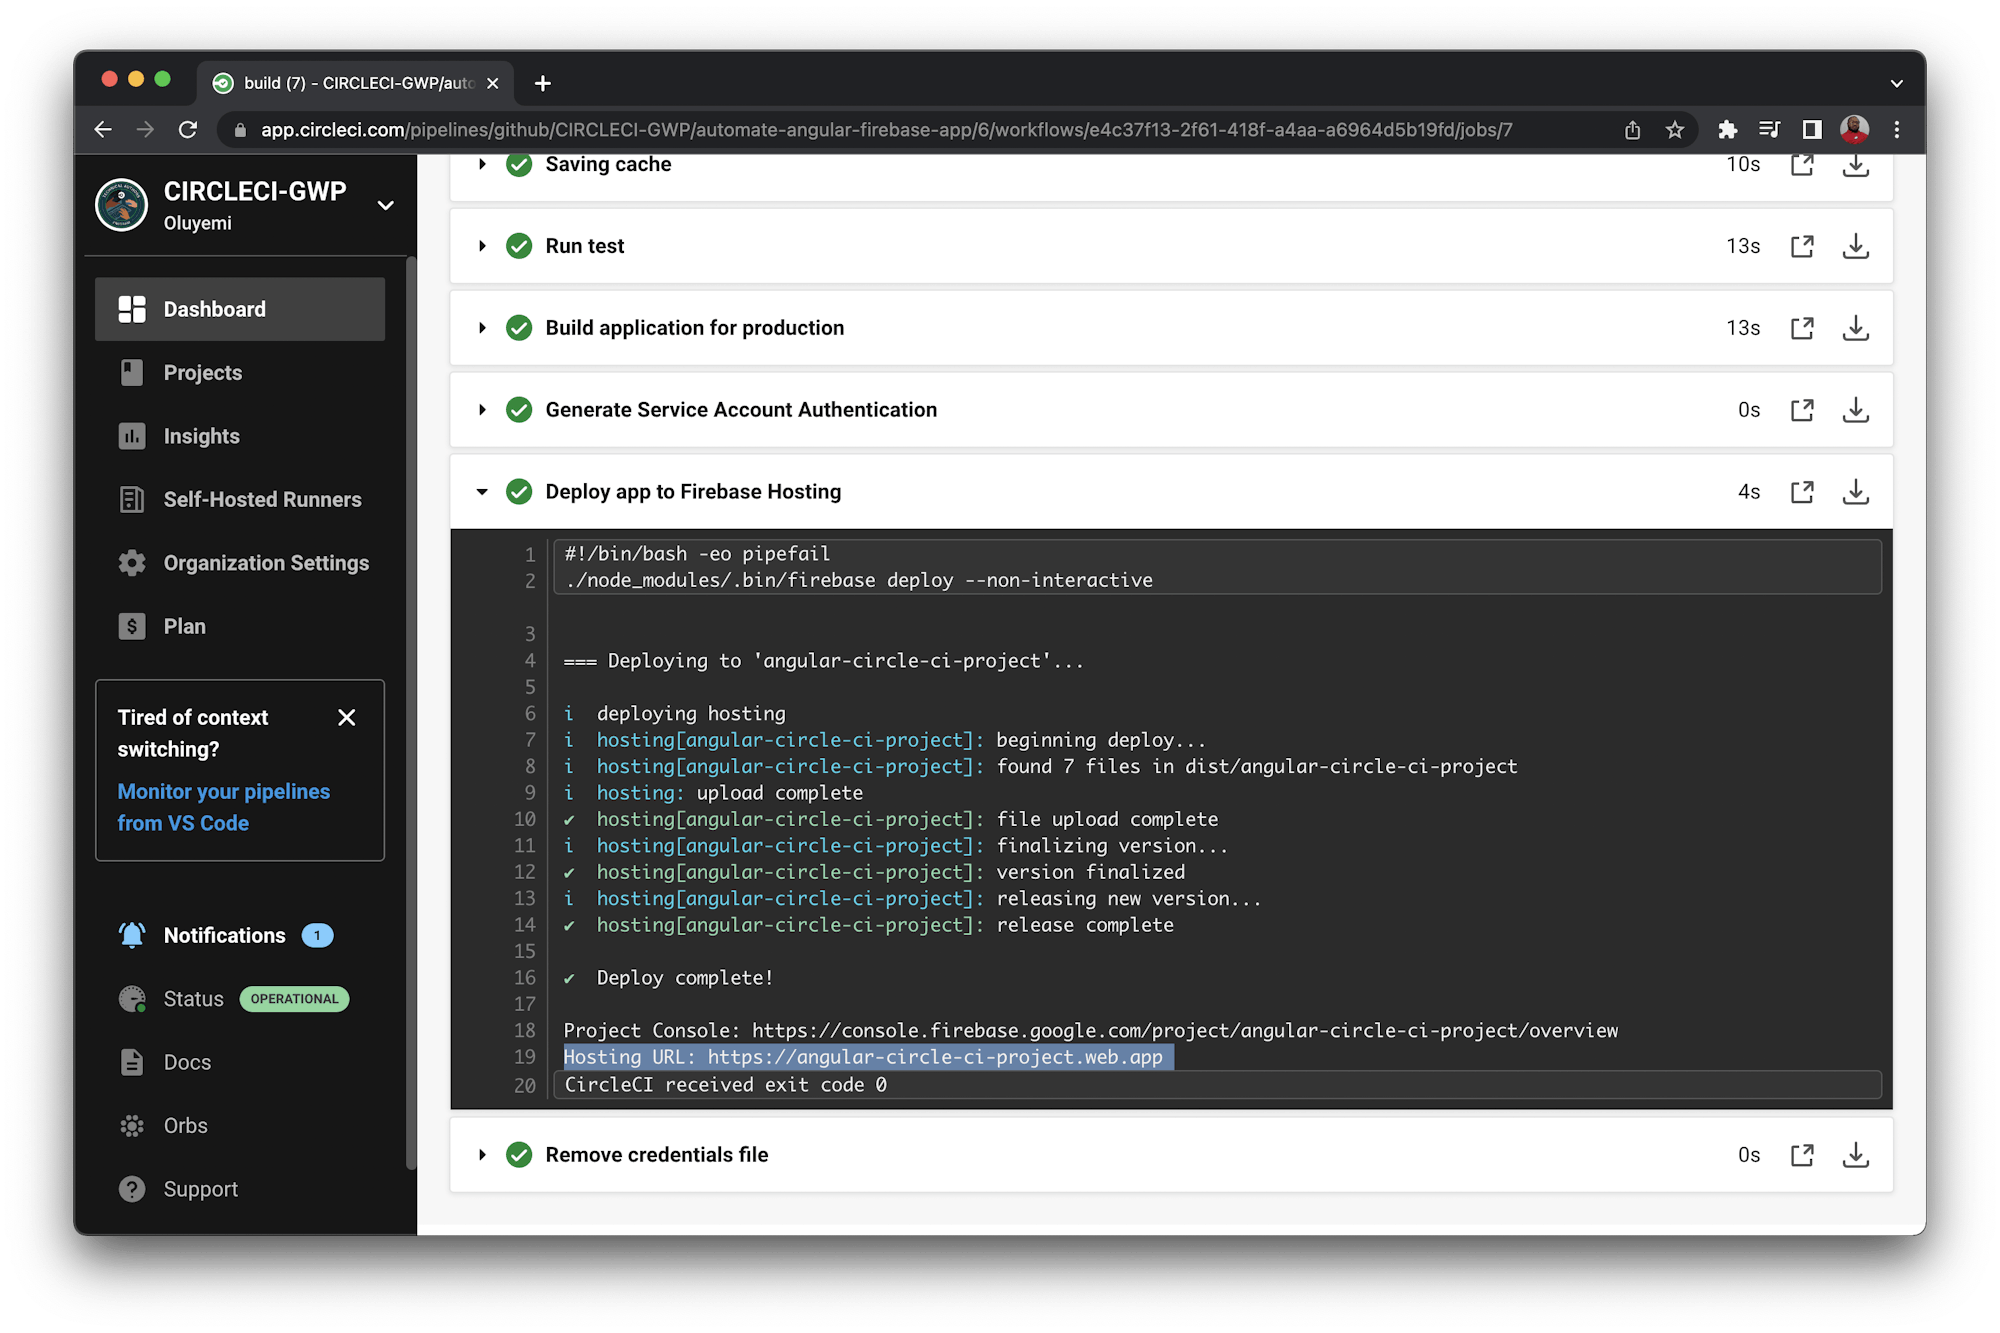
Your build should finish successfully.
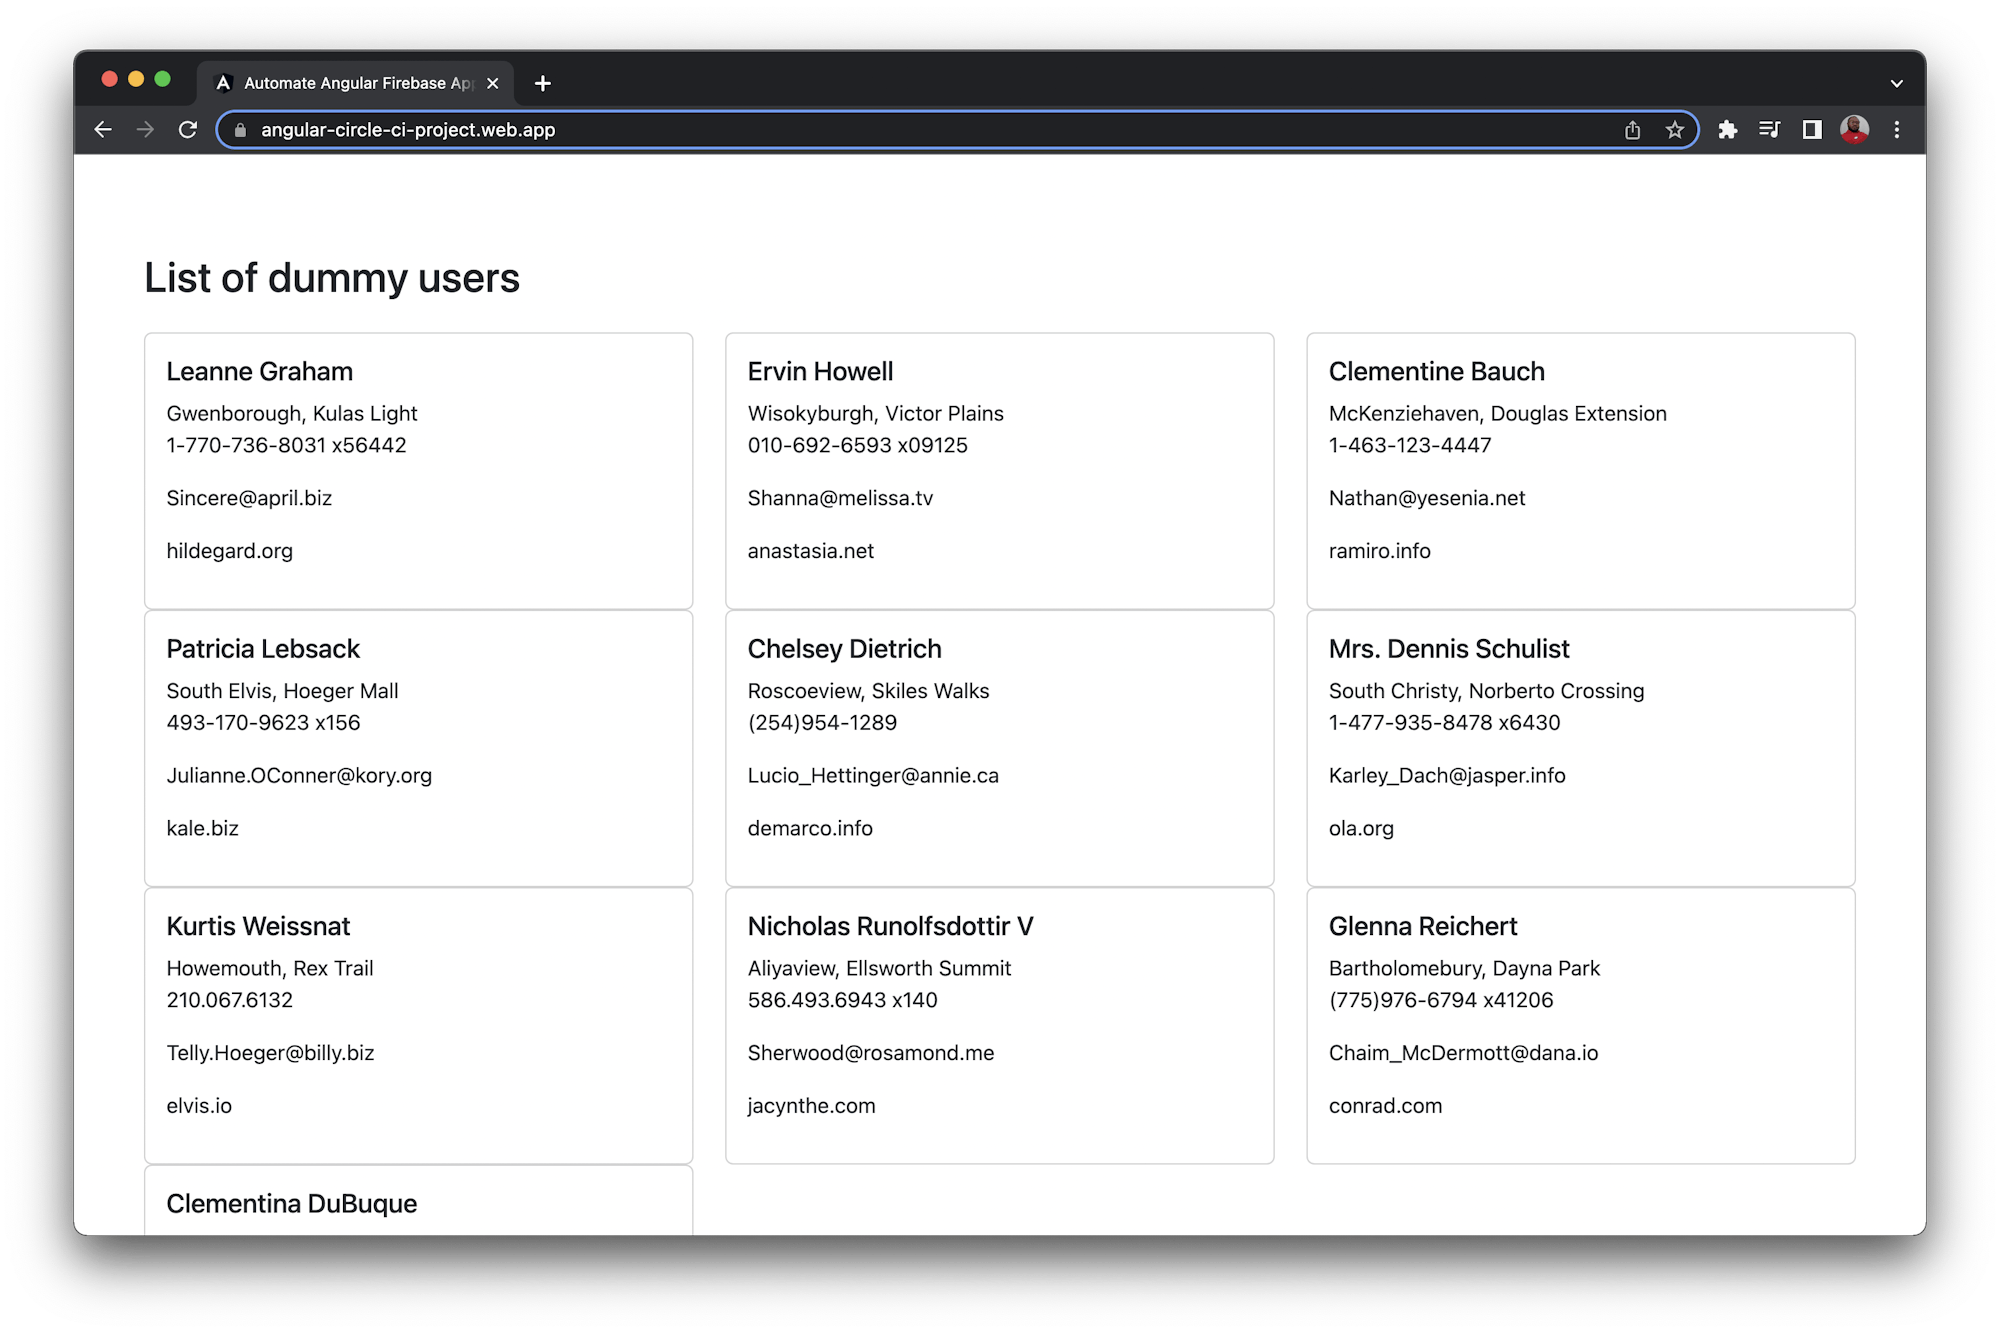
Go to the hosting URL shown in the last step. For me the URL is: https://angular-circle-ci-project.web.app.
Conclusion
Whether you use Firebase or another hosting service, CircleCI helps you implement continuous integration and continuous deployment (CI/CD) for your Vue.js project. I hope that you found this helpful. The complete source code for this tutorial can be found here on GitHub.

