In this tutorial, I will show you how to set up a continuous deployment pipeline to deploy a Laravel application to the Heroku platform with minimum hassle. Automating deployment helps teams limit human intervention during the deployment process, reducing the risk of errors and streamlining the entire software release process.
Prerequisites
For this post, you will need:
- An understanding of PHP and Laravel
- PHP 8
- Git
- Composer installed on your computer
- MySQL installed on your computer
- A GitHub account
- A CircleCI account
- A Heroku account
Our tutorials are platform-agnostic, but use CircleCI as an example. If you don’t have a CircleCI account, sign up for a free one here.
Getting started
To begin, clone an Author app built with Laravel. With this application, you can create a list of authors by stating their name, email, github username and location. From the terminal, enter this command to download the project:
git clone --single-branch --branch template https://github.com/CIRCLECI-GWP/laravel-heroku-author-app.git
Move into the app, install its dependencies and generate the app key:
cd laravel-heroku-author-app

composer install
Next, create a .env file and generate the application key using these commands:
cp .env.example .env

php artisan key:generate
Running the application locally
Running the application locally confirms that it is working as expected. First though, update the database credentials:
DB_CONNECTION=mysql
DB_HOST=127.0.0.1
DB_PORT=3306
DB_DATABASE=YOUR_DATABASE_NAME
DB_USERNAME=YOUR_DATABASE_USERNAME
DB_PASSWORD=YOUR_DATABASE_PASSWORD
Replace YOUR_DATABASE_NAME, YOUR_DATABASE_USERNAME and YOUR_DATABASE_PASSWORD with the values you plan to use.
Next, create the database table and run the application:
php artisan migrate

php artisan serve
Go to http://localhost:8000 to view the application homepage.
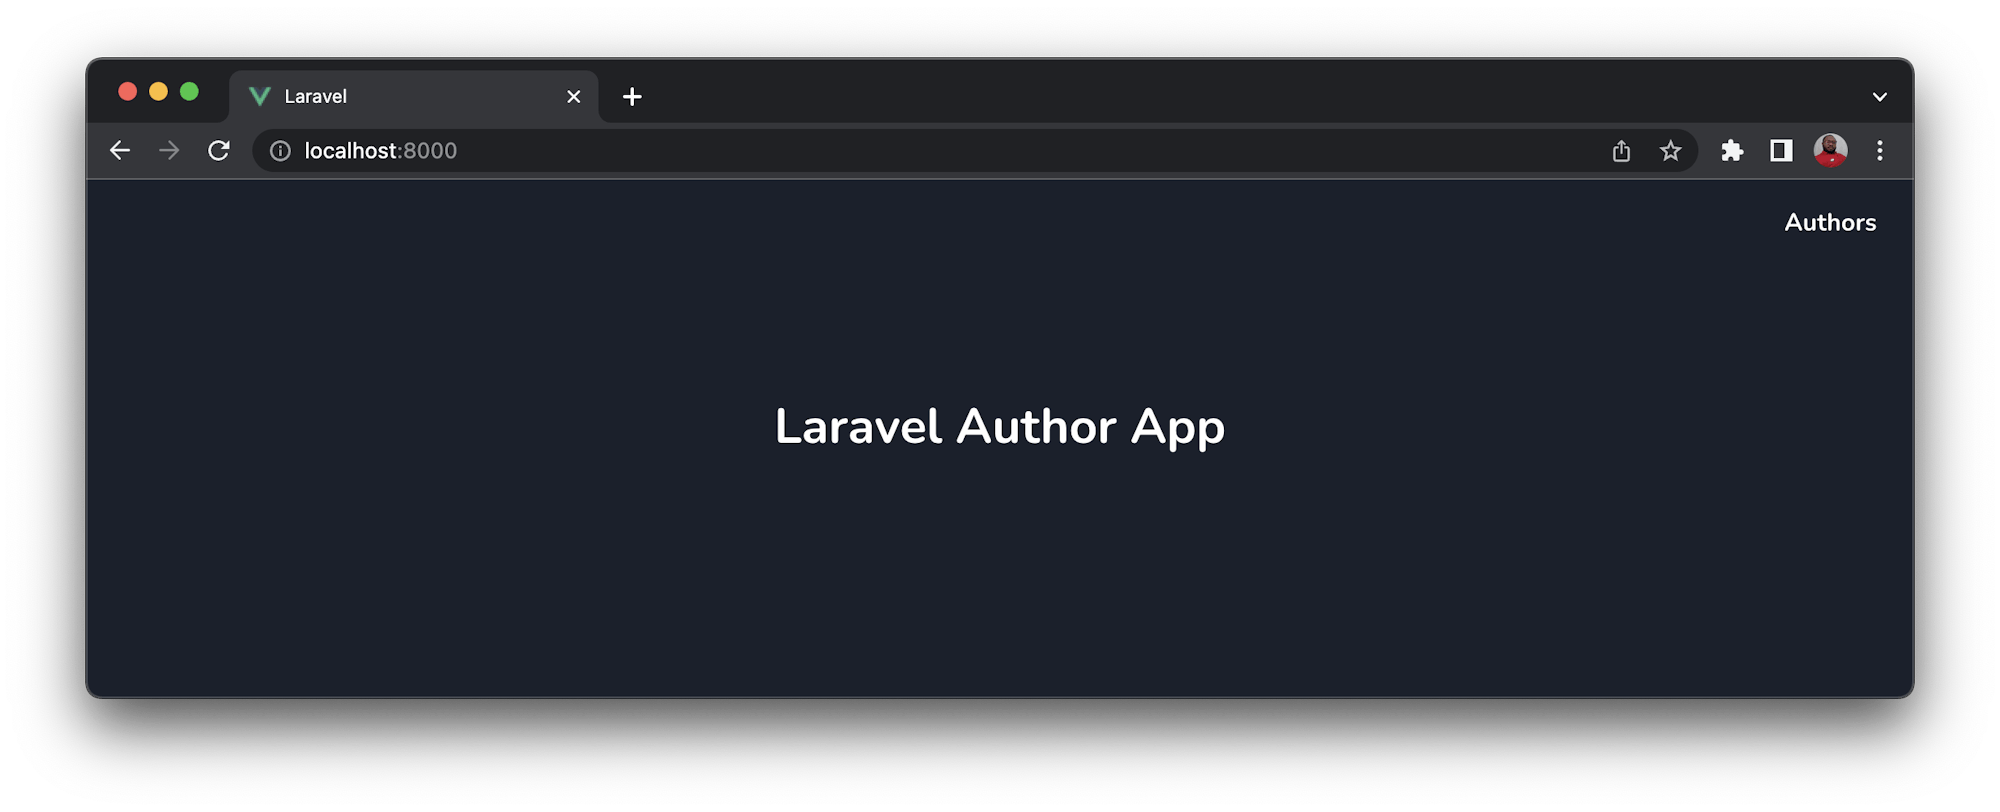
Click Authors to view the list of authors. If no authors have been created, the space below the column labels will be blank.
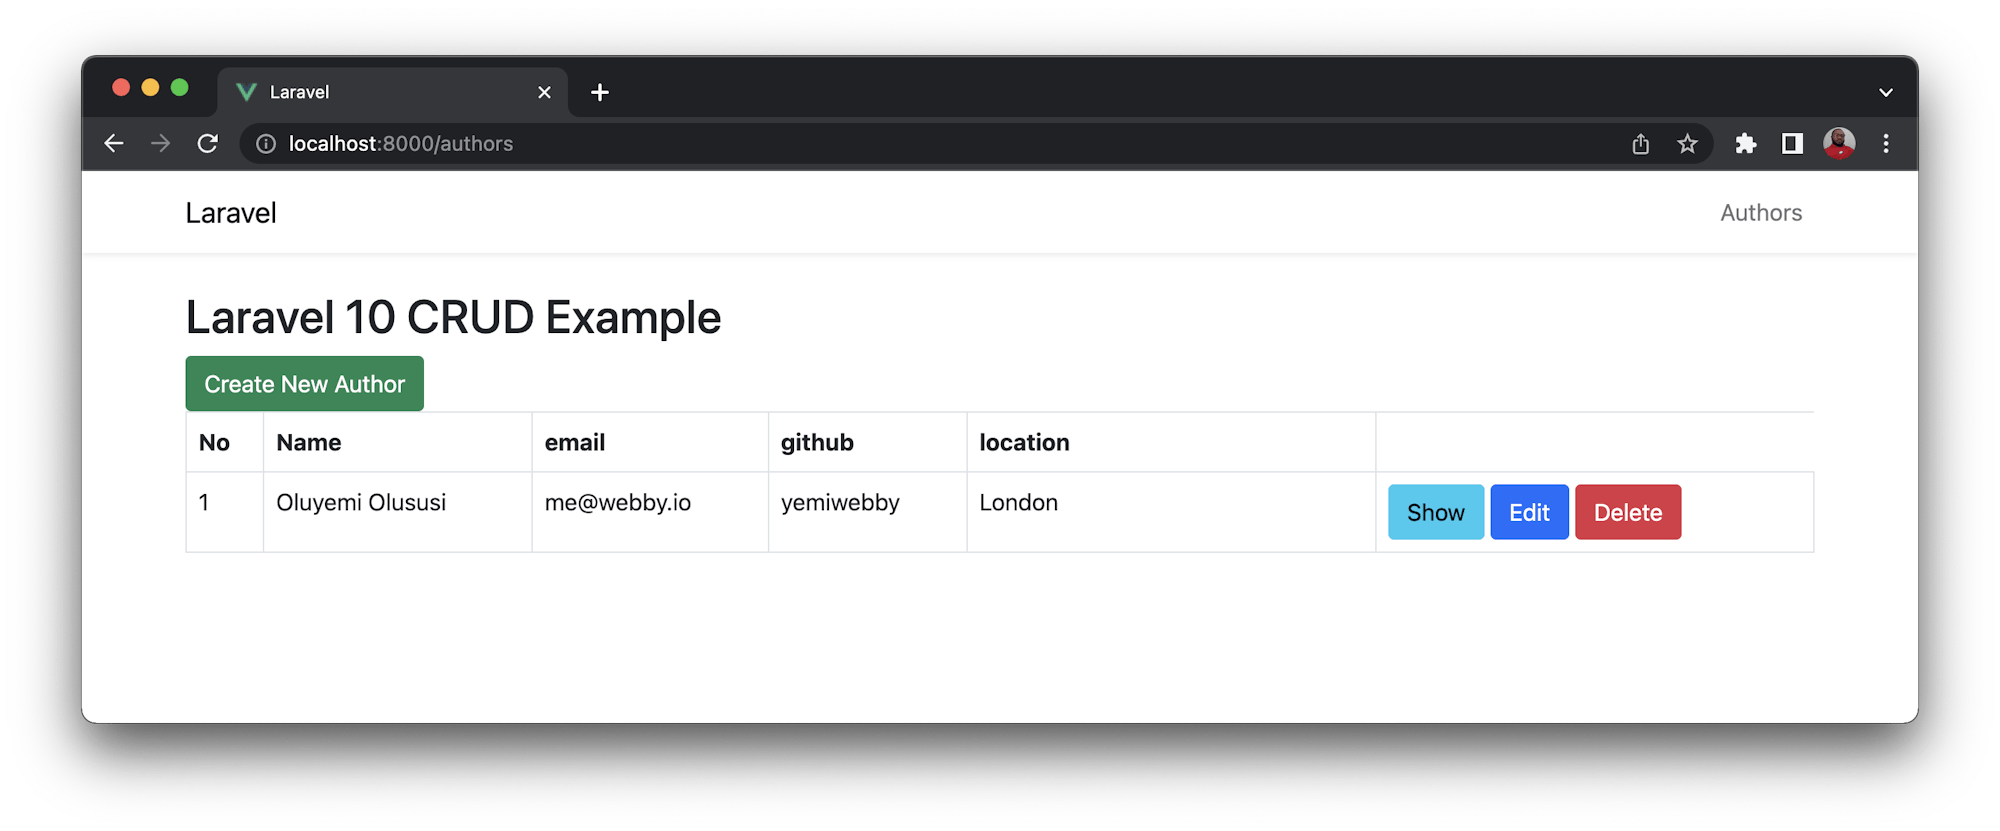
Click Create New Author to add a new one.
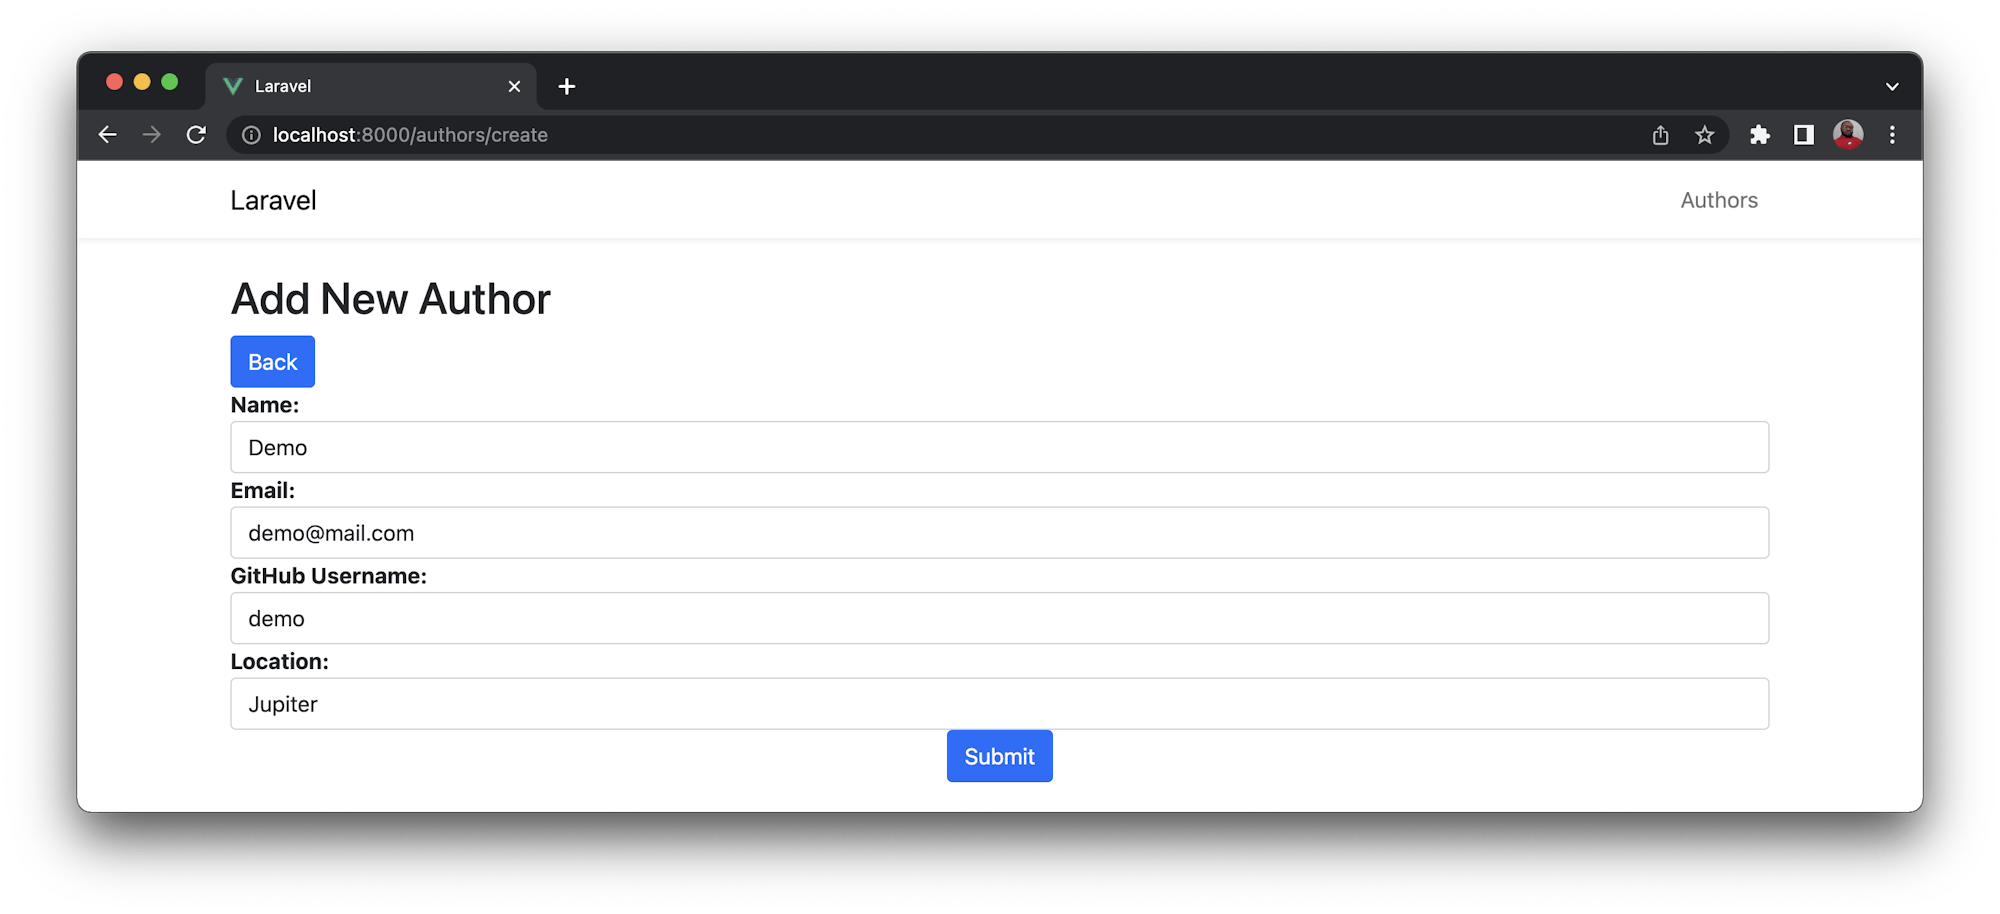
Enter the details and click Submit.
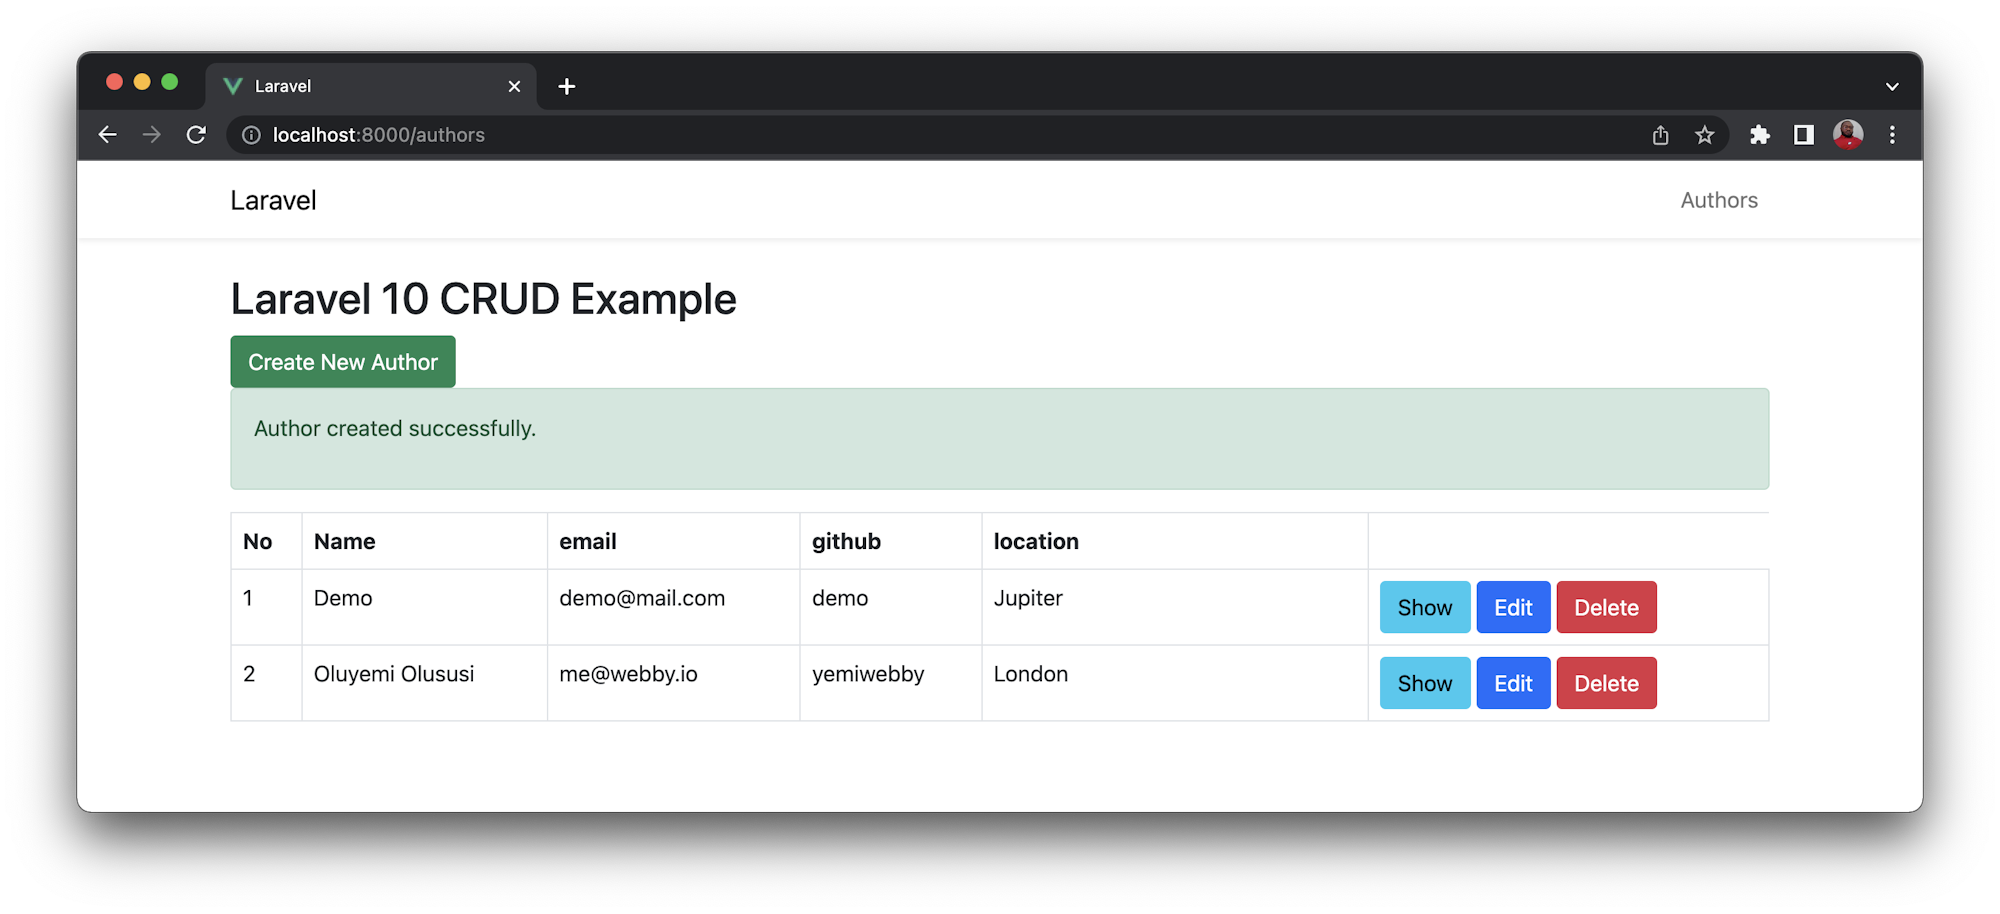
Now that you have confirmed that the demo application works, you can start setting up the deployment to Heroku.
Creating an application on Heroku
To create an application on Heroku, go to the Heroku dashboard. Click New and then New App. Fill in the form with a name for your application and your region.
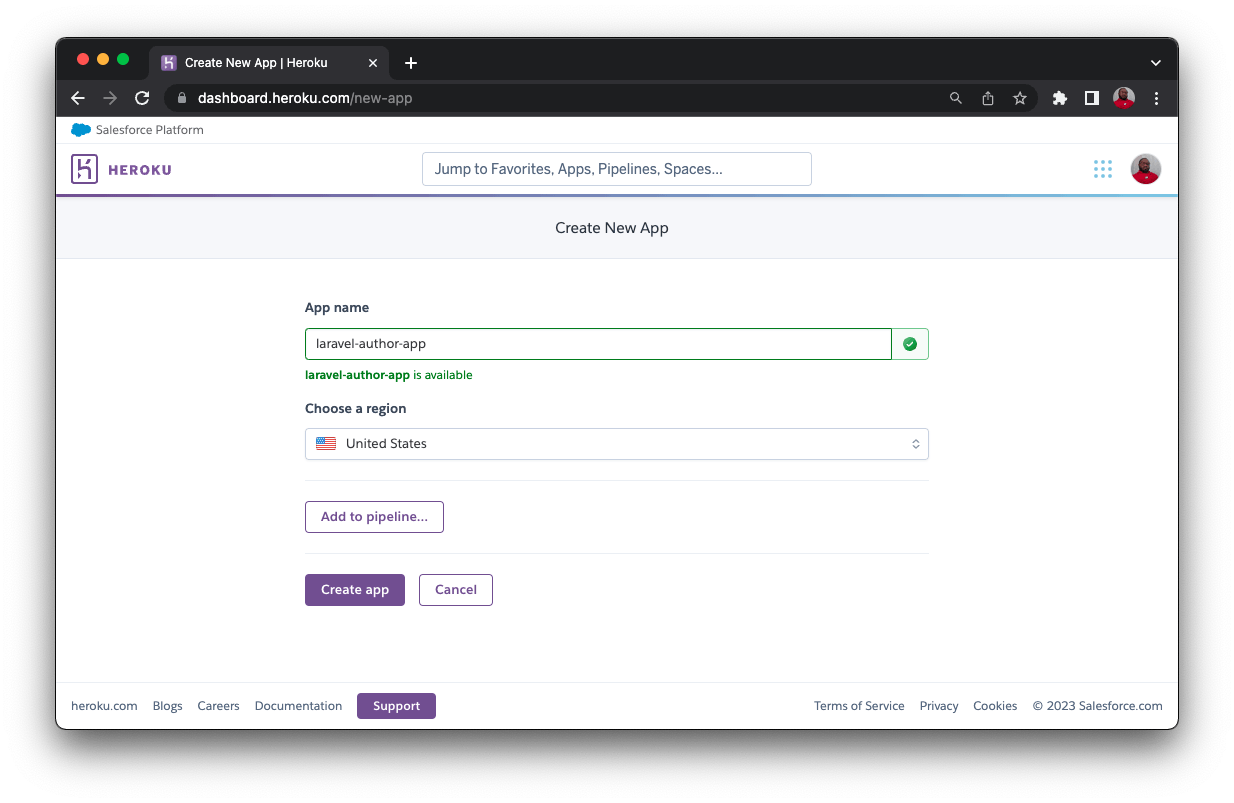
Then, click Create app. You will be redirected to the Deploy view of your newly created application.
Adding ClearDB MySQL add-ons
By default, Laravel provides first party support for five databases. For consistency, it is best to maintain the same MySQL database on Heroku as you have locally. Heroku works by default with PostgreSQL, but because this tutorial project uses MySQL, you need to install a MySQL add-on named ClearDB. The free plan should work well enough for this tutorial.
To install ClearDB, click Resources, search for ClearDB, and select it.
Choose the free plan and then click Submit Order Form.
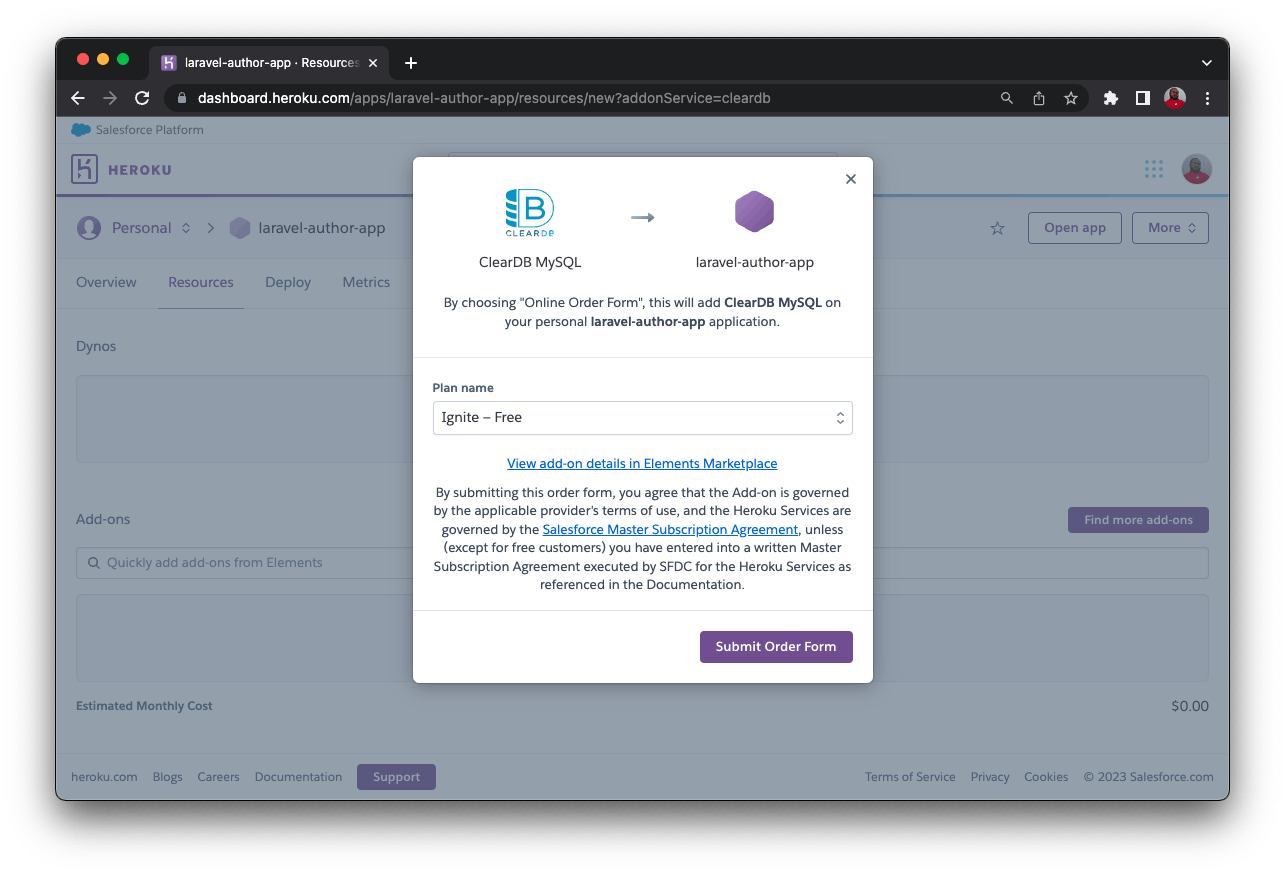
Once the process is completed, ClearDB will generate a connection string and include it in the config variables for the application.
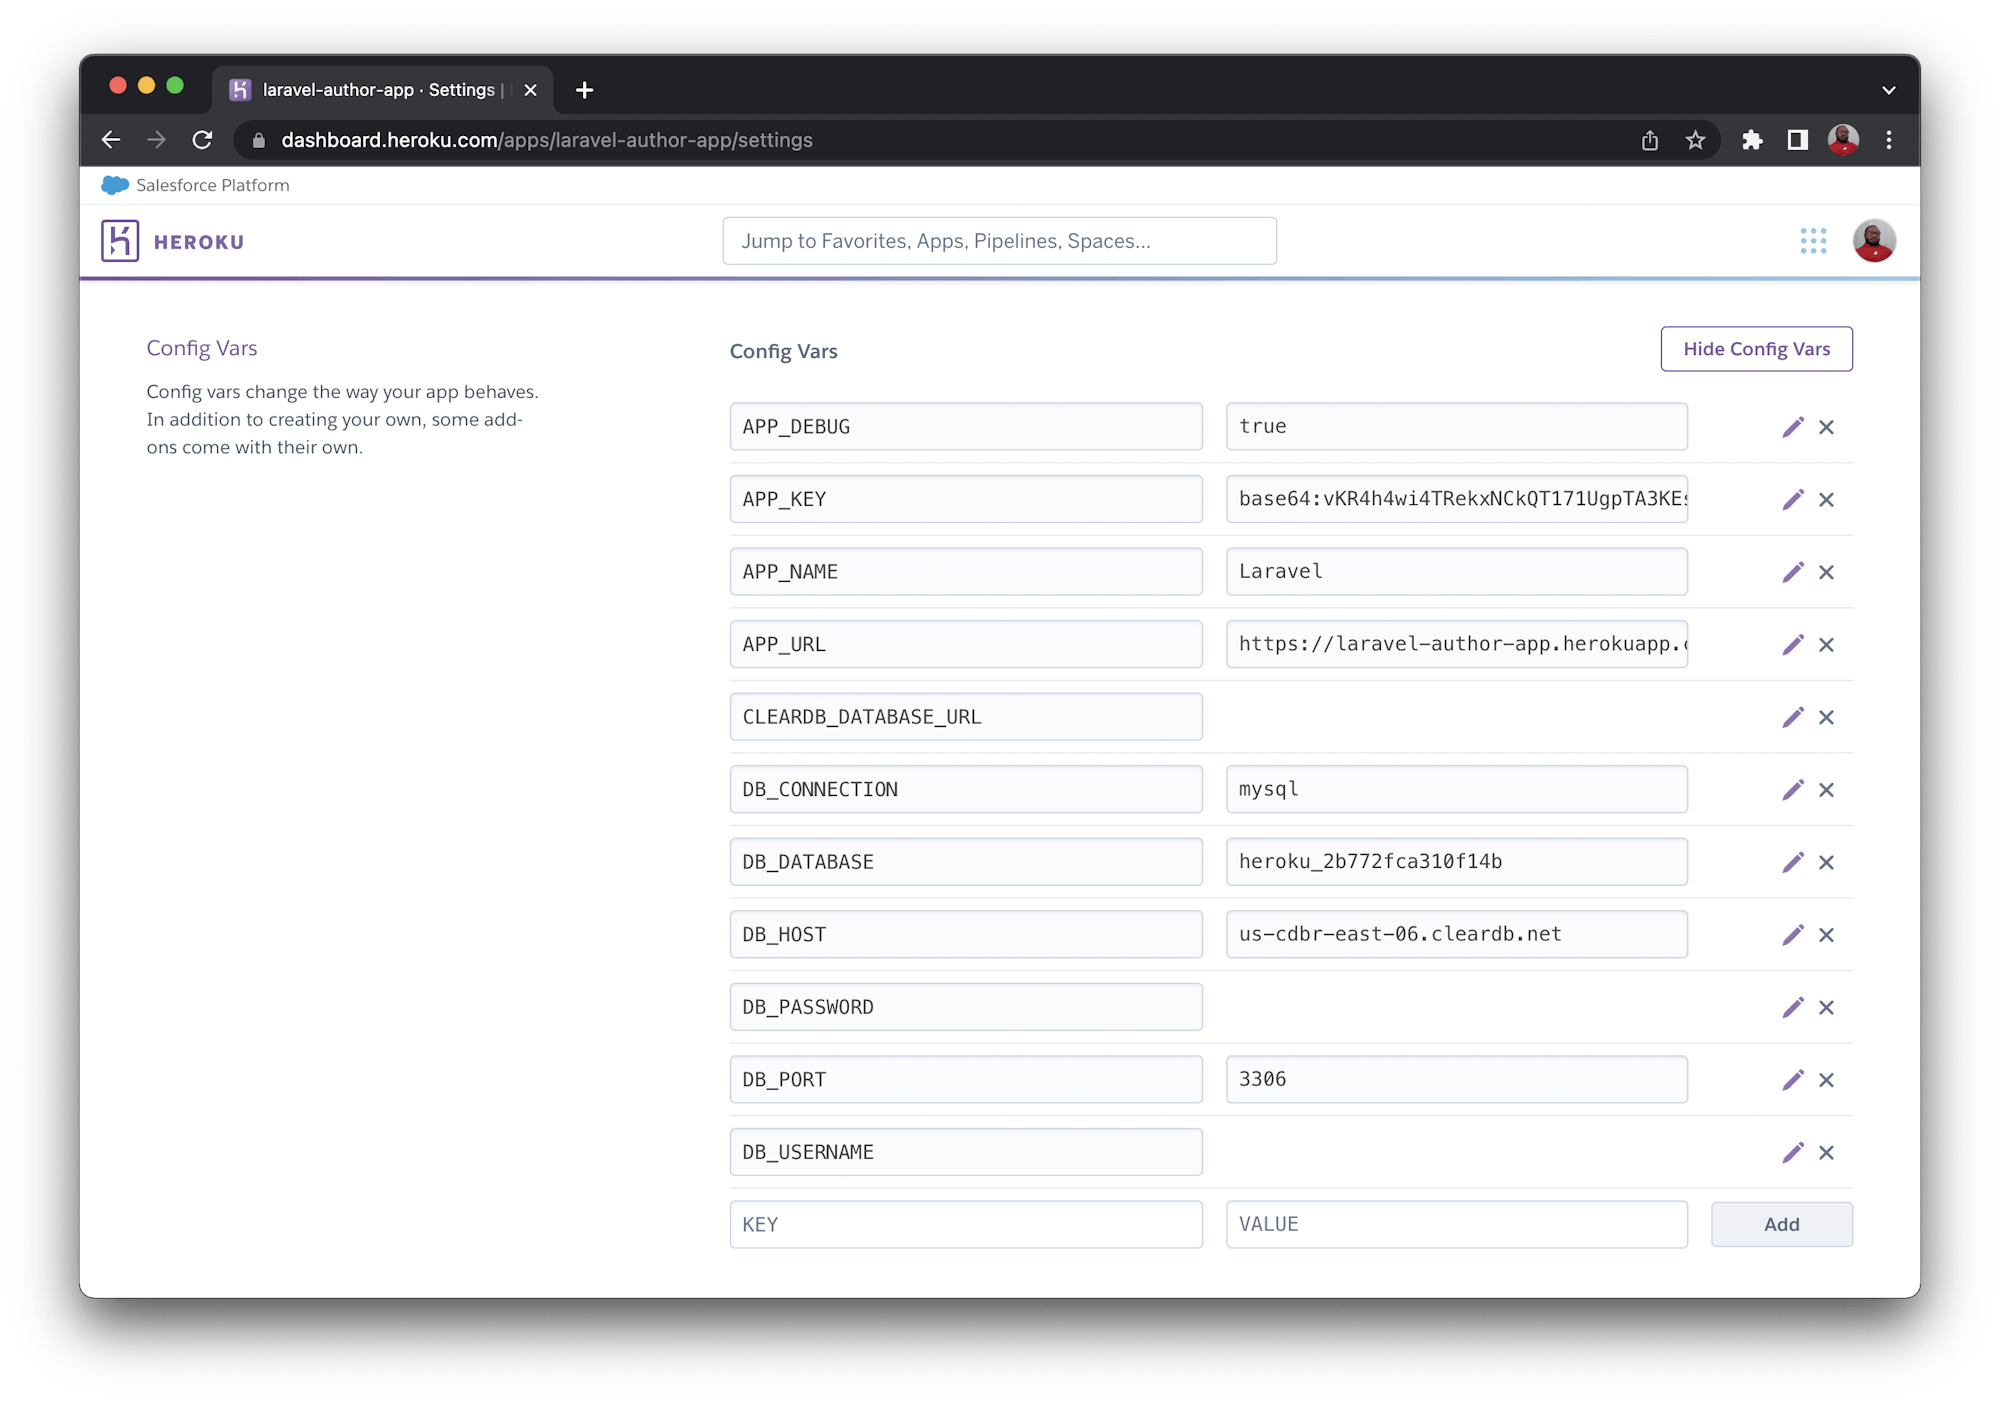
To update other environment variables for your application, click Settings, then click Reveal Config Vars. Copy the CLEARDB_DATABASE_URL and paste it where you can easily extract the credentials.
The database URL should be in this format: mysql://YOUR_DB_USERNAME:YOUR_DB_PASSWORD@YOUR_DB_HOST/YOUR_DB_NAME?reconnect=true. Using the generated database URL, add these variables:
APP_DEBUGturns on and off debug mode for Laravel applications.APP_ENVindicates whether an application is local or in production.APP_KEYis the generated application key. You can use the copy from your local machine.APP_NAMEspecifies the application name.APP_URLis used to state the URL for your application. In this case, it is the URL for our Heroku application.
Now you need an API key. You will use this key with the app name to connect your CircleCI pipeline to Heroku. To get your API key, open the account settings page. Scroll to the API keys section.
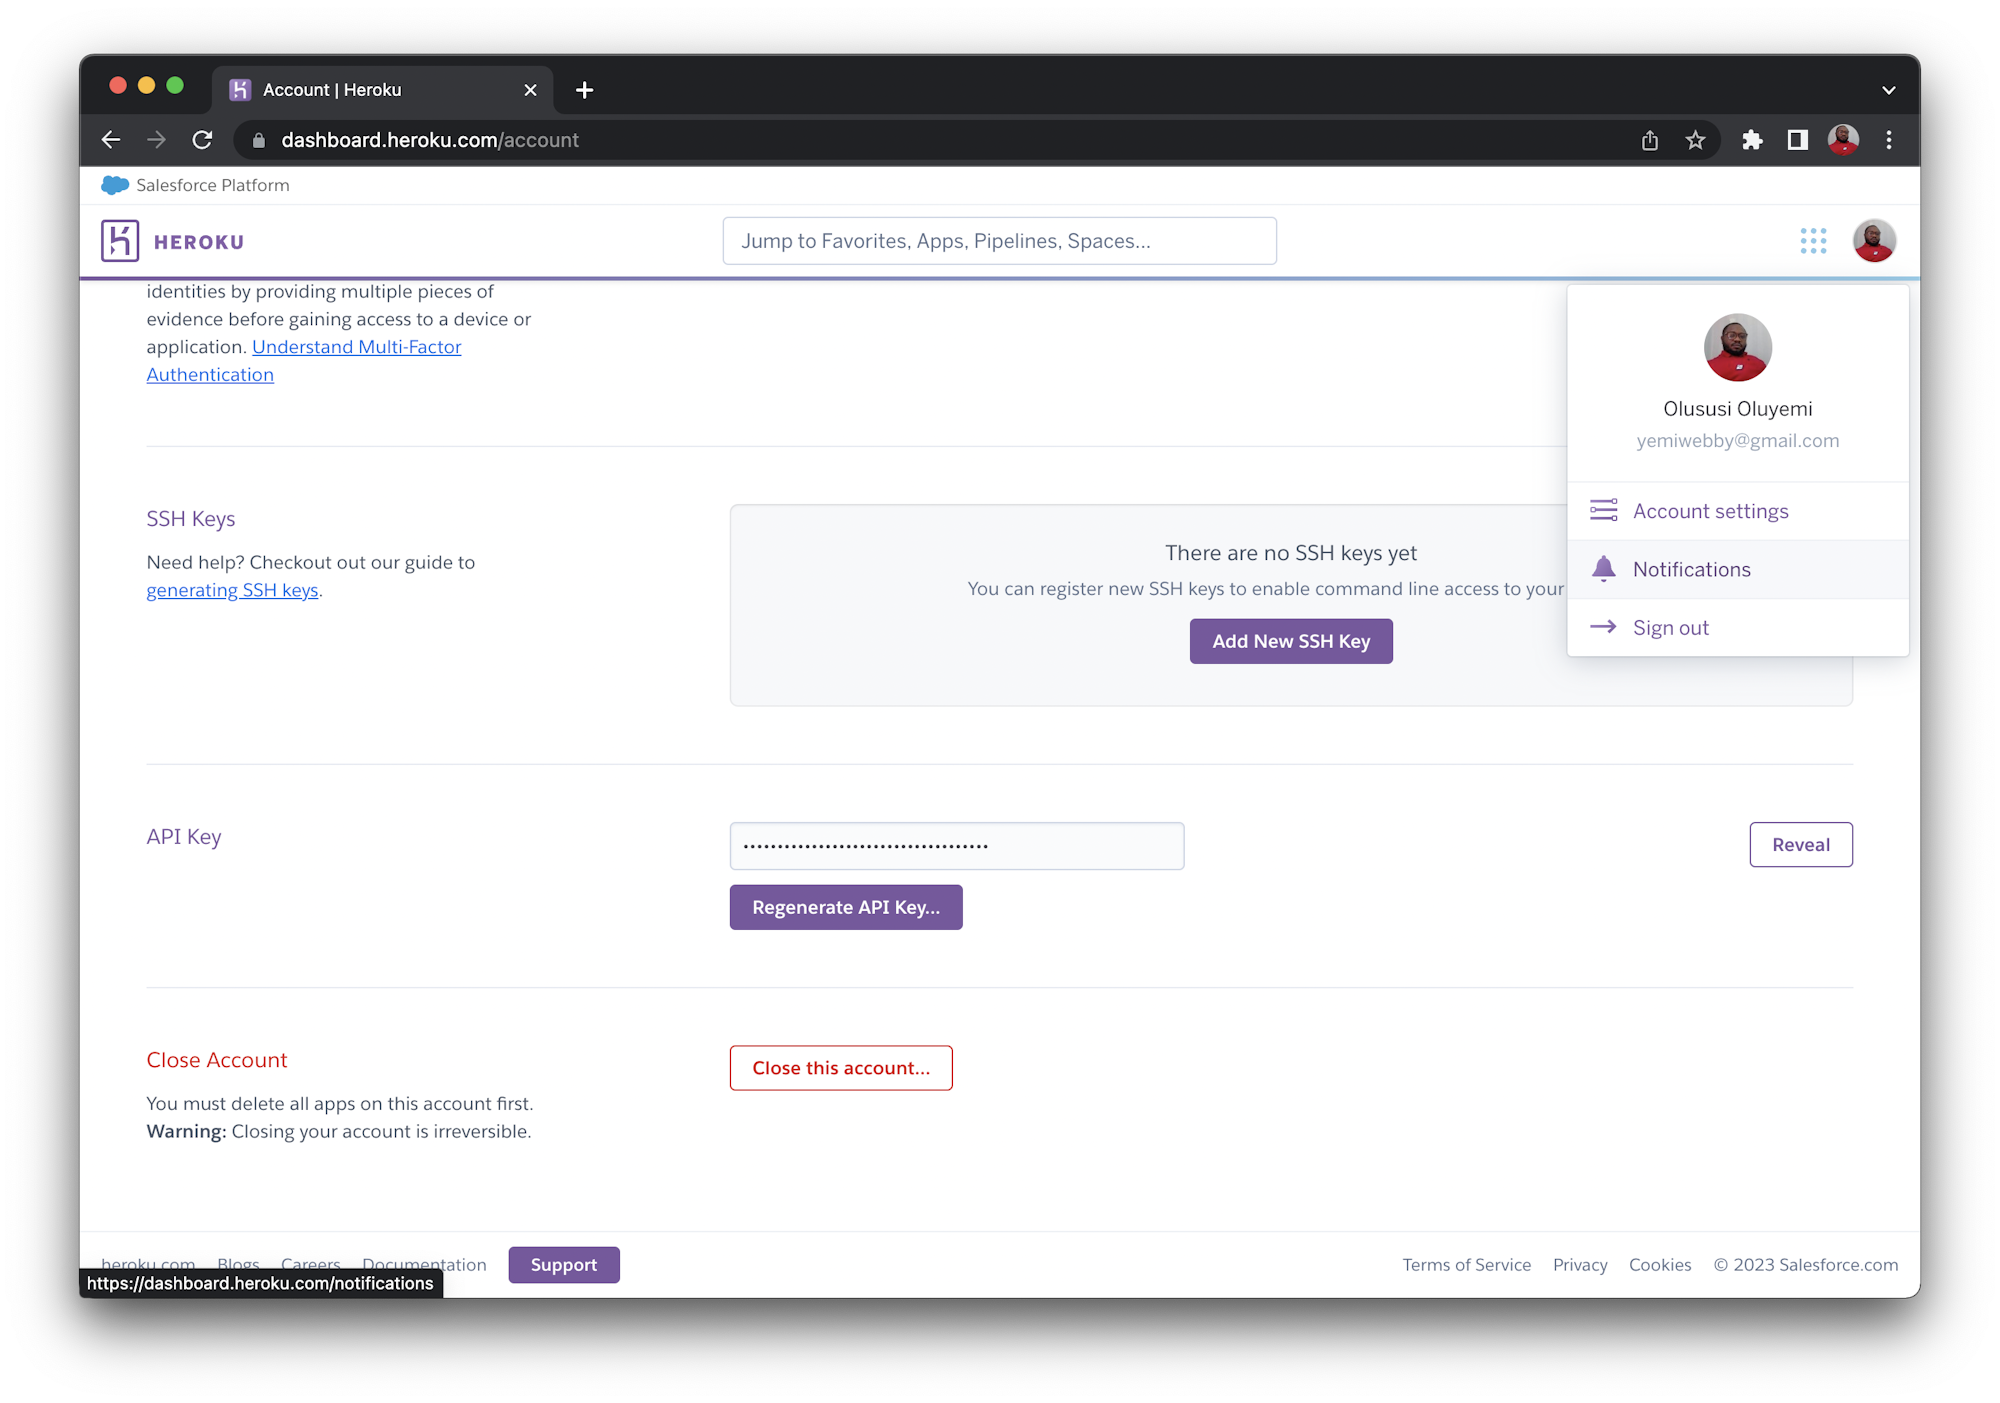
Click the Reveal button and copy the API key. Save it somewhere you can easily find it later.
Adding the CircleCI configuration file
In this part of the tutorial, I will guide you through adding the pipeline configuration for CircleCI. For this project, the pipeline consists of steps to deploy our application to Heroku.
At the root of your project, create a folder named .circleci. In that folder, create a file named config.yml. In the newly created file, add this configuration:
version: 2.1
orbs:
  heroku: circleci/heroku@2.0.0
jobs:
  build:
    docker:
      - image: cimg/php:8.2.5

    steps:
      - checkout
      # Download and cache dependencies
      - restore_cache:
          keys:
            - v1-dependencies-{{ checksum "composer.json" }}
      - run:
          name: "Install Dependencies"
          command: composer install -n --prefer-dist

      - save_cache:
          key: v1-dependencies-{{ checksum "composer.json" }}
          paths:
            - ./vendor
  deploy_app:
    executor: heroku/default
    steps:
      - checkout
      - heroku/install
      - heroku/deploy-via-git:
          force: true
      - run:
          command: |
            heroku run --app=${HEROKU_APP_NAME} php artisan migrate --force
workflows:
  deploy:
    jobs:
      - build
      - deploy_app
This configuration file specifies the version of CircleCI for the project. The orbs key invokes the latest version of the Heroku orb available at the time of writing. This orb abstracted the complexity usually involved in setting up the Heroku CLI. The orb automatically installs it and uses it to deploy the application to Heroku.
The build job pulls in the PHP Docker image from the CircleCI Docker Hub registry. Your code is checked out from the repository and the project’s dependencies are installed. This would be a good place to run a test if that was configured for your project. We will skip testing for this tutorial and focus only on making the deployment to the Heroku platform.
The deploy_app job used the heroku/default executor to check out the project and install Heroku CLI. The application is deployed and the migration command is run to create the database for your application on Heroku.
Note: Run the migrate command only once (at the first deployment). Then edit the configuration file to remove the migrate command.
Creating the Procfile
Procfile helps to define the process types and the commands that should be executed to start an application. For PHP runtime, you have the option of using Apache2 or Nginx as a web server to run this application. For this tutorial, we will use Apache2 to serve our application. To set it up, navigate to the root of your project, create a new file named Procfile and populate it with this:
web: vendor/bin/heroku-php-apache2 public/
This command sets the web server to Apache and specifies the folder where your application will be served from. For this project, it is the public folder.
Next, set up a repository on GitHub and link the project to CircleCI. Review Pushing your project to GitHub for step-by-step instructions.
Note: GitLab users can also follow this tutorial by pushing the sample project to GitLab and setting up a CI/CD pipeline for their GitLab repo.
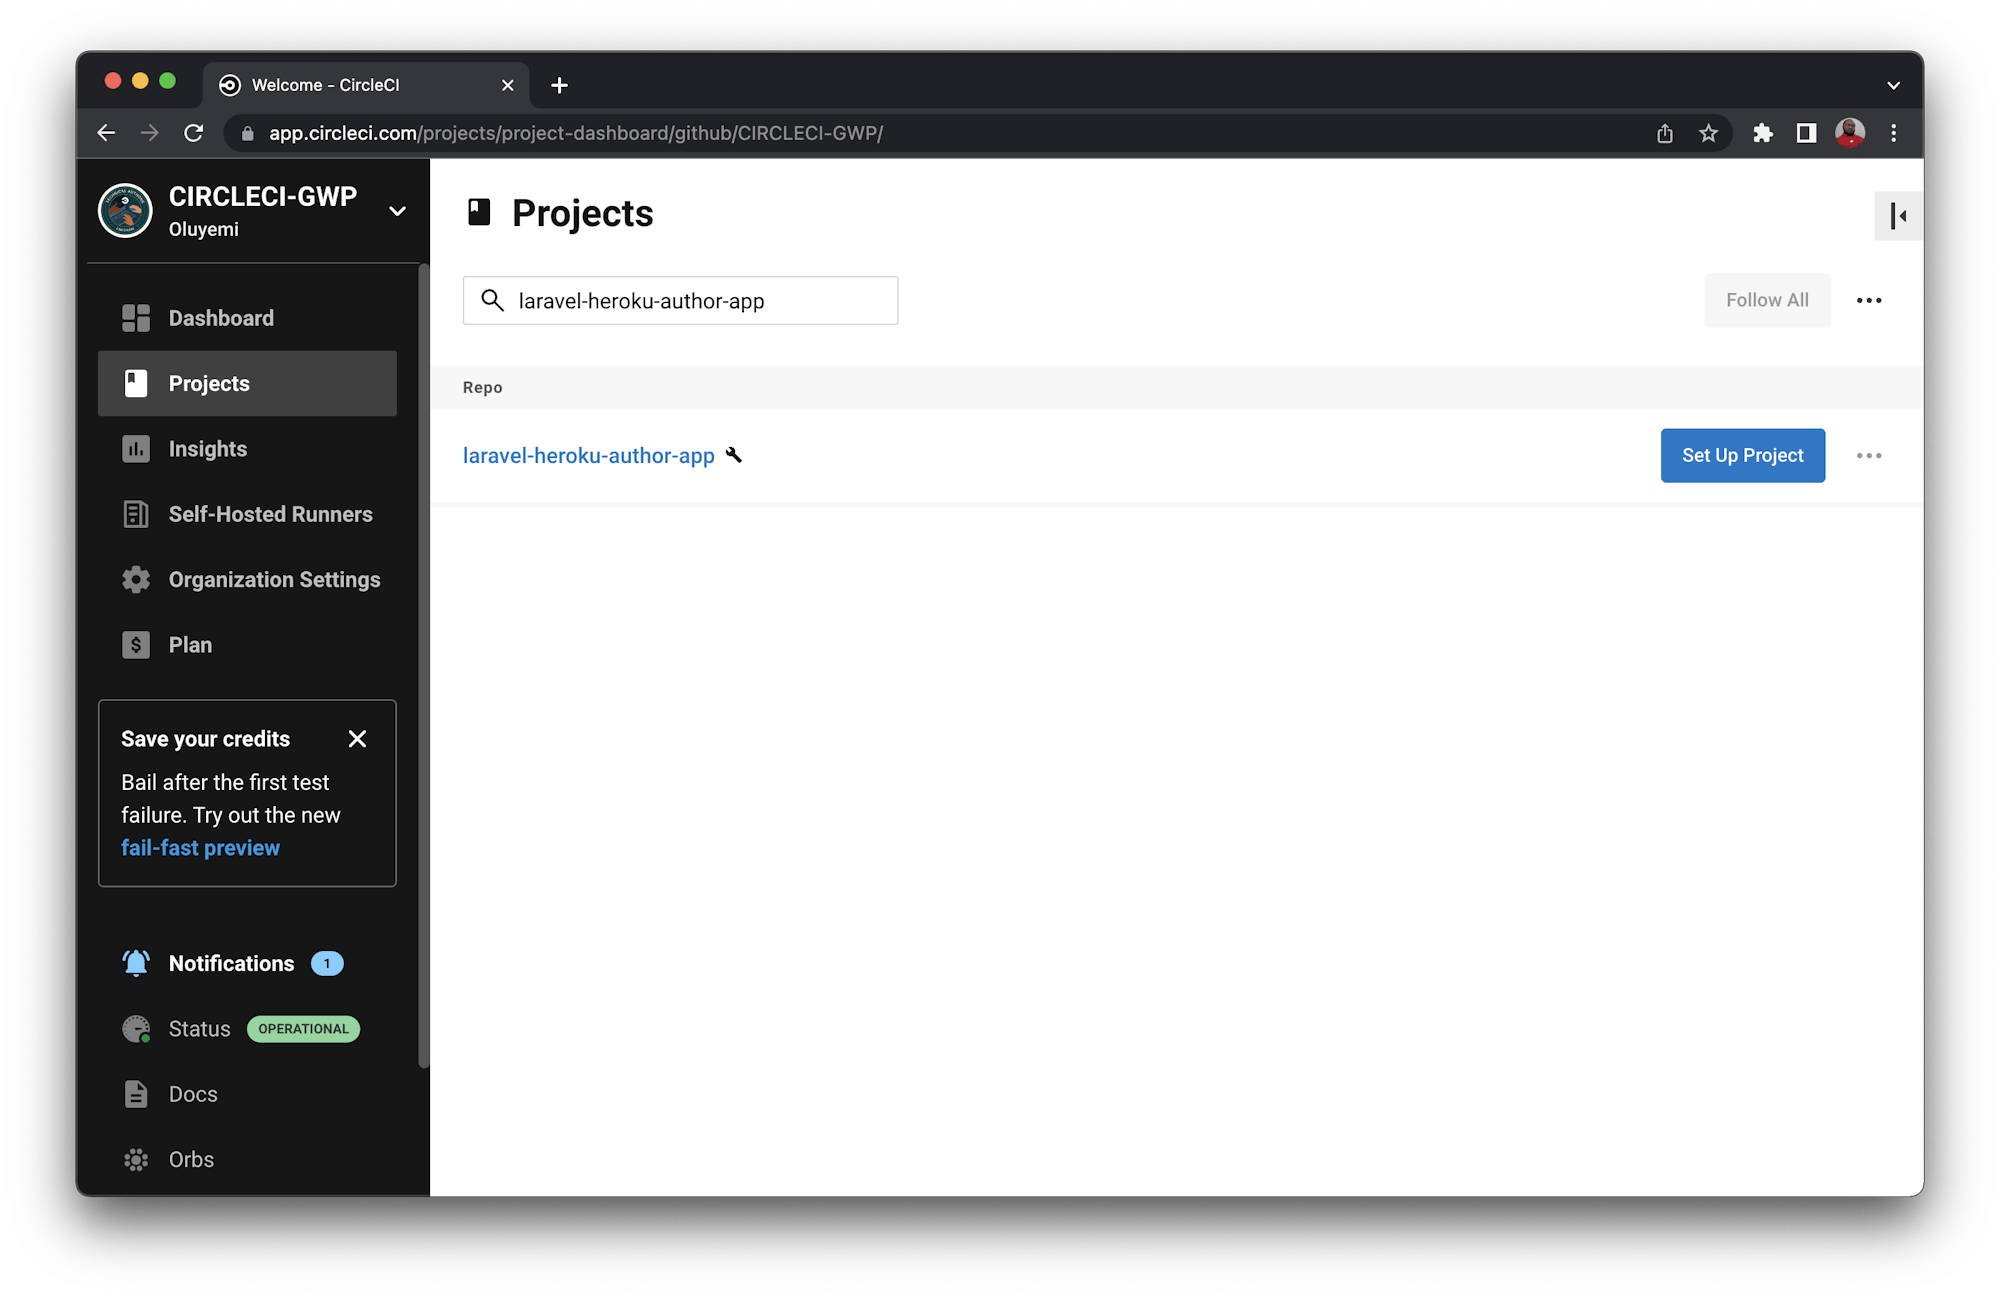
Log into your CircleCI account. If you signed up with your GitHub account, all your repositories will be available on your project’s dashboard.
Click Set Up Project for your laravel-heroku-author-app project.
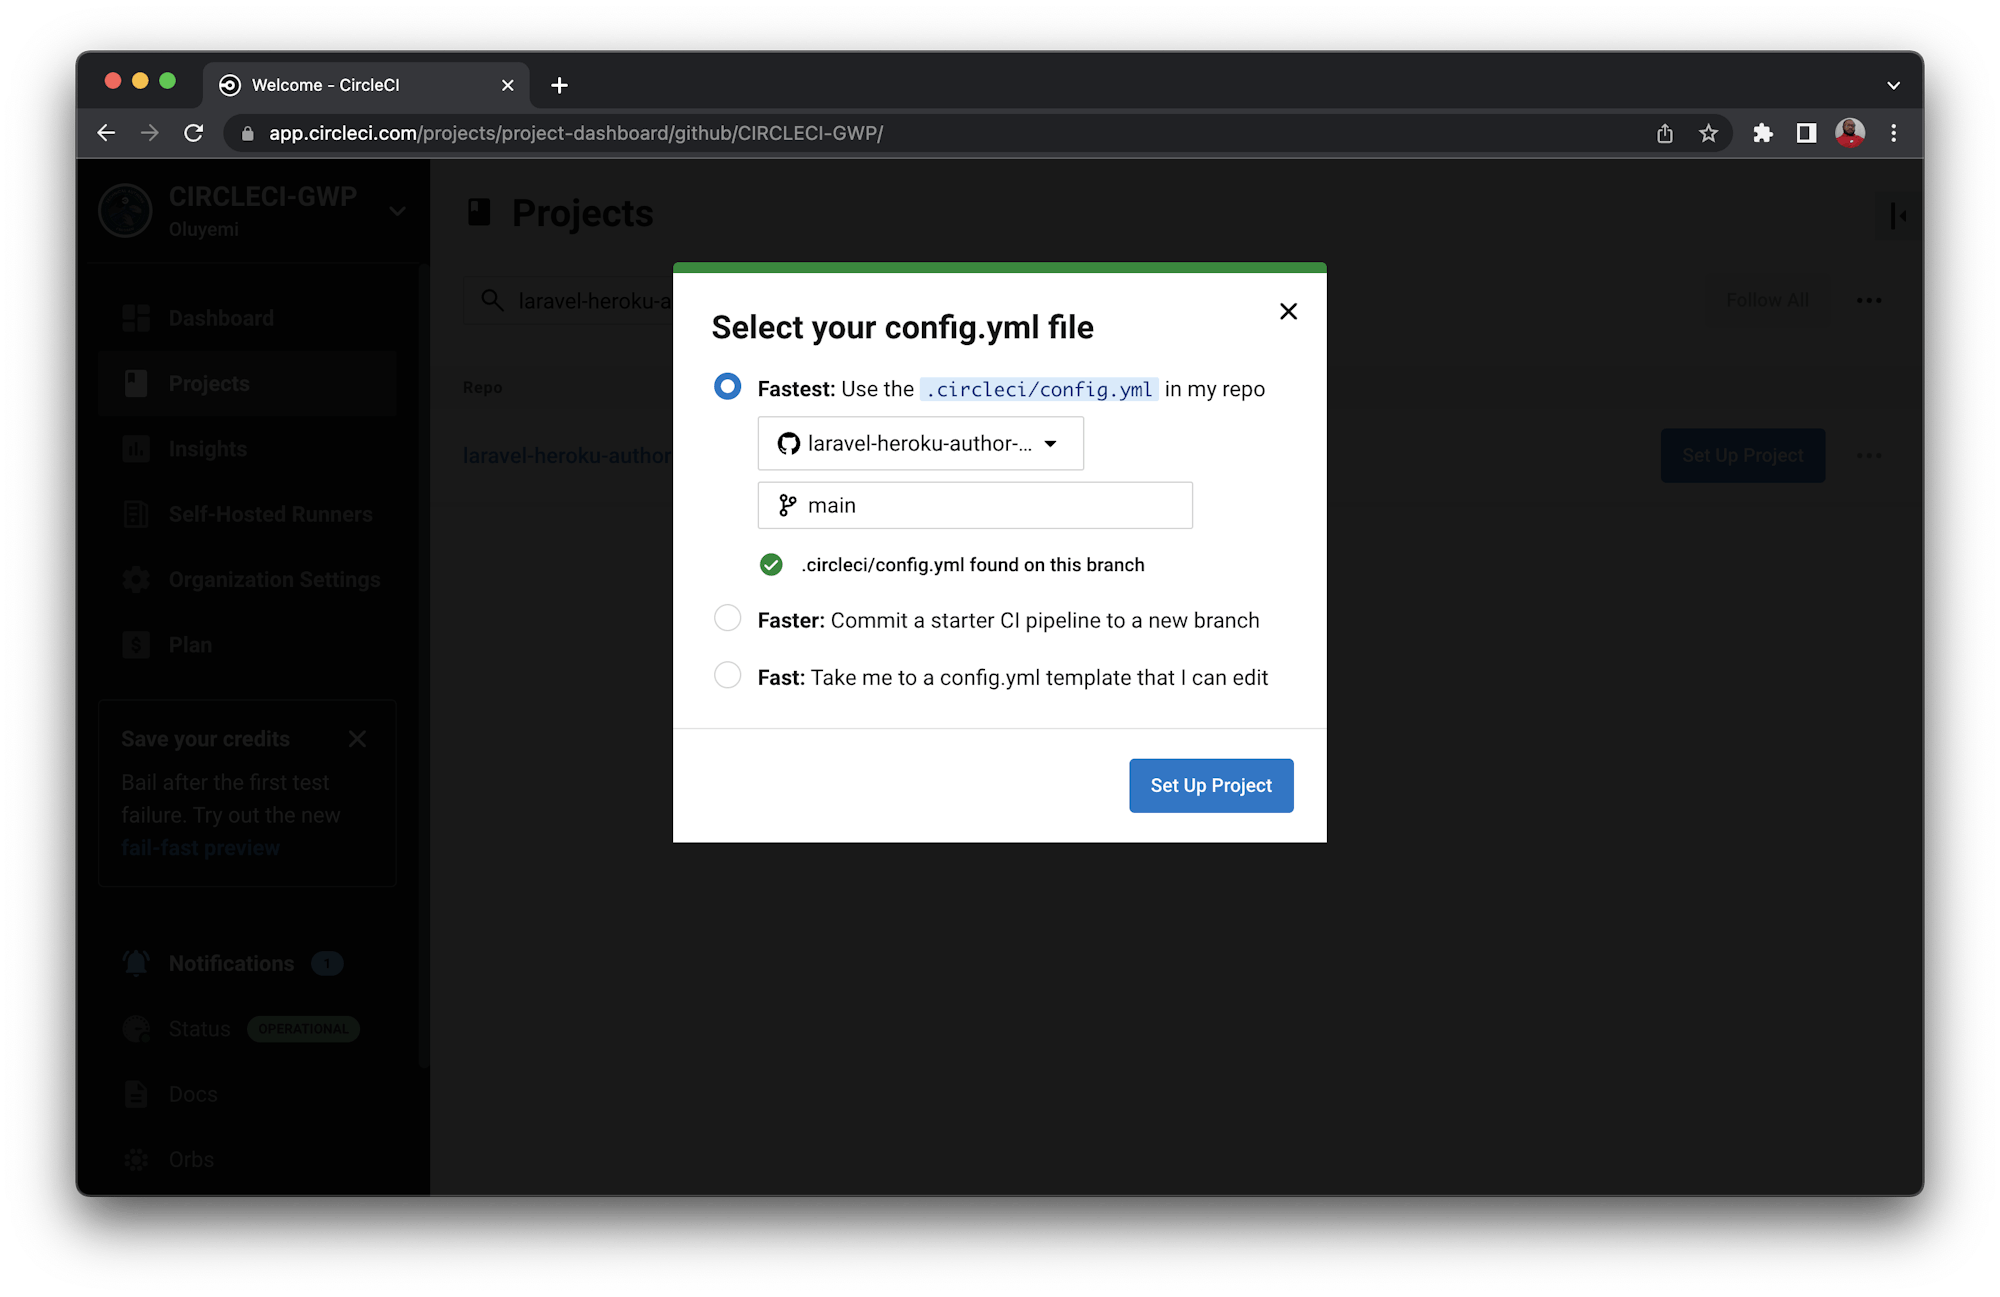
You will be prompted to enter the name of the branch where your code is housed and contains your configuration file. Click Set Up Project once you are done.
Your first workflow will start running, but it will fail.
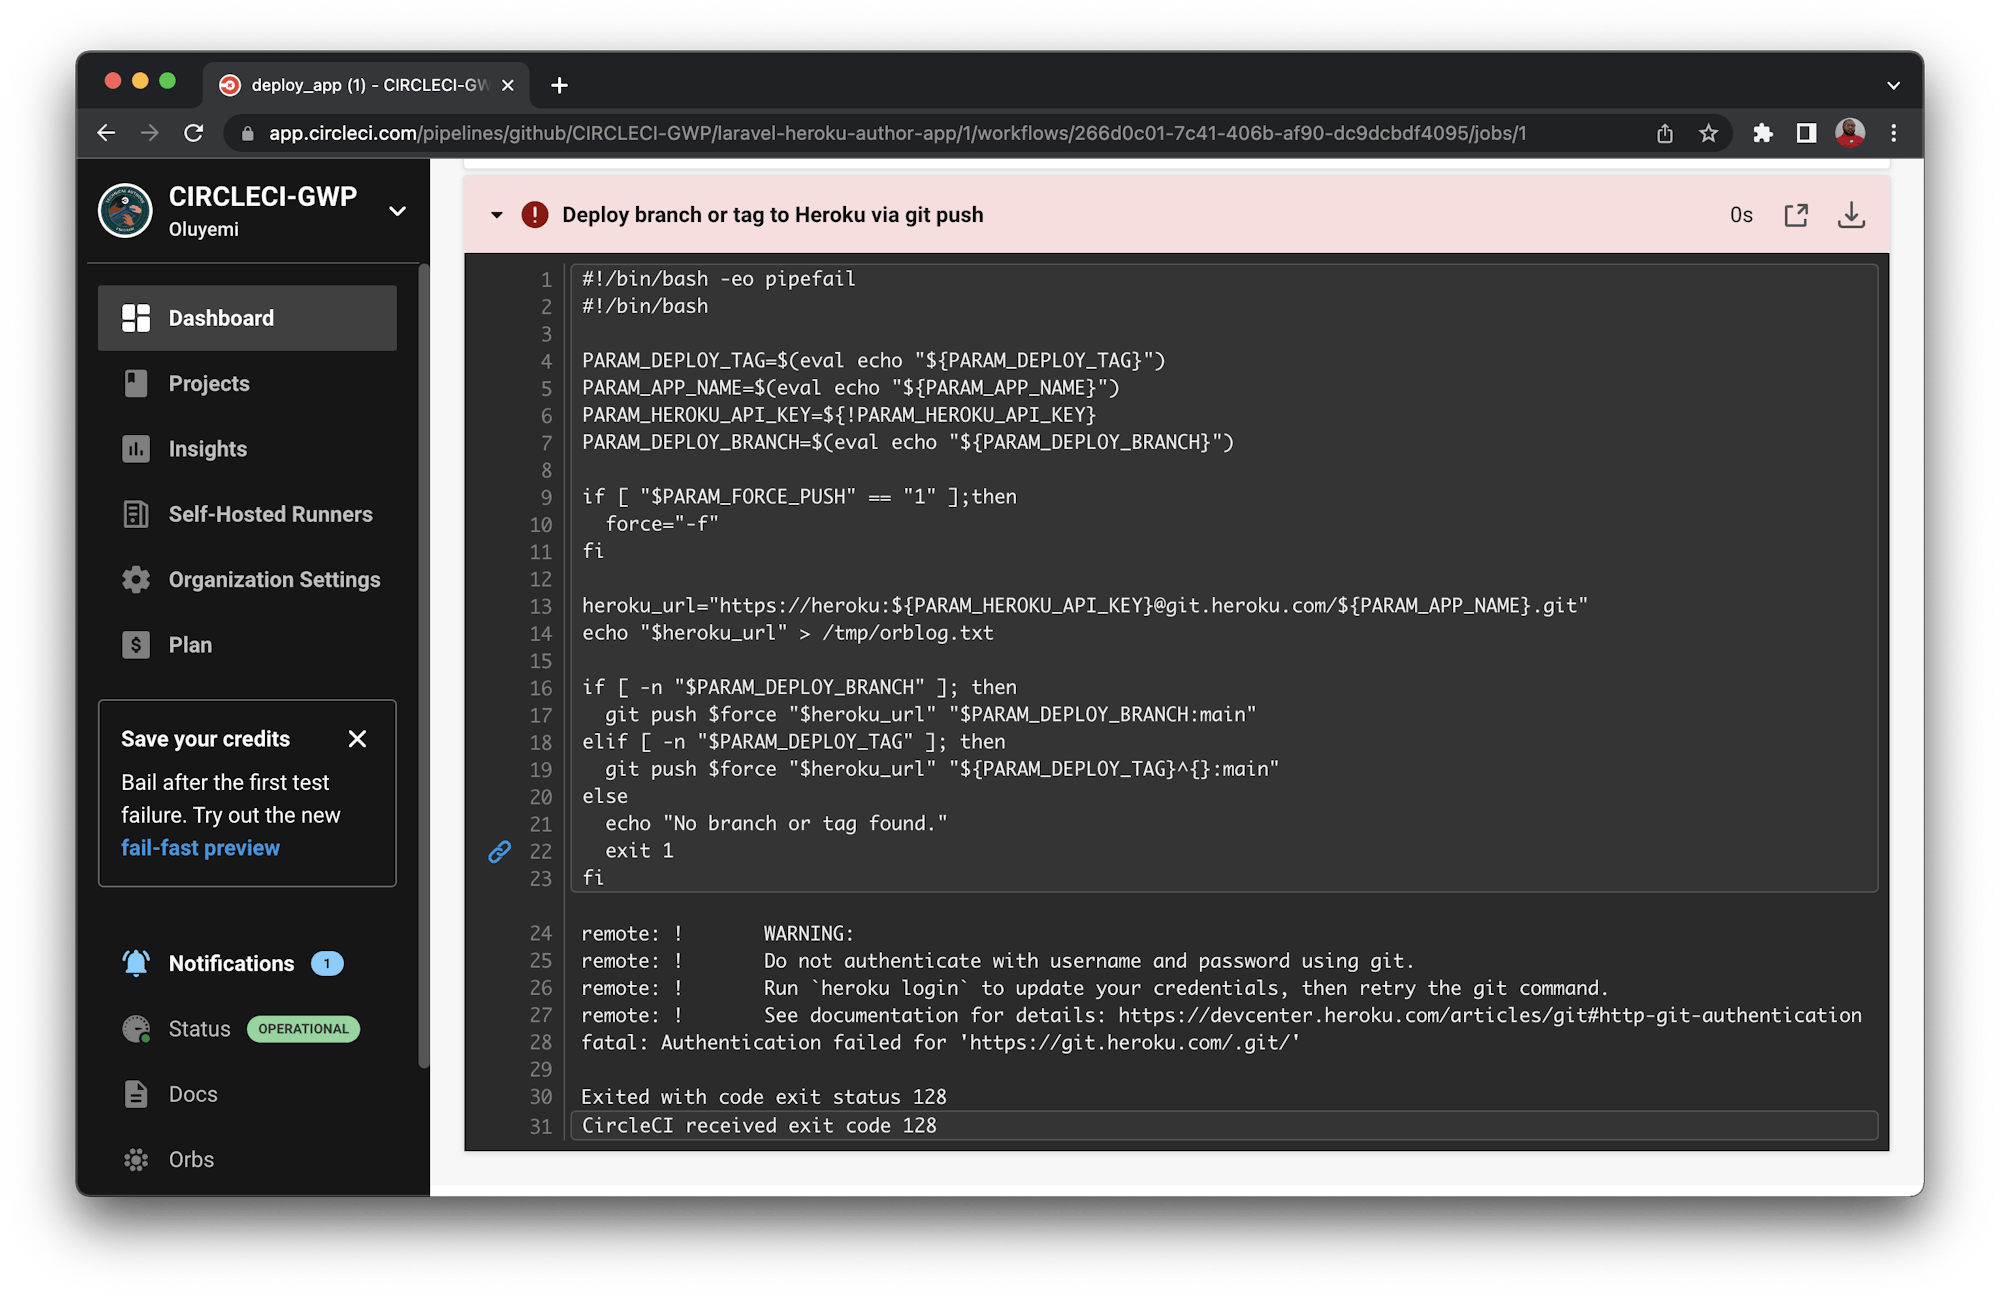
This deployment process failed because you have not yet provided your Heroku API key. You can fix that now. Click the Project Settings button, then click Environment Variables. Add these two new variables:
HEROKU_APP_NAMEis the app name in Heroku (laravel-author-app).HEROKU_API_KEYis the Heroku API key that you retrieved from the account settings page.
Select Rerun Workflow from Failed to rerun the Heroku deployment. This time, your workflow will run successfully as shown here:
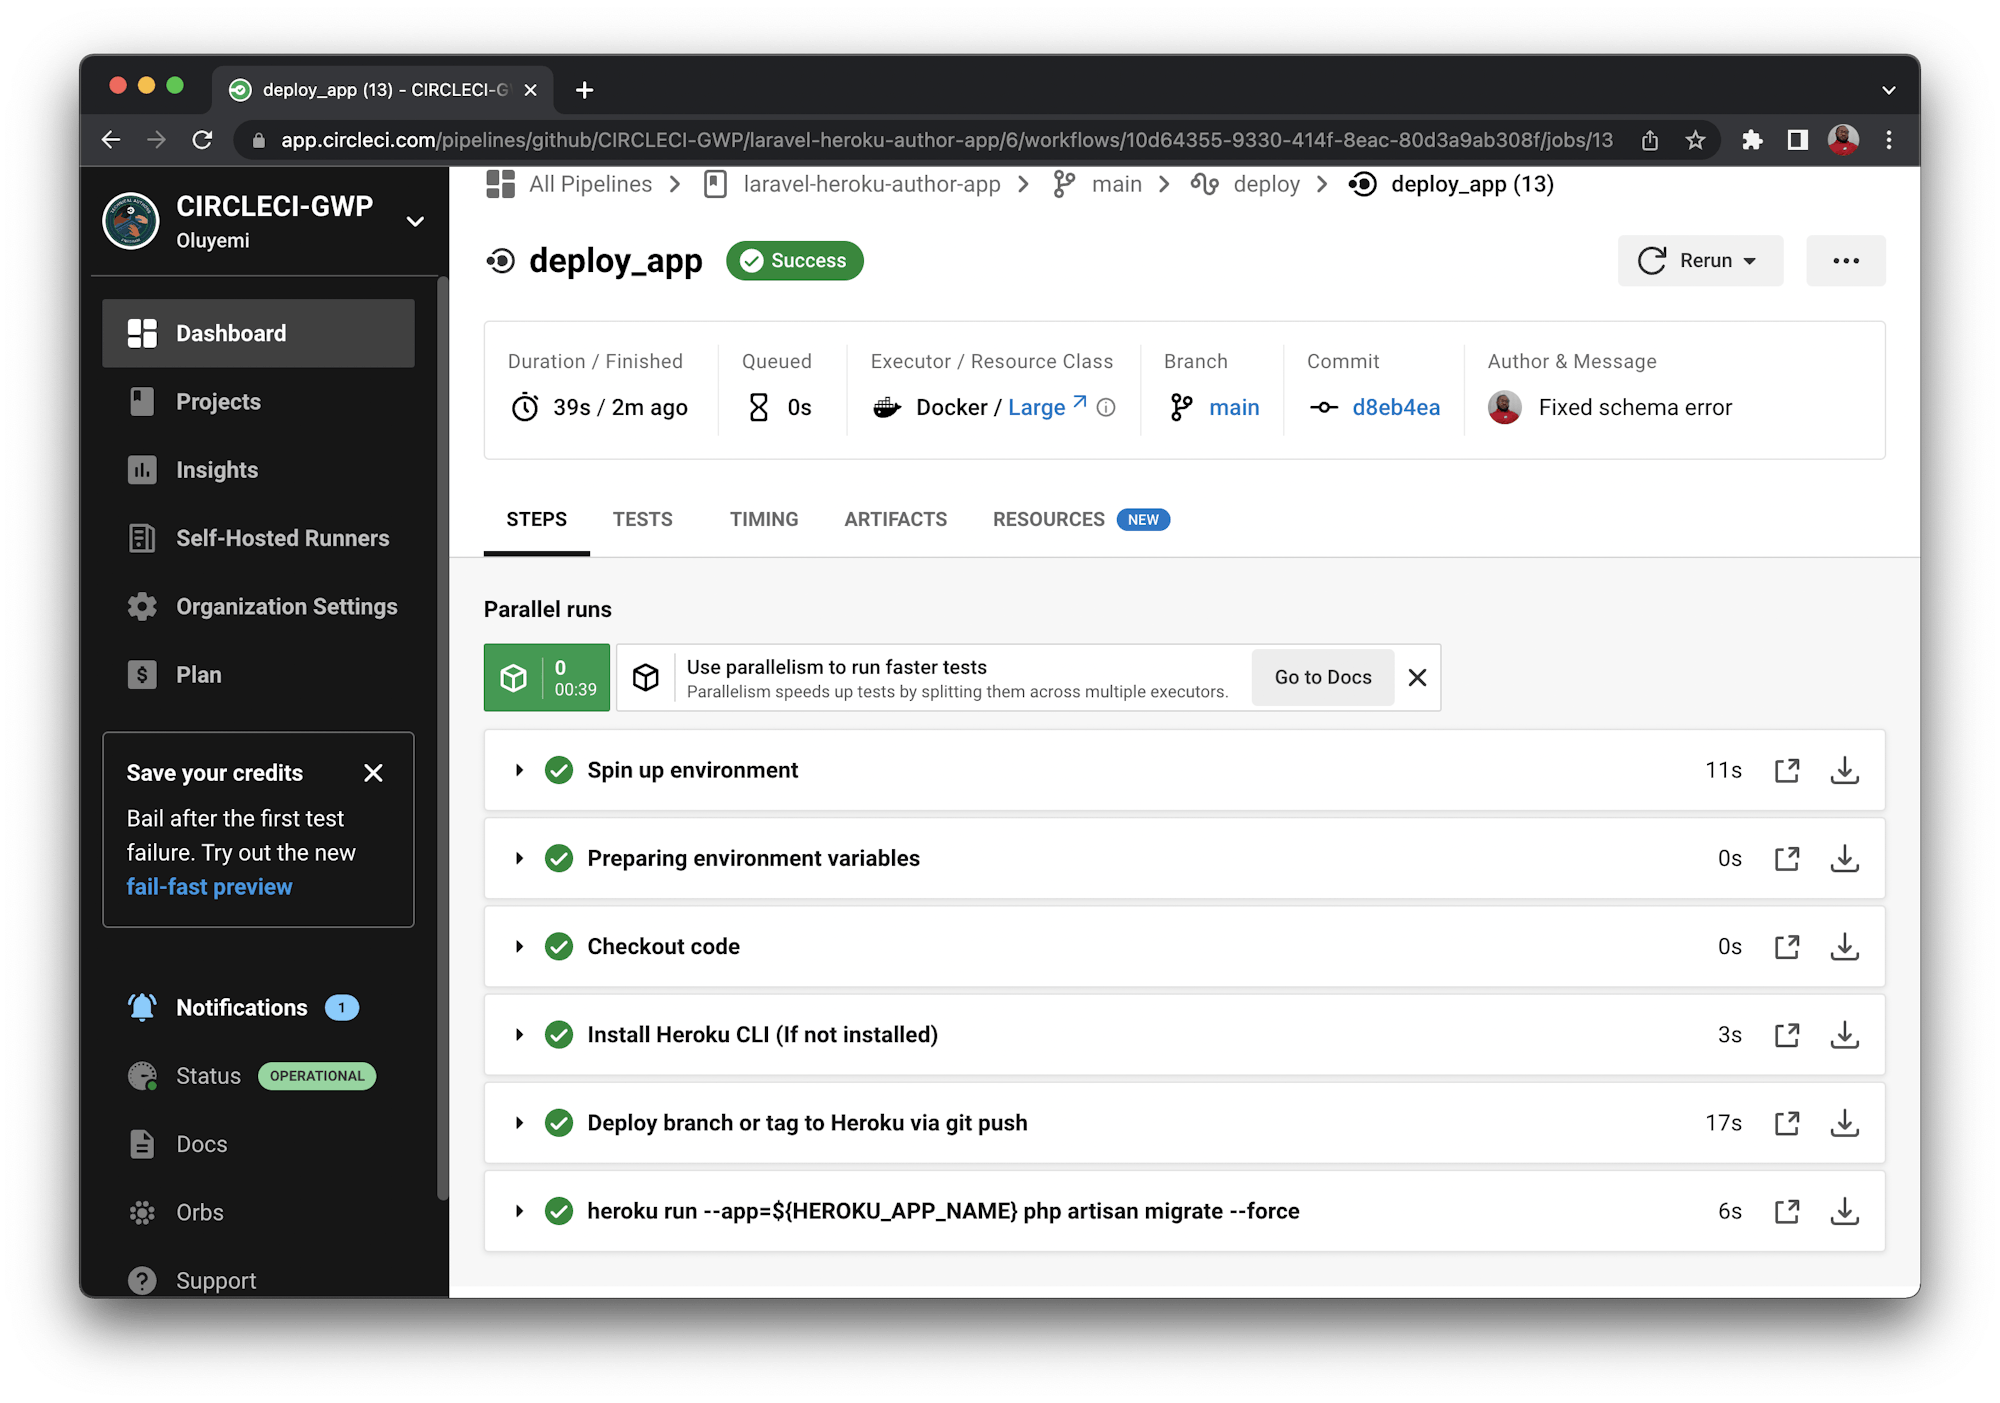
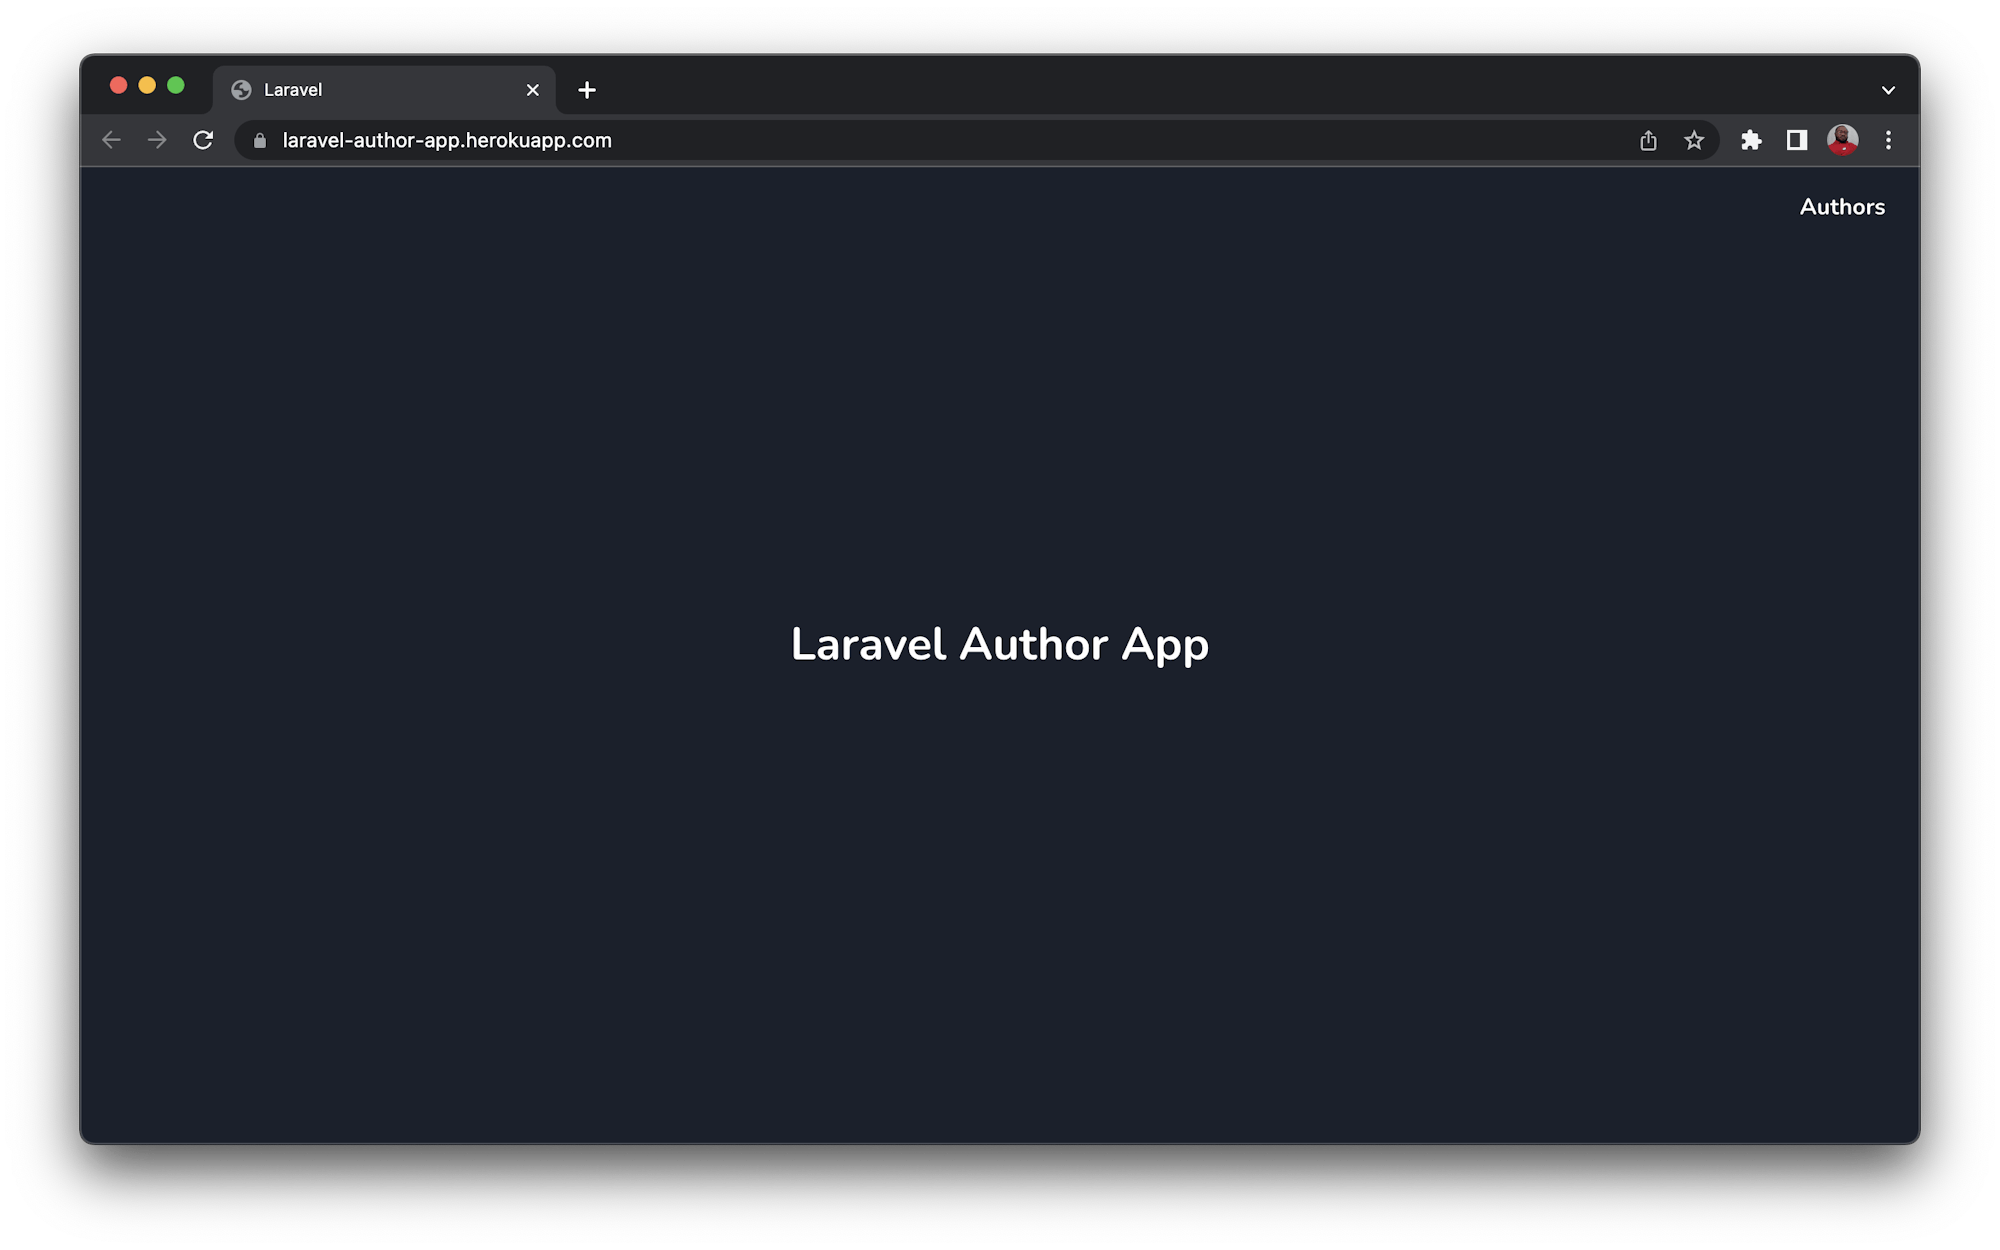
To confirm that your workflow was successful, open your newly deployed app in your browser. The URL for your application should be in this format https://<HEROKU_APP_NAME>.herokuapp.com/
Conclusion
In this tutorial, you have learned the required steps and processes to set up a continuous deployment pipeline for a Laravel application using CircleCI and Heroku. Using this pipeline ensures the quality of features deployment and greatly reduces the risk of human error impacting the production environment.
I hope that you found this tutorial helpful. Check here on GitHub for the complete source code for the project built here. Until next time, enjoy!
Oluyemi is a tech enthusiast with a background in Telecommunication Engineering. With a keen interest in solving day-to-day problems encountered by users, he ventured into programming and has since directed his problem solving skills at building software for both web and mobile. A full stack software engineer with a passion for sharing knowledge, Oluyemi has published a good number of technical articles and blog posts on several blogs around the world. Being tech savvy, his hobbies include trying out new programming languages and frameworks.


