Web, mobile, and desktop are the three most popular software application platforms. Electron.js has made it possible to develop cross-platform apps for all three of these platforms. With HTML, CSS, and JavaScript being the default languages for the web, developers can now extend their range of application development by using the same technologies to build mobile applications (made possible by the Cordova project) and desktop apps.
In this article, we will be configuring a continuous integration (CI) pipeline to build distribution copies of our desktop applications for different operating systems using Electron Forge.
Prerequisites
To follow this tutorial, you will need:
- Basic knowledge of JavaScript
- Node.js installed on your system (version >= 18)
- A CircleCI account
- A GitHub account
Note: Some familiarity with Electron.js would be helpful.
With all these installed and set up, let’s begin.
Creating a simple Electron project
To quickly scaffold a simple Electron.js application, run this command:
npx create-electron-app my-electron-app
This command uses npx to invoke the create-electron-app utility to scaffold a new Electron.js application in the folder my-electron-app. We are using create-electron-app because it helps scaffold an Electron.js application that comes prepackaged with Electron Forge. You will use Electron Forge for packaging and creating distribution builds of your Electron.js desktop application.
Note: This tutorial uses npx so you don’t need to have create-electron-app installed globally.
Once the scaffolding process is done, go into the root of the project (cd my-electron-app). Start up the desktop application by running:
npm start
This will run a local build for your current operating system and boot up the desktop application.
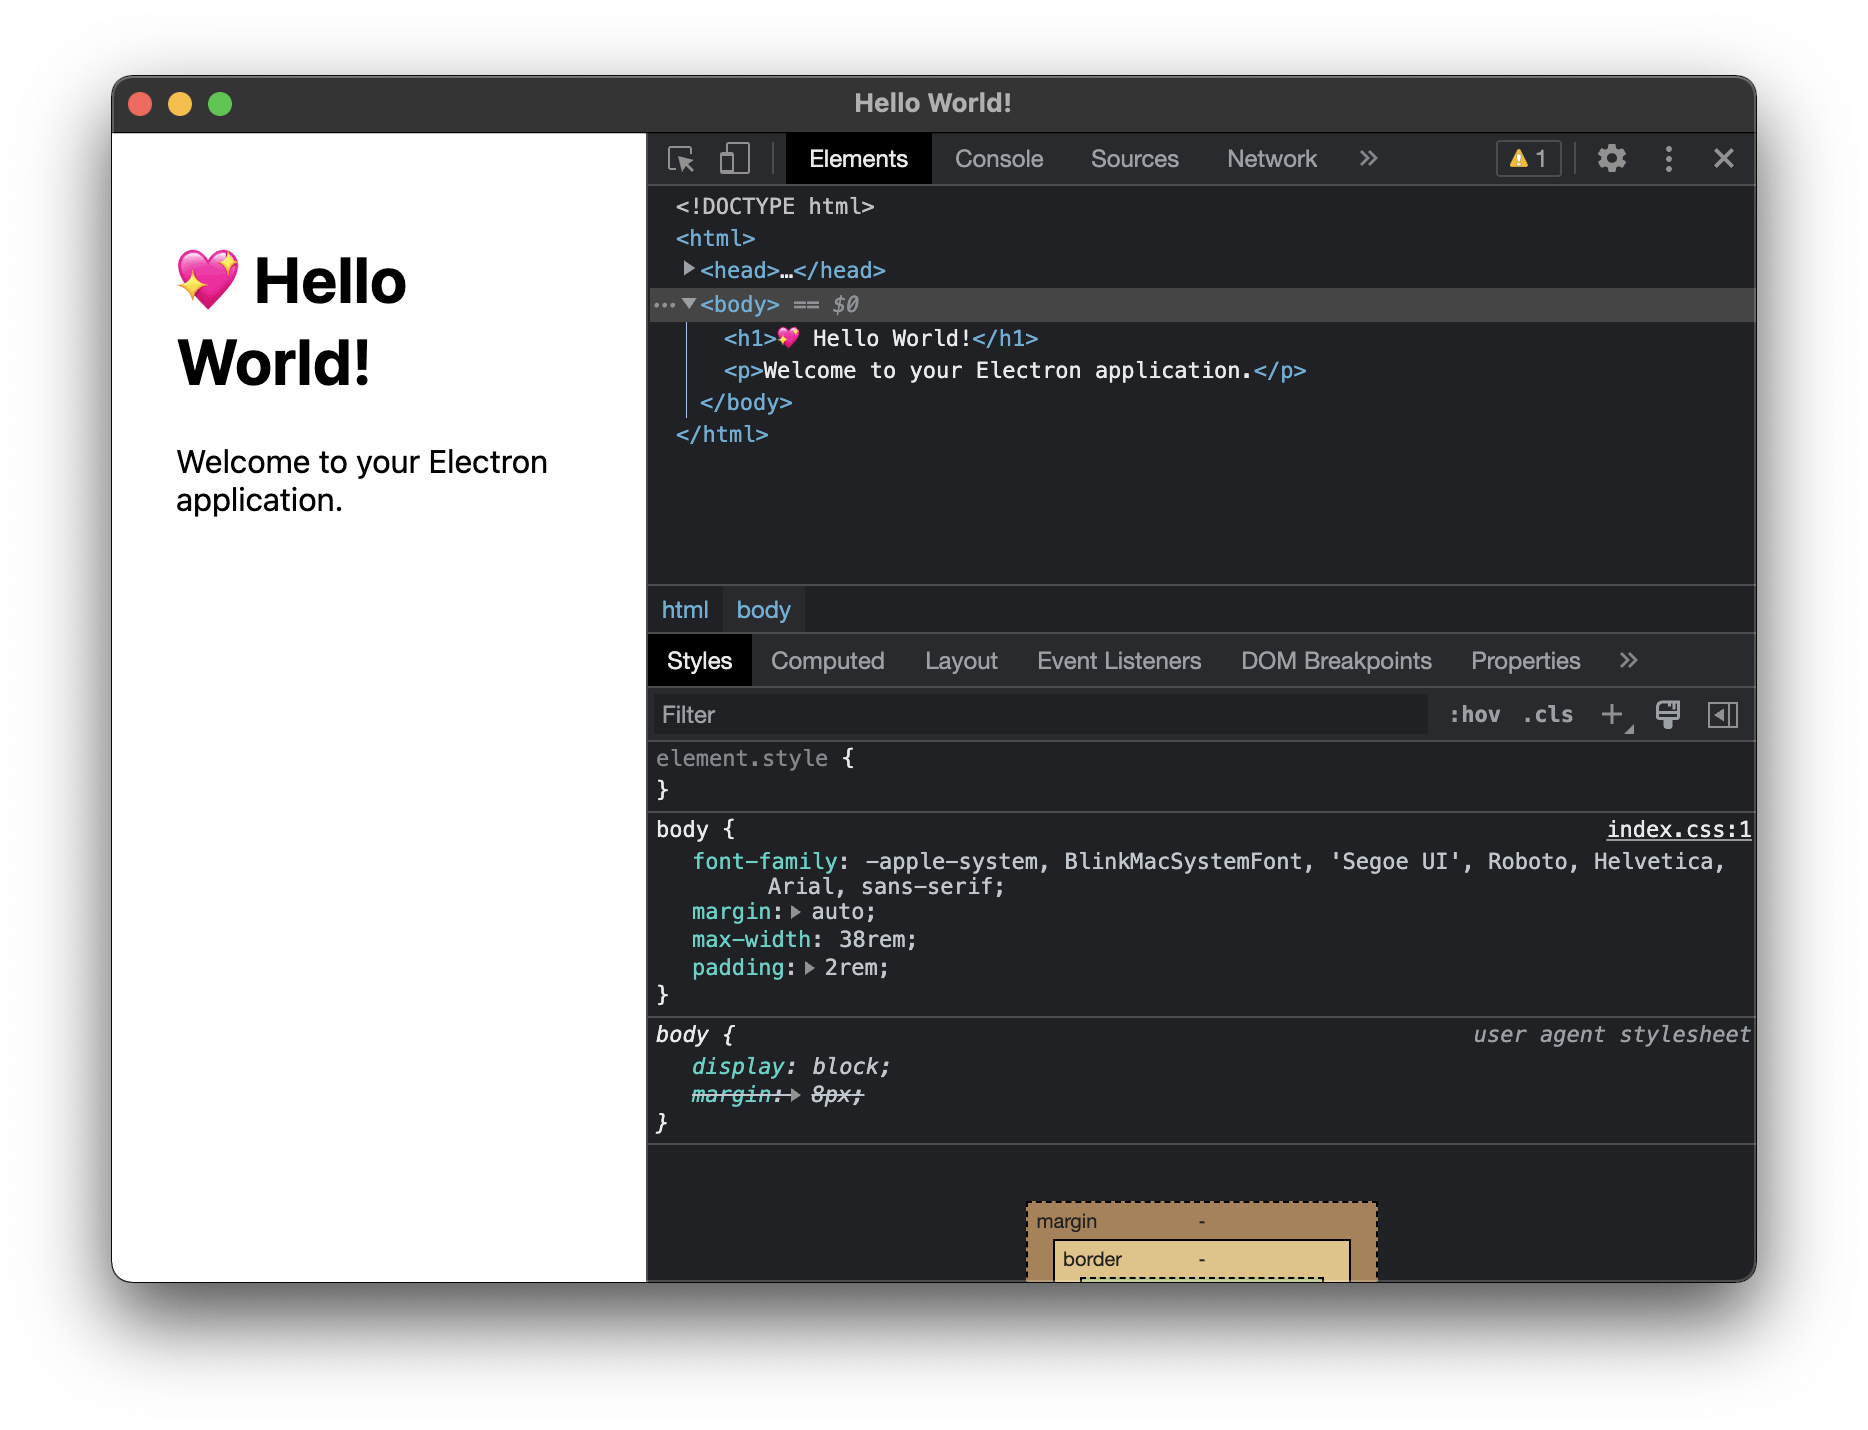
In production, you won’t want the development tools opened. Comment out this line in the file src/index.js to hide them:
mainWindow.webContents.openDevTools();
Terminate the app by pressing Ctrl + C while you’re on the CLI (Command Line Interface) running the application. Then run npm start again to relaunch the application.
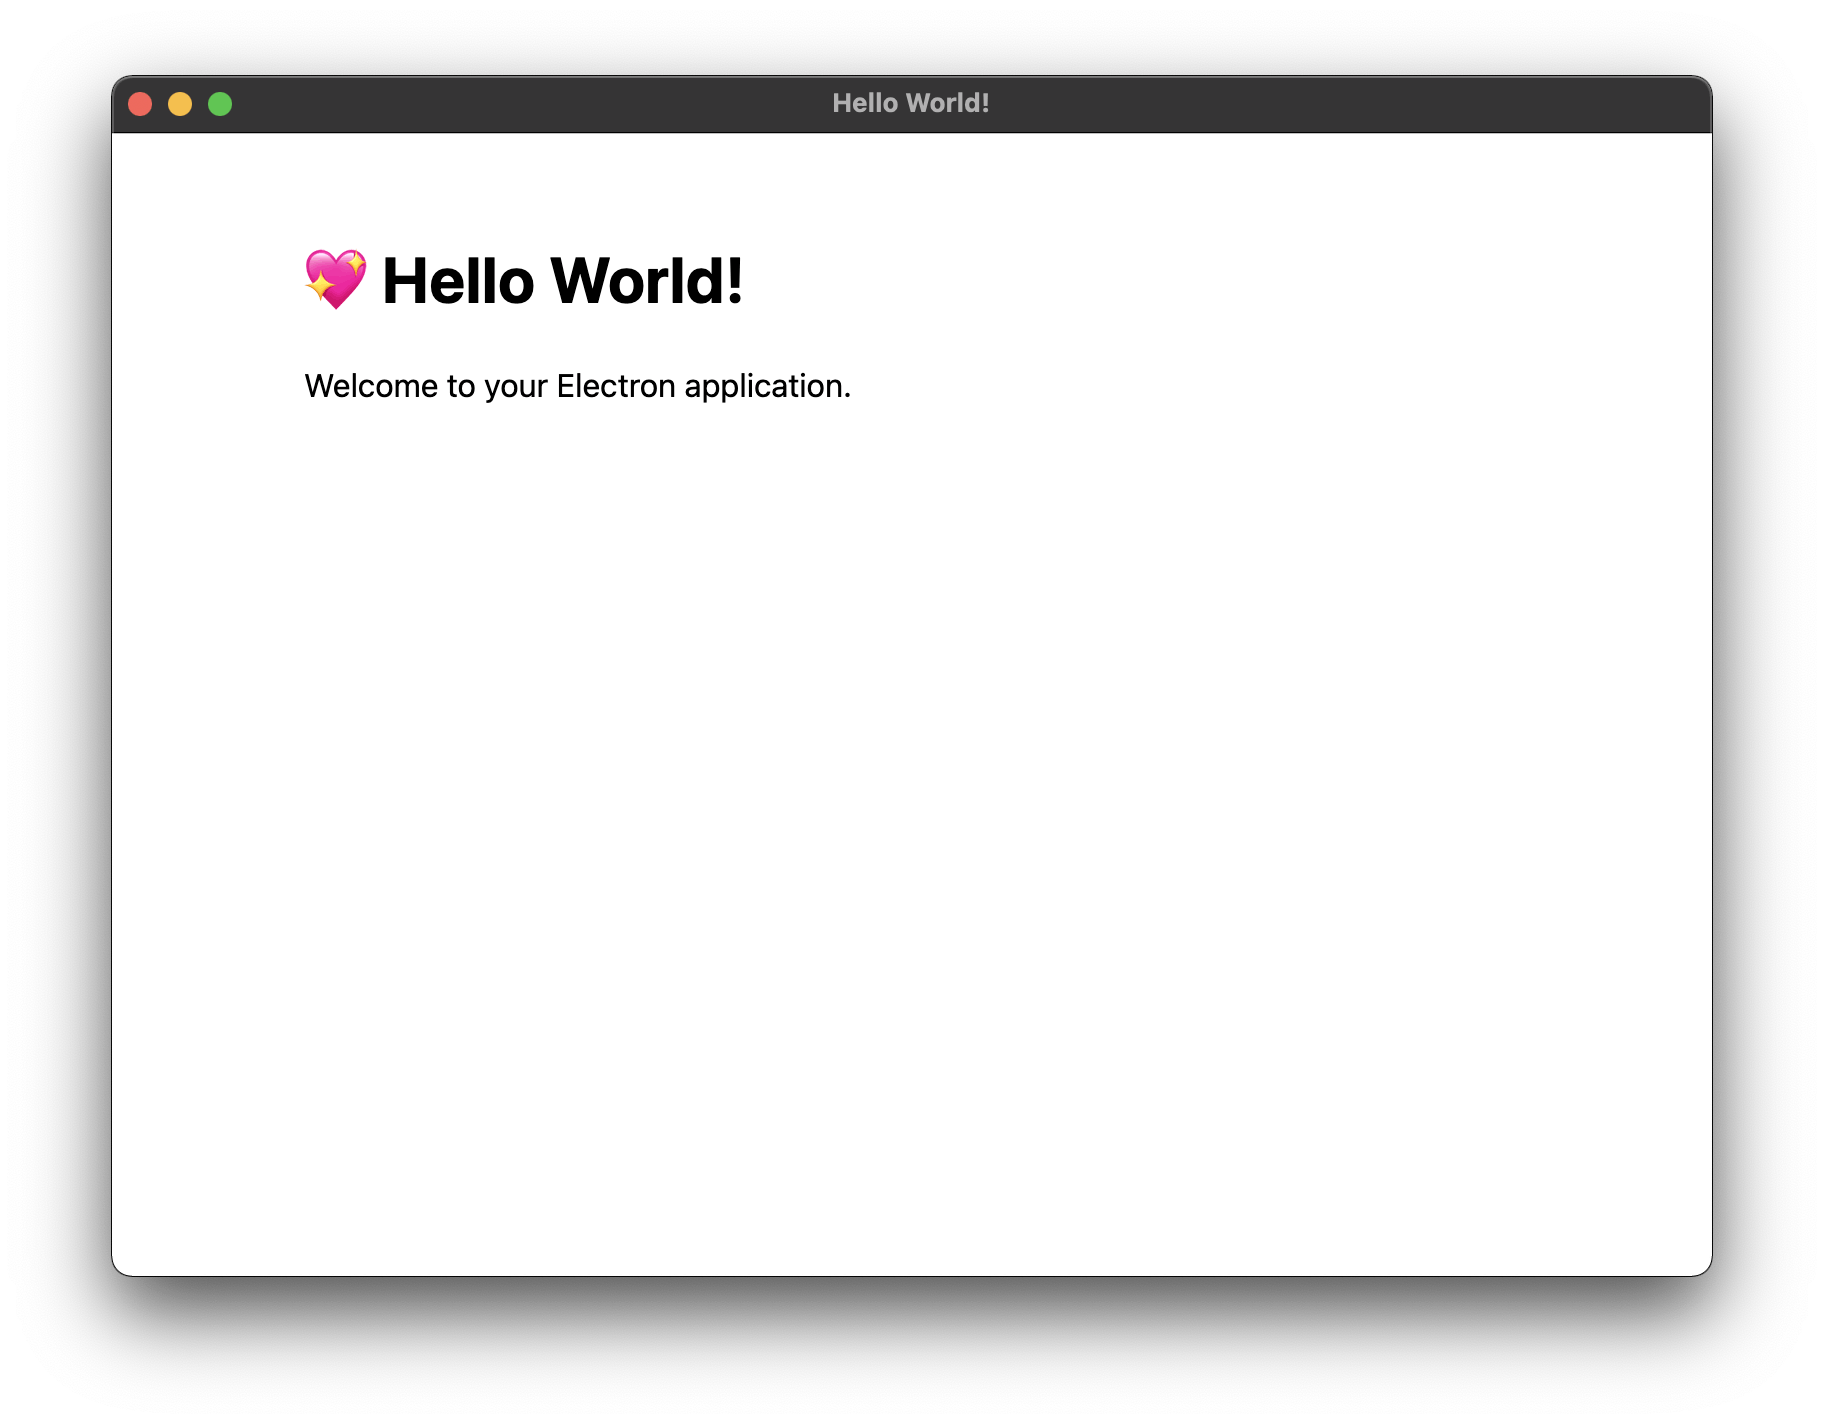
Now only your application screen is displayed in the app window.
Configuring the build platforms
As mentioned earlier, the scaffolded project already comes packaged with Electron Forge, a tool that can help produce distribution builds from your app. For this tutorial, you will create a distributable .zip build for Linux platforms and a .deb package for Debian-based Linux distributions such as Ubuntu.
To configure this, replace the config section in the package.json file with this:
"config": {
  "forge": {
    "packagerConfig": {},
    "makers": [
      {
        "name": "@electron-forge/maker-zip",
        "platforms": [
          "linux"
        ]
      },
      {
        "name": "@electron-forge/maker-deb",
        "config": {}
      }
    ]
  }
},
The electron-forge package uses a number of internal utilities known as makers to create distribution builds for different platforms. These makers exist for creating distribution builds for MacOS, Windows, and Linux platforms. This file configures two makers, maker-zip and maker-deb, to generate the .zip file for Linux and the .deb file for Debian-based platforms, respectively.
For more information about configuring makers for different platforms, visit the makers documentation page.
The Electron Forge configuration is ready for you to create your distribution builds.
Automating distribution builds and storing the build outputs
Time to write your CI pipeline, which will be made up of these operations:
- Check out the repository
- Update npm
- Install project dependencies
- Install system dependencies for target builds (The
.debpackage requires two system packages;dpkgandfakeroot, to be installed for a.debfile to be generated) - Generate the builds
- Store the distributable build files as artifacts that can be downloaded
Inside the root of the project, create a new folder named .circleci. Within this folder, create a file named config.yml and enter this code into it:
version: 2.1
jobs:
  build:
    working_directory: ~/repo
    docker:
      - image: cimg/node:18.13.0
    steps:
      - checkout
      - run:
          name: Update NPM
          command: "sudo npm install -g npm"
      - restore_cache:
          key: dependency-cache-{{ checksum "package.json" }}
      - run:
          name: Install Dependencies
          command: npm install
      - run:
          name: Install dpkg and fakeroot
          command: |
            sudo apt-get update -y
            sudo apt-get install -y dpkg fakeroot

      - save_cache:
          key: dependency-cache-{{ checksum "package.json" }}
          paths:
            - ./node_modules
      - run:
          name: Generate Builds
          command: npm run make

      - store_artifacts:
          path: ~/repo/out/make
This configuration file performs all of the tasks listed earlier. Let’s go through the important sections.
First, you specify the working directory for the operations you want to perform. You then specify the Docker image with the minimum required Node.js installation.
Next, checkout the project from the remote repository and install dependencies. Then install dpkg and fakeroot using admin privileges.
You generate your configured builds by running the electron-forge package’s make command.
Finally, the distributable files are stored in a generated /out/make folder.
Connecting the project to CircleCI
Your next task is to get the Electron.js desktop application project set up on CircleCI. Begin by pushing your project to GitHub.
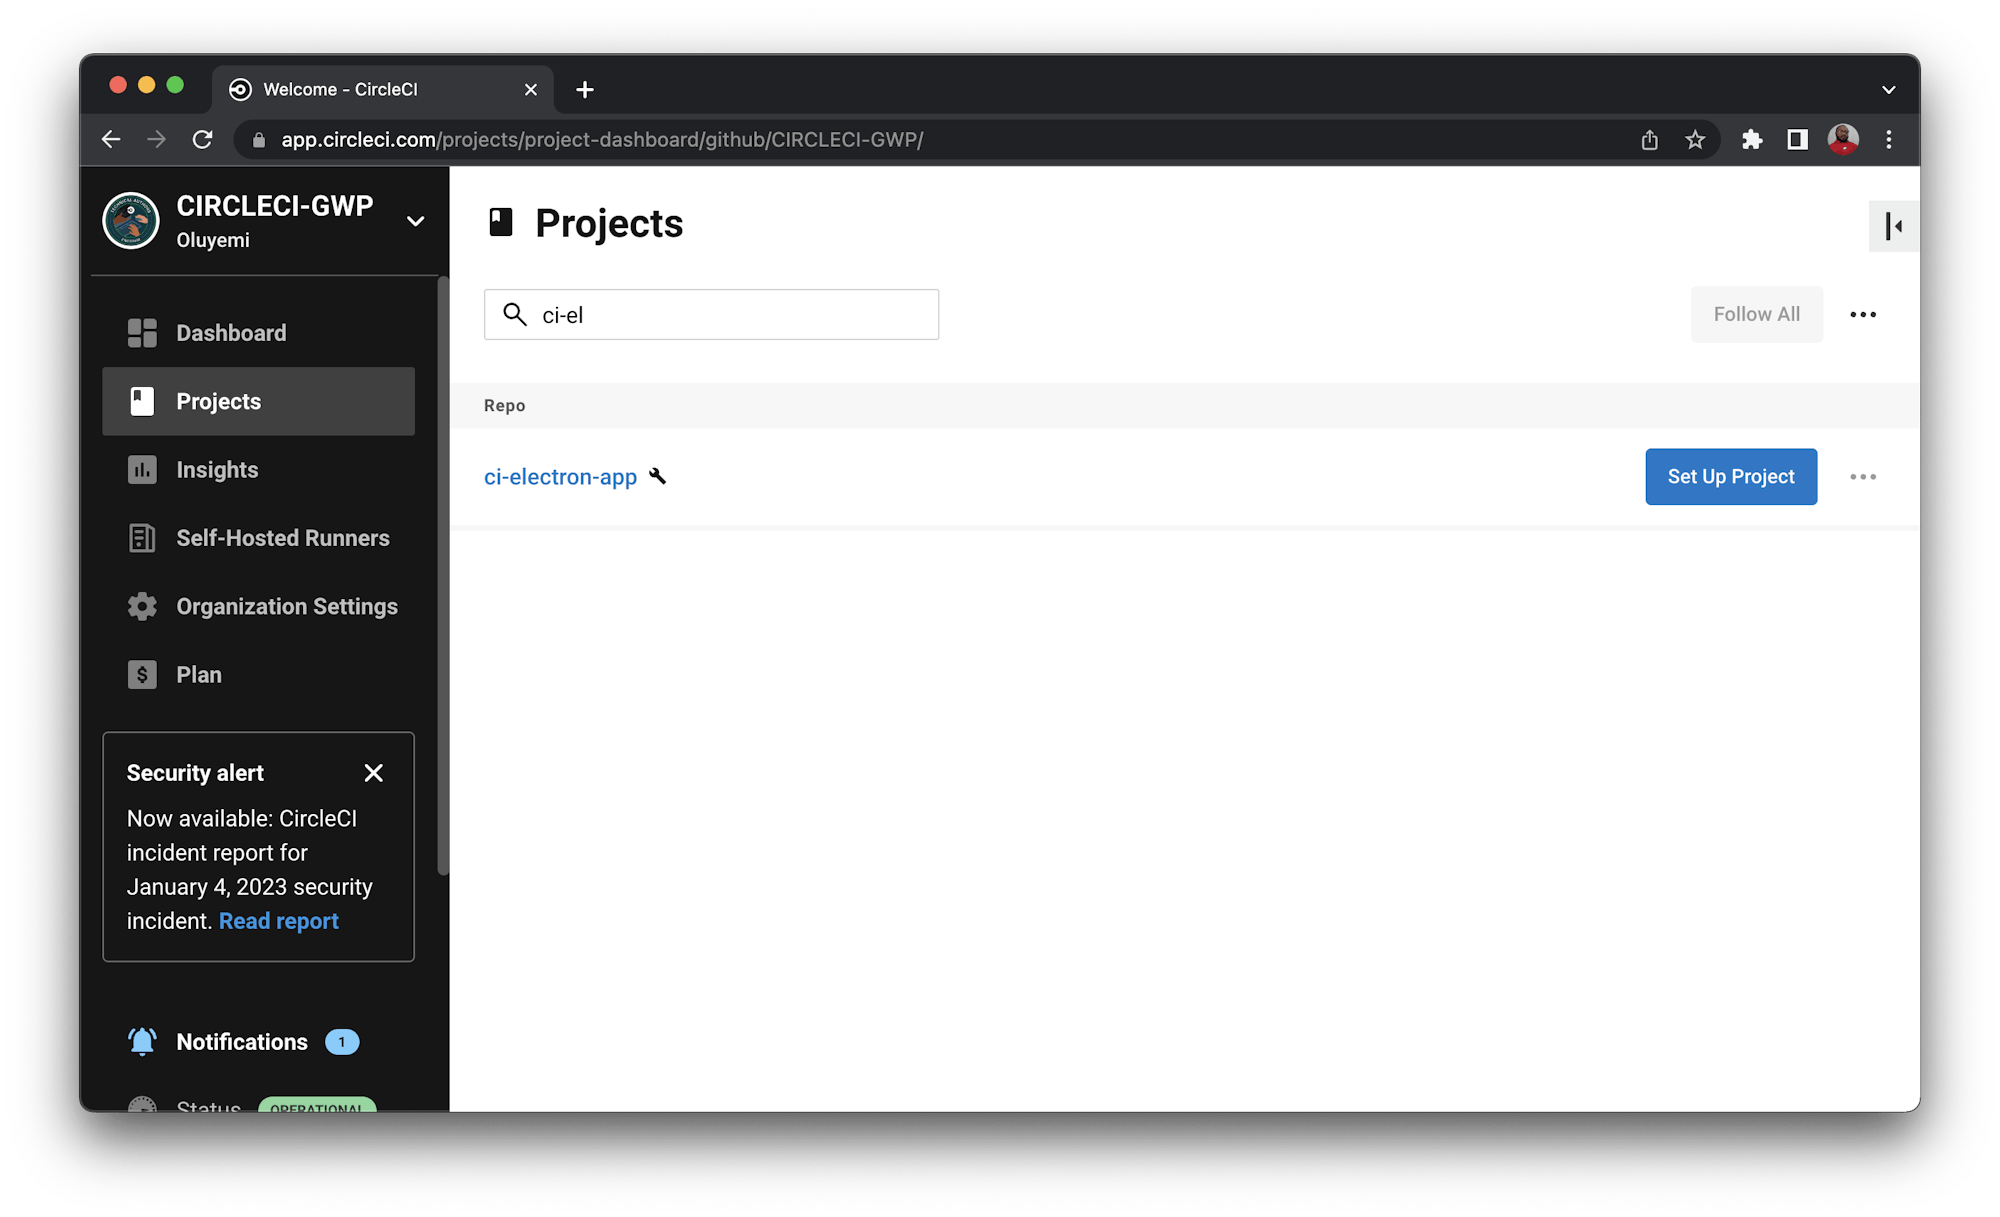
Next, log in to your CircleCI dashboard. Search for the project from the list and Click Set Up Project to begin.
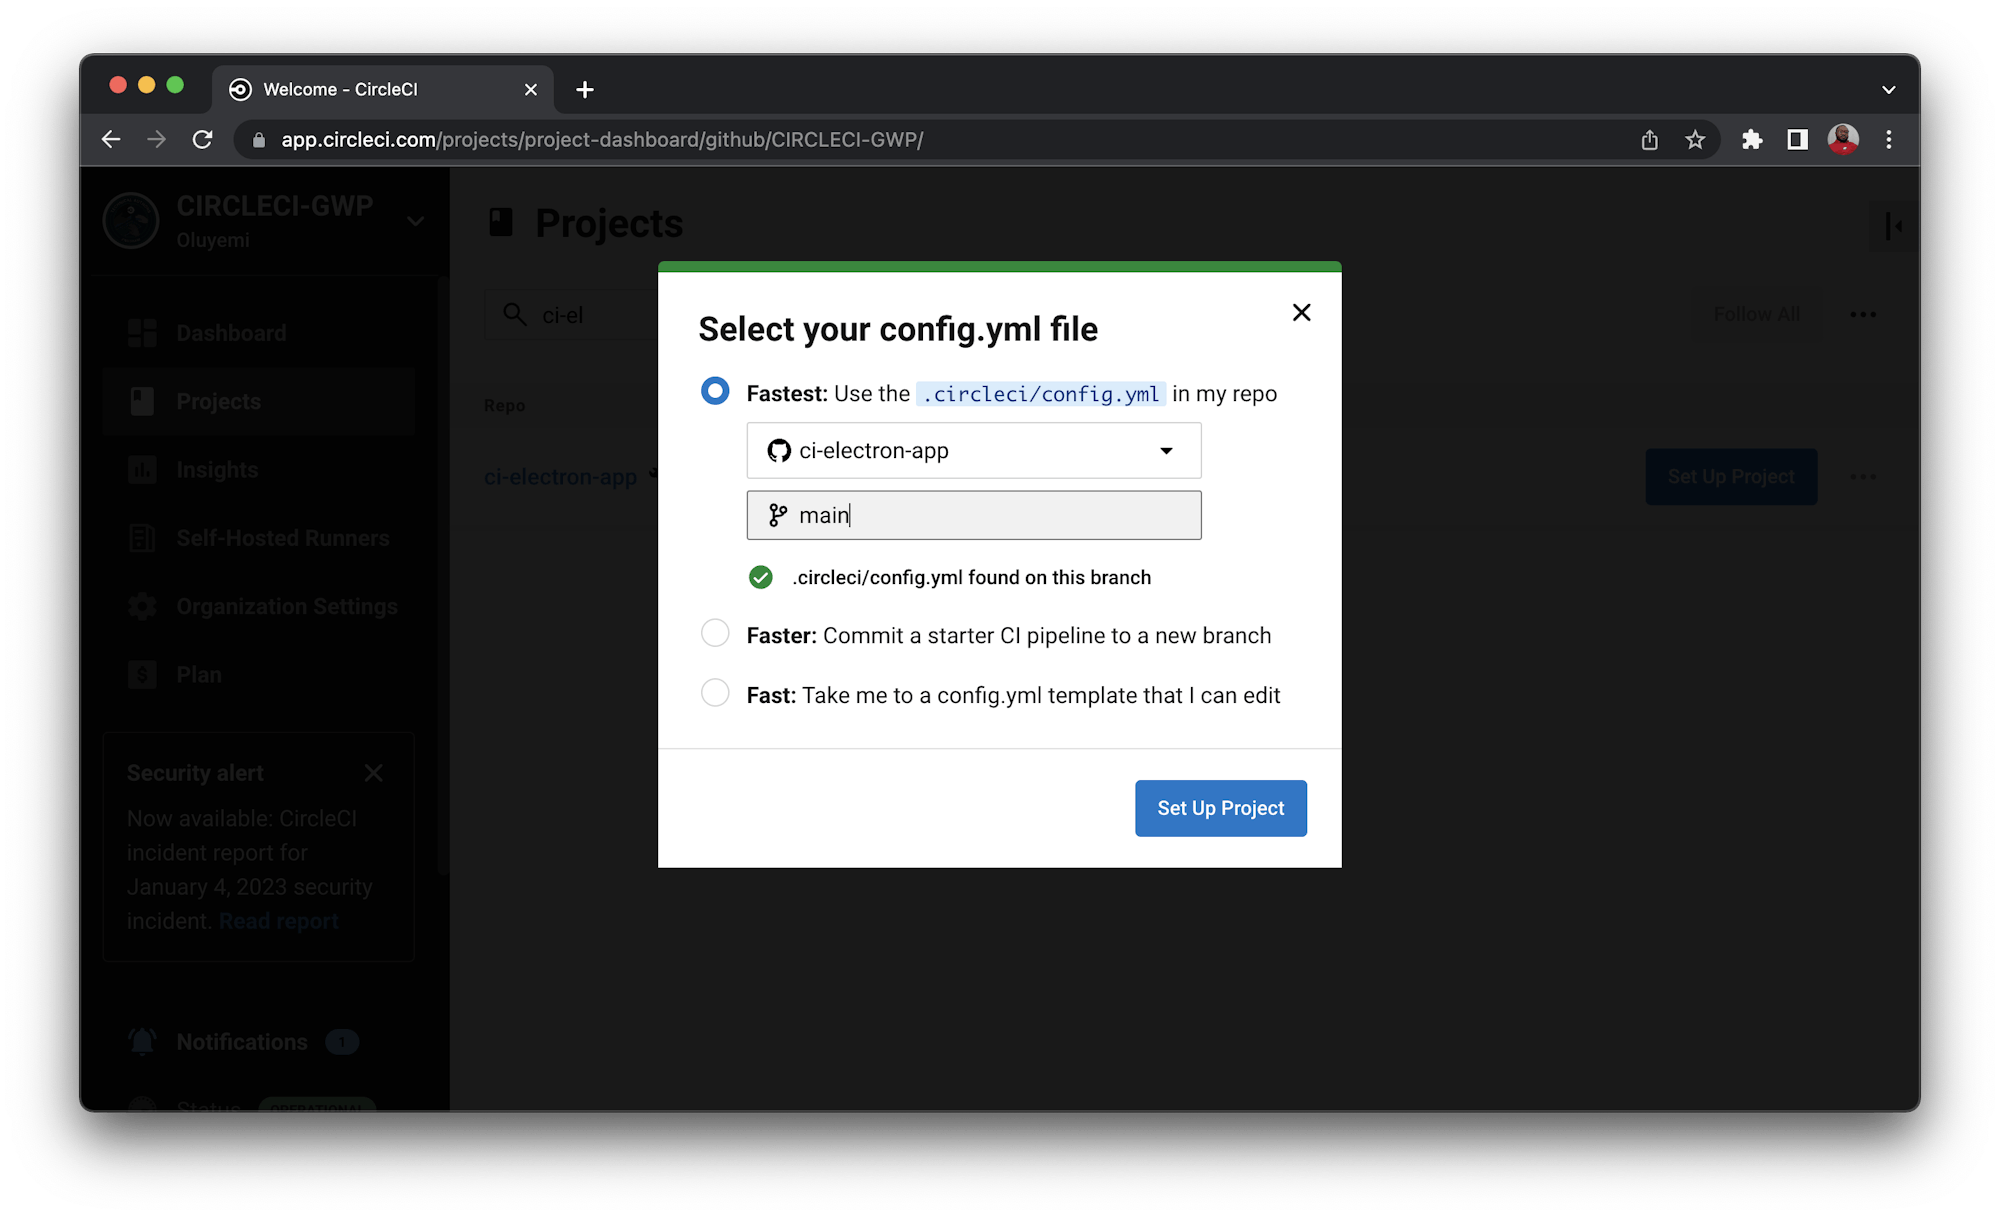
You will be prompted to select the branch where the CircleCI configuration file is stored within your project. Input main and click Set Up Project to proceed.
This will trigger the pipeline to go into action and run. Review it on the Pipelines page of the CircleCI console.
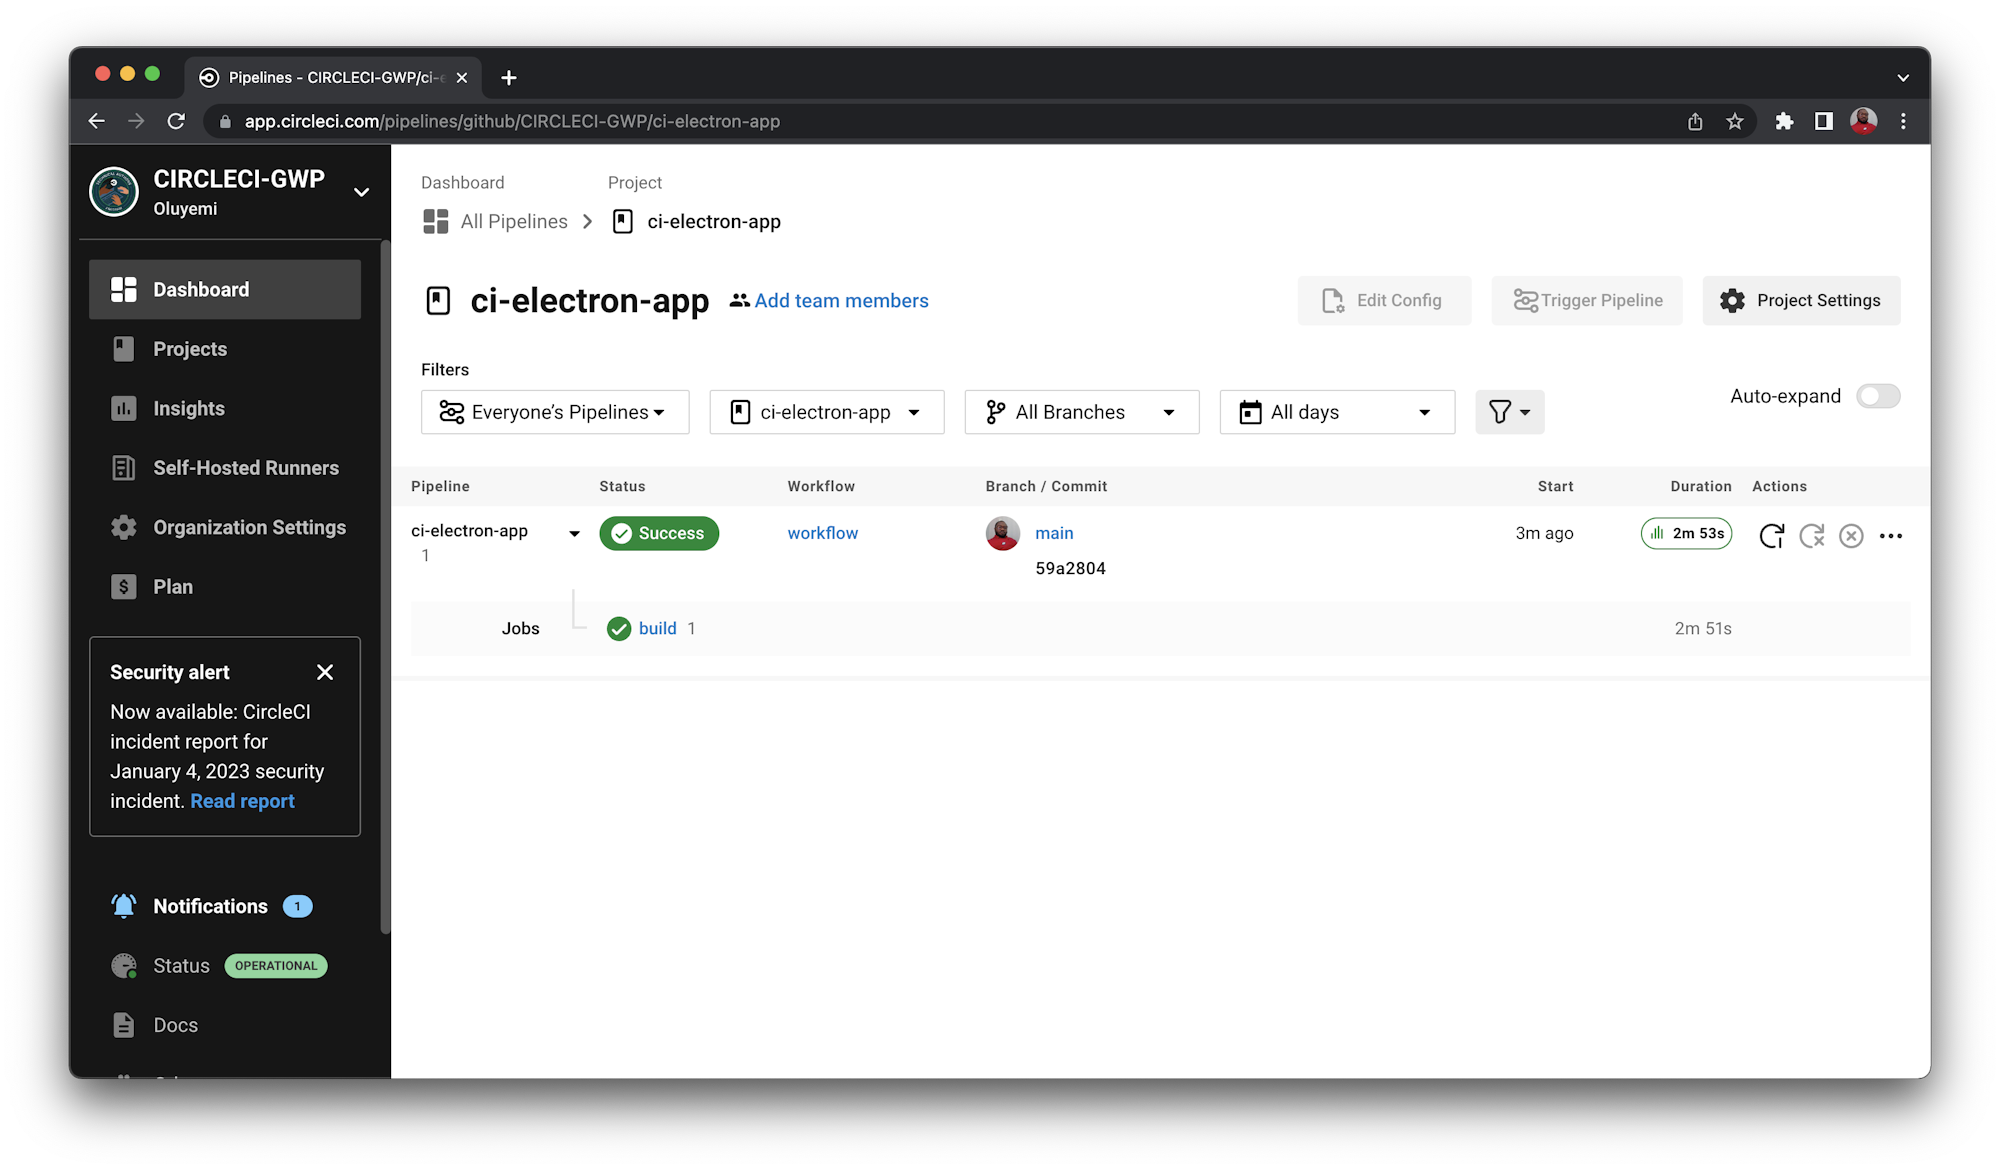
Click build.
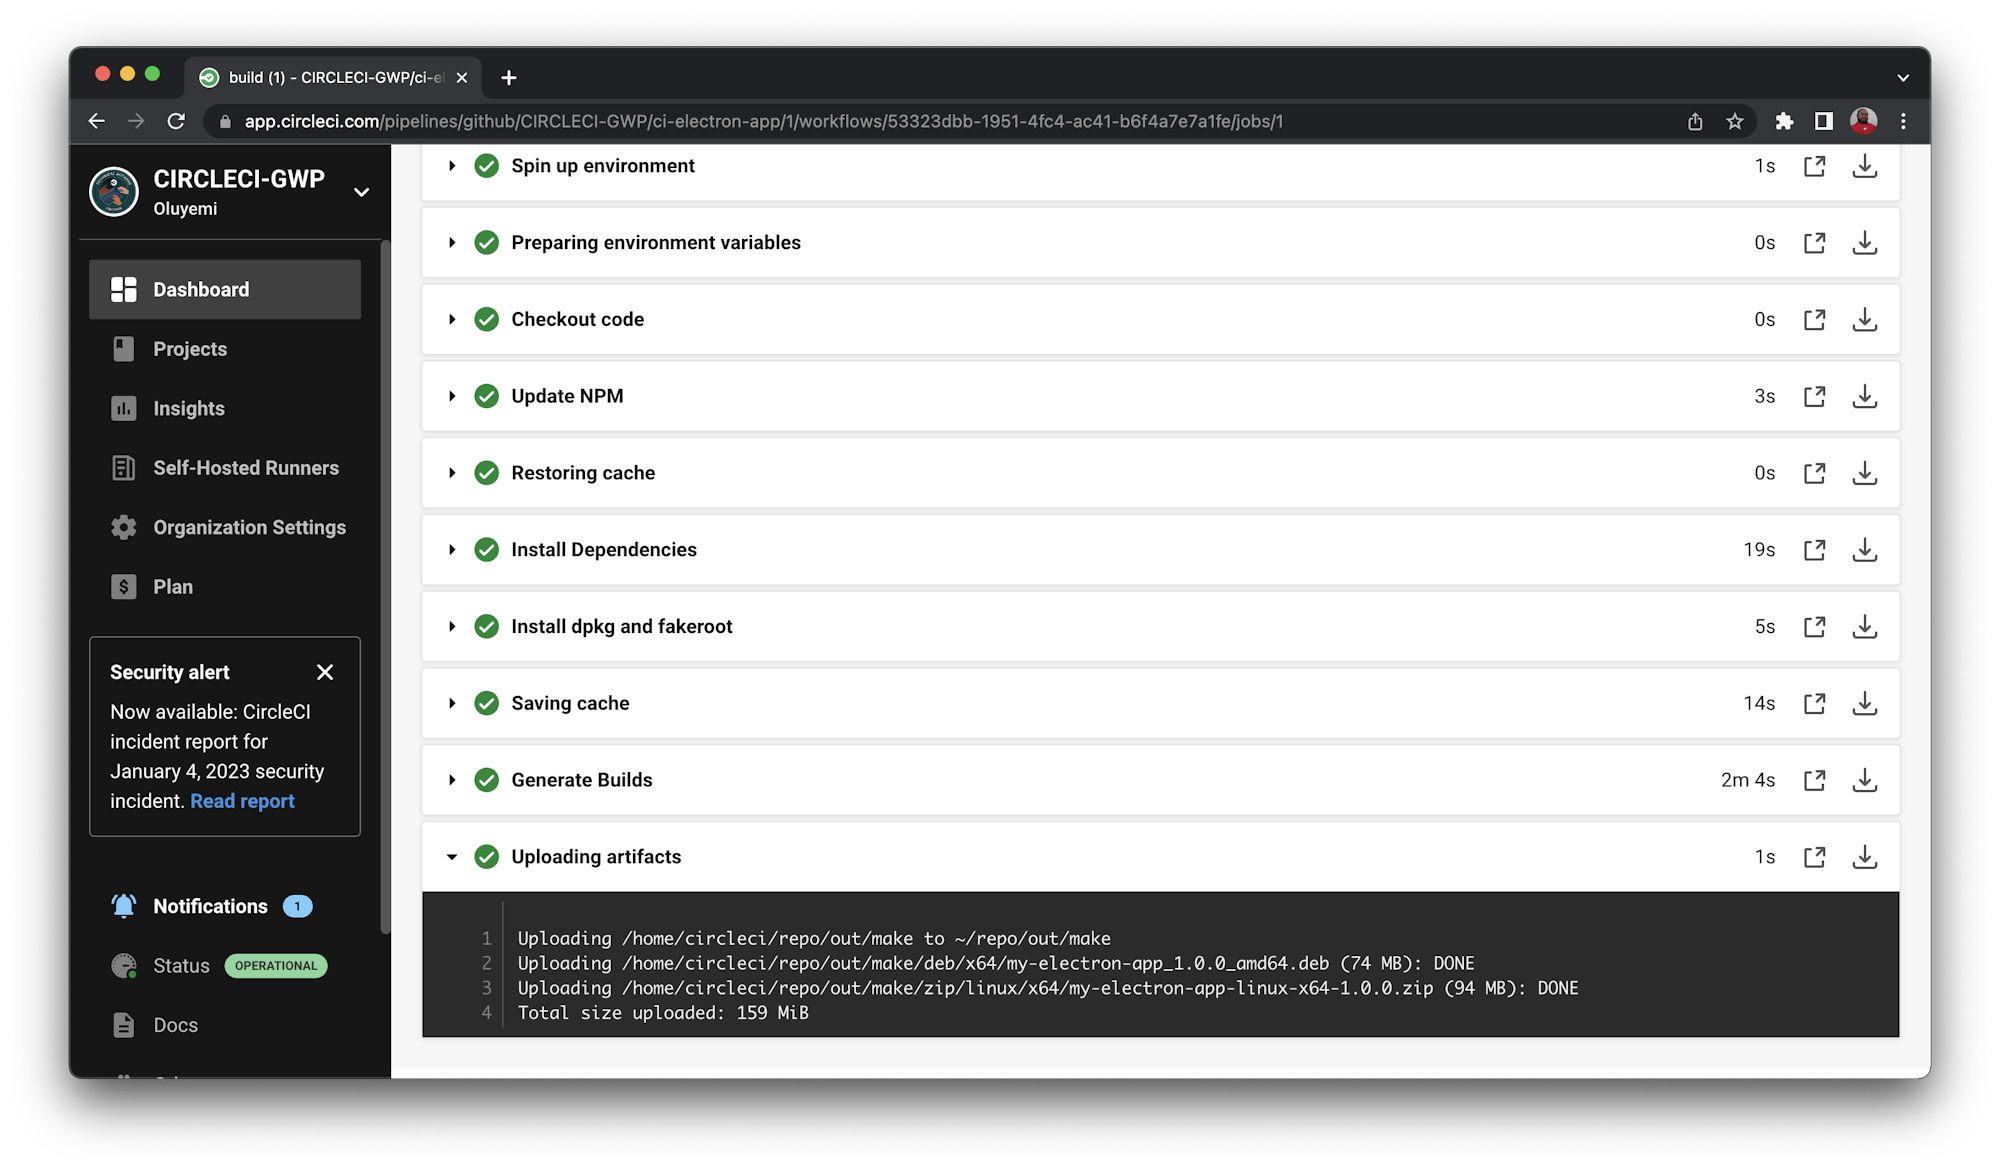
The Upload artifacts section shows that you now have two builds generated and stored.
Downloading stored build artifacts
Downloading your builds is pretty easy. Click the Artifacts tab on the build screen for links to download your builds.
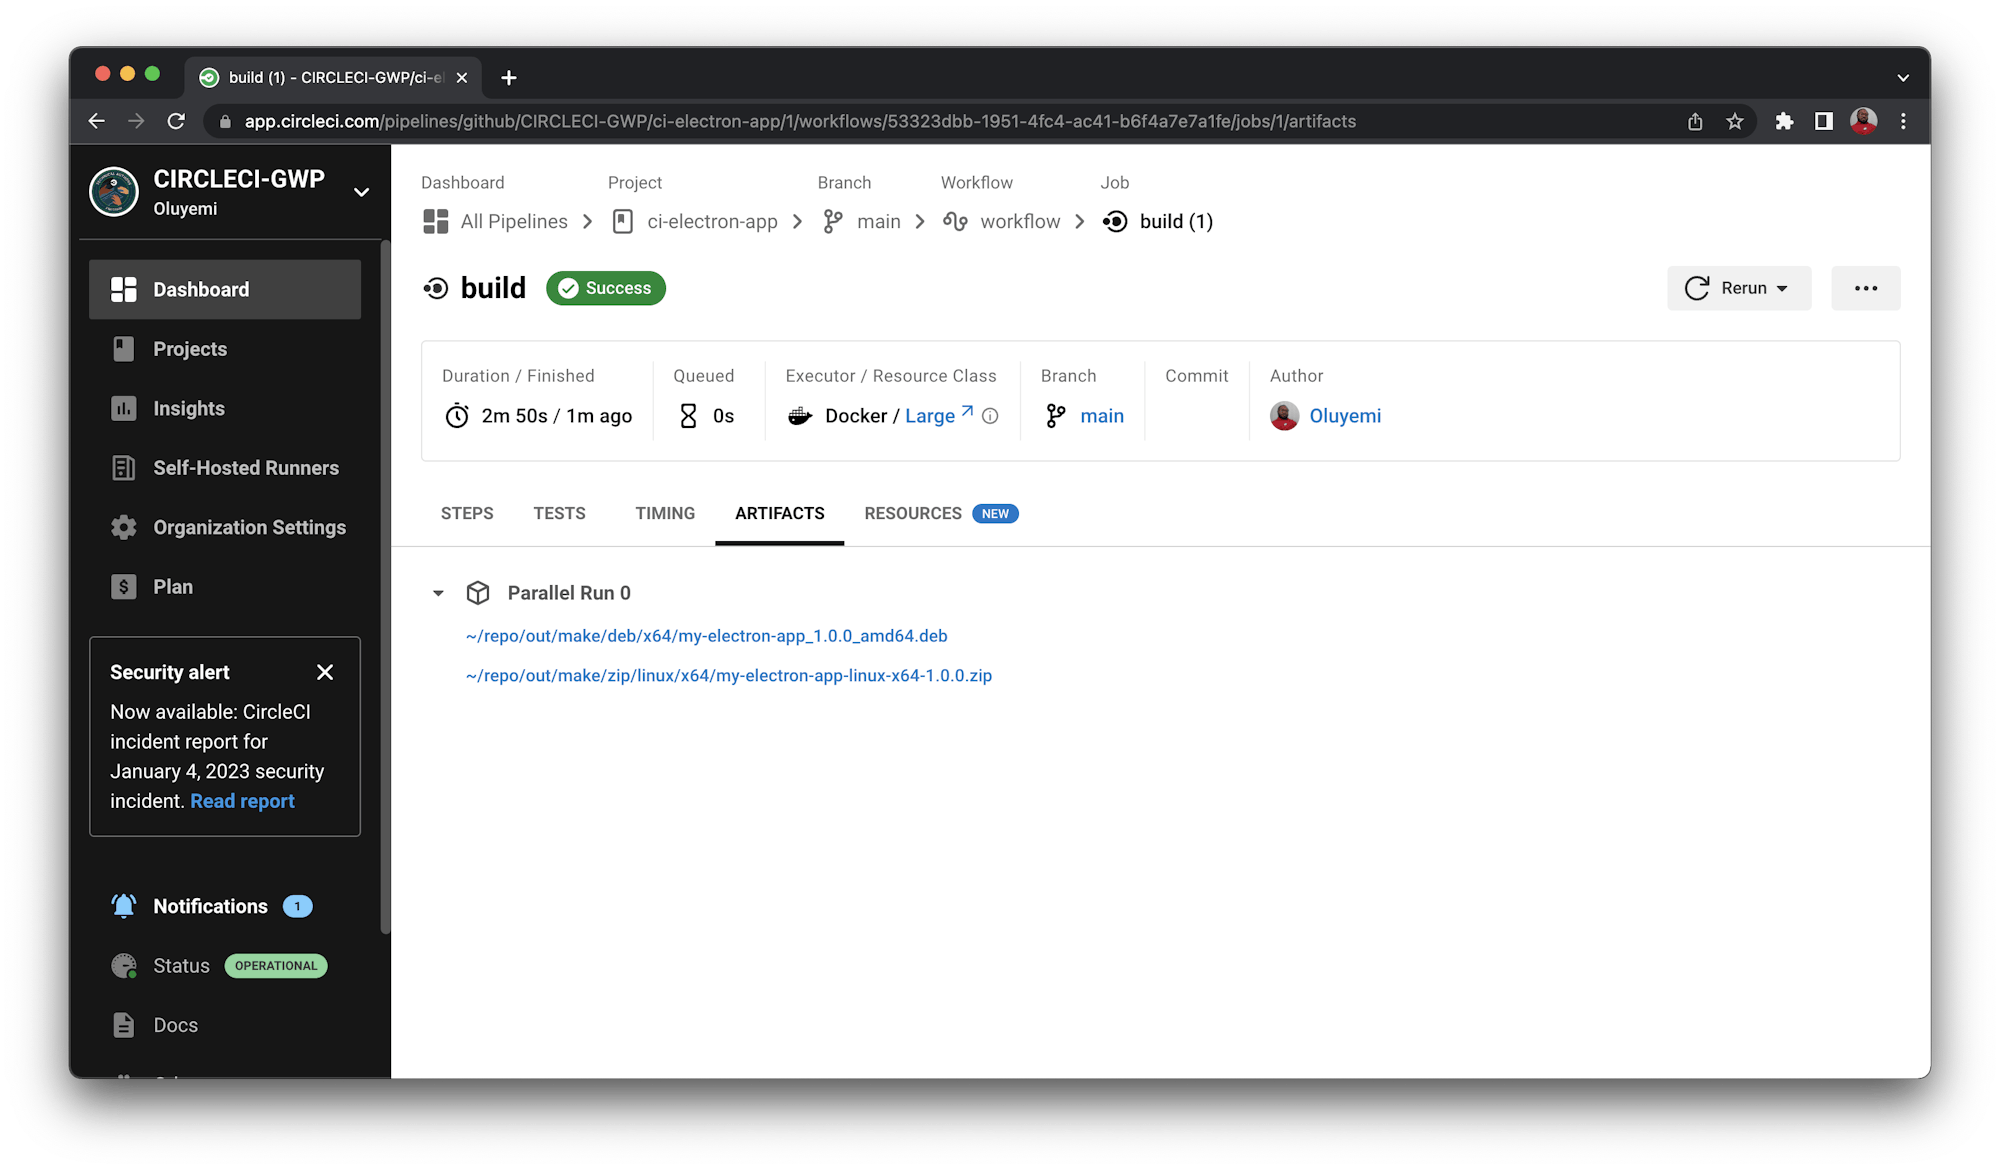
You can now download both the zipped package and the .deb installation file.
Conclusion
Electron.js grants more superpowers to web developers by letting them create desktop applications with HTML, CSS, and Javascript. It feels like web developers can now build almost anything — pretty exciting!
Distributing applications to end users is also a very important part of that process, and in this tutorial, I have demonstrated how easy it is to create installable desktop applications and even automate the process of packaging distributable builds using CircleCI.
Happy Coding!
Fikayo Adepoju is a LinkedIn Learning (Lynda.com) Author, Full-stack developer, technical writer, and tech content creator proficient in Web and Mobile technologies and DevOps with over 10 years experience developing scalable distributed applications. With over 40 articles written for CircleCI, Twilio, Auth0, and The New Stack blogs, and also on his personal Medium page, he loves to share his knowledge to as many developers as would benefit from it. You can also check out his video courses on Udemy.


