Functional browser testing with Puppeteer

Fullstack Developer and Tech Author

Most interactions with a web application occur at the browser. Users search items, fill forms, create shopping carts, log into their profiles, and perform many other tasks. Unit tests are great, but testing an application by interacting with the user-facing frontend is also a must.
In this tutorial, you will learn how to write tests for the browser using Puppeteer. You will then take this a step further by automating the testing process in a continuous integration flow.
Prerequisites
To follow this tutorial, a few things are required:
- Basic knowledge of JavaScript
- Node.js installed on your system (version >= 12)
- A CircleCI account
- A GitHub account
With all these installed and set up, you can begin the tutorial.
Cloning and running the sample application
The first step is to set up a web application to test. You will need to clone a demo application by running this command:
git clone --single-branch --branch base-project https://github.com/CIRCLECI-GWP/functional-testing-puppeteer
Then, go to the root of the project (cd functional-testing-puppeteer) and install dependencies by running:
npm install
With the dependencies fully installed, run the application using this command:
node server
The application server will boot up at http://localhost:5000. Go to that URL on your browser to review the demo app homepage.
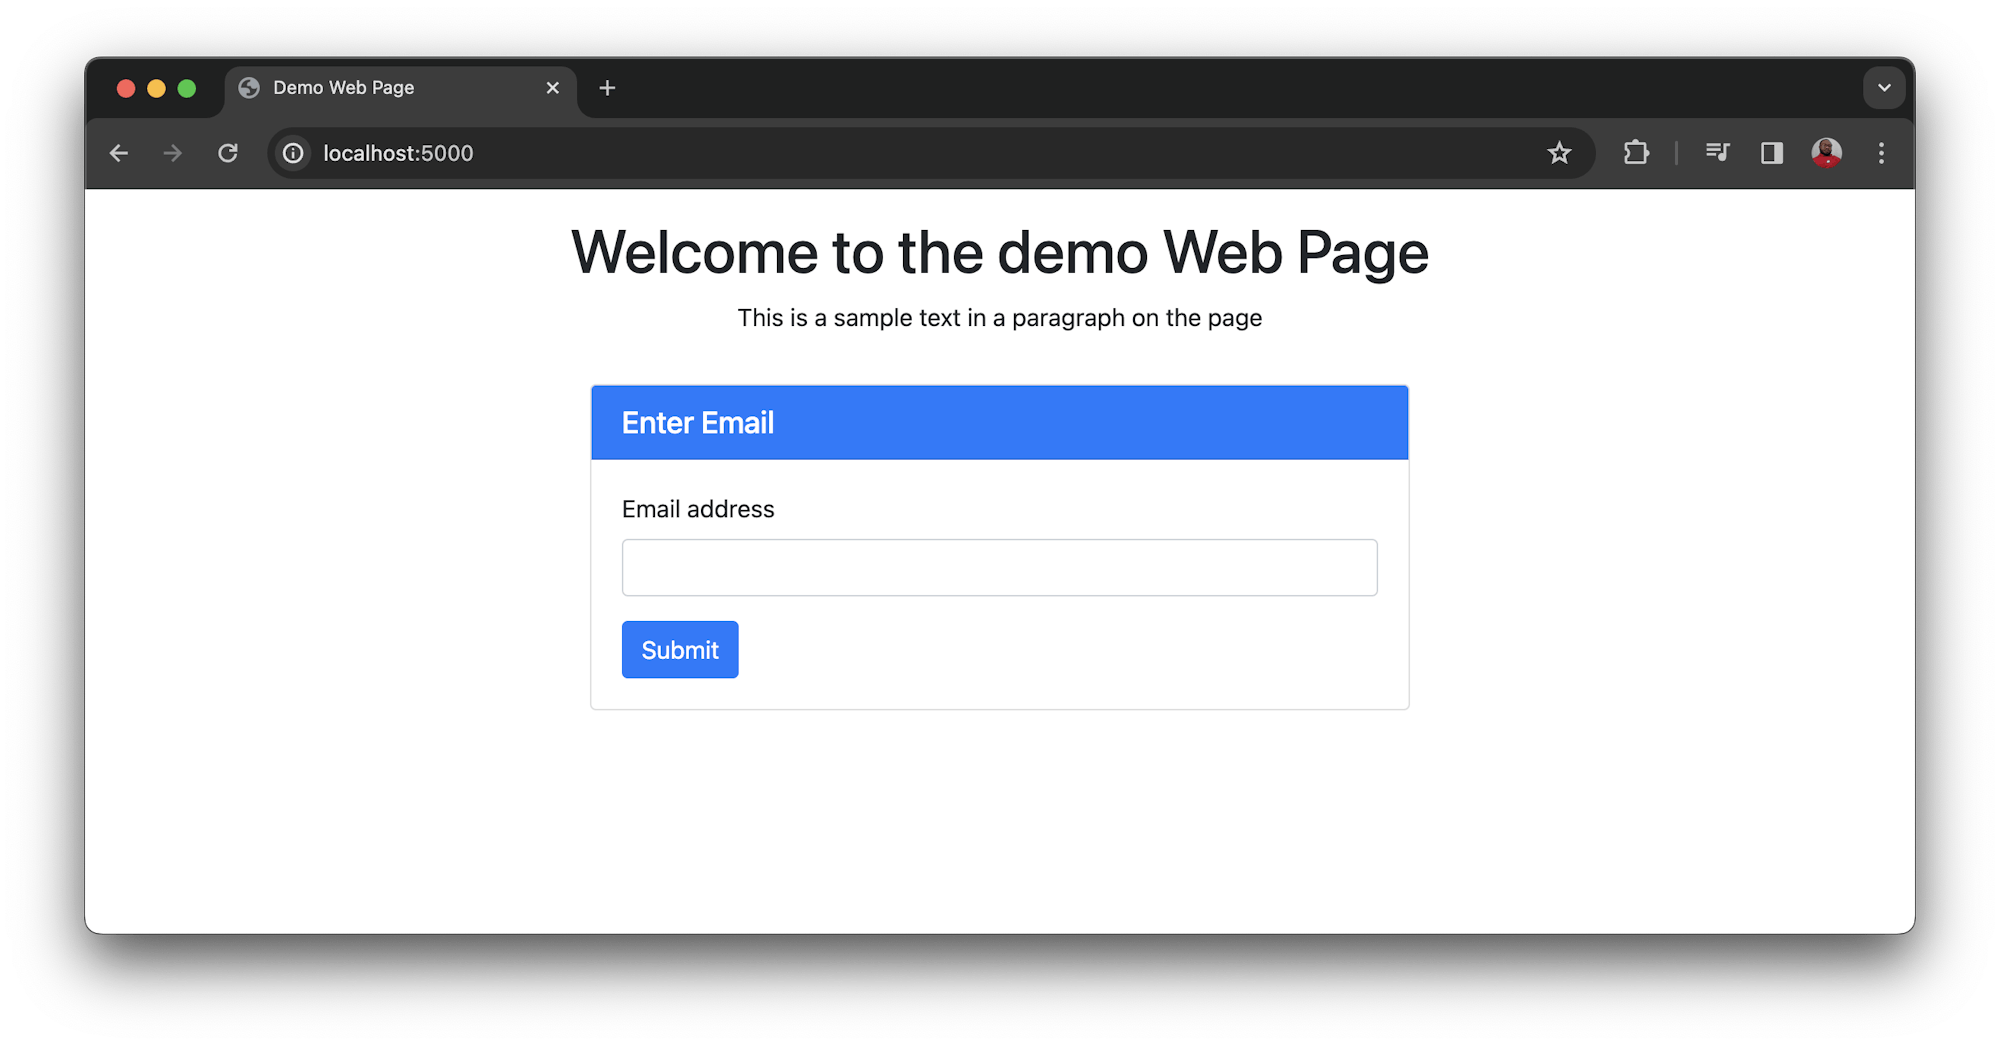
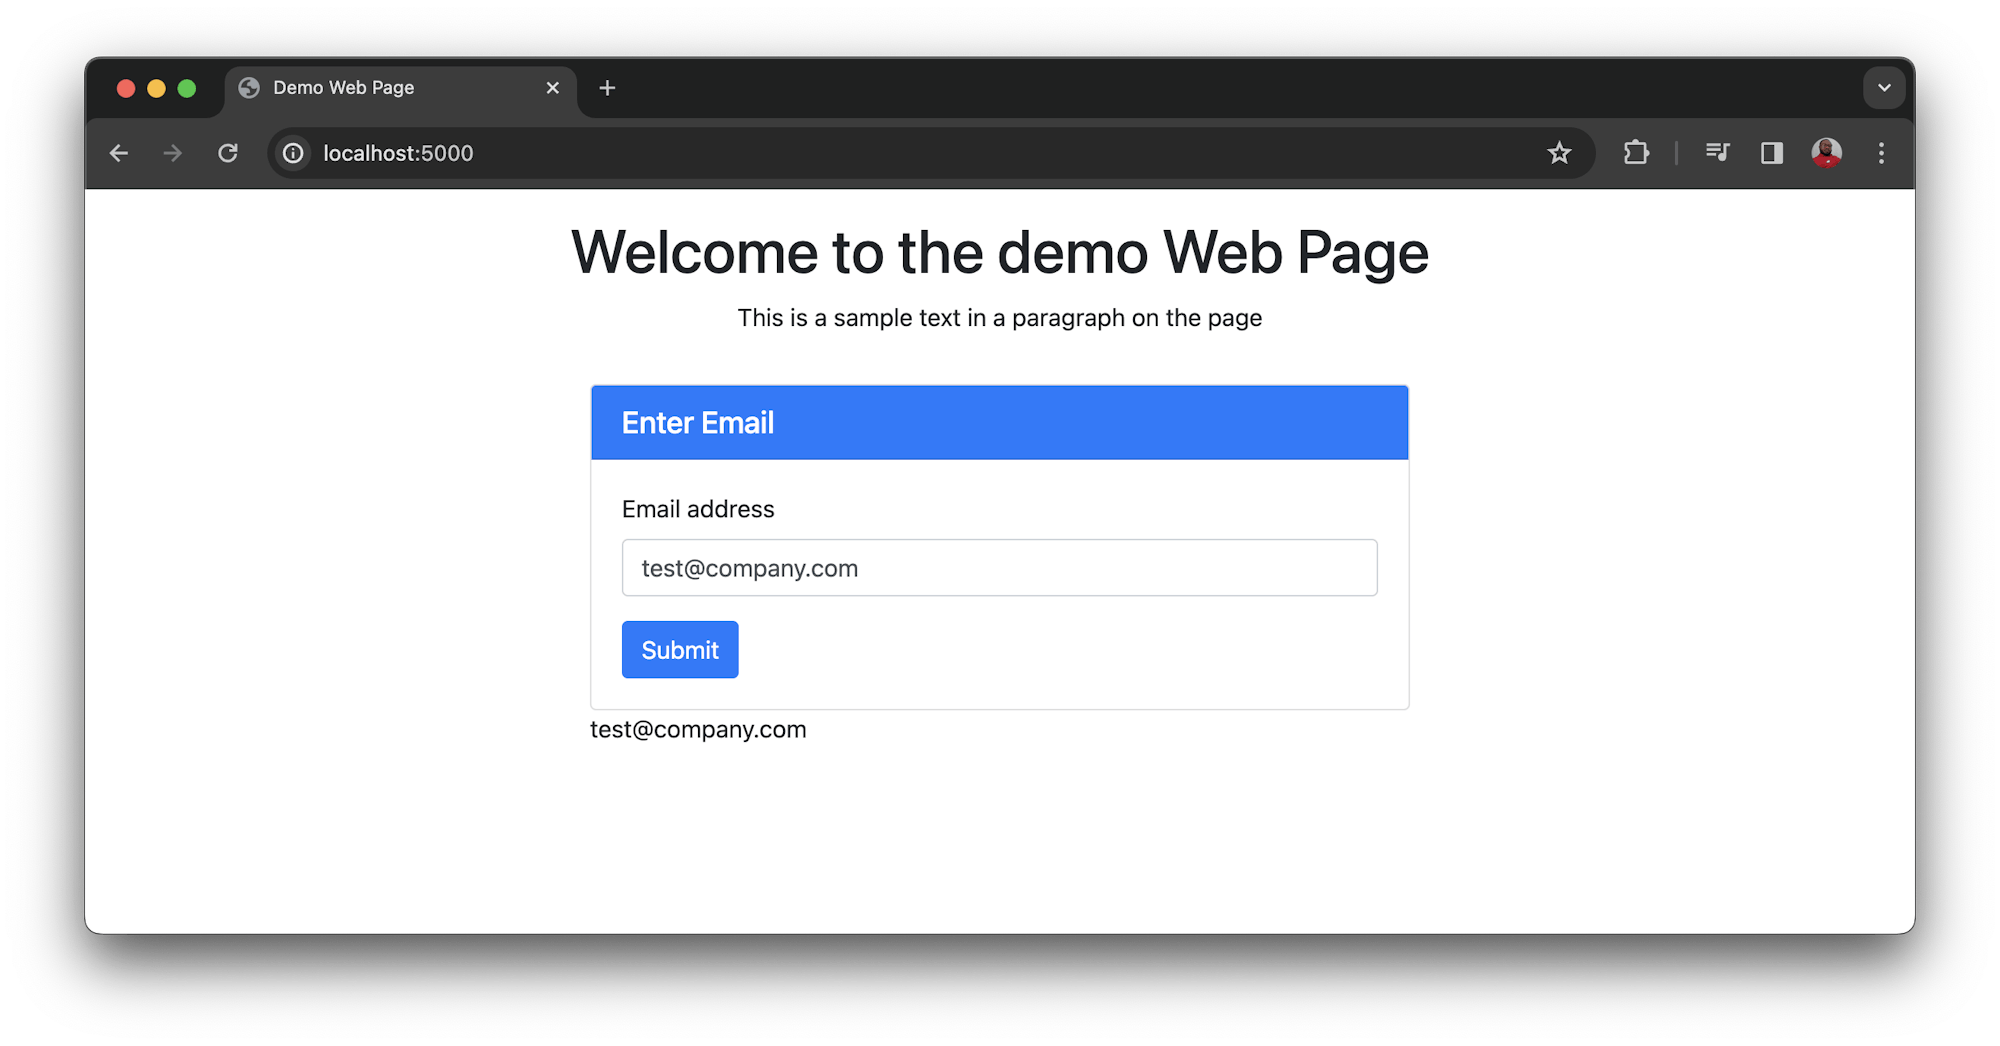
The demo page consists of a header that reads Welcome to the demo Web Page, a paragraph that contains the text This is a sample text in a paragraph on the page, and a form with an email field and submit button. When filled and submitted, the form prints the submitted email to the screen.
Installing Jest and Puppeteer
You will be testing the demo page to confirm that it contains the elements displayed on the page, and to verify the behavior of the form. You will need two packages:
- Puppeteer is the browser testing framework.
- Jest serves as the test runner for the test suites that you will write.
Install these packages as development dependencies using this command:
npm install --save-dev puppeteer jest
With these installed, you can now begin adding browser tests to the project.
Adding tests using Puppeteer
The first elements you will be testing are the header and the paragraph. The tests will confirm that these elements are on the page and contain the expected text within them.
Add a new test file named homepage.test.js at the root of the project. Add this code:
const puppeteer = require("puppeteer");

test("Confirm text on page", async () => {
  const browser = await puppeteer.launch();
  try {
    const page = await browser.newPage();

    await page.goto("http://localhost:5000");

    let pageHeader = await page.$("#pageTitle");
    let pageHeaderValue = await pageHeader.evaluate((el) => el.textContent);

    expect(pageHeaderValue).toContain("Welcome to the demo Web Page");

    let pageParagraph = await page.$("#pageParagraph");
    let pageParagraphValue = await pageParagraph.evaluate((el) => el.textContent);

    expect(pageParagraphValue).toContain("This is a sample text in a paragraph on the page");
  } finally {
    await browser.close();
  }
}, 120000);
This test case launches a new browser instance and loads the web app at http://localhost:5000. It then uses CSS selectors to target both the header and paragraph to read their contents. The contents of the header and paragraph are then compared against the expected result.
To run these tests, modify the test script in the package.json using this code:
...
"scripts" : {
  "test" : "jest"
}
Make sure that the web app is running (using node server). Then run this command:
npm run test
After this runs, the CLI output shows that you have tests that passed.
 PASS  ./homepage.test.js
  ✓ Confirm text on page (3344 ms)

Test Suites: 1 passed, 1 total
Tests:       1 passed, 1 total
Snapshots:   0 total
Time:        3.821 s
Ran all test suites.
Next, add another test case to test the form behavior. Add this code below the first test case:
...
test("Confirm form submission output", async () => {
  const browser = await puppeteer.launch();
  try {
    const page = await browser.newPage();

    await page.goto("http://localhost:5000");

    await page.type("#userEmail", "test@company.com");
    await page.click("#submitButton");

    let emailContainer = await page.$("#infoDisplay");
    let value = await emailContainer.evaluate((el) => el.textContent);

    expect(value).toContain("test@company.com");
  } finally {
    await browser.close();
  }
}, 120000);
The second test case references the email field using its id attribute and the email (test@company.com) that was entered into the field. The test references the submit button and “clicks” it using the button’s id attribute. Finally, the display container for the email is targeted and the text content is fetched and compared to the expected value, which is the email that was entered.
Save this file and then run your tests again using the npm run test command. The CLI output shows that the tests have passed.
 PASS  ./homepage.test.js
  ✓ Confirm text on page (1150 ms)
  ✓ Confirm form submission output (577 ms)

Test Suites: 1 passed, 1 total
Tests:       2 passed, 2 total
Snapshots:   0 total
Time:        2.187 s, estimated 4 s
Ran all test suites.
Setting up a CI/CD pipeline to automate testing
To complete the goal of this tutorial, we will automate the testing process by plugging it into a CI/CD pipeline. The pipeline runs the tests each time the code is updated on your remote repository.
To begin, create a folder named .circleci at the root of the project. Add a configuration file named config.yml inside the folder you just created. In this file, enter the following code:
version: 2.1
jobs:
  build:
    working_directory: ~/repo
    docker:
      - image: cimg/node:21.7.0-browsers
    steps:
      - checkout
      - run:
          name: Update NPM
          command: "sudo npm install -g npm"
      - restore_cache:
          key: dependency-cache-{{ checksum "package-lock.json" }}
      - run:
          name: Install Dependencies
          command: npm install
      - save_cache:
          key: dependency-cache-{{ checksum "package-lock.json" }}
          paths:
            - ./node_modules
      - run:
          name: Run the application
          command: node server.js
          background: true
      - run:
          name: Run tests
          command: npm run test
In this configuration, the required Node.js image is pulled in. This image contains browsers, which is important for running the browser tests. The next part of the config updates npm. The project dependencies are then installed and cached.
To run the browser tests against the application, the application is booted up in a background process using node server. The tests are then run using the npm run test command. Once you are done, push the code to GitHub. Make sure that this is the GitHub account connected to your CircleCI account.
Next, go to the Projects page on the CircleCI dashboard to add the project.
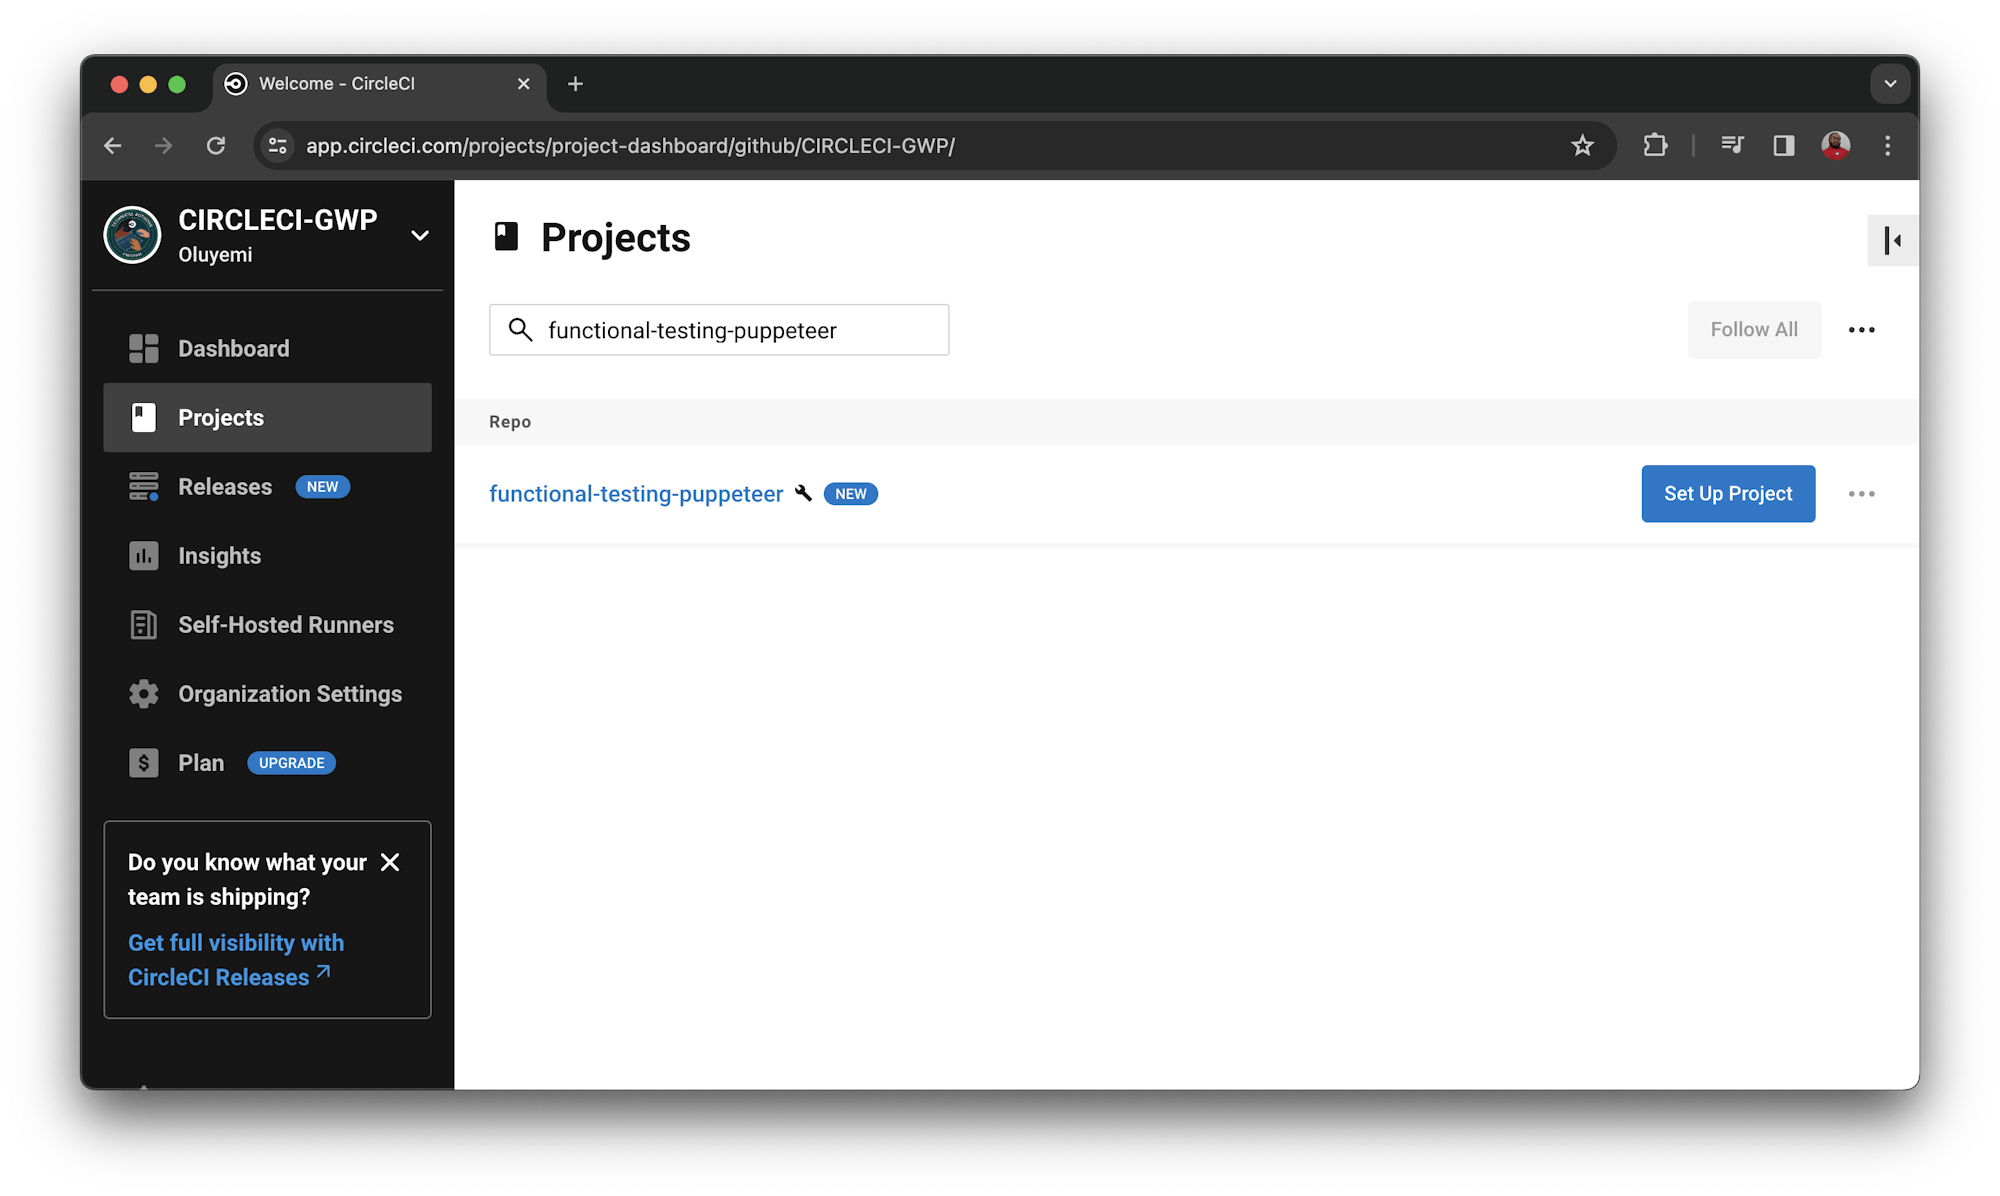
Click Set Up Project to open the Setup page. Enter the name of the branch your code is on in GitHub. Then click Set Up Project when prompted.
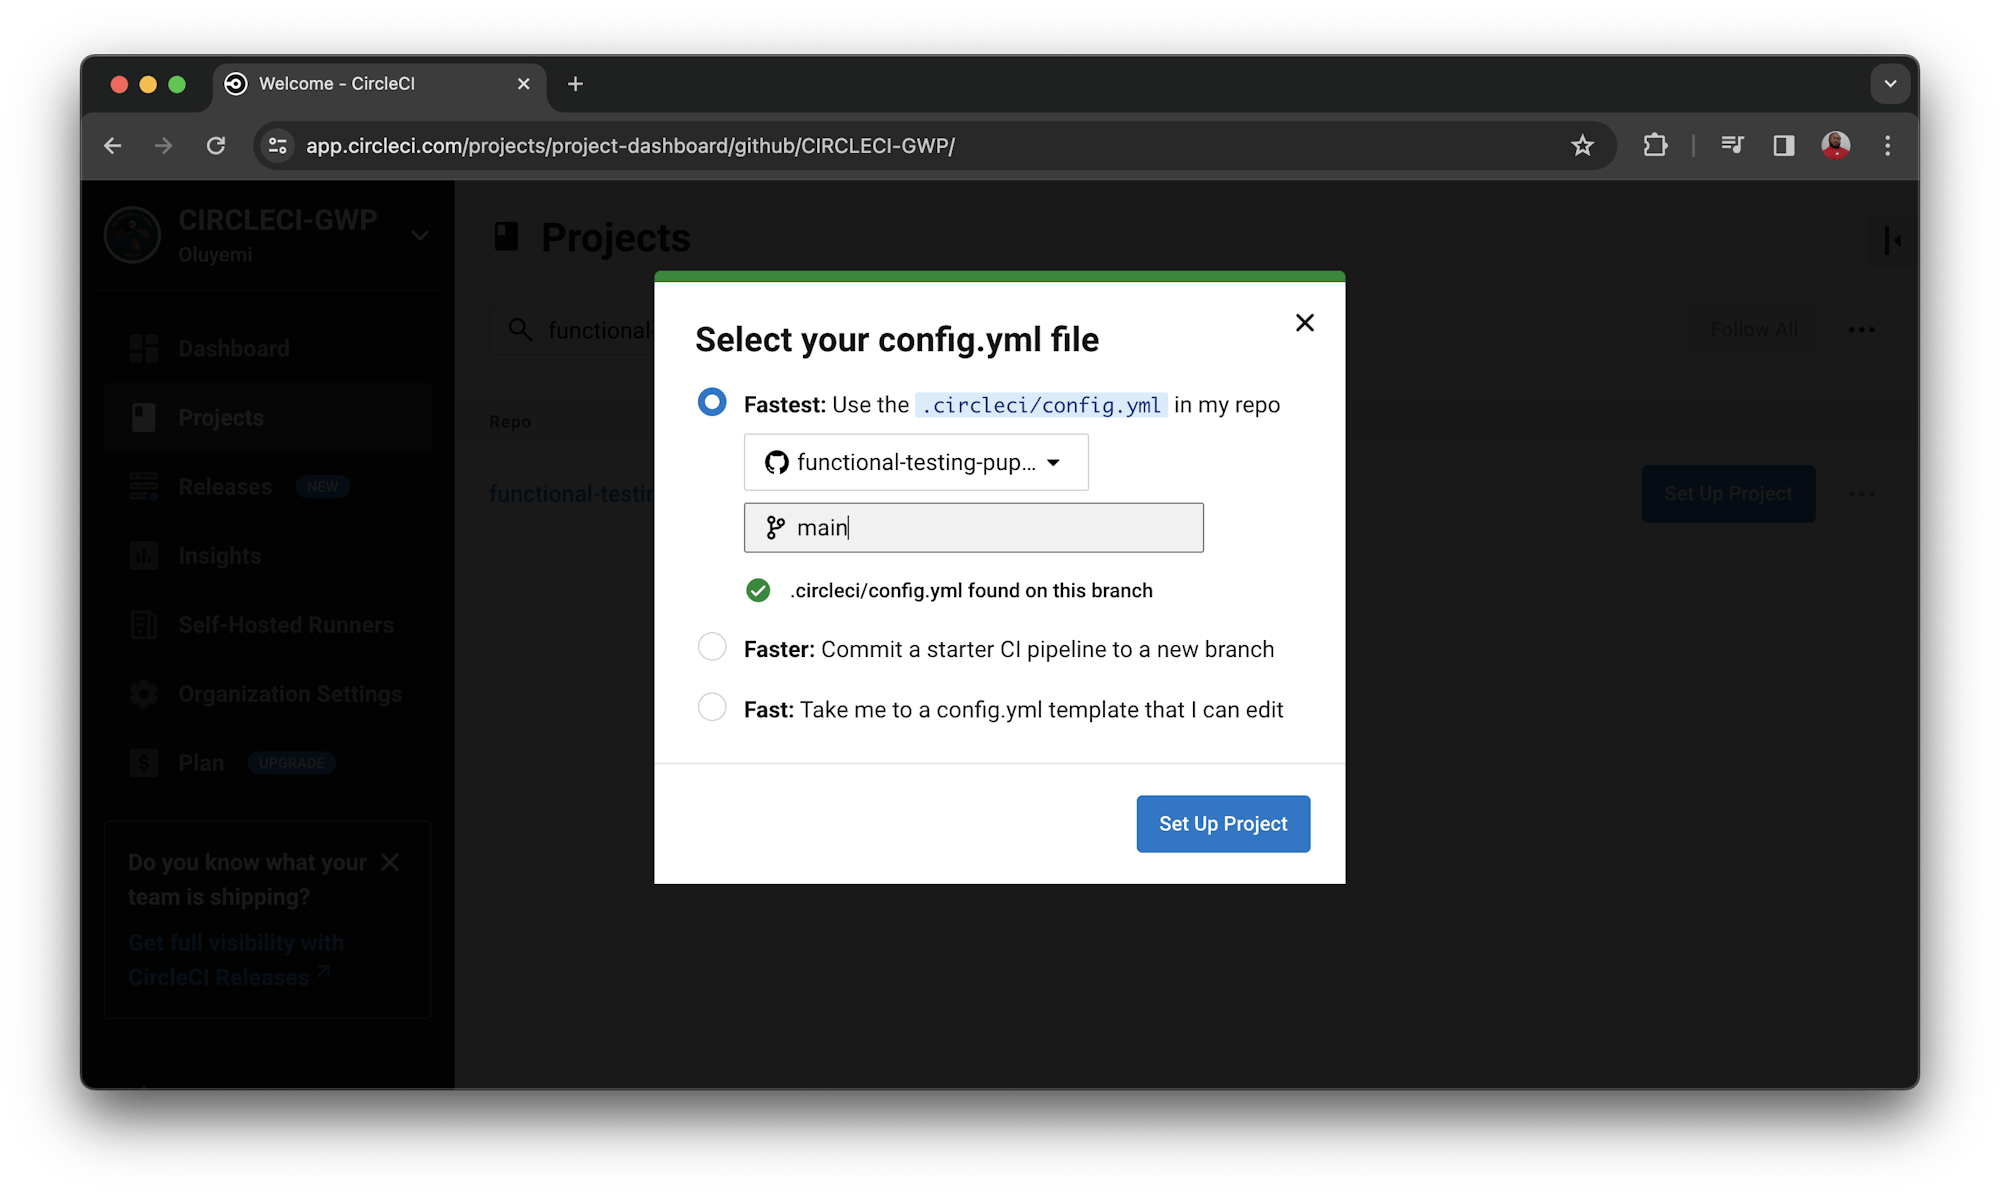
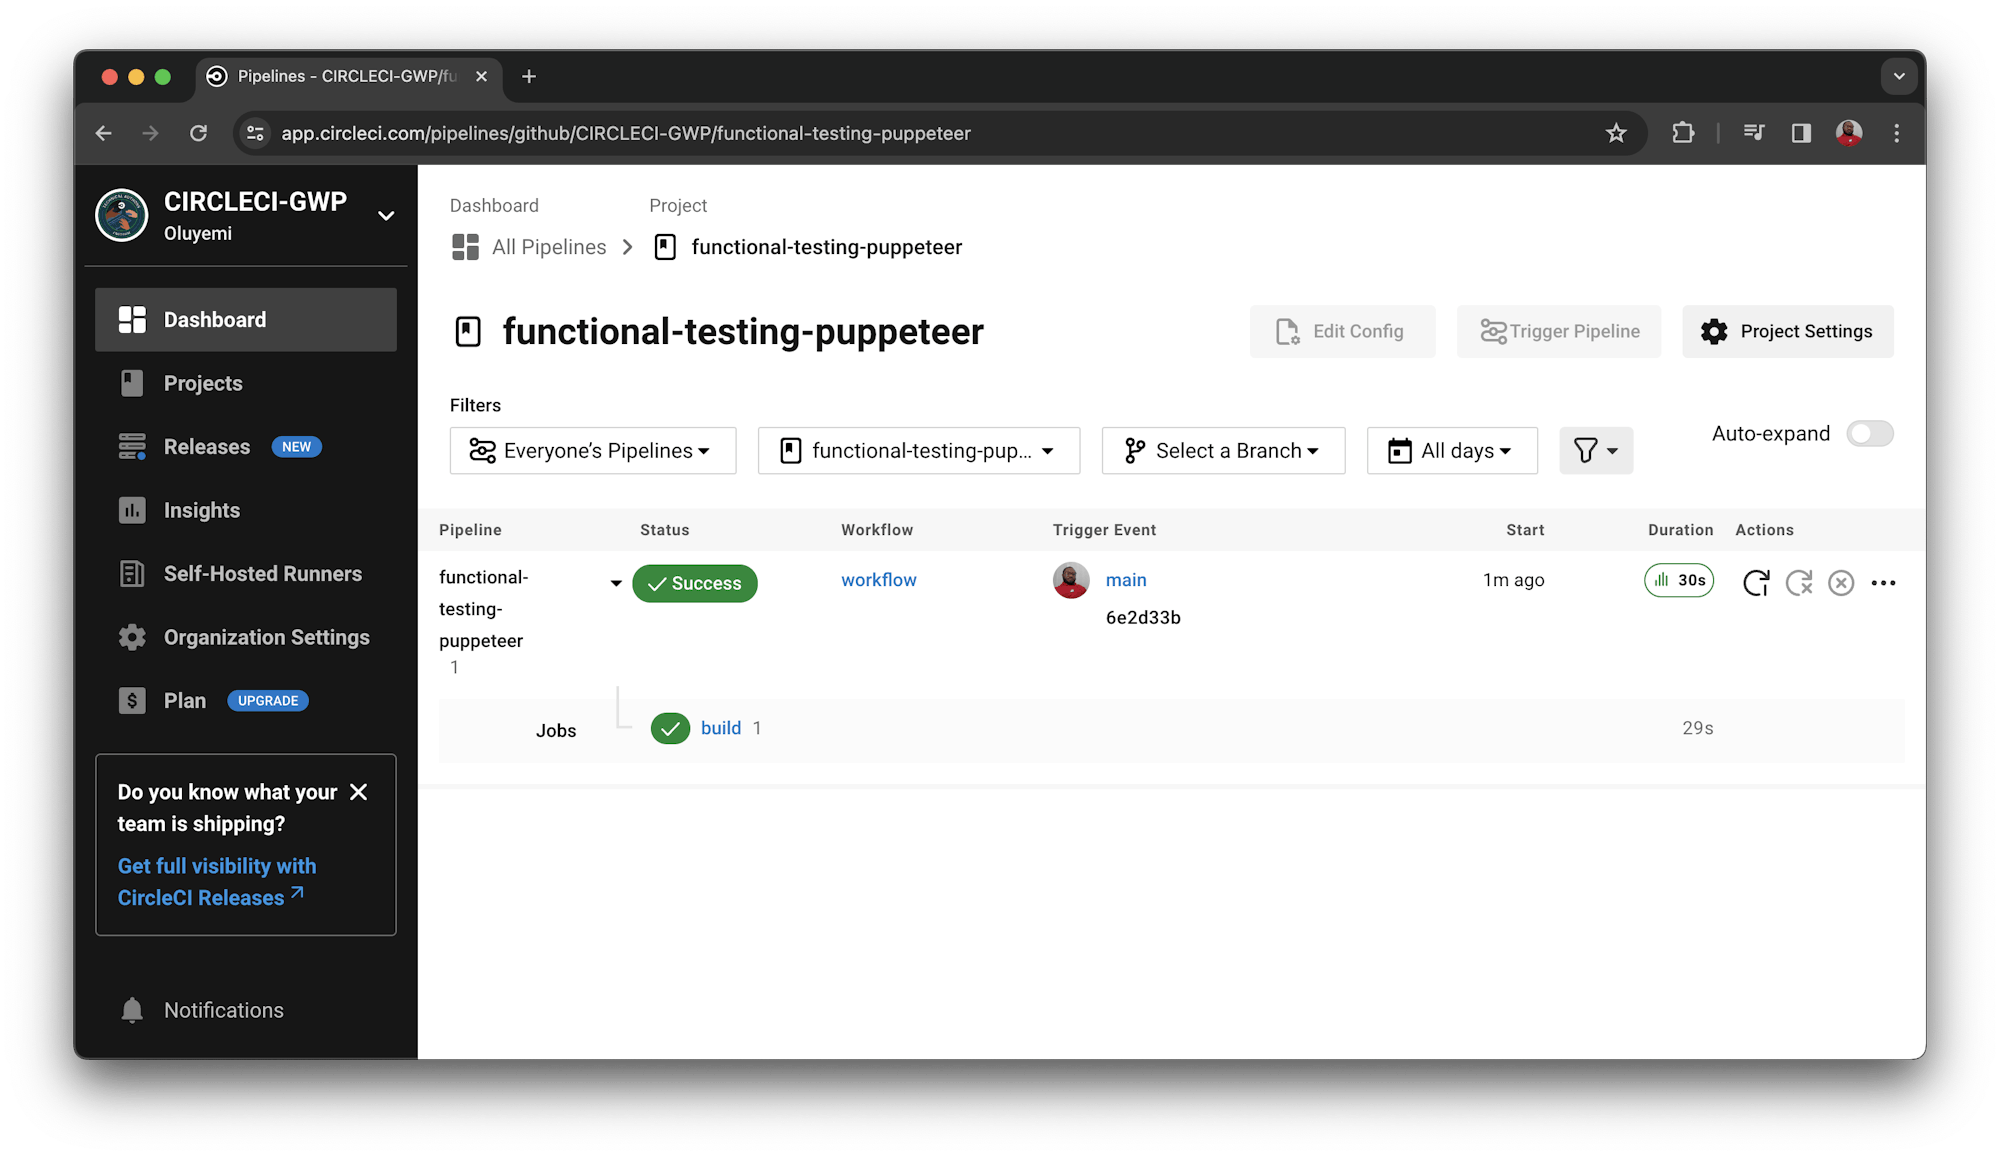
This will automatically trigger the pipeline.
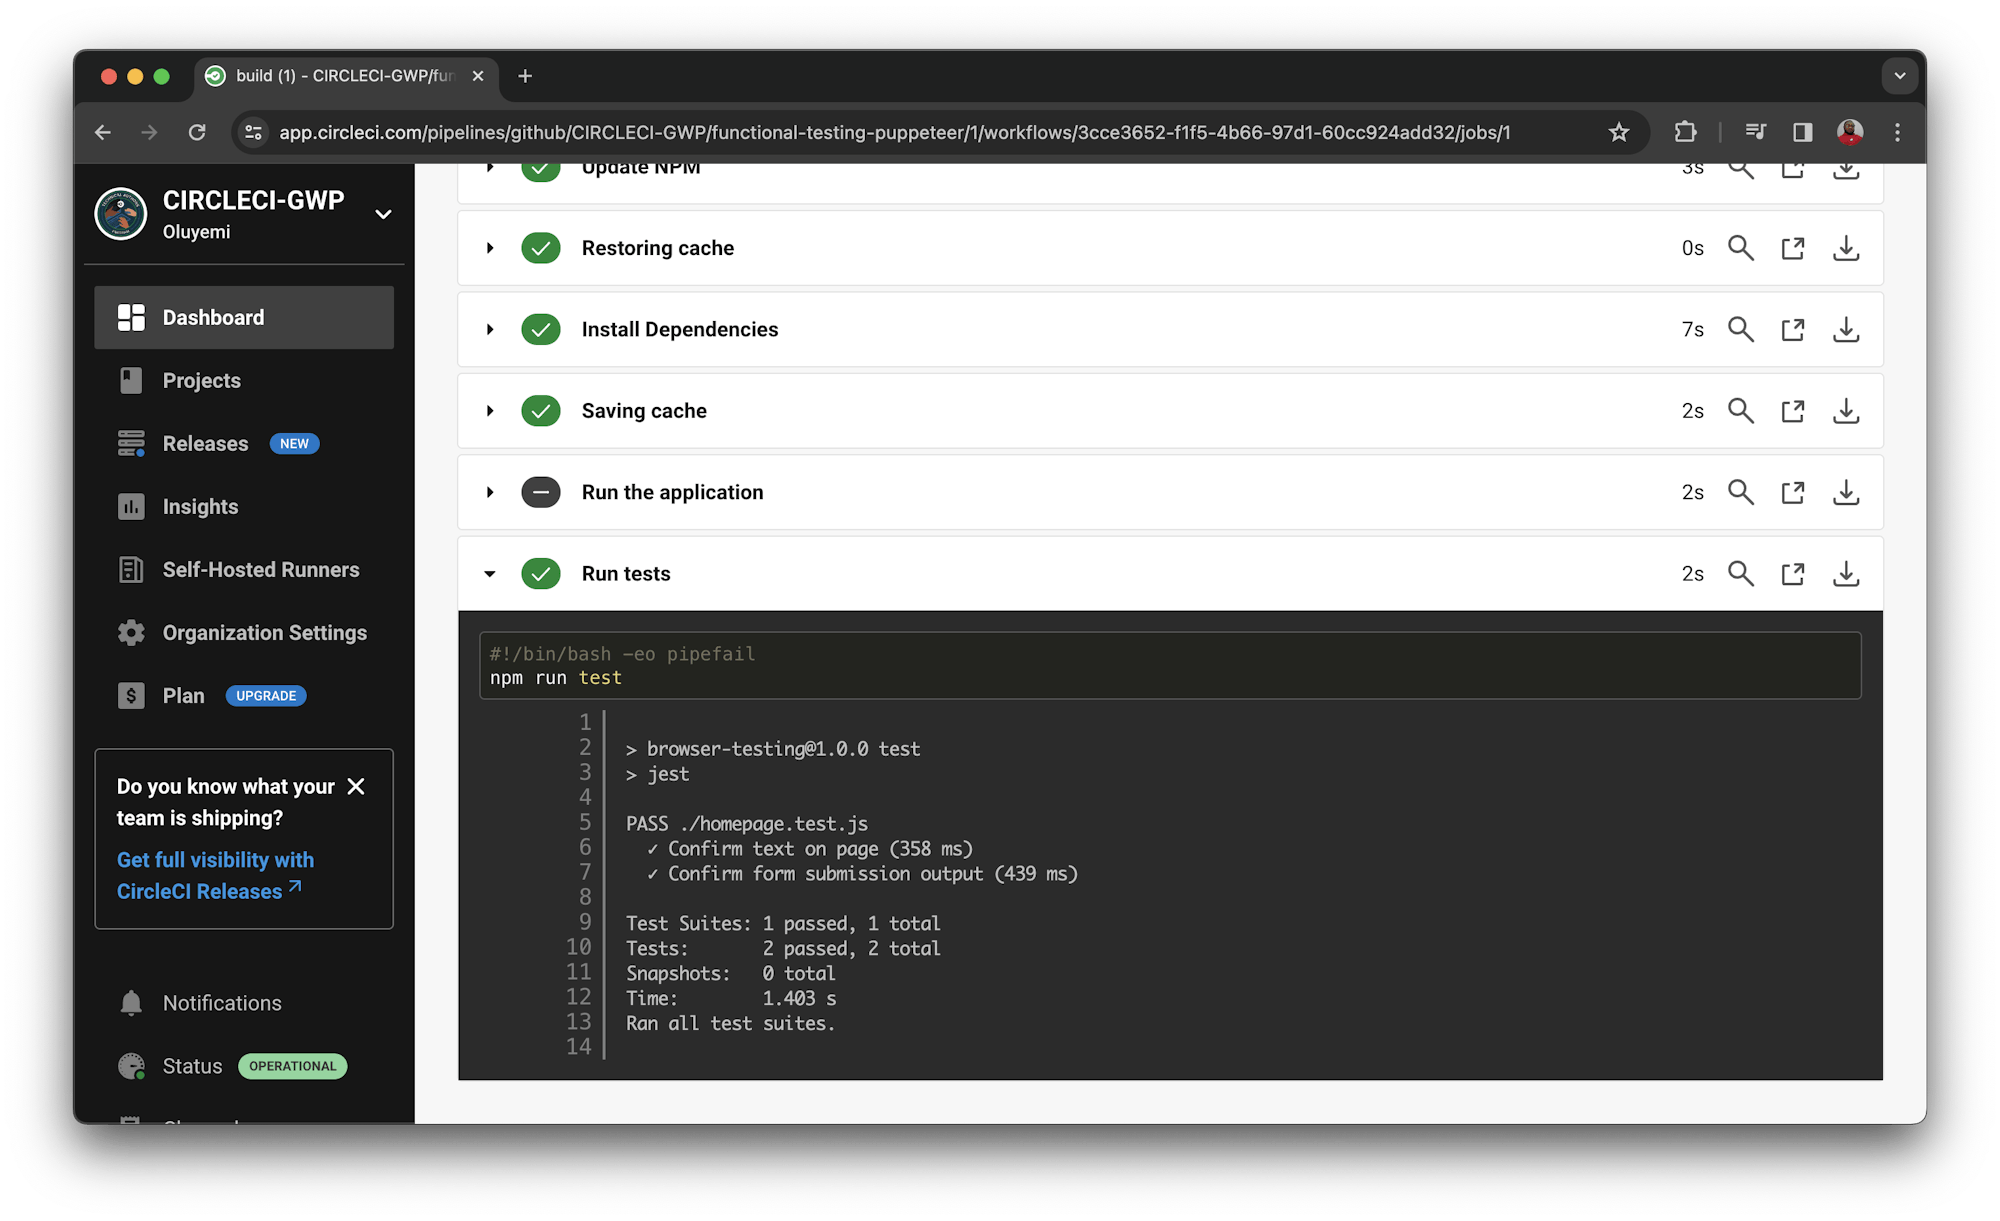
Success! Click build to review the details of the test.
Great work!
Conclusion
Testing from the perspective of a user of the application gives developers so much insight. You can learn how the different units of the application work together to help the user achieve their tasks in your applications. While most interface/browser tests are still completed manually, in this tutorial, you have learned how to automate these types of tests to speed up development flow and increase productivity.
Functional browser testing improves the quality of your application by giving your team the ability to quickly catch and respond to bugs. Be sure to share the details of your successful tests with your team so that they can also benefit.
Happy coding!
