Publishing a Python package

Fullstack Developer and Tech Author

For many software engineers and developers, using standard libraries or built-in objects is just not enough. To save time and increase efficiency, most developers build on work done by others. Whatever the coding problem, another programmer has likely already created a solution for it. Usually you don’t need to repeat the problem-solving process. This principle is known as Don’t Repeat Yourself or DRY.
Individuals, teams, and even the entire coding community share code that goes beyond the standard library of a programming language. If you have solved a coding problem, you can make it publicly available as an open source codebase for other developers to benefit from. These collections of code are called packages.
In this tutorial, you will build a simple Python package and create a continuous integration (CI) pipeline for it.
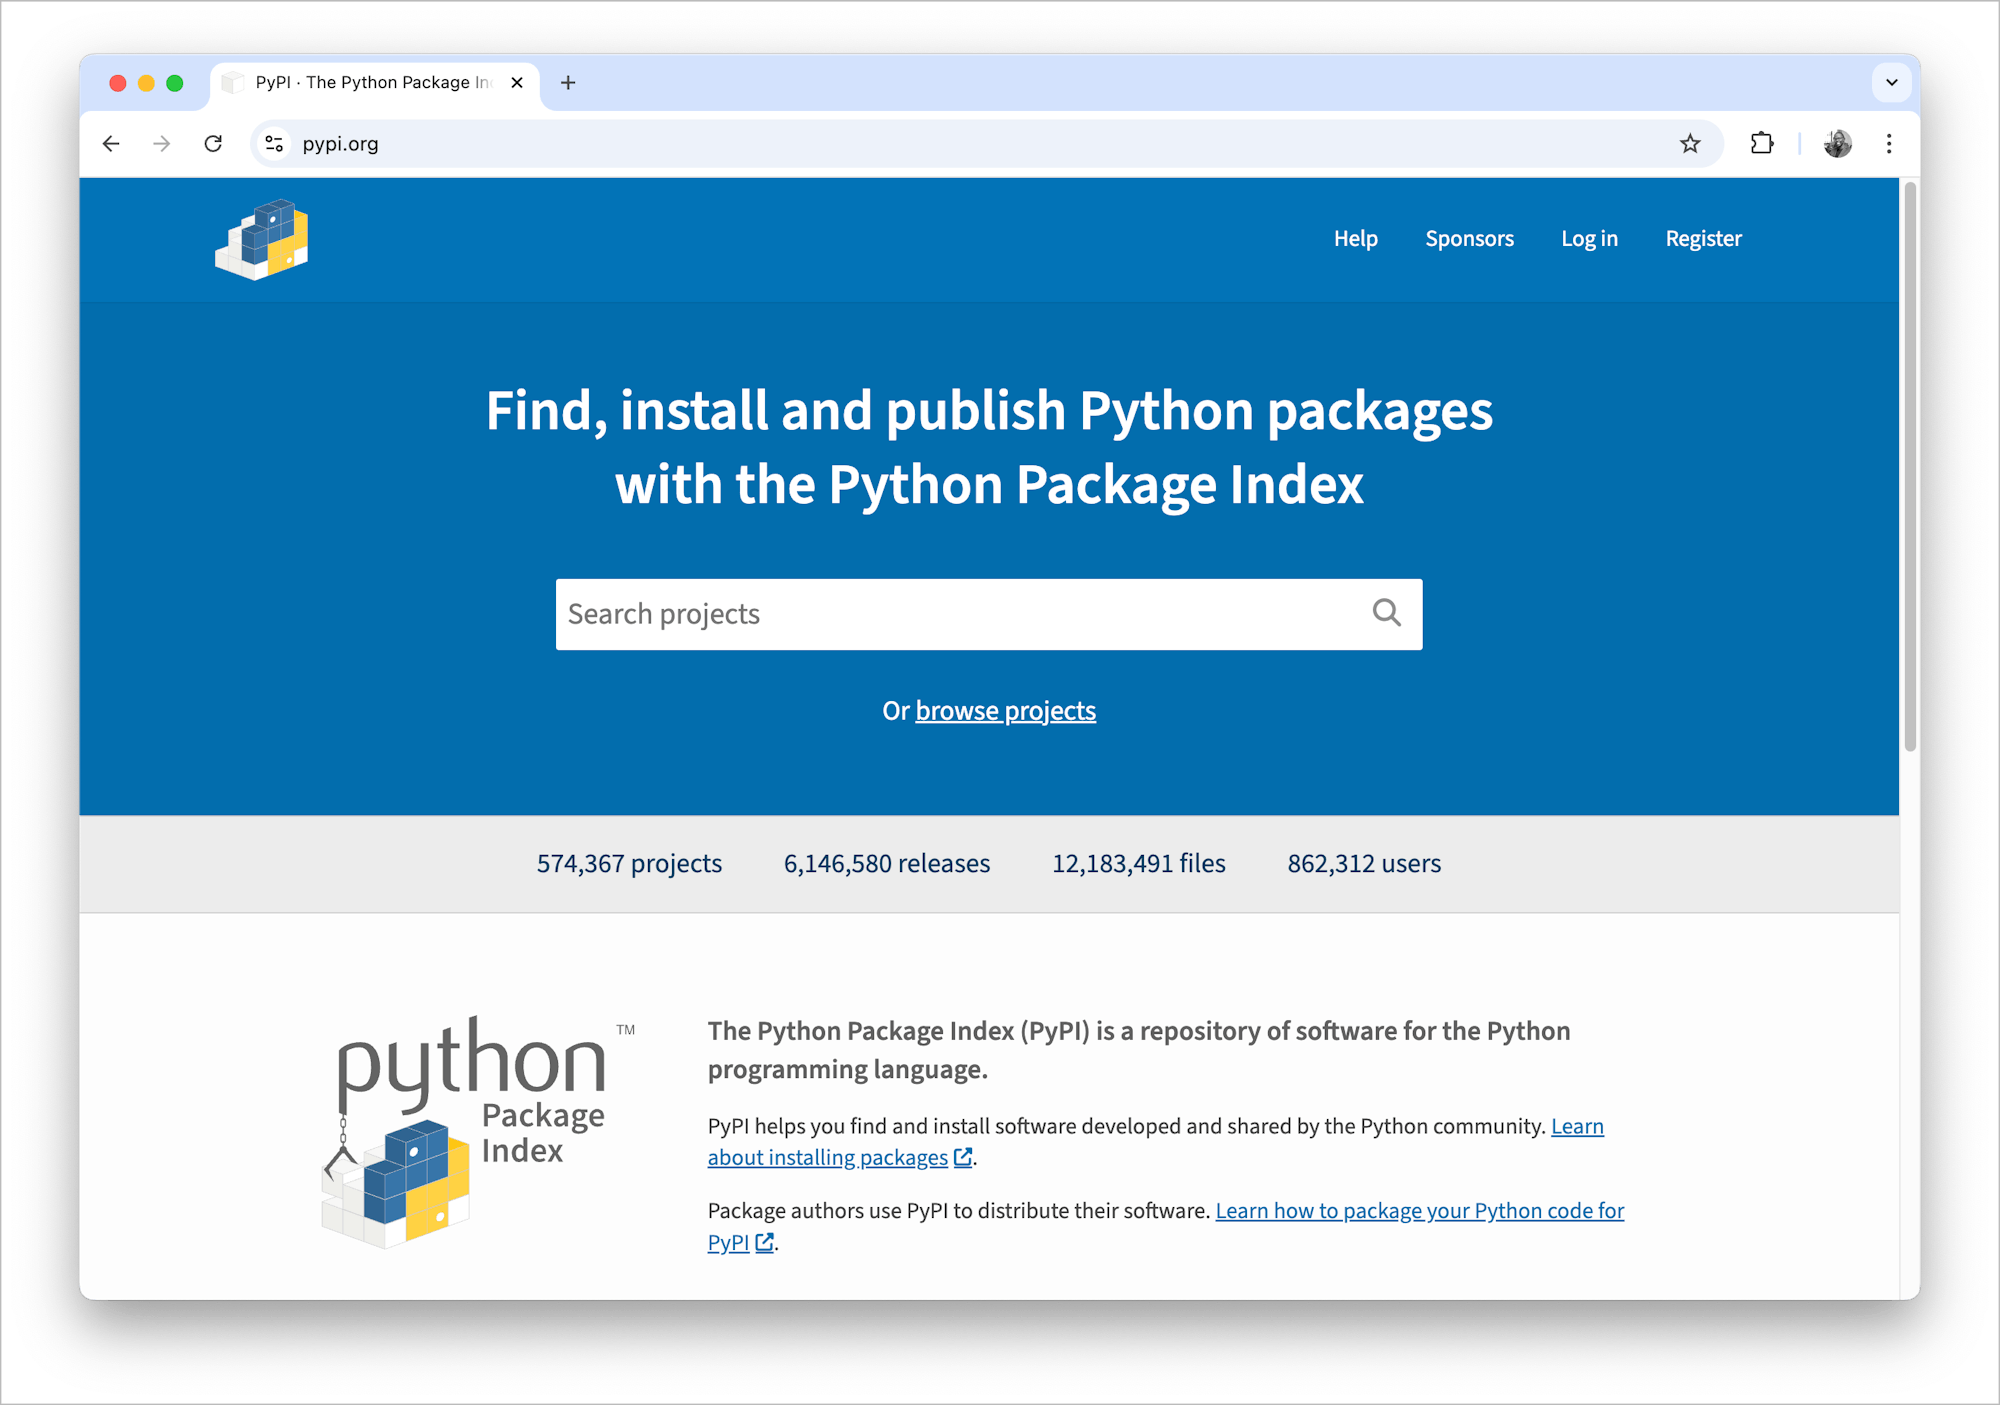
Most programming languages have tools available for publishing your packages. JavaScript and Python are good examples. For JavaScript, you can use Node Package Manager NPM. For Python, you can use the Python Package Index, also known as PyPI. Since you are building a Python package, you will be using PyPI for this tutorial.
Prerequisites
To complete this tutorial you will need:
- Basic knowledge of the Python programming language
- Python installed on your system. If you don’t have it already, you can download it
- A CircleCI account
- A GitHub account
- Accounts at test.pypi.org and pypi.org
Our tutorials are platform-agnostic, but use CircleCI as an example. If you don’t have a CircleCI account, sign up for a free one here.
Note: Both test.pypi.org and pypi.org require you to verify your email address. You will not be able to publish a package without confirming.
Creating a Python package
As I mentioned in the introduction, if the functionality you need is not in the standard Python library, there is most likely a package out there that delivers it. There are hundreds of thousands of Python packages available on pypi.org. You can search for the functionality you need, and choose from filtered list. Explore packages that are trending or new to see what functionalities, other programmers are packaging in general.
Our first task is to create a simple conversion package, which is achievable in a short amount of time. The package you create will allow a programmer to convert values for:
- Temperature (between Celsius and Fahrenheit)
- Distance (between kilometers and miles)
Using a typical package maintenance workflow as your model, you will provide updates over time that extend the usefulness of the package and/ or improve security. Start with temperature conversion then update the package to handle distance conversion to demonstrate how to extend a package. You will use a changelog to keep track of updates and inform users of the changes. More on that later.
Project structure
Choose a location in your system and create a project:
The project has:
- A base folder named
python-package(you can use any name you prefer) - A module/library folder named
convrsn(this is a sample name of the actual package) - A Python file within the package folder named
temperature.py
Make sure that the module/library folder name is a unique name that is not used by an existing package in the Test Python Package Index test.pypi.org or the Python Package Index pypi.org. Make search queries, in both indices, to confirm the availability of the names you want to use. For this tutorial, I chose the name convrsn.
With the project created and named, you can begin building functionality to convert temperature from fahrenheit to celsius and back. The logic will be contained in the file temperature.py.
Copy this code and paste it into the ./convrsn/temperature.py file:
def c2f(celcius):
    return (float(celcius) * 9/5) + 32

def f2c(fahrenheit):
    return (float(fahrenheit) - 32) * 5/9
Next, copy this code into __init__.py file:
Copy this code into setup.py, and then update author and author_email using your information:
from setuptools import setup, find_packages

VERSION = '0.0.1'
DESCRIPTION = 'A conversion package'
LONG_DESCRIPTION = 'A package that makes it easy to convert values between several units of measurement'

setup(
    name="<package name>",
    version=VERSION,
    description=DESCRIPTION,
    long_description=LONG_DESCRIPTION,
    author="<Your Name>",
    author_email="<your email>",
    license='MIT',
    packages=find_packages(),
    install_requires=[],
    keywords='conversion',
    classifiers= [
        "Development Status :: 3 - Alpha",
        "Intended Audience :: Developers",
        'License :: OSI Approved :: MIT License',
        "Programming Language :: Python :: 3",
    ]
)
To finish this step, can use the GitHub .gitignore template for Python. Copy the contents into this project’s .gitignore file.
The code should be similar to this.
Note: The version number in the setup.py file from the linked repository might be higher than “0.1.0”. In this tutorial, you will continue using this higher version. Make sure to set a version in your own setup.py file and use it consistently throughout.
Clone the linked repository by running:
Building the package files
In your terminal, create a virtual Python environment. At the root of the project, install the build package then build the package:
(Depending on your Python installation, you may need to use python3)
This command creates a source distribution and a shareable wheel that can be published on pypi.org.
To test this, create another virtual Python environment and navigate to a new folder - /test.
Note: I use a different location to prevent name-clashing between modules.
Then, install the convrsn package using the wheel distribution.
(Depending on your Python installation, you may need to use pip3)
Replace “.” with the relative path (if necessary).
Run:
Create a python script file named tests.py and enter (Relative to root is test/tests.py):
from convrsn.temperature import f2c, c2f

print(f"{f2c(32)}")  # Result should be 0.0
print(f"{c2f(0)}")  # Result should be 32.0
To test, run the script while still in the virtual Python environment.
With a successful output, your Python package is ready for publishing.
Publishing the Python package
In this step of the tutorial, you will follow the workflow a real-life package creator and maintainer might use. First, you will publish your package to test.pypi.org to make sure everything is working. When you are ready to publish to your package users, move on to pypi.org.
Python Packaging Authority (PYPA) have a nifty package to help with this called twine. Let’s install twine, then publish to test.pypi.org. In your terminal, go to the root folder of your package and run:
For the next step of publishing the package, you will be asked to enter your API token for the site. Let’s get that token first. You have two options to get to the “Create API token” page:
-
Navigate to “Account Settings”, scroll to “API tokens”, then click Add API token.
-
Alternatively, you can navigate to the package’s settings page, and under “API tokens”, click Create a token for convrsn
Either way, you should be at the “Create API token” page. Enter “Token name” and specify the “Scope” to be Entire account (all projects)
Note: You are only selecting this scope for the first time. Notice the word of caution - a token at this scope will have upload permissions for all of your current and future projects. Afterward, especially for the CI/CD pipeline, you’ll use a token with a more limited project scope.
After clicking Create token, the API token is redacted for security. It appears only once, so copy and save it securely.
With the token generated, you can upload the package. You’ll be prompted to enter the API token. Run this command:
$ twine upload --repository testpypi dist/*
Uploading distributions to https://test.pypi.org/legacy/
Enter your API token:
Uploading convrsn-0.1.0-py3-none-any.whl
100% ━━━━━━━━━━━━━━━━━━━━━━━━━━━━━━━━━━━━━━━━ 4.8/4.8 kB • 00:00 • ?
Uploading convrsn-0.1.0.tar.gz
100% ━━━━━━━━━━━━━━━━━━━━━━━━━━━━━━━━━━━━━━━━ 4.6/4.6 kB • 00:00 • ?

View at:
https://test.pypi.org/project/convrsn/0.1.0/
In a separate Python virtual environment, pip install the package. When you run pip install <package-name>, pip searches for the package files in the official Python Package Index, on pypi.org.
$ pip install --index-url https://test.pypi.org/simple convrsn
Looking in indexes: https://test.pypi.org/simple
Collecting convrsn
  Downloading https://test-files.pythonhosted.org/packages/5e/27/dd473da8ec595f63205354727b29db2d433d700220f5d5465a83272f5b25/convrsn-0.1.0-py3-none-any.whl.metadata (442 bytes)
Downloading https://test-files.pythonhosted.org/packages/5e/27/dd473da8ec595f63205354727b29db2d433d700220f5d5465a83272f5b25/convrsn-0.1.0-py3-none-any.whl (1.6 kB)
Installing collected packages: convrsn
Successfully installed convrsn-0.1.0
Then, run the test/tests.py script:
Success! Now you can automate the publishing process with CircleCI.
Automating package publishing with CircleCI
It is no secret that CircleCI is great for automating scripts. It turns out it is also great for creating a repeatable process for package publication. In this section, you will create a process that can:
- Upgrade from Test PyPI to PyPI
- Maintain checks (if you include tests)
- Allow credentials to be used only by the pipeline, without sharing with every developer working on the package
To begin by creating tests. Create a folder named tests. In it, create a file and name it test_temperature.py. In tests/test_tempertaure.py, enter:
from convrsn.temperature import f2c, c2f

def test_f2c():
    assert f2c(32) == 0.0

def test_c2f():
    assert c2f(0) == 32.0
While you are in the Python virtual environment containing the convrsn package, go to the root folder and pip install pytest, then run the pytest command:
Both tests should pass successfully.
======================== test session starts ========================
platform darwin -- Python 3.12.6, pytest-8.3.3, pluggy-1.5.0
rootdir: /Users/stanmd/Projects/python-package
collected 2 items

tests/test_temperature.py ..                                    [100%]

========================= 2 passed in 0.01s =========================
Next, add a CircleCI configuration file to the project. Create a folder named .circleci. In the new folder, create a file named config.yml. In .circleci/config.yml, copy and paste:
version: 2.1
jobs:
  build_test:
    docker:
      - image: cimg/python:3.12
    steps:
      - checkout # checkout source code to working directory
      - run:
          command: | # create whl, remove 'convrsn' folder, install dependency - pytest library
            sudo add-apt-repository universe -y
            sudo apt-get update
            sudo apt install -y python3-pip
            sudo pip install pipenv
            pipenv install build
            pipenv run python3 -m build
            rm -rf convrsn
            pipenv install pytest
            pipenv install dist/convrsn-0.1.1-py3-none-any.whl
      - run:
          command: | # Run test suite
            echo "Running test suite"
            pipenv run pytest
  test_pypi_publish:
    docker:
      - image: cimg/python:3.12
    steps:
      - checkout # checkout source code to working directory
      - run:
          command: | # create whl, install twine and publish to Test PyPI
            sudo add-apt-repository universe -y
            sudo apt-get update
            sudo apt install -y python3-pip
            sudo pip install pipenv
            pipenv install build
            pipenv run python3 -m build
            pipenv install twine
            pipenv run twine upload --repository testpypi dist/* --verbose
  pypi_publish:
    docker:
      - image: cimg/python:3.12
    steps:
      - checkout # checkout source code to working directory
      - run:
          command: | # create whl, install twine and publish to PyPI
            sudo add-apt-repository universe -y
            sudo apt-get update
            sudo apt install -y python3-pip
            sudo pip install pipenv
            pipenv install build
            pipenv run python3 -m build
            pipenv install twine
            pipenv run twine upload dist/* --verbose --password $TWINE_PROD_PASSWORD
workflows:
  build_test_publish:
    jobs:
      - build_test
      - test_pypi_publish:
          requires:
            - build_test
          filters:
            branches:
              only:
                - develop
      - pypi_publish:
          requires:
            - build_test
          filters:
            branches:
              only:
                - main
This configuration file instructs the pipeline to install the necessary dependencies, run tests, and publish the package. The workflow part of the configuration specifies filters - the sequence the jobs should be executed in, and their dependencies.
For example, the jobs test_pypi_publish and pypi_publish cannot run if the build_test job fails. The test_pypi_publish and pypi_publish jobs run only in the develop and main branches, respectively.
Connecting the project to CircleCI
Begin by pushing your project to GitHub.
Your repository should be similar to this.
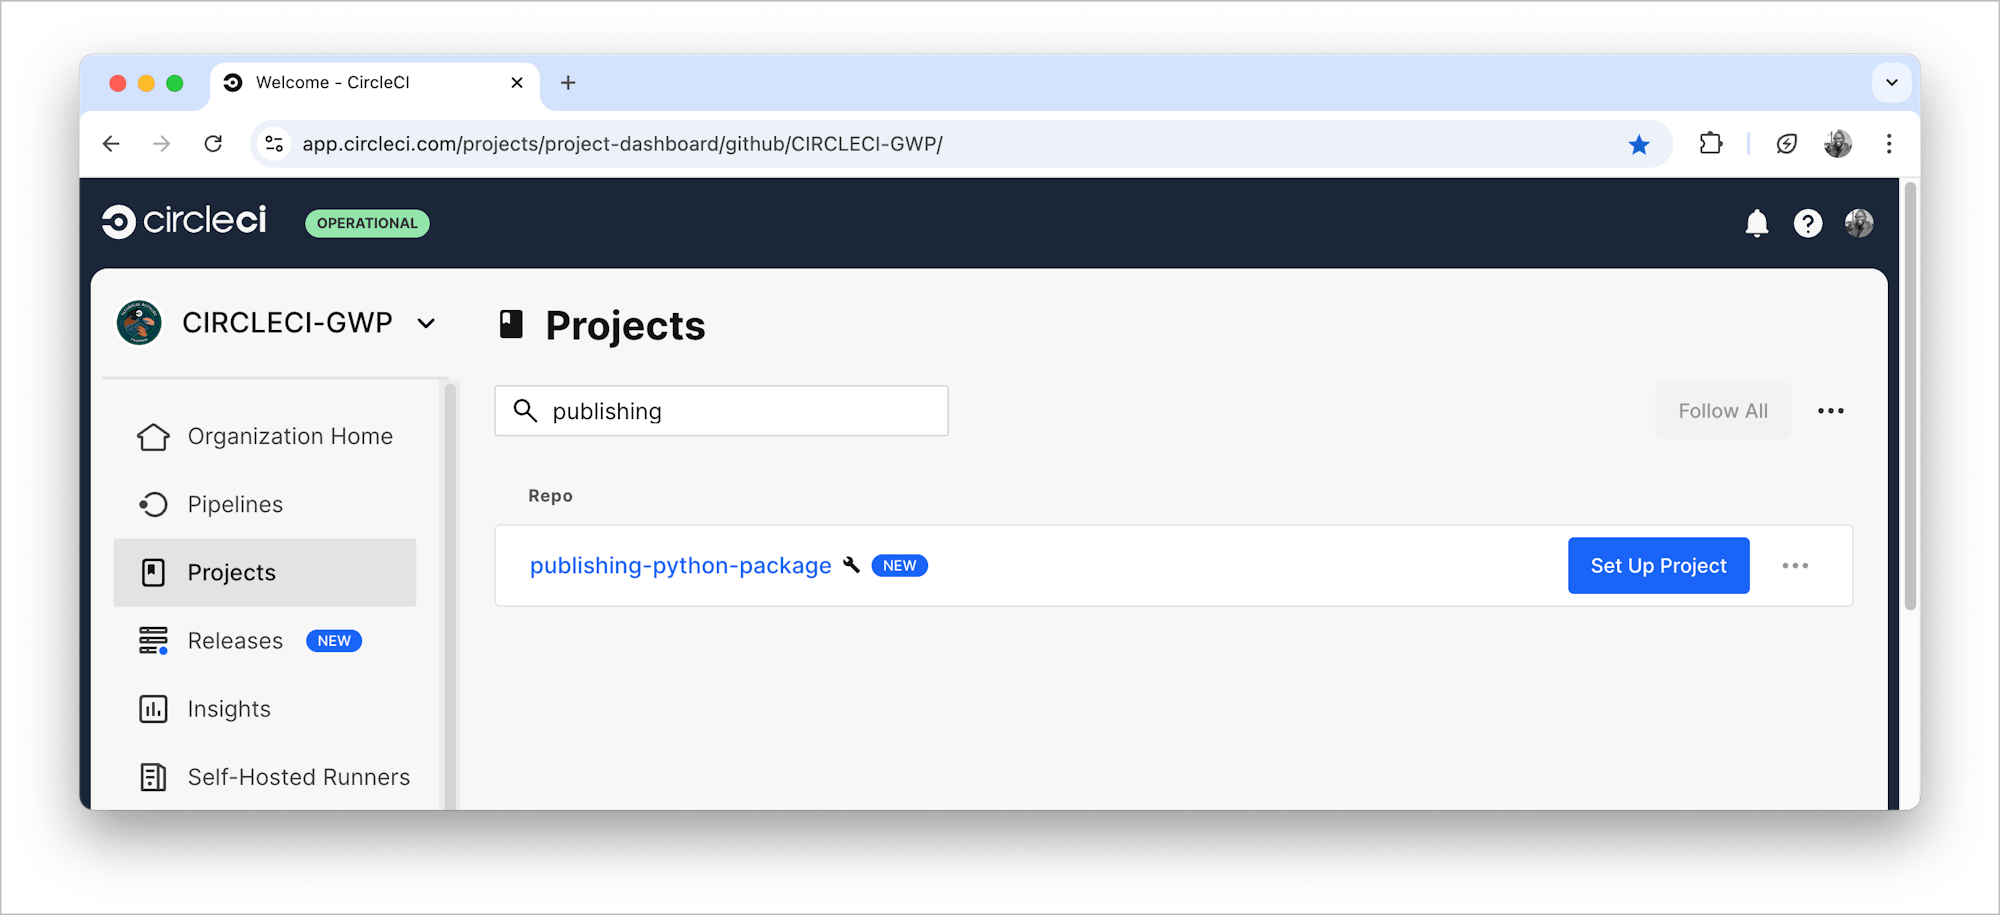
Now, log in to your CircleCI account. If you linked up the account with your GitHub account, all your repositories will be available on the dashboard. Click Set Up Project next to your publishing-python-package project.
In the space provided, enter the name of the branch your configuration file is on. Click Set Up Project.
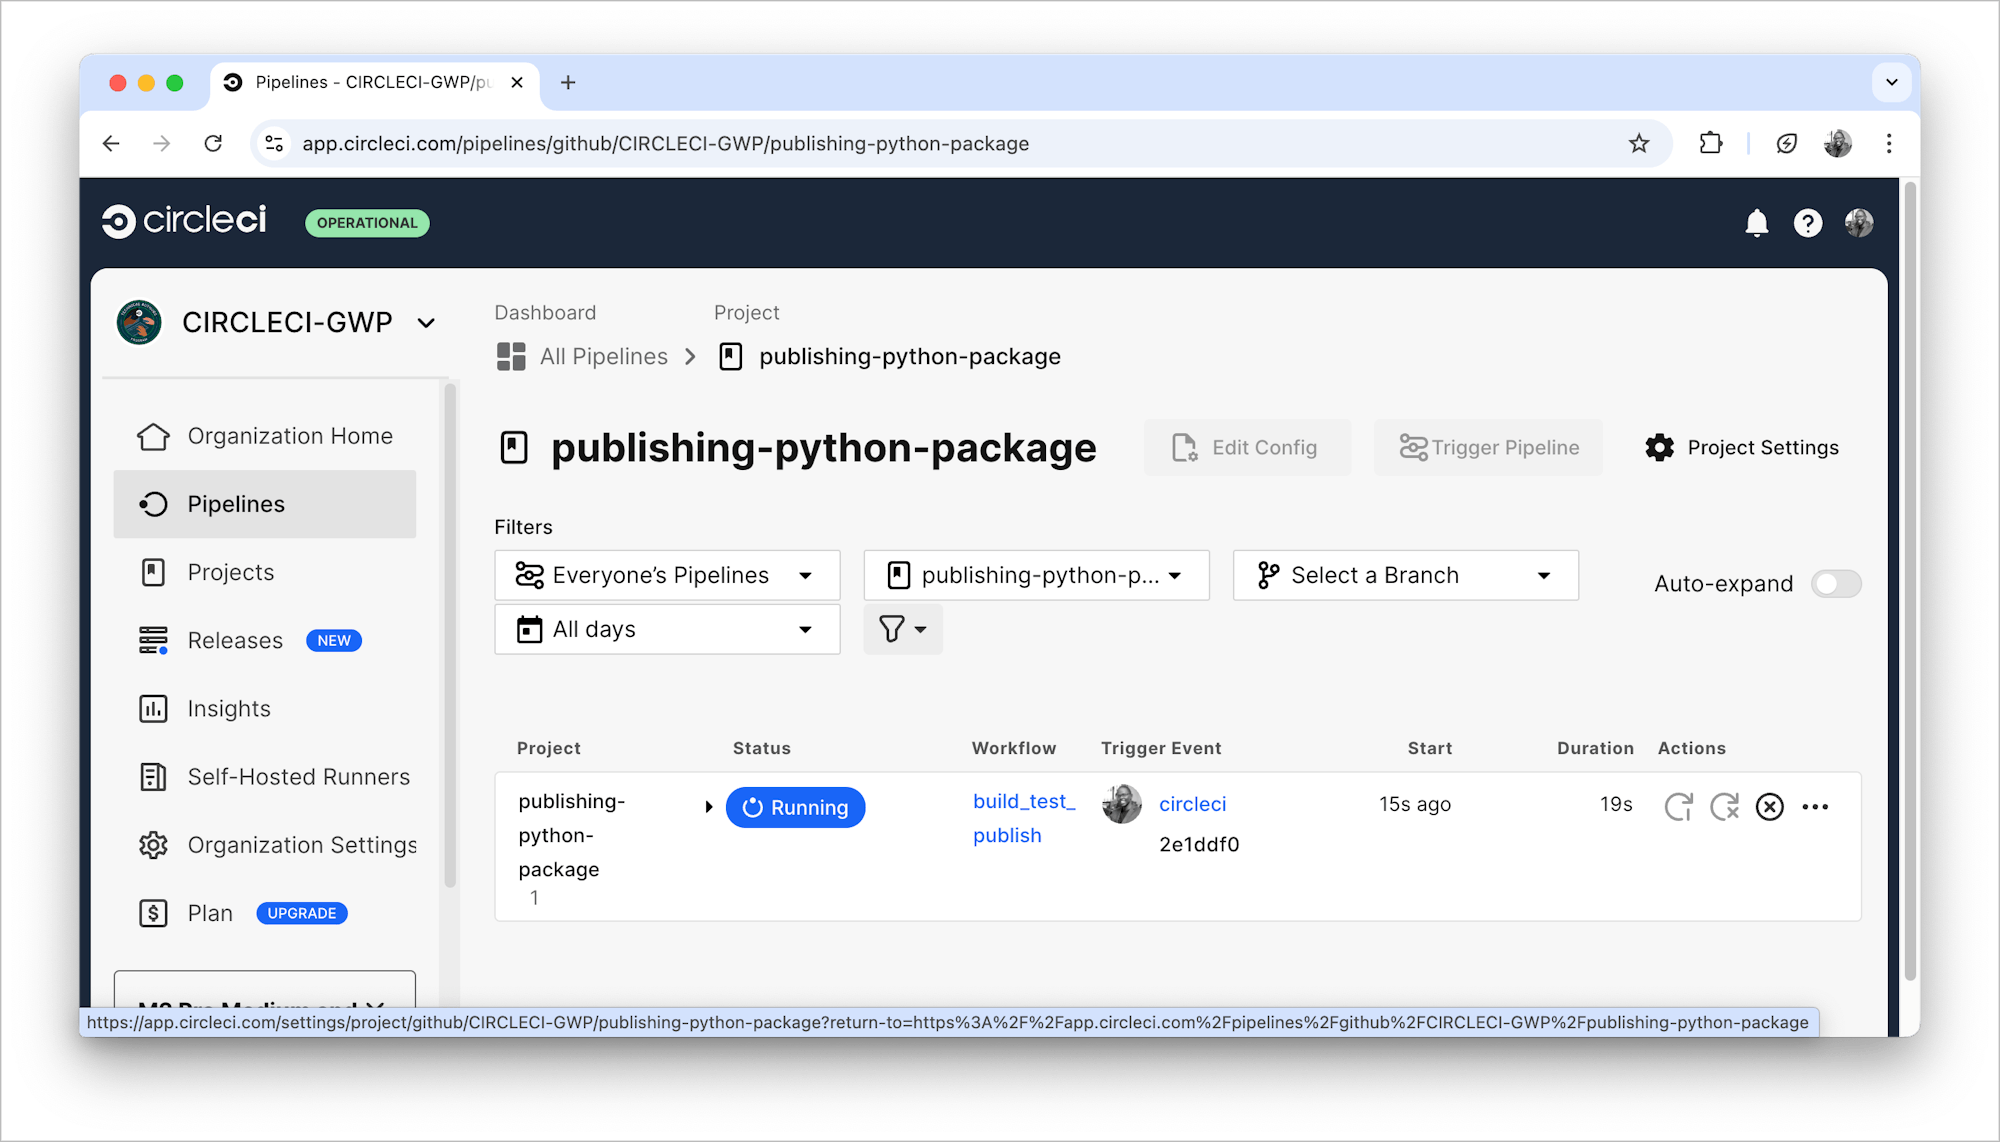
The build_test job will pass, but if you are in either the main or develop branches, expect the build to fail. That is because the test_pypi_publish and pypi_publish jobs cannot run yet.
Remember that Test PyPI credentials were expected when you published the package using twine. You weren’t able to interact with the terminal while it was running the command in the pipeline.
To supply these credentials, you could add flags to the command: twine upload -u USERNAME -p PASSWORD. But because the config file is tracked by Git, using the flags would be a security risk. It is best practice not to commit sensitive information to Git, even for a private repository. You can avoid this risk by creating environment variables.
Creating environment variables
While still on the CircleCI project (publishing-python-package, in this case), click Project Settings on the top right part of the page.
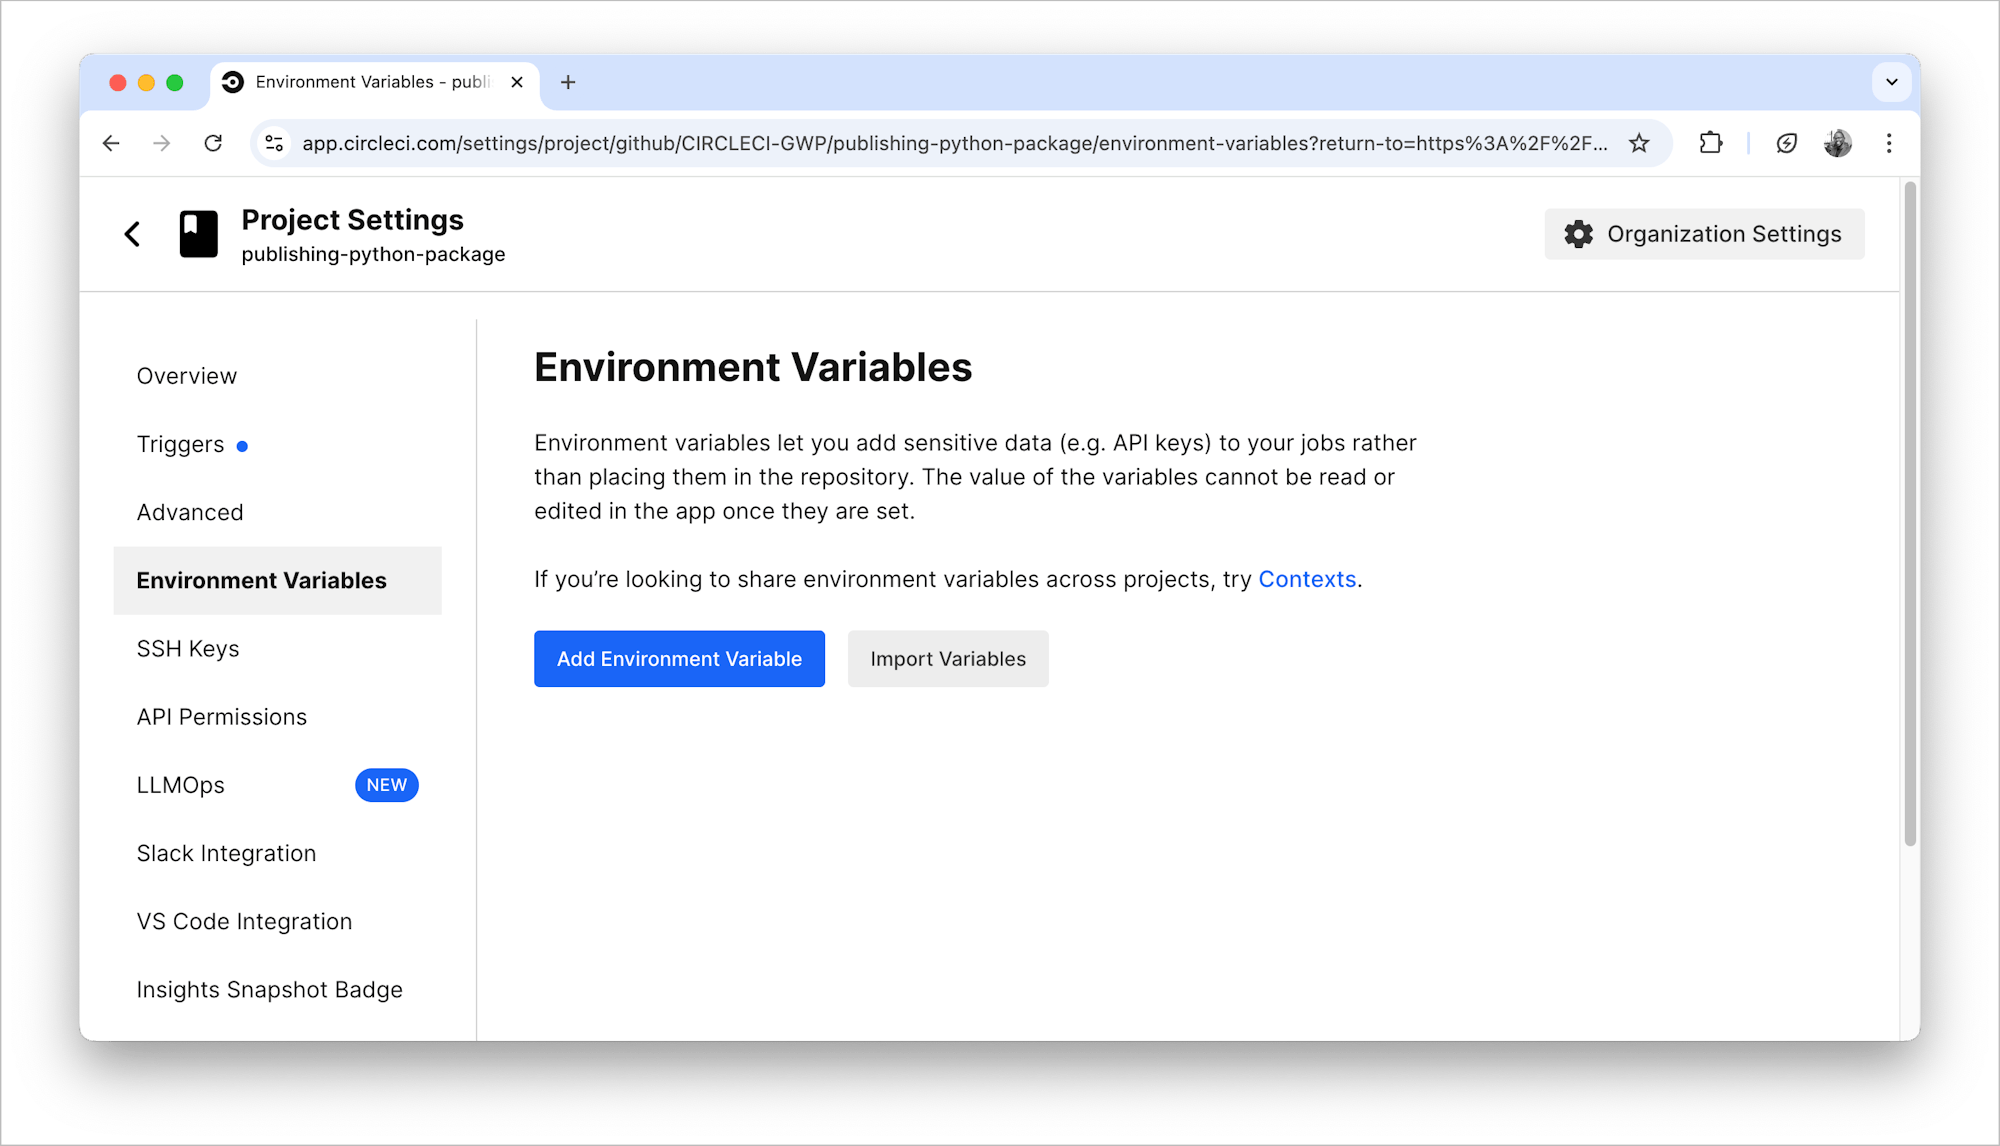
Select Environment Variables from the menu on the right. Then, click Add Environment Variable.
Enter the key-value pairs of TWINE_USERNAME as __token__, TWINE_PASSWORD as the API token from Test PyPI, and TWINE_PROD_PASSWORD as the API token from PyPI.
Remember to use a project-scoped token for both Test PyPI and PyPI.
This is the expected result.
Your next step is creating a change log.
Adding a change log
In your local project, create a file named CHANGELOG.md and enter:
# Change Log

All notable changes to this project will be documented in this file.

The format is based on [Keep a Changelog](http://keepachangelog.com/)
and this project adheres to [Semantic Versioning](http://semver.org/).

## [0.1.1] - 2024-10-07

### Added

- Temperature conversion
To make sure the build succeeds, you also need to bump the version in setup.py to 0.1.1 to match the change log.
Note: If you don’t bump the version, the publishing job will fail because you cannot publish the same version twice.
Update the version in setup.py and in CircleCI config file .circleci/config.yml. Commit the changes and push to GitHub to trigger a build.
Updating the package
To extend the package functionality, you can create another branch and make updates to it. After that:
- Create tests for it
- Bump the version in
setup.py - Bump the version of the
whlfile in the CircleCI config file - Update the
ChangeLog - Push to GitHub
When you have a successful build, create a GitHub Pull Request (PR) to the develop branch. If it looks good, merge it.
The code update to develop branch triggers a build and an update to Test PyPI. When that build succeeds, create a PR to the main branch, review it, and merge.
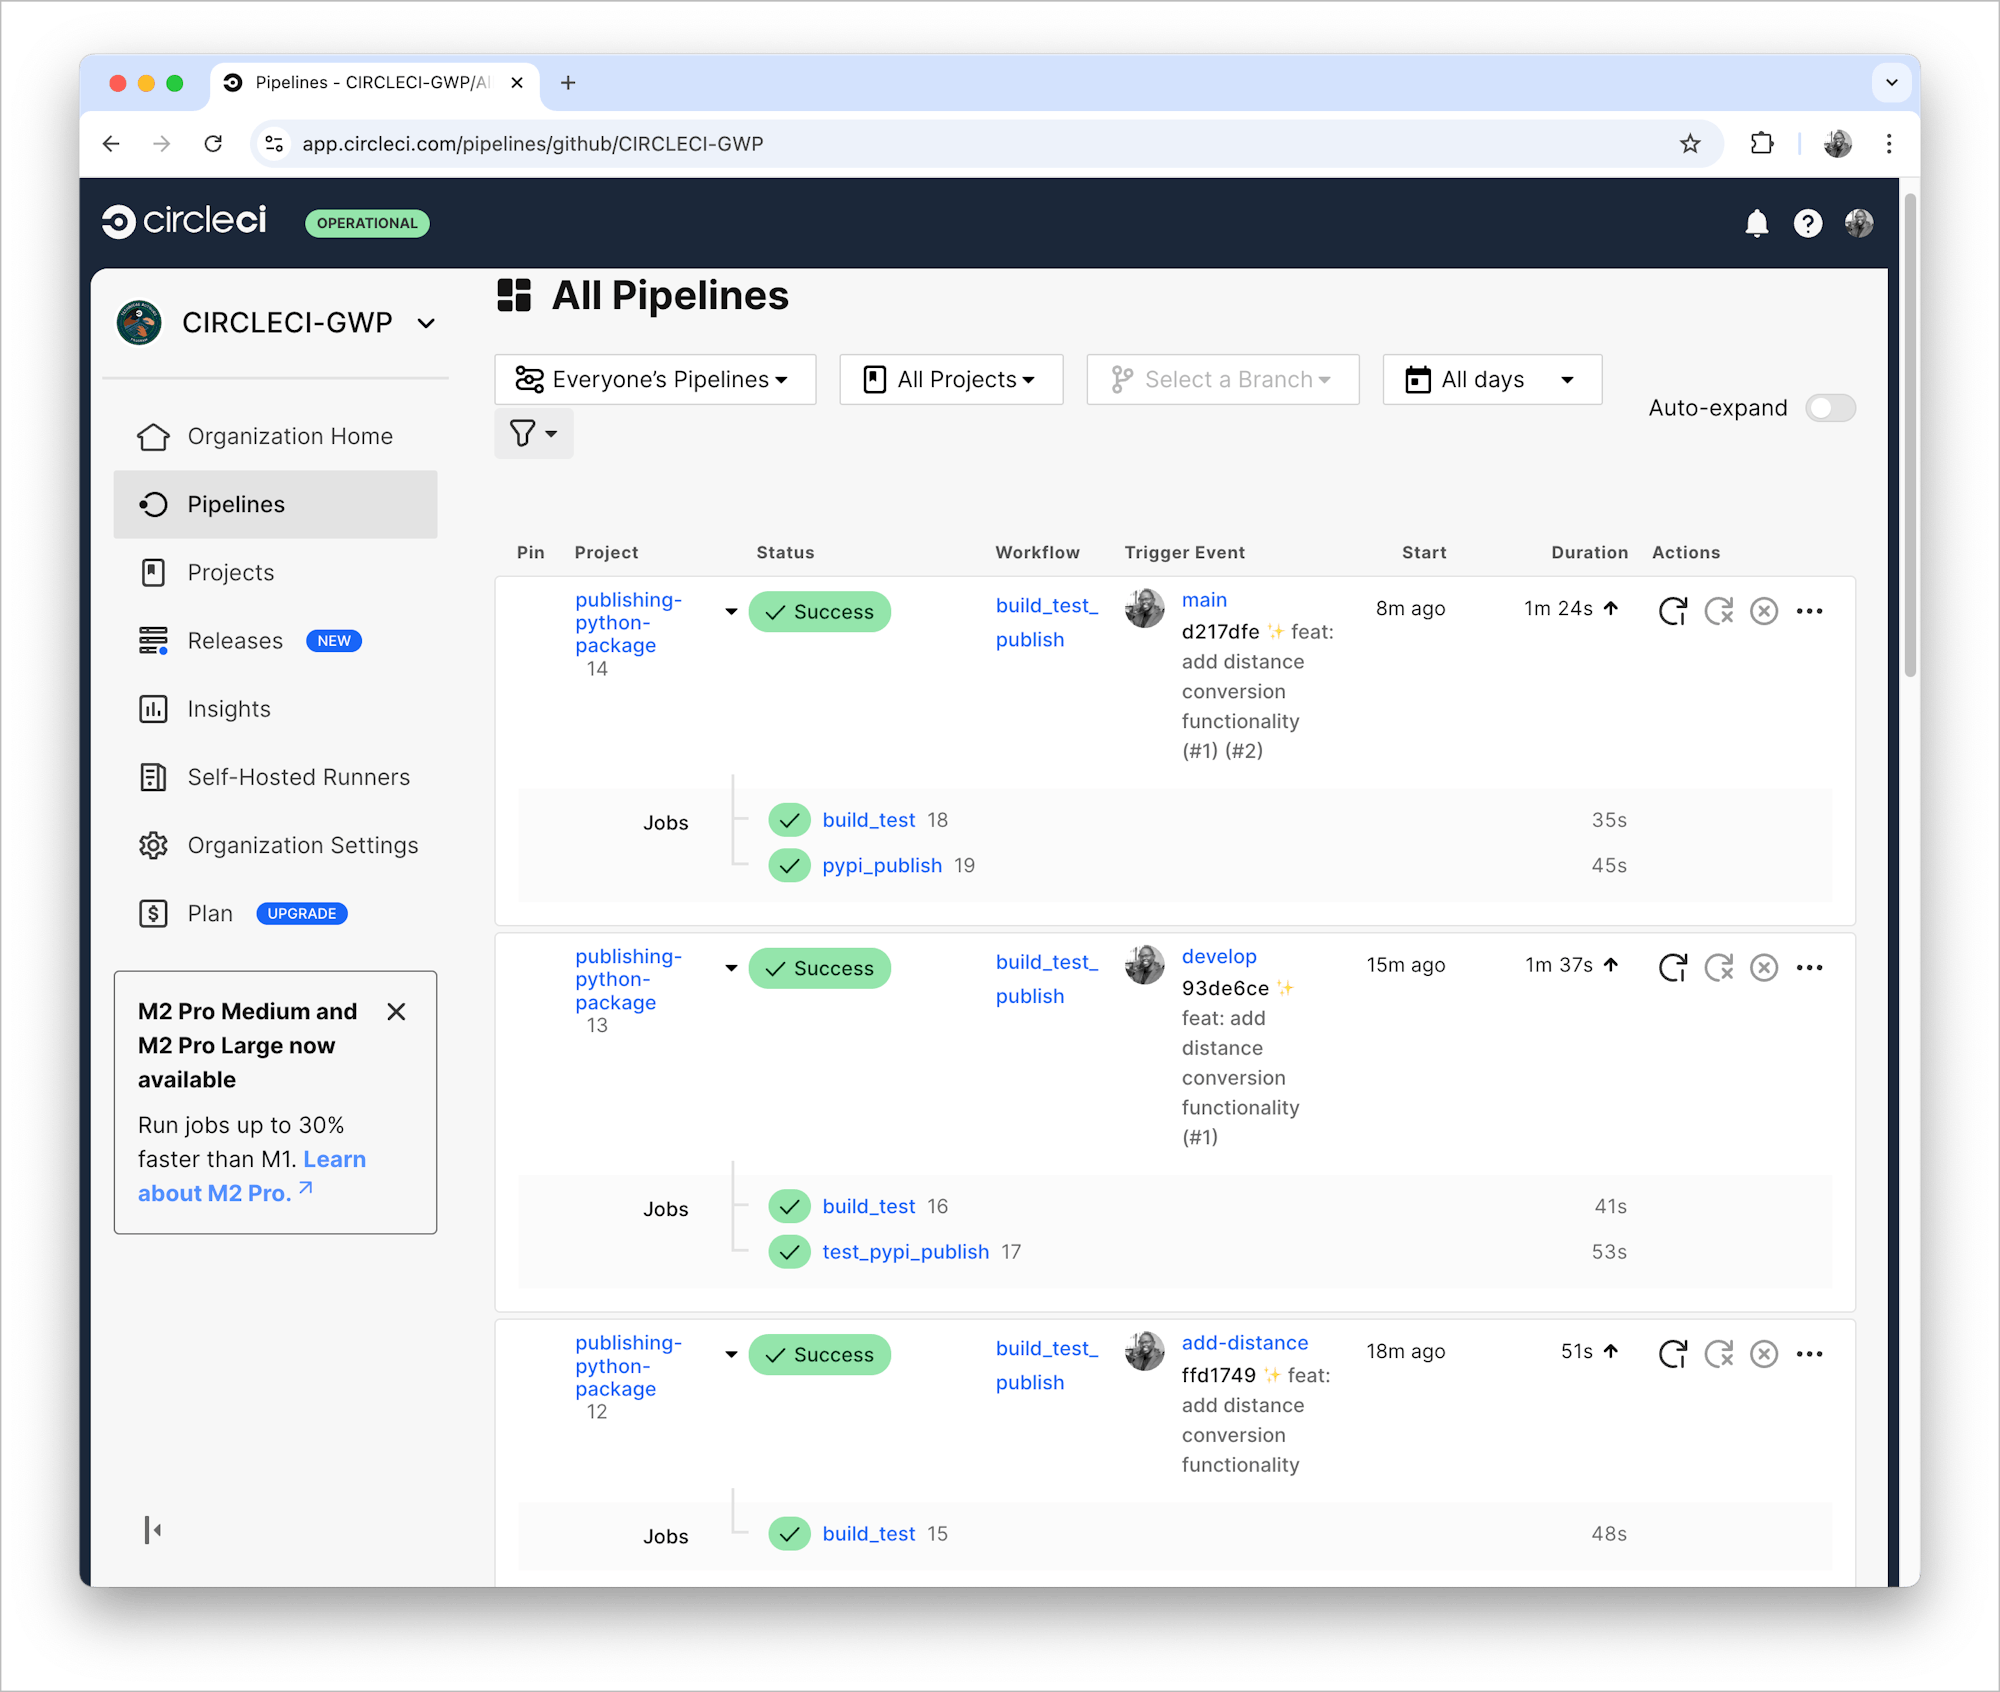
The code update to main branch triggers a build and an update to PyPI.
Take a look at these sample pull requests:
The package on Test PyPI and on PyPI has the added functionality of distance conversion from kilometer to miles and the reverse. The PRs were merged when builds were successful.
Conclusion
There you have it, a successful, repeatable process suitable for a Python package maintainer enabled by CI/CD. You went through setting up a Python package project, creating Python wheels, and installing a package using a whl file. Then you published the package from a local machine and automated the process using CircleCI.
Keep building!
