React is an open source JavaScript library known for its simplicity and incredible performance when creating an interactive user interface. React has gained wide adoption from web developers and reputable companies. While there are other frameworks in the JavaScript ecosystem, React is often the first choice when it comes to user interface and frontend business logic.
In this tutorial, I will guide you on how to automate the deployment of your React web application to an Azure Web App service by setting up a continuous deployment (CD) pipeline on CircleCI. To help facilitate this process, you will use the Azure CLI orb for authentication and to directly deploy your application.
Microsoft Azure Web Apps is a platform-as-a-service (PaaS) that lets you publish web apps running on multiple frameworks and written in different programming languages. You can then use a continuous integration and delivery (CI/CD) tool to build, test, and deploy web applications for a faster release cycle, more efficient development, and higher-quality code.
Prerequisites
You will need these to get the most from this tutorial:
- Node.js version 16 or higher installed on your computer
- A GitHub account
- A CircleCI account
- An Azure (pay-as-you-go) account
- Basic knowledge of building applications with React
Getting started
This tutorial uses a simple React application that will retrieve the list of posts from JSONPlaceholder, a free fake API for testing and prototyping. To begin, you will use Create React App to scaffold a new React application. Issue the command below to do that.
When prompted with:
press Enter.
Once the installation process is completed, move into the new application folder and run the application:
Open http://localhost:3000/ in your browser (if it hasn’t opened already) to review your app.
Installing other dependencies
Now, install other dependencies for the application:
Axios: This is a promise-based HTTP tool used for sending HTTP Requests to a backend or third-party API.Bootstrap: An open-source CSS framework for building a responsive user interface.
Stop the application from running by pressing Ctrl + C. Run this command:
Next, open index.js at the src folder of the application and import Bootstrap:
import React from 'react';
import ReactDOM from 'react-dom/client';
import './index.css';
import App from './App';
import reportWebVitals from './reportWebVitals';

import "bootstrap/dist/css/bootstrap.min.css"; // add this

const root = ReactDOM.createRoot(document.getElementById('root'));
root.render(
  <React.StrictMode>
    <App />
  </React.StrictMode>
);

// If you want to start measuring performance in your app, pass a function
// to log results (for example: reportWebVitals(console.log))
// or send to an analytics endpoint. Learn more: https://bit.ly/CRA-vitals
reportWebVitals();
Retrieving the posts from JSONPlaceholder
Here you will use Axios to fetch posts from the JSONPlaceHolder API once the application is rendered.
Open App.js and replace its content with:
import axios from "axios";
import React, { useEffect, useState } from "react";
import "./App.css";

function App() {
  const [posts, setPosts] = useState(null);

  useEffect(() => {
    axios
      .get("https://jsonplaceholder.typicode.com/posts")
      .then((response) => setPosts(response.data));
  }, []);

  return (
    <div className="container">
      <div className="row">
        <div className="col-md-12 text-center" style={{ margin: "50px 0" }}>
          <h1>
            {" "}
            Fake <i>100</i> Posts from JSON Placeholder
          </h1>
        </div>
      </div>
      <div className="row">
        {posts &&
          posts.map((post) => (
            <div className="card col-md-4">
              <div className="card-body">
                <h5 className="card-title">{post.title}</h5>
                <p className="card-text">{post.body}</p>
              </div>
            </div>
          ))}
      </div>
    </div>
  );
export default App;
This snippet sends a GET HTTP request to the API to retrieve the list of posts and render it within the view.
Also, replace App.css content to add some custom styling. Use this code snippet:
At this point, you can use npm run start to run the application again.
Creating an Azure web app
In this section, you will create an Azure web app to display your React application. If you do not have one already, create an account. Then go to your Azure portal dashboard.
You’ll need to create a subscription before you can create the app.
Click Subscriptions.
On the next screen, click + Add to select a subscription offer. Then, click Select offer on the card labelled Pay-As-You-Go. This tutorial uses Pay-As-You-Go as the selected subscription offer. The results may vary if another offer is selected.

Note: Later on in this tutorial, you will use a FREE pricing plan when creating the resource. You should not incur any costs.
When you click Select Offer, you are redirected to a new browser tab. Agree to the terms and click Next. The second checkbox is optional.
Enter your payment details, click Next, and complete the process,
Or, select an existing payment method.
Click Sign up.
Azure confirms your information and sets up your account. On the next screen, click Microsoft Azure (on the top left) to go back to the home page. There, click Create a resource to create a new service instance.
Next, click Create under Web App from the Popular list.
 You will be redirected to the Create Web App page. Select an Azure subscription and a resource group. Create a new resource group if you have not done that.
Now, enter a friendly, unique name for your web app. For this tutorial, I have used azure-react-tutorial. Fill out the other fields.
Project Details:
- Subscription:
Pay-As-You-Go. Select the subscription you just created. - Resource Group:
demo. Create a new one, if necessary. You’ll need this Resource Group name value later.
Instance Details:
- Name:
azure-react-tutorial. Choose a unique name for this. You’ll need this Instance name later. - Publish:
code - Runtime stack:
Node 18 LTS. Optionally, select Node 16 LTS, if the app you created locally wasNode 16. - Operating system:
Linux(or Windows). - Region:
East US. I chose the default one. For production, select the one closest to most of your users.
Pricing plans:
- Linux plan: This will show “Windows Plan”, if you selected Windows. Select the autogenerated one or Create new.
- Pricing plan:
Free F1 (Shared infrastructure). This is available for both Windows and Linux. - Zone redundancy: This is applicable for Premium pricing plans only. For production, it’s advisable to have this enabled.
Click Review + create, then Create. Or, click Next: Deployment and the perform the next steps: Networking, Monitoring, Tags, and Review for granular configuration. Wait while Azure sets up the web app environment.
After some time, your web app is ready to host the React.js application. Click Go to resource to view your app. You’ll refer to this page as the Azure app homepage later in this tutorial.
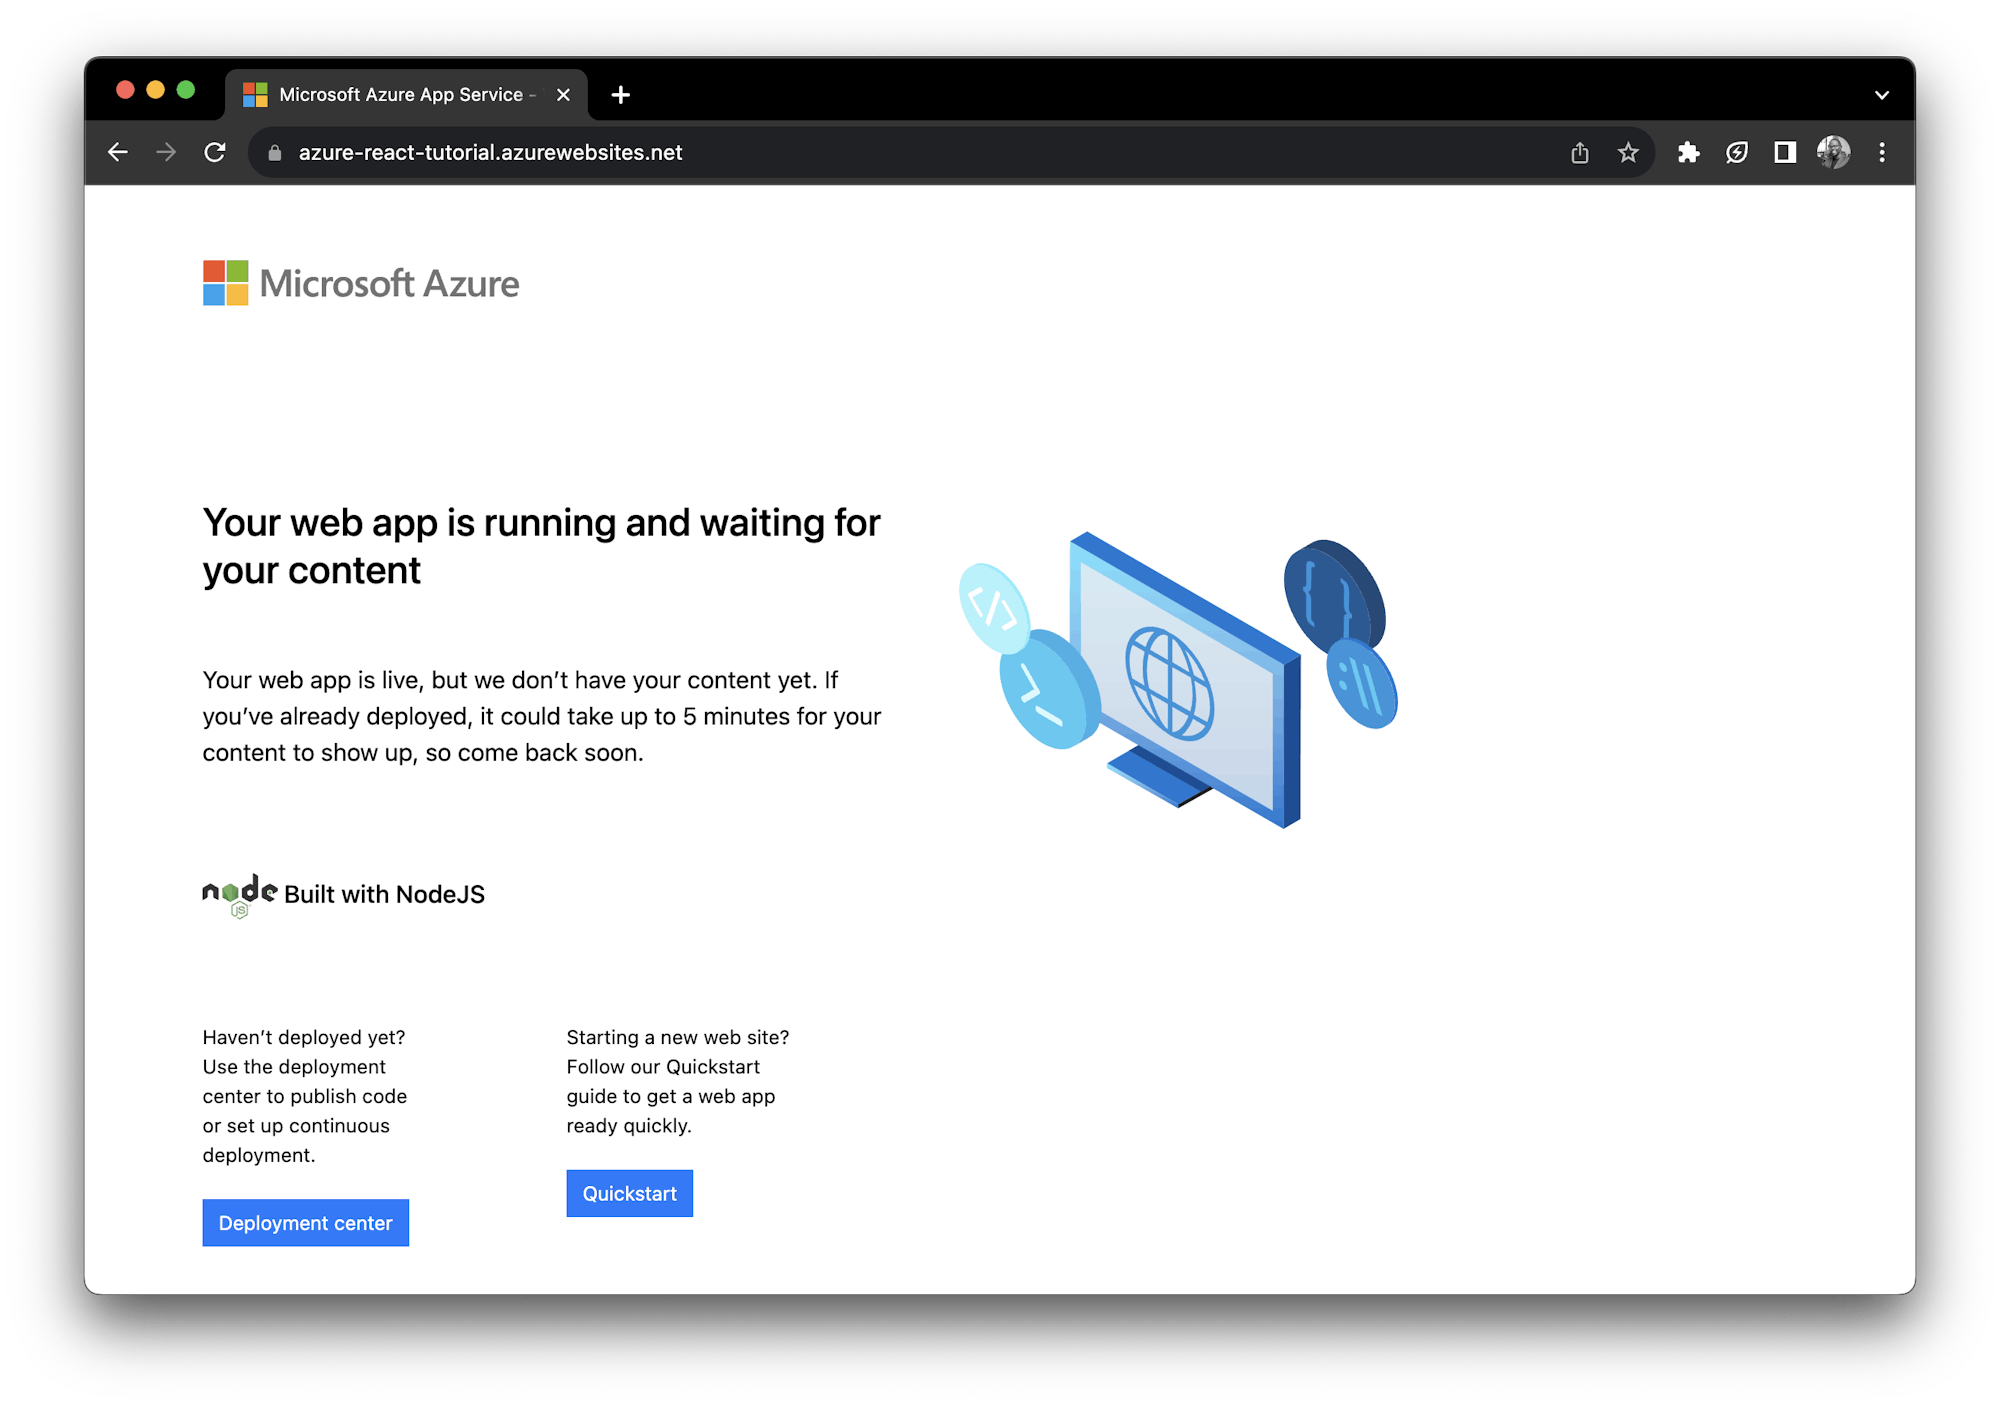
Click Browse to review the default homepage.
Next you will create a CI/CD pipeline for the app to deploy it to Azure. The first step is to deploy the app from your local machine.
Deploy the React app from your local machine using Azure CLI
In this step, you will:
- Set up Azure CLI locally
- Create a servicePrincipal account and get necessary credentials to be used by CircleCI pipeline
- Deploy to Azure from your local machine
Install Azure CLI and log in
Follow the steps detailed here to install Azure CLI.
Then run:
This command opens a tab on your browser. Select the Microsoft account you used to set up the subscription, then Log in.
Note: If no web browser is available or if the web browser fails to open, use this command: az login --use-device-code .
The terminal prints a list of JSON objects describing the user account and its subscriptions:
[
  ...
  {
    "cloudName": "AzureCloud",
    "homeTenantId": "...-..-...",
    "id": "...-..-...",
    "isDefault": true,
    "managedByTenants": [],
    "name": "Pay-As-You-Go",
    "state": "Enabled",
    "tenantId": "...-..-...",
    "user": {
      "name": "...@outlook.com",
      "type": "user"
    }
  }
]
Make a note of the id. It’s the same one as the Subscription ID on the Azure App homepage. You’ll need it in the next step.
Create a servicePrincipal account and log in
Run this command:
Replace <id> in the command above with the id from the previous section.
The terminal prints a JSON object showing the credentials of the created servicePrincipal account:
{
  "appId": "...-..-...",
  "displayName": "azure-cli-2023-..-..-..-..-..",
  "password": "...",
  "tenant": "...-..-..."
}
Don’t include these details in your source control. Take note of them, though. You’ll need them when setting up the CircleCI pipeline.
Though you’re already logged in, you need to log in again as the servicePrincipal account. Run this command to execute the next steps:
Replace <appId>, <password>, and <tenant> in the command with the appId, password, and tenant from the earlier terminal output (without the quotes).
The terminal prints a list with one JSON object showing the details of servicePrincipal account.
[
  {
    "cloudName": "AzureCloud",
    "homeTenantId": "...-..-...",
    "id": "...-..-...",
    "isDefault": true,
    "managedByTenants": [],
    "name": "Pay-As-You-Go",
    "state": "Enabled",
    "tenantId": "...-..-...",
    "user": {
      "name": "...-..-...",
      "type": "servicePrincipal"
    }
  }
]
With that done, you can check the deployment configuration details of the Azure web app you created earlier. Run this command to confirm access:
Replace demo and azure-react-tutorial with the resource-group and app name you created.
The terminal prints a JSON object depicting the app’s configuration.
{
  "branch": null,
  "deploymentRollbackEnabled": false,
  "gitHubActionConfiguration": null,
  "id": "/subscriptions/...-..-.../resourceGroups/demo/providers/Microsoft.Web/sites/azure-react-tutorial/sourcecontrols/web",
  "isGitHubAction": false,
  "isManualIntegration": false,
  "isMercurial": false,
  "kind": null,
  "location": "East US",
  "name": "azure-react-tutorial",
  "repoUrl": null,
  "resourceGroup": "demo",
  "tags": {},
  "type": "Microsoft.Web/sites/sourcecontrols"
}
Great! Your servicePrincipal account is connected to the app. You can now set up deployment.
Set up Azure for deployment
First, you’ll need to create deployment credentials from Azure. These credentials lets you run git push commands non-interactively. Click Deployment Center from the menu on the right (on the Azure app homepage). Then click FTPS credentials.
Enter values for the fields Username, Password, and Confirm Password. Click Save.
Note: You’ll be prompted to enter a password that is at least eight characters long that contains capital letters, lowercase letters, numbers, and symbols.
Take note of the username and password; you will use it in the next section.
Deploy to Azure using the service account from the local machine
Azure will serve the production build of the app. Create that locally to confirm that it’s working.
On your terminal, at the root of the react app project, run:
This creates a build folder. To serve this optimized production build, run:
Click the link in the command output. The app should look like the development build did, on the browser. Great.
Next, initialize Git and commit the changes so far. Run:
You might be prompted to set Git username and Git email address. If that’s the case, run these two commands:
Rerun the previous three commands.
Replace John Doe and johndoe@example.com with your name and email address.
Now, run the following command to get the URL for a Git repository endpoint. You’ll use the URLto clone and push to for deployment of this app.
Replace demo and azure-react-tutorial with the resource-group and app name you used earlier.
The terminal prints a JSON object depicting the URL.
Take note of the URL part between @ and the closing quote ". Copy it. You’ll add it in the next command and later when creating the CircleCI pipeline.
To add the azure remote for this project, run:
git remote add azure https://<GIT_USERNAME>:<GIT_PASSWORD>@azure-react-tutorial.scm.azurewebsites.net/azure-react-tutorial.git
Replace
Note: Any special character (like @ or $) in your GIT_PASSWORD needs to be in HTML encoding. Refer to this HTML Encoding Reference to get the equivalent of it.
For example: abcdEFGH* will be abcdEFGH%2A. * is represented by %2A.
Lastly, check out to the master branch and then push to the remote main branch of the specified azure remote Git repository. Run:
Note: You are using master branch since that’s the default branch for the Azure app’s Git.
The terminal prints log messages of the deployment, similar to this:
...
Writing objects: 100% (3/3), 289 bytes | 289.00 KiB/s, done.
Total 3 (delta 2), reused 0 (delta 0), pack-reused 0
remote: Deploy Async
...
remote:
remote: Detecting platforms...
remote: Detected following platforms:
remote:   nodejs: 18.16.1
remote: Version '18.16.1' of platform 'nodejs' is not installed. Generating script to install it...
remote: Detected the following frameworks: React
...
remote: Using Node version:
remote: v18.16.1
remote:
remote: Using Npm version:
remote: 9.5.1
remote:
remote: Running 'npm install'...
...
remote:
remote: The build folder is ready to be deployed.
...
remote: Build Summary :
remote: ===============
remote: Errors (0)
remote: Warnings (0)
...
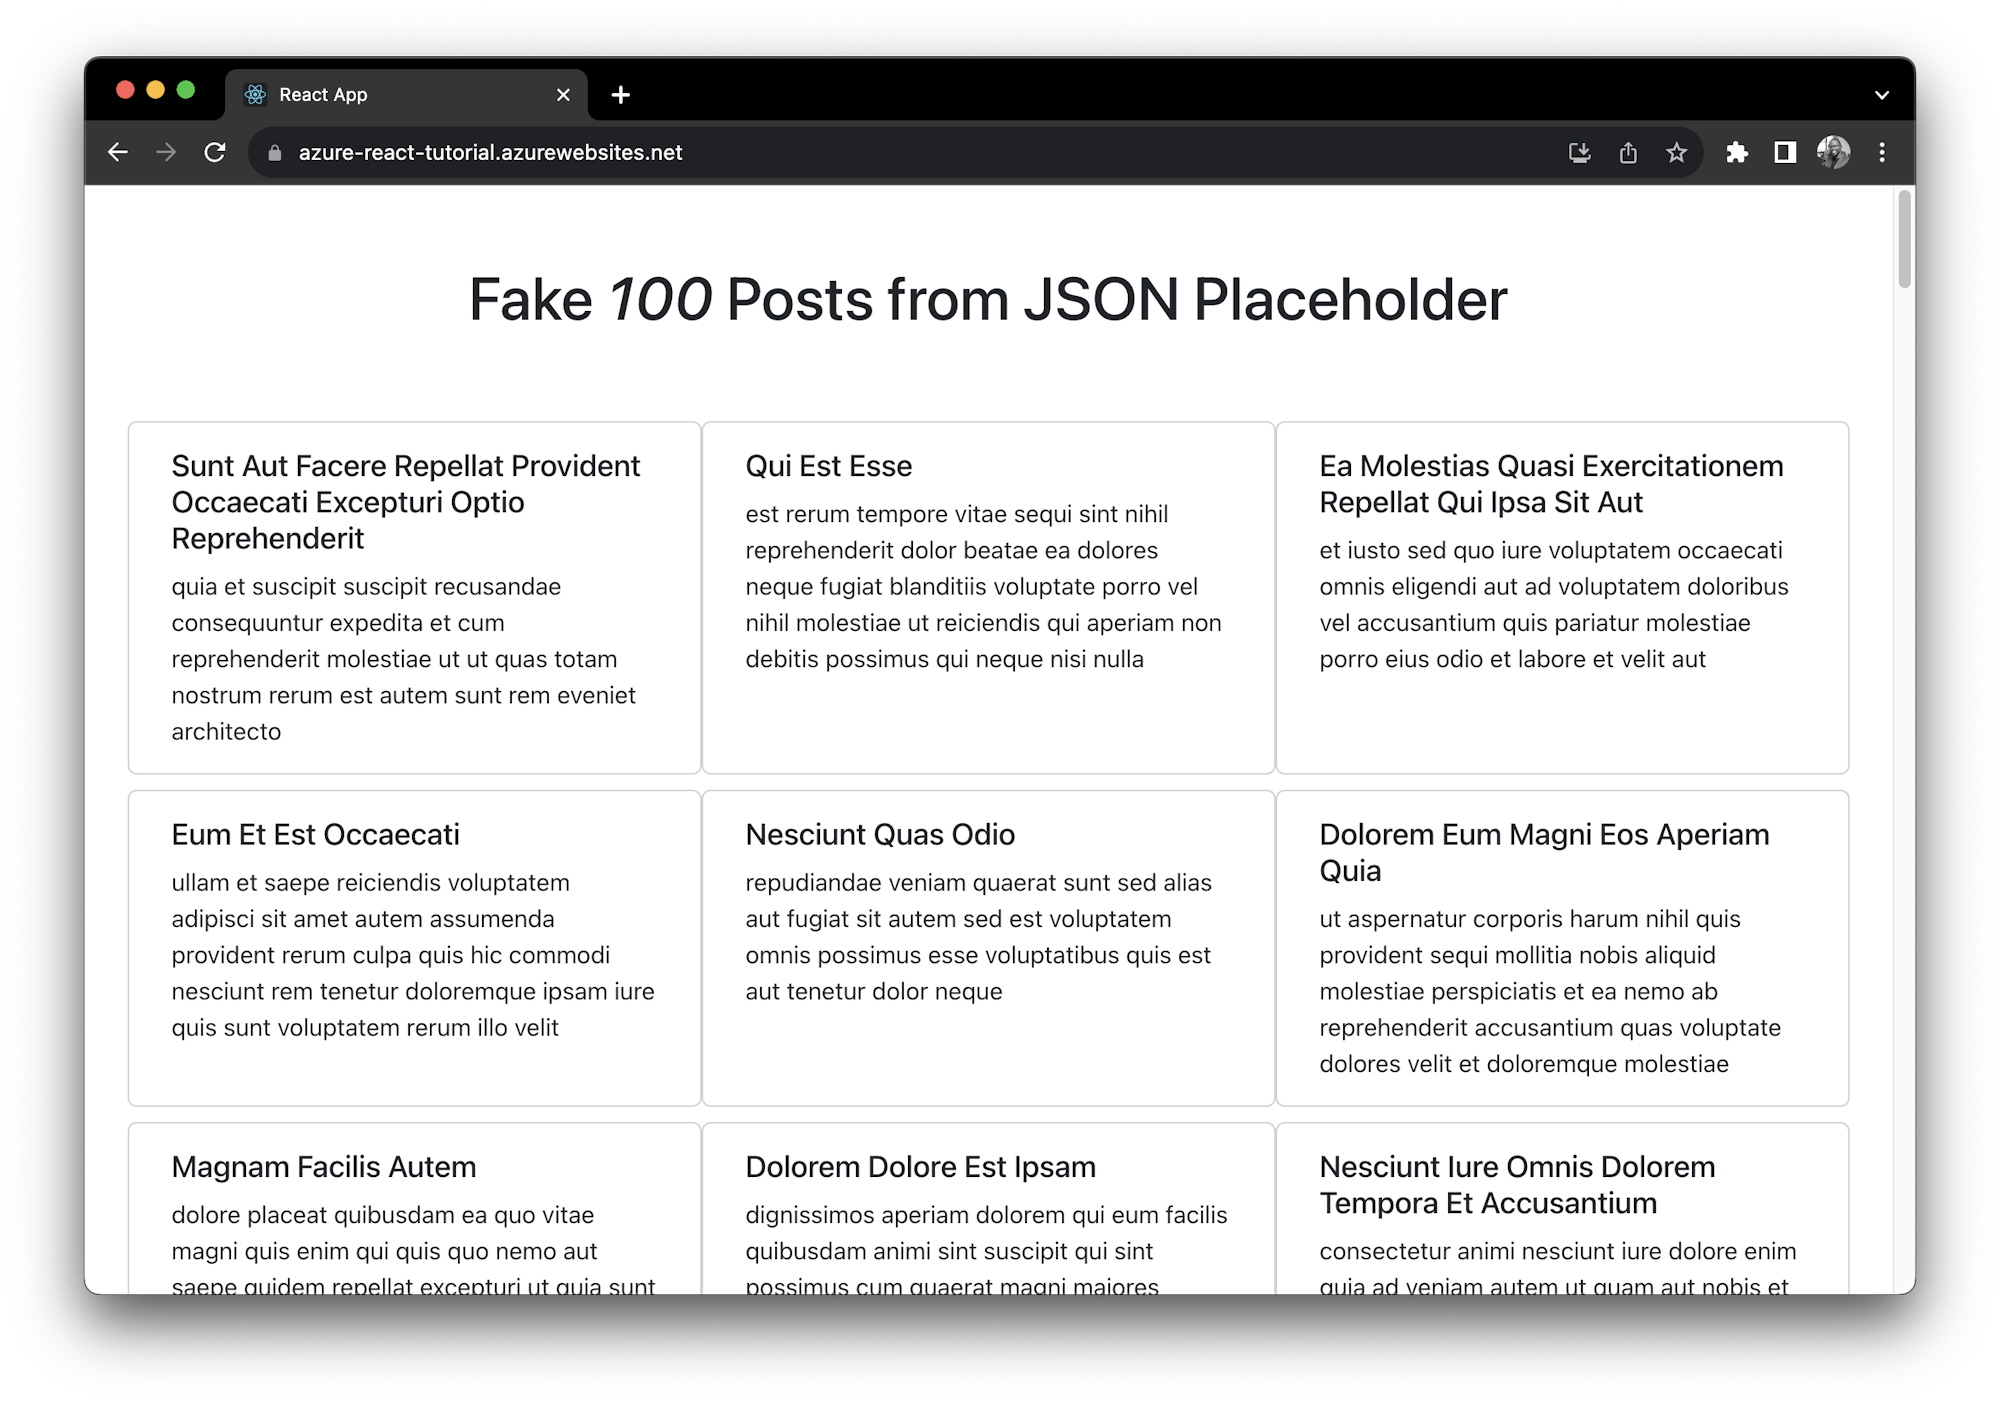
The published web app should look like the local development and production builds.
Note: It could take up to 5 minutes for the app to be updated after the Git push.
Set up CircleCI pipeline
In this section, you will create the pipeline configuration for CircleCI.
While the steps above were necessary for setting up deployment from your local machine. If you were to use a different machine, or have one or more team members contributing to the project, you need not go through any steps in the previous section.
With a CD pipeline, a push to GitHub (or other remote repository supported by CircleCI) should trigger a deployment of your app on Azure. This is what you want to set up next.
Adding the CircleCI configuration file
To begin, create a folder named .circleci at the root of your project. In the new folder, create a file named config.yml. In the new file, add:
version: '2.1'
orbs:
  azure-cli: circleci/azure-cli@1.2.2
jobs:
  install-login:
    executor: azure-cli/azure-docker
    steps:
      - azure-cli/install
      - azure-cli/login-with-service-principal
      - run:
          name: "Get deployment configuration details of the Azure web app"
          command: |
            az webapp deployment source show --resource-group demo --name azure-react-tutorial
workflows:
  deploy:
    jobs:
      - install-login
First, it defines and pulls in the orb you are using for this project (Line 2 - orbs):
- The
circleci/azure-cli@1.2.2orb is used to install, initialize, and log into the Azure command-line interface. The Azure CLI gives you access to a set of commands to create and manage Azure resources.
The next part of the configuration specifies the main job (Line 5):
install-login
The install-login job uses the azure-cli/docker executor to:
- install Azure CLI, using the
azure-cli/installcommand AND - provides the step to authenticate Azure servicePrincipal account, using the
azure-cli/login-with-service-principalcommand.
The last step is a command you ran locally to confirm that the servicePrincipal account logged in can get the deployment configuration details of the Azure web app.
Checkout to the master (sic) Git branch.
Create the branch by running git checkout -b main, if your local Git did not have it already.
Then commit these changes to Git.
Connecting the application to CircleCI
The next step is to set up a repository on GitHub and link the project to CircleCI. Review the pushing a project to GitHub tutorial for instructions.
Log in to your CircleCI account and select the appropriate organization. Your repository should be listed on the Projects dashboard.
Click Set Up Project next to your azure-react-tutorial project.
The existing configuration file in your project is recognized. Update the name of the branch (if necessary) then click Set Up Project.
Your first workflow will start running.
The install-login job will fail because you have not yet specified the Azure credentials. Click on the job to see the details.
To fix that, you will need to add username, password, and tenant environment variables. Click Project Settings.
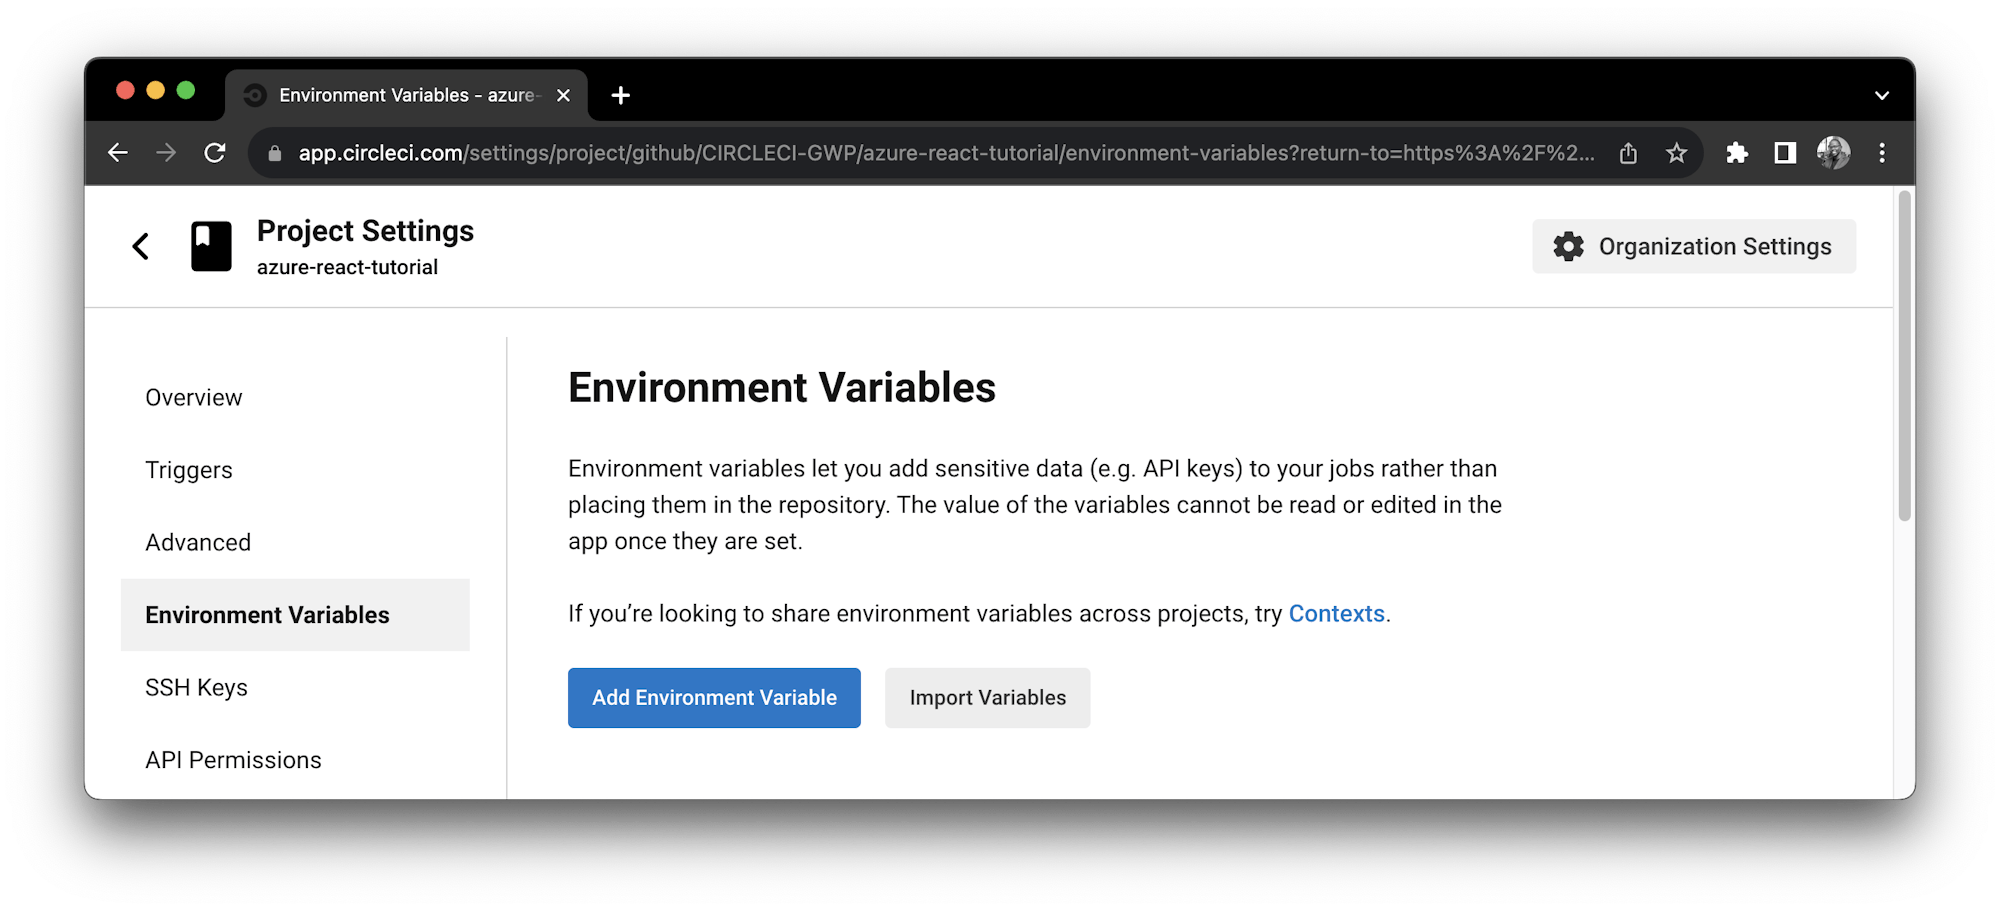
Click Environment Variables on the left sidebar and then on Add Environment Variable to add the variables.
The values to be used here are the appId, password, and tenant you used creating the servicePrincipal account.
- The
AZURE_SPvariable is the appId value. - The
AZURE_SP_PASSWORDvariable is the password value. - The
AZURE_SP_TENANTvariable is the tenant value.
Enter each variable name and its value and click Add Environment Variable to save it.
Go back to the dashboard. Click Rerun Workflow from Failed. Expect a successful build this time.
The next step is to update the configuration file.
Updating the configuration file
In this step, you will update the config file and use Git to deploy the app.
Click on Project Settings then Environment Variables button on the left sidebar and create these additional variables:
- The
GIT_USERNAMEvariable is the valid username created for Git on Azure - The
GIT_PASSWORDvariable is your valid password created for Git on Azure
Remember to use the HTML Encoding equivalent of special characters, as was highlighted in an earlier section.
By now, your environment variables page should be similar to this:
Next, replace the content of .circleci/config.yml with this:
version: '2.1'
orbs:
  azure-cli: circleci/azure-cli@1.2.2
jobs:
  install-login-git-deploy:
    executor: azure-cli/azure-docker
    steps:
      - azure-cli/install
      - azure-cli/login-with-service-principal
      - run:
          name: "Get deployment configuration details of the Azure web app"
          command: |
            az webapp deployment source show --resource-group demo --name azure-react-tutorial
      - checkout
      - run:
          name: "Deploy Web App to Azure"
          command: |
            git remote add azure https://$GIT_USERNAME:$GIT_PASSWORD@azure-react-tutorial.scm.azurewebsites.net/azure-react-tutorial.git
            git branch -m master
            git push azure master --force
workflows:
  deploy:
    jobs:
      - install-login-git-deploy
Note the name change of the main job and the $GIT_USERNAME and $GIT_PASSWORD.
The update to the configuration file includes Git, sets a remote URL to reference the link you generated earlier, and pushes to Azure.
Update src/App.js so that the app displays Fake one hundred Posts from JSON Placeholder. With this, you are only changing 100 in figures to one hundred:
...
          <h1>
            {" "}
-            Fake <i>100</i> Posts from JSON Placeholder
+            Fake <i>one hundred</i> Posts from JSON Placeholder
          </h1>
...
Save the files you updated, commit the changes to Git, and push your code to GitHub.
Your application will be built and deployed to Microsoft Azure Web App successfully.
Testing the application
Visit your application at https://azure-react-tutorial.azurewebsites.net to review the application.
Conclusion
In this tutorial, you set up a useful deployment pipeline for a React.js application. With this, you were able to deploy your application to the Azure Web Apps hosting platform.
This automation process reduces the risk of human error, making it a huge improvement over manual deployments. You can use the knowledge you gained here on your existing applications or a new one. I hope that you found this tutorial helpful for you and your team.
The entire codebase for this tutorial can be found here on GitHub. Thanks for reading!


