Continuous integration for React applications using Jest and Enzyme

DevOps Engineer at Andela

React continues to be the web framework of choice for many UI developers, according to the Stack Overflow Developer Survey. React surpassed JQuery in 2021 to become the most popular choice of frameworks, and it remains at the top of the list for professional developers, along with Node.js. React provides an intuitive model for building data-driven user interfaces, and efficiently updates the DOM when this data changes. React pairs nicely with Redux for managing the data that React needs to render interfaces. Redux offers a predictable way to structure and update the data in those frontend applications.
In this tutorial, I will lead you through setting up a sample React and Redux application and writing tests for it. I will show you how to configure continuous integration with CircleCI to automate the testing and ensure that any new code you add does not break the existing functionality.
Prerequisites
To follow along with the tutorial, a few things are required:
- Node versions between v12 and v16 installed on your machine
- A basic familiarity with React and Redux
- A CircleCI account
- A GitHub account
Getting started
This project builds on the Redux Async Example app. Using this application will show how you would add tests to a real app, which should help when you are building your own applications.
Before adding the tests, you need to find out what the app does. The best way to do that is to clone the app and run it locally. To clone the application and install its dependencies, run:
git clone --branch template https://github.com/CIRCLECI-GWP/ci-react-jest-enzyme.git

cd ci-react-jest-enzyme

npm install

npm start
This will start the application on port 3000.

Keeping track of progress with Git and GitHub
As you work on your app, you will need to track changes with Git. Delete .git directory then run git init.
From the root of cloned repo, run:
This creates a new Git repository. Refer to creating a repo to learn how to push and track your changes on GitHub.

Walkthrough of the sample application
The sample app was designed to display current headlines from a selected subreddit, by fetching the data from the Reddit API. Users can select the subreddit they want to see headlines for. The headlines are loaded and displayed on screen. Users can also update the data displayed for the currently selected subreddit by clicking a Refresh button.
This simple app is a good example because it has all the functionality you need for most real-world apps, including:
- Fetching data from an API
- User interactions
- Synchronous and asynchronous actions
- Presentational and container components
By now you should have an understanding of what the example app does and you should have a copy of it on your own GitHub account. Your next step is adding the tests.
Testing React components
If you check the package.json file, you will notice you already have a test command configured.
react-scripts comes with jest installed and configured, so you do not need to install it again. You do need to install enzyme though, and its adapter for your version of React:
Next, you need to configure enzyme to use the adapter. react-scripts supports configuring testing tools in a src/setupTests.js file.
Create that file and enter:
import Enzyme from "enzyme";
import Adapter from "enzyme-adapter-react-16";

Enzyme.configure({ adapter: new Adapter() });
I recommend using snapshot testing to track changes to components. In this method, you take snapshots of components and when the component’s rendered output changes, you can easily detect the changes made. The snapshots are also readable, so it is an easier way of verifying that components render the expected output.
To use the snapshot technique, you need to install the enzyme-to-json package to convert React components to a snapshot during testing:
You also need to configure jest to use this package as the snapshot serializer. Configure this in package.json by adding:
You are now ready to begin testing.
Component tests
Begin by writing tests for the App component. A good starting point is adding a snapshot test to ensure that the component renders the expected output, given the required props.
First, you need to import the App component. The only export in App.js is the Redux -connected version of the component: export default connect(mapStateToProps)(App). You want to test the rendering of the component and not its interaction with redux, so you will need to also export the underlying App component. Do this by adding this snippet to App.js:
To recap, this is what the src/containers/App.js file should contain:
import React, { Component } from "react";
import PropTypes from "prop-types";
import { connect } from "react-redux";
import { selectSubreddit, fetchPostsIfNeeded, invalidateSubreddit } from "../actions";
import Picker from "../components/Picker";
import Posts from "../components/Posts";

class App extends Component {
  static propTypes = {
    selectedSubreddit: PropTypes.string.isRequired,
    posts: PropTypes.array.isRequired,
    isFetching: PropTypes.bool.isRequired,
    lastUpdated: PropTypes.number,
    dispatch: PropTypes.func.isRequired,
  };
  componentDidMount() {
    const { dispatch, selectedSubreddit } = this.props;
    dispatch(fetchPostsIfNeeded(selectedSubreddit));
  }
  componentWillReceiveProps(nextProps) {
    if (nextProps.selectedSubreddit !== this.props.selectedSubreddit) {
      const { dispatch, selectedSubreddit } = nextProps;
      dispatch(fetchPostsIfNeeded(selectedSubreddit));
    }
  }
  handleChange = (nextSubreddit) => {
    this.props.dispatch(selectSubreddit(nextSubreddit));
  };
  handleRefreshClick = (e) => {
    e.preventDefault();
    const { dispatch, selectedSubreddit } = this.props;
    dispatch(invalidateSubreddit(selectedSubreddit));
    dispatch(fetchPostsIfNeeded(selectedSubreddit));
  };
  render() {
    const { selectedSubreddit, posts, isFetching, lastUpdated } = this.props;
    const isEmpty = posts.length === 0;
    return (
      <div>
        <Picker
          value={selectedSubreddit}
          onChange={this.handleChange}
          options={["reactjs", "frontend"]}
        />
        <p>
          {lastUpdated && (
            <span>Last updated at {new Date(lastUpdated).toLocaleTimeString()}. </span>
          )}
          {!isFetching && <button onClick={this.handleRefreshClick}>Refresh</button>}
        </p>
        {isEmpty ? (
          isFetching ? (
            <h2>Loading...</h2>
          ) : (
            <h2>Empty.</h2>
          )
        ) : (
          <div style={{ opacity: isFetching ? 0.5 : 1 }}>
            <Posts posts={posts} />
          </div>
        )}
      </div>
    );
  }
}

const mapStateToProps = (state) => {
  const { selectedSubreddit, postsBySubreddit } = state;
  const {
    isFetching,
    lastUpdated,
    items: posts,
  } = postsBySubreddit[selectedSubreddit] || {
    isFetching: true,
    items: [],
  };
  return {
    selectedSubreddit,
    posts,
    isFetching,
    lastUpdated,
  };
};

export default connect(mapStateToProps)(App);

export { App };
By convention, jest will find test files with names ending in .test.js under any folder named tests. That means you need to create the containers folder, then create the tests directory and under it, create an App.test.js file.
App is exported now, so you can now import it by adding to your test file:
Because you are testing the App component independently of redux, anything that is provided by redux (for example, the component’s props), will need to be provided explicitly. You can add some rendering tests to see how this works in practice. Inside App.test.js, add your first test:
import React from "react";
import { shallow } from "enzyme";
import toJson from "enzyme-to-json";
import { App } from "../App";

describe("App", () => {
  it("renders without crashing given the required props", () => {
    const props = {
      isFetching: false,
      dispatch: jest.fn(),
      selectedSubreddit: "reactjs",
      posts: [],
    };
    const wrapper = shallow(<App {...props} />);
    expect(toJson(wrapper)).toMatchSnapshot();
  });
});
In this test, you want to verify that the App renders given all the required props. By providing the props, you are simulating what redux will do in the actual app. jest provides a mock function that you can use in place of the real function in your tests. For this tutorial, you can use it to mock the dispatch function. This function will be called in place of the actual dispatch function in your tests.
You can run the tests with the npm test command. The jest test runner kicks in, runs the tests, and prints out a test run summary.
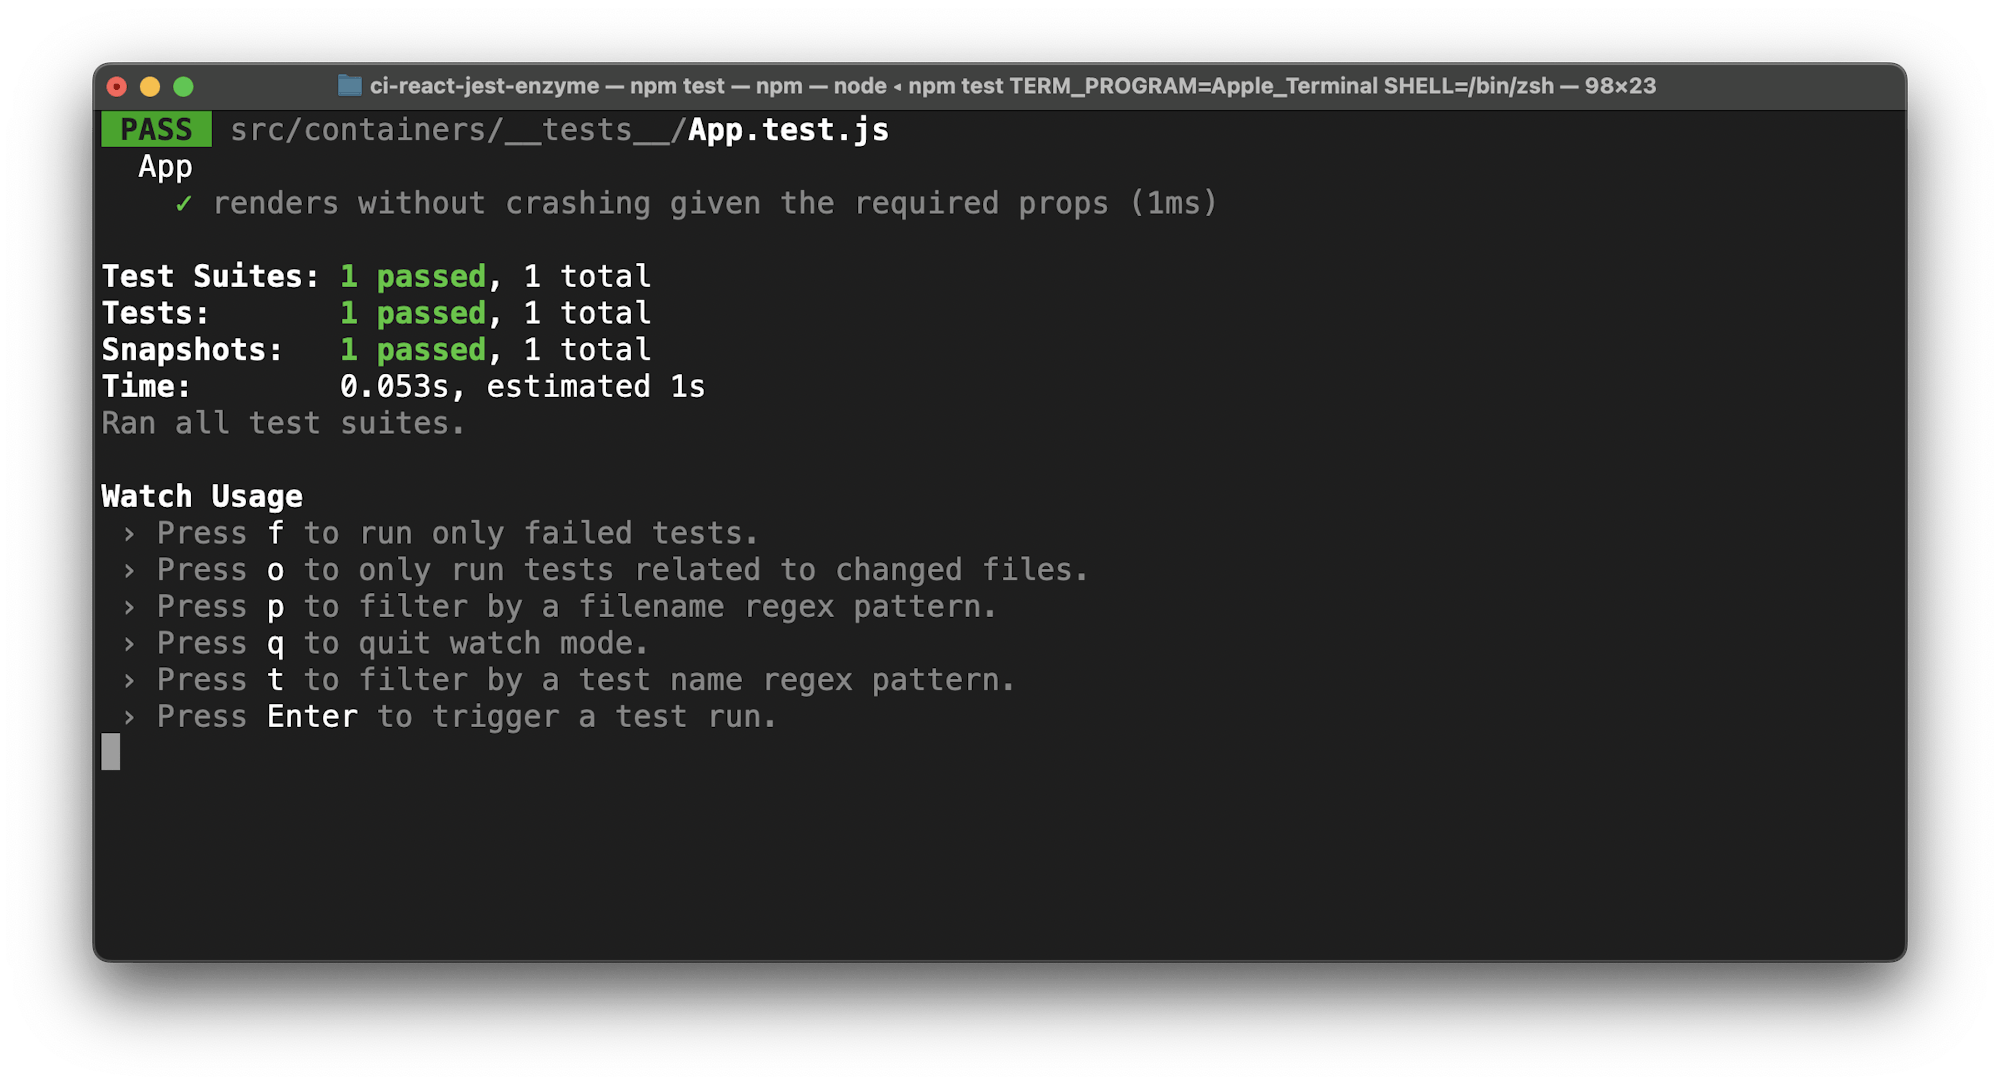
If you open src/containers/__tests__/__snapshots__/App.test.js.snap you should find a snapshot version of the component that shows the component’s render output.
Now you can add some tests to check the rendering behavior of App. First, add a test to ensure that the selectedSubreddit prop is always passed to the Picker component. Add this test just below your existing tests:
// Add this import
import Picker from "../../components/Picker";

it("sets the selectedSubreddit prop as the `value` prop on the Picker component", () => {
  const props = {
    isFetching: false,
    dispatch: jest.fn(),
    selectedSubreddit: "reactjs",
    posts: [],
  };
  const wrapper = shallow(<App {...props} />);
  // Query for the Picker component in the rendered output
  const PickerComponent = wrapper.find(Picker);
  expect(PickerComponent.props().value).toBe(props.selectedSubreddit);
});
This test shows how you can easily use enzyme to query nested components, (in this case, Picker), and assert that it is rendered with the correct props. I highly recommend digging into Enzyme’s docs to see the range of testing utilities it provides.
Next, add another test to check for elements that are rendered based on some condition. In this case, you will verify that the Refresh button is rendered when the isFetching prop is false:
it("renders the Refresh button when the isFetching prop is false", () => {
  const props = {
    isFetching: false,
    dispatch: jest.fn(),
    selectedSubreddit: "reactjs",
    posts: [],
  };
  const wrapper = shallow(<App {...props} />);
  expect(wrapper.find("button").length).toBe(1);
});
Finally, add a test for some user interaction. This test can verify that when the Refresh button is clicked, it dispatches the correct actions:
// Add this import
import * as actions from "../../actions";

// .. other tests

it("handleRefreshClick dispatches the correct actions", () => {
  const props = {
    isFetching: false,
    dispatch: jest.fn(),
    selectedSubreddit: "reactjs",
    posts: [],
  };
  // Mock event to be passed to the handleRefreshClick function
  const mockEvent = {
    preventDefault: jest.fn(),
  };
  // Mock the actions we expect to be called
  actions.invalidateSubreddit = jest.fn();
  actions.fetchPostsIfNeeded = jest.fn();

  const wrapper = shallow(<App {...props} />);
  // Call the function on the component instance, passing the mock event
  wrapper.instance().handleRefreshClick(mockEvent);

  expect(mockEvent.preventDefault).toHaveBeenCalled();
  expect(props.dispatch.mock.calls.length).toBe(3);
  expect(actions.invalidateSubreddit.mock.calls.length).toBe(1);
  expect(actions.fetchPostsIfNeeded.mock.calls.length).toBe(2);
});
Begin by importing actions so that you can mock some of the functions it provides. In the test, you provide the usual props and then a mockEvent object. Use the mockEvent object to simulate a click event sent by the browser when the button is clicked. The mocked event needs to contain a preventDefault property. This property should be a function because it will be called inside the handleRefreshClick function. Without it, you would get an error about the missing property: e.preventDefault is not a function.
Once you render the component using shallow, manually call handleRefreshClick, passing in the mock event to simulate what will happen when the function is called in your app. Assert the following properties of the app:
event.preventDefaultshould have been called once.props.dispatchshould have been called 3 times.- Once on
componentDidMountbecause lifecycle hooks are executed by the shallow rendering API. - Twice in the
handleRefreshClickfunction.
- Once on
actions.invalidateSubredditshould have been called once.actions.fetchPostsIfNeededshould have been called twice- The first call happens in
componentDidMount. - The second call happens inside
handleRefreshClick.
- The first call happens in
To make sure your expectations of the componentDidMount function calls are correct, you can include these assertions right before the handleRefreshClick function call.
const wrapper = shallow(<App {...props} />);
// The next assertions are for functions called in componentDidMount
expect(props.dispatch.mock.calls.length).toBe(1);
expect(actions.fetchPostsIfNeeded.mock.calls.length).toBe(1);

wrapper.instance().handleRefreshClick(mockEvent);

//... rest of test omitted for brevity
At this point, you have tested the most challenging parts of the code, and that should give you a good starting point to comfortably add tests for any other component functionality.
Testing Redux functionality
In this section, you will add some tests for the redux related parts of your application, specifically the actions and the reducers.
Testing action creators
Begin with the action creators. This app has both asynchronous and synchronous action creators. Asynchronous action creators are used in conjunction with redux-thunk to enable async operations that do not immediately produce a result, like fetching data. Synchronous action creators return plain objects. This tutorial covers how to test both.
For reference, this is what your src/actions/index.js file should contain:
export const REQUEST_POSTS = "REQUEST_POSTS";
export const RECEIVE_POSTS = "RECEIVE_POSTS";
export const SELECT_SUBREDDIT = "SELECT_SUBREDDIT";
export const INVALIDATE_SUBREDDIT = "INVALIDATE_SUBREDDIT";

export const selectSubreddit = (subreddit) => ({
  type: SELECT_SUBREDDIT,
  subreddit,
});

export const invalidateSubreddit = (subreddit) => ({
  type: INVALIDATE_SUBREDDIT,
  subreddit,
});

export const requestPosts = (subreddit) => ({
  type: REQUEST_POSTS,
  subreddit,
});

export const transformResponseBody = (json) => {
  return json.data.children.map((child) => child.data);
};

export const receivePosts = (subreddit, json) => ({
  type: RECEIVE_POSTS,
  subreddit,
  posts: transformResponseBody(json),
  receivedAt: Date.now(),
});

export const fetchPosts = (subreddit) => (dispatch) => {
  dispatch(requestPosts(subreddit));
  return fetch(`https://www.reddit.com/r/${subreddit}.json`)
    .then((response) => response.json())
    .then((json) => dispatch(receivePosts(subreddit, json)));
};

const shouldFetchPosts = (state, subreddit) => {
  const posts = state.postsBySubreddit[subreddit];
  if (!posts) {
    return true;
  }
  if (posts.isFetching) {
    return false;
  }
  return posts.didInvalidate;
};

export const fetchPostsIfNeeded = (subreddit) => (dispatch, getState) => {
  if (shouldFetchPosts(getState(), subreddit)) {
    return dispatch(fetchPosts(subreddit));
  }
};
Your next task is to create the files that enable testing. Inside src/actions/ , create a folder named __tests__. Inside that, create a file called actions.test.js.
Synchronous action creators are pure functions that take some data and return an action object. Your test should check that given the necessary arguments, the action creator returns the correct action. You can demonstrate this with a test for the selectSubreddit action creator, which accepts a subreddit as an argument, then returns an action.
import * as actions from "../index";

describe("actions", () => {
  const subreddit = "reactjs";

  describe("selectSubreddit", () => {
    it("should create an action with a given subreddit", () => {
      const expectedAction = {
        type: actions.SELECT_SUBREDDIT,
        subreddit,
      };
      expect(actions.selectSubreddit(subreddit)).toEqual(expectedAction);
    });
  });
});
For most synchronous action creators, that is all you need to do.
To make your work easier once you proceed to test the async action creators, you can add a test for the receivePosts action creator too. This is how the function works:
export const receivePosts = (subreddit, json) => ({
  type: RECEIVE_POSTS,
  subreddit,
  posts: json.data.children.map((child) => child.data),
  receivedAt: Date.now(),
});
In the returned action, you have a transformation happening in the posts property. Extract this into a new function call that takes the json argument and does the transformation you need. Note that you have to export the new helper function so that you can access it in the tests later on. The new version of the receivePosts function is shown here:
export const transformResponseBody = (json) => {
  return json.data.children.map((child) => child.data);
};

export const receivePosts = (subreddit, json) => ({
  type: RECEIVE_POSTS,
  subreddit,
  posts: transformResponseBody(json),
  receivedAt: Date.now(),
});
You may notice that in the returned action, there is a receivedAt property, which returns Date.now(). In your test, you will skip testing this property because it changes each time the function is called. You can test this on your own by mocking the Date.now function, but for the purposes of this tutorial, you can skip this step.
Now that you have selected the scope of what you need to do, you need to add the test for the receivePosts action creator:
describe("actions", () => {
  const subreddit = "reactjs";
  // Add the mockJSON response
  const mockJSON = {
    data: {
      children: [{ data: { title: "Post 1" } }, { data: { title: "Post 2" } }],
    },
  };

  // ... other tests...

  describe("receivePosts", () => {
    it("should create the expected action", () => {
      const expectedAction = {
        type: actions.RECEIVE_POSTS,
        subreddit,
        posts: actions.transformResponseBody(mockJSON),
      };
      expect(actions.receivePosts(subreddit, mockJSON)).toMatchObject(expectedAction);
    });
  });
});
Note that you are using toMatchObject to match just a subset of the returned action object, which excludes matching the receivedAt key.
Tests for the rest of the synchronous action creators follow the same process where given some data, you test that the correct action is returned.
Time to test async action creators, and specifically, the fetchPosts action creator. The first thing you need to do is to export the function, and you will do this by adding export to the function so it becomes:
export const fetchPosts = (subreddit) => (dispatch) => {
  dispatch(requestPosts(subreddit));
  return fetch(`https://www.reddit.com/r/${subreddit}.json`)
    .then((response) => response.json())
    .then((json) => dispatch(receivePosts(subreddit, json)));
};
Install a few new packages:
Use fetch-mock to mock HTTP requests made using fetch and redux-mock-store. That helps you create a mock store to use in the tests. Add the tests:
// Add the new imports

import thunk from "redux-thunk";
import fetchMock from "fetch-mock";
import configureMockStore from "redux-mock-store";

const middlewares = [thunk];
const mockStore = configureMockStore(middlewares);

describe("actions", () => {
  const subreddit = "reactjs";
  // Add the mockJSON response
  const mockJSON = {
    data: {
      children: [{ data: { title: "Post 1" } }, { data: { title: "Post 2" } }],
    },
  };

  // ... other tests...

  describe("fetchPosts", () => {
    afterEach(() => {
      // restore fetch() to its native implementation
      fetchMock.restore();
    });

    it("creates REQUEST_POSTS and RECEIVE_POSTS when fetching posts", () => {
      // Mock the returned data when we call the Reddit API
      fetchMock.getOnce(`https://www.reddit.com/r/${subreddit}.json`, {
        body: mockJSON,
      });

      // The sequence of actions we expect to be dispatched
      const expectedActions = [
        { type: actions.REQUEST_POSTS },
        {
          type: actions.RECEIVE_POSTS,
          subreddit,
          posts: actions.transformResponseBody(mockJSON),
        },
      ];

      // Create a store with the provided object as the initial state
      const store = mockStore({});

      return store.dispatch(actions.fetchPostsIfNeeded(subreddit)).then(() => {
        expect(store.getActions()).toMatchObject(expectedActions);
      });
    });
  });
});
Start with all the necessary imports, including redux-thunk. For this case, you need to configure an actual store, and this means that you will apply the middleware to the mock store also.
You have an afterEach function that runs after each test to ensure that you restore the original fetch implementation. That is so your mock implementation is not used in other tests.
Next, mock the request you expect to be made and provide a mock body that will be returned as the response body. Then define the sequence of actions you expect to be taken when you call fetchPosts. This sequence implies that when fetchPosts is dispatched, it should generate a REQUEST_POSTS action, then RECEIVE_POSTS with the posts for the requested subreddit. Exclude the receivedAt property in the RECEIVE_POSTS action, as in the previous test, and add the transformed response body in the posts key, as you did earlier.
Next, create the store, giving it some initial state, then dispatch the fetchPosts. Finally, assert that the list of actions applied to the store should match the sequence in your expectedActions array.
Re-running your tests at this point should confirm that everything passes. Great work!
This concludes your action creators testing. Next up is how to test reducers.
Testing reducers
Reducers are at the heart of Redux because they are how you update the state of your whole application. The reducer tests should help verify that each of your dispatched actions updates the state as expected.
Here are the contents of the reducers/index.js file that you are going to test:
import { combineReducers } from "redux";
import { SELECT_SUBREDDIT, INVALIDATE_SUBREDDIT, REQUEST_POSTS, RECEIVE_POSTS } from "../actions";

const selectedSubreddit = (state = "reactjs", action) => {
  switch (action.type) {
    case SELECT_SUBREDDIT:
      return action.subreddit;
    default:
      return state;
  }
};
const posts = (
  state = {
    isFetching: false,
    didInvalidate: false,
    items: [],
  },
  action
) => {
  switch (action.type) {
    case INVALIDATE_SUBREDDIT:
      return {
        ...state,
        didInvalidate: true,
      };
    case REQUEST_POSTS:
      return {
        ...state,
        isFetching: true,
        didInvalidate: false,
      };
    case RECEIVE_POSTS:
      return {
        ...state,
        isFetching: false,
        didInvalidate: false,
        items: action.posts,
        lastUpdated: action.receivedAt,
      };
    default:
      return state;
  }
};
const postsBySubreddit = (state = {}, action) => {
  switch (action.type) {
    case INVALIDATE_SUBREDDIT:
    case RECEIVE_POSTS:
    case REQUEST_POSTS:
      return {
        ...state,
        [action.subreddit]: posts(state[action.subreddit], action),
      };
    default:
      return state;
  }
};
const rootReducer = combineReducers({
  postsBySubreddit,
  selectedSubreddit,
});
export default rootReducer;
export { postsBySubreddit, selectedSubreddit };
Your reducer file has two reducers, each of which manages its own part of the state. Eventually they will be merged into a single root reducer using combineReducers. Export the individual reducer functions to make testing more convenient by adding this snippet to reducers/index.js:
Create a __tests__ directory under reducers. Then create a reducers.test.js file inside that directory. This is where your tests will go. Because it is the simpler of the two, test the selectedSubreddit reducer first.
import {
  SELECT_SUBREDDIT,
  INVALIDATE_SUBREDDIT,
  REQUEST_POSTS,
  RECEIVE_POSTS,
} from "../../actions";
import { postsBySubreddit, selectedSubreddit } from "../index";

describe("app reducer", () => {
  describe("selectedSubreddit", () => {
    it("should return the default state", () => {
      expect(selectedSubreddit(undefined, {})).toBe("reactjs");
    });

    it("should update the selectedSubreddit", () => {
      const subreddit = "frontend";
      const action = {
        type: SELECT_SUBREDDIT,
        subreddit,
      };
      expect(selectedSubreddit(undefined, action)).toBe(subreddit);
    });
  });
});
The first test checks that the selectedSubreddit reducer correctly initializes the state. When given an undefined state, or an empty action, it should return the default value, which is set to reactjs. The next check verifies that when the reducer receives a valid action object, it correctly updates the state.
Now you can move on to the postsBySubreddit reducer.
describe("postsBySubreddit", () => {
  const subreddit = "frontend";

  it("should return the default state", () => {
    expect(postsBySubreddit(undefined, {})).toEqual({});
  });

  it("should handle INVALIDATE_SUBREDDIT", () => {
    const action = {
      type: INVALIDATE_SUBREDDIT,
      subreddit,
    };
    expect(postsBySubreddit({}, action)).toEqual({
      [subreddit]: {
        isFetching: false,
        didInvalidate: true,
        items: [],
      },
    });
  });

  it("should handle REQUEST_POSTS", () => {
    const action = {
      type: REQUEST_POSTS,
      subreddit,
    };
    expect(postsBySubreddit({}, action)).toEqual({
      [subreddit]: {
        isFetching: true,
        didInvalidate: false,
        items: [],
      },
    });
  });

  it("should handle RECEIVE_POSTS", () => {
    const posts = ["post 1", "post 2"];
    const receivedAt = Date.now();
    const action = {
      type: RECEIVE_POSTS,
      subreddit,
      posts,
      receivedAt,
    };
    expect(postsBySubreddit({}, action)).toEqual({
      [subreddit]: {
        isFetching: false,
        didInvalidate: false,
        items: posts,
        lastUpdated: receivedAt,
      },
    });
  });
});
Start by testing that it initializes the state correctly. In this case, the default state is an empty object, as shown in the first test.
The tests for the rest of the actions are similar; you verify that given an action, the reducer returns the expected state update. The subreddit should be set as the key of the returned object and the nested object should be updated according to the rules you have in the reducer.
You may notice that the common theme with reducers is that given a particular set of inputs (initial state and an action), a new state should be returned. You do all of your assertions on the returned state to ensure it is what you expect.
With that section of the tutorial complete, you have covered many of the same components of a React and Redux application that you would need to test in a typical app.

Continuous integration with GitHub and CircleCI
This is the part of the tutorial where you add continuous integration with CircleCI. Continuous integration helps ensure that any changes you make to the code do not break any existing functionality. Tests will be run any time you push new code, whether by adding new commits to an existing branch or by opening a pull request to merge a new branch into the main branch. This helps catch bugs early in the development process.
CircleCI configuration
The first thing you need to add is a configuration file that will tell CircleCI how to test your application. The config file needs to be in a .circleci directory in your root folder. Name it config.yml.
Here is the config file to use for your sample application:
version: 2.1
orbs:
  node: circleci/node@5.1.1
jobs:
  build-and-test:
    docker:
      - image: "cimg/base:stable"
    steps:
      - checkout
      - node/install:
          node-version: "16.13"
      - node/install-packages
      - run:
          command: npm run test
workflows:
  build-and-test:
    jobs:
      - build-and-test
Integrating CircleCI and GitHub
Take a moment to make sure you have pushed all your changes to the GitHub repository you created earlier. Now you can set up CircleCI to test your code whenever you make any new changes.
Here is how to add the project to CircleCI:
From the CircleCI Projects view, click Setup Project.

On the next screen, select the branch that contains the config file.

Check all steps in the build-and-test workflow.

Conclusion
Congratulations! Your CI process is set up, and any new commit that is pushed in the repository will trigger a test run to make sure none of your changes break the build. In cases where changes you made cause the tests to fail, you will be notified, and you can track exactly which commit caused the failure.
If you found this tutorial useful, be sure to share what you learned with your team. Thank you for your time!