Trigger a pipeline
Pipelines are triggered in response to actions or scheduled to run at specific times and frequencies. Each method of triggering a pipeline is described below.
Trigger a pipeline on a repo event
Trigger a pipeline on an event in your repository. The options available to you will be different depending on which integration you have set up, and for GitHub accounts, which GitHub authentication method you use. For steps to add a trigger for a project, see the Pipelines and triggers page.
| To find out which GitHub integration type you have, check your Organization slug at . OAuth authenticated orgs are structured as follows:
An organization slug for a GitHub App integration is in the following format:
|
Using the CircleCI GitHub App, you can set up multiple pipelines for a project. For each pipeline you have a selection of trigger event options including push events and non-push events, for example, PR opened/Pr merged/PR marked ready for review. For a full list of options, see the GitHub trigger event options page.
To access trigger options for a pipeline, follow these steps:
-
In the CircleCI web app, select your org from the org cards on your user homepage.
-
Select Projects from the sidebar and locate your project from the list. You can use the search to help.
-
Select the ellipsis () next to your project and select Project Settings.
-
Select Triggers in the sidebar.
-
Select the pencil () edit icon next to the trigger you want to update.,
-
Use the "Run on" menu to select a trigger event option.

If you only use the GitHub OAuth integration, once a project is set up in CircleCI, a pipeline is triggered each time a commit is pushed on a branch that has a .circleci/config.yml file included. One exception to this is if you use the "Only build pull requests" option. For more information on "Only build pull requests", see the Build open source projects page.
| If your org uses the GitHub OAuth integration, you can install the GitHub App into your org to set up GitHub App pipelines and access the trigger options described above. An org admin must take the one-time action of installing the CircleCI GitHub App to enable this functionality. For more information, see the GitHub OAuth integration overview. |
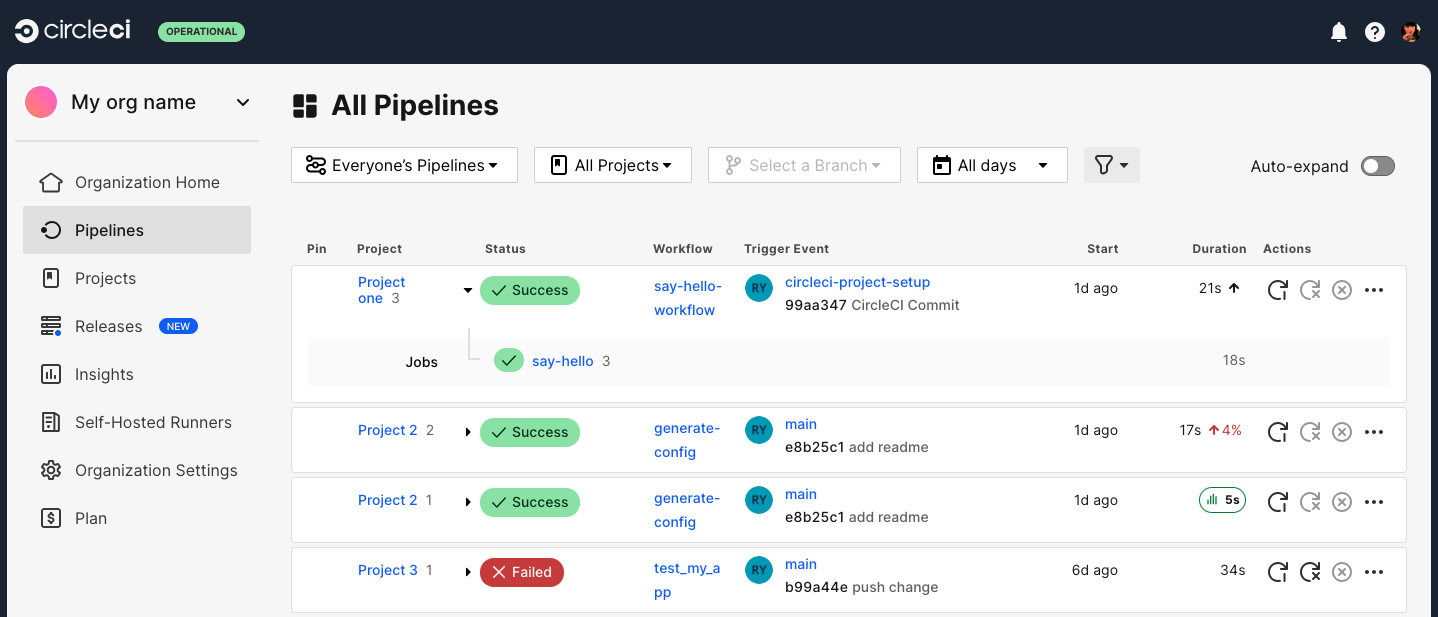
Once triggered, a running pipeline appears on the pipelines dashboard, which is accessible by selecting Dashboard from the left hand sidebar in the CircleCI web app.
Trigger a pipeline from the CircleCI web app
| This feature is not available for GitLab integrations. |
-
In the CircleCI web app, select your organization from your homepage, then select your project, either from your org homepage or select Projects from the sidebar for a full list. You will now be on your project’s pipelines page.
-
Select Trigger Pipeline.

-
Select the pipeline you want to trigger from the dropdown menu.
-
Select your config source branch. This tells CircleCI where (repo and branch) to find your pipeline config.

-
If your code is integrated via the GitHub App or Bitbucket Data Center, select your checkout source and branch. This tells CircleCI which code to check out when running a
checkoutstep.If your code is integrated via GitHub OAuth or Bitbucket Cloud, you can skip this step, the same location is used for both config and checkout source. -
If you would like to specify any pipeline parameters, select Add + and enter the required fields.
-
Select Run Pipeline and you will see your new pipeline running in the web app.
| If your GitHub user account connection to CircleCI is not yet authorized, you will need to select Authorize in the trigger pipeline modal to connect and continue. |
Trigger a pipeline using the API
| Triggering a pipeline via the CircleCI v2 API is not currently supported for GitLab projects. |
This method is supported for GitHub (OAuth and App) and Bitbucket (Cloud and Data Center) orgs.
| GitHub OAuth and Bitbucket Cloud pipelines can also be triggered using the Trigger a New Pipeline endpoint, which is described in the CircleCI server tab. However, the method outlined in this section is recommended. |
Trigger a pipeline for a project using the v2 API endpoint https://circleci.com/api/v2/project/<project-slug>/pipeline/run.
-
If you have not already, get set up to use API v2 by following the steps in the API Developers Guide.
-
In the CircleCI web app select your organization. Over the next few steps you will collect the data you need to trigger your pipeline.
-
Find your project slug:
-
Select Projects in the CircleCI web app sidebar.
-
Find your project.
-
Select the ellipsis menu () and choose Project Settings.
-
Copy your project slug. Save this somewhere, you will need it later.
-
-
Find your definition ID:
-
You should be in project settings if you are following these steps in sequence. If not see previous steps to get there. Select Pipelines in the sidebar.
-
In the column Definition ID, select Copy for the correct pipeline. Save this somewhere, you will need it in the next step.

-
-
To trigger a pipeline from the command line using
curl, copy and paste this sample request and replace the details in< >with your details. The keyparametersis optional:curl -X POST https://circleci.com/api/v2/project/<project-slug>/pipeline/run \ --header "Circle-Token: $CIRCLE_TOKEN" \ --header "content-type: application/json" \ --data '{ "definition_id": "<pipeline-definition-id>", "config": {"branch": "<your-branch-name>"}, "checkout": {"branch": "<your-branch-name>"}, "parameters": {"<param-name>": "<param-value>"} }' -
To run a pipeline based on a tag instead of a branch, replace the
configand/orcheckoutfields with:"config": {"tag": "<your-tag-name>"}, "checkout": {"tag": "<your-tag-name>"} -
Head back to the CircleCI web app and see your pipeline running on the dashboard.
Trigger a pipeline from a custom webhook
| Custom webhooks are available for projects integrated via the GitHub App. Custom webhooks are not available on CircleCI server. |
Follow these steps to set up and test a custom webhook trigger for a pipeline from anywhere that can emit a webhook or run a curl command:
-
In the CircleCI web app select Projects in the sidebar.
-
Find your project in the list, select the ellipsis (), select Project Settings, and select Pipelines in the sidebar.
-
If there is already a GitHub App pipeline set up and it uses the desired YAML configuration file, proceed to the Triggers step below (step 5). If not, select Set up pipeline. If there is a Connect button, select it and follow the steps to install the CircleCI GitHub App into your GitHub organization (this step is compatible with orgs that integrate with CircleCI’s GitHub OAuth app).
-
Name the new pipeline and select the repository where the CircleCI YAML configuration file is stored. Enter the file path (including the
.circlecidirectory). The file path can be different than.circleci/config.yml(for example,.circleci/webhook.yml). Save the pipeline. -
Select Triggers in the sidebar.
-
Select Add Trigger.
-
Select Custom Webhook from the dropdown menu.
-
Select Next.

-
Complete the form fields and options:
-
Enter a descriptive name for the trigger. For example, if you are setting up a custom webhook to run pipelines on events from Datadog, enter "Datadog" here.
-
(Optional) Add a description.
-
In the field "Pipeline to run", at the bottom of the page, select the pipeline that you created in the step above.
-
Enter the branch to use to fetch your config file when a Custom Webhook is received.
-
Enter the branch to use to check out your code when using the checkout step in config. If your config is stored in the same repository as your code, then your Config branch and your Checkout branch should be the same.
-
-
Select Save.
-
You will see a webhook endpoint URL and secret. You can use these to set up your webhook trigger from your external source. Copy the Webhook URL and use it in your trigger source appended with the secret.
The secret will not be shown again so be sure to copy the URL before clicking Done. 
-
You can now test your custom webhook trigger with
curl. To trigger your pipeline, copy and paste the following sample request and replace<your-URL>and<your-secret>with the URL and secret that you generated in the previous step:When triggering via curl, you must use aPOSTrequest withcontent-type: application/json.curl -X POST -H "content-type: application/json" 'https://internal.circleci.com/private/soc/e/<your-URL>?secret=<your-secret>'
For more information on using custom and outbound webhooks, see the Use webhooks to integrate with services page. Also, see our community forum for more details or how to use this functionality with a 3rd party service like DockerHub.
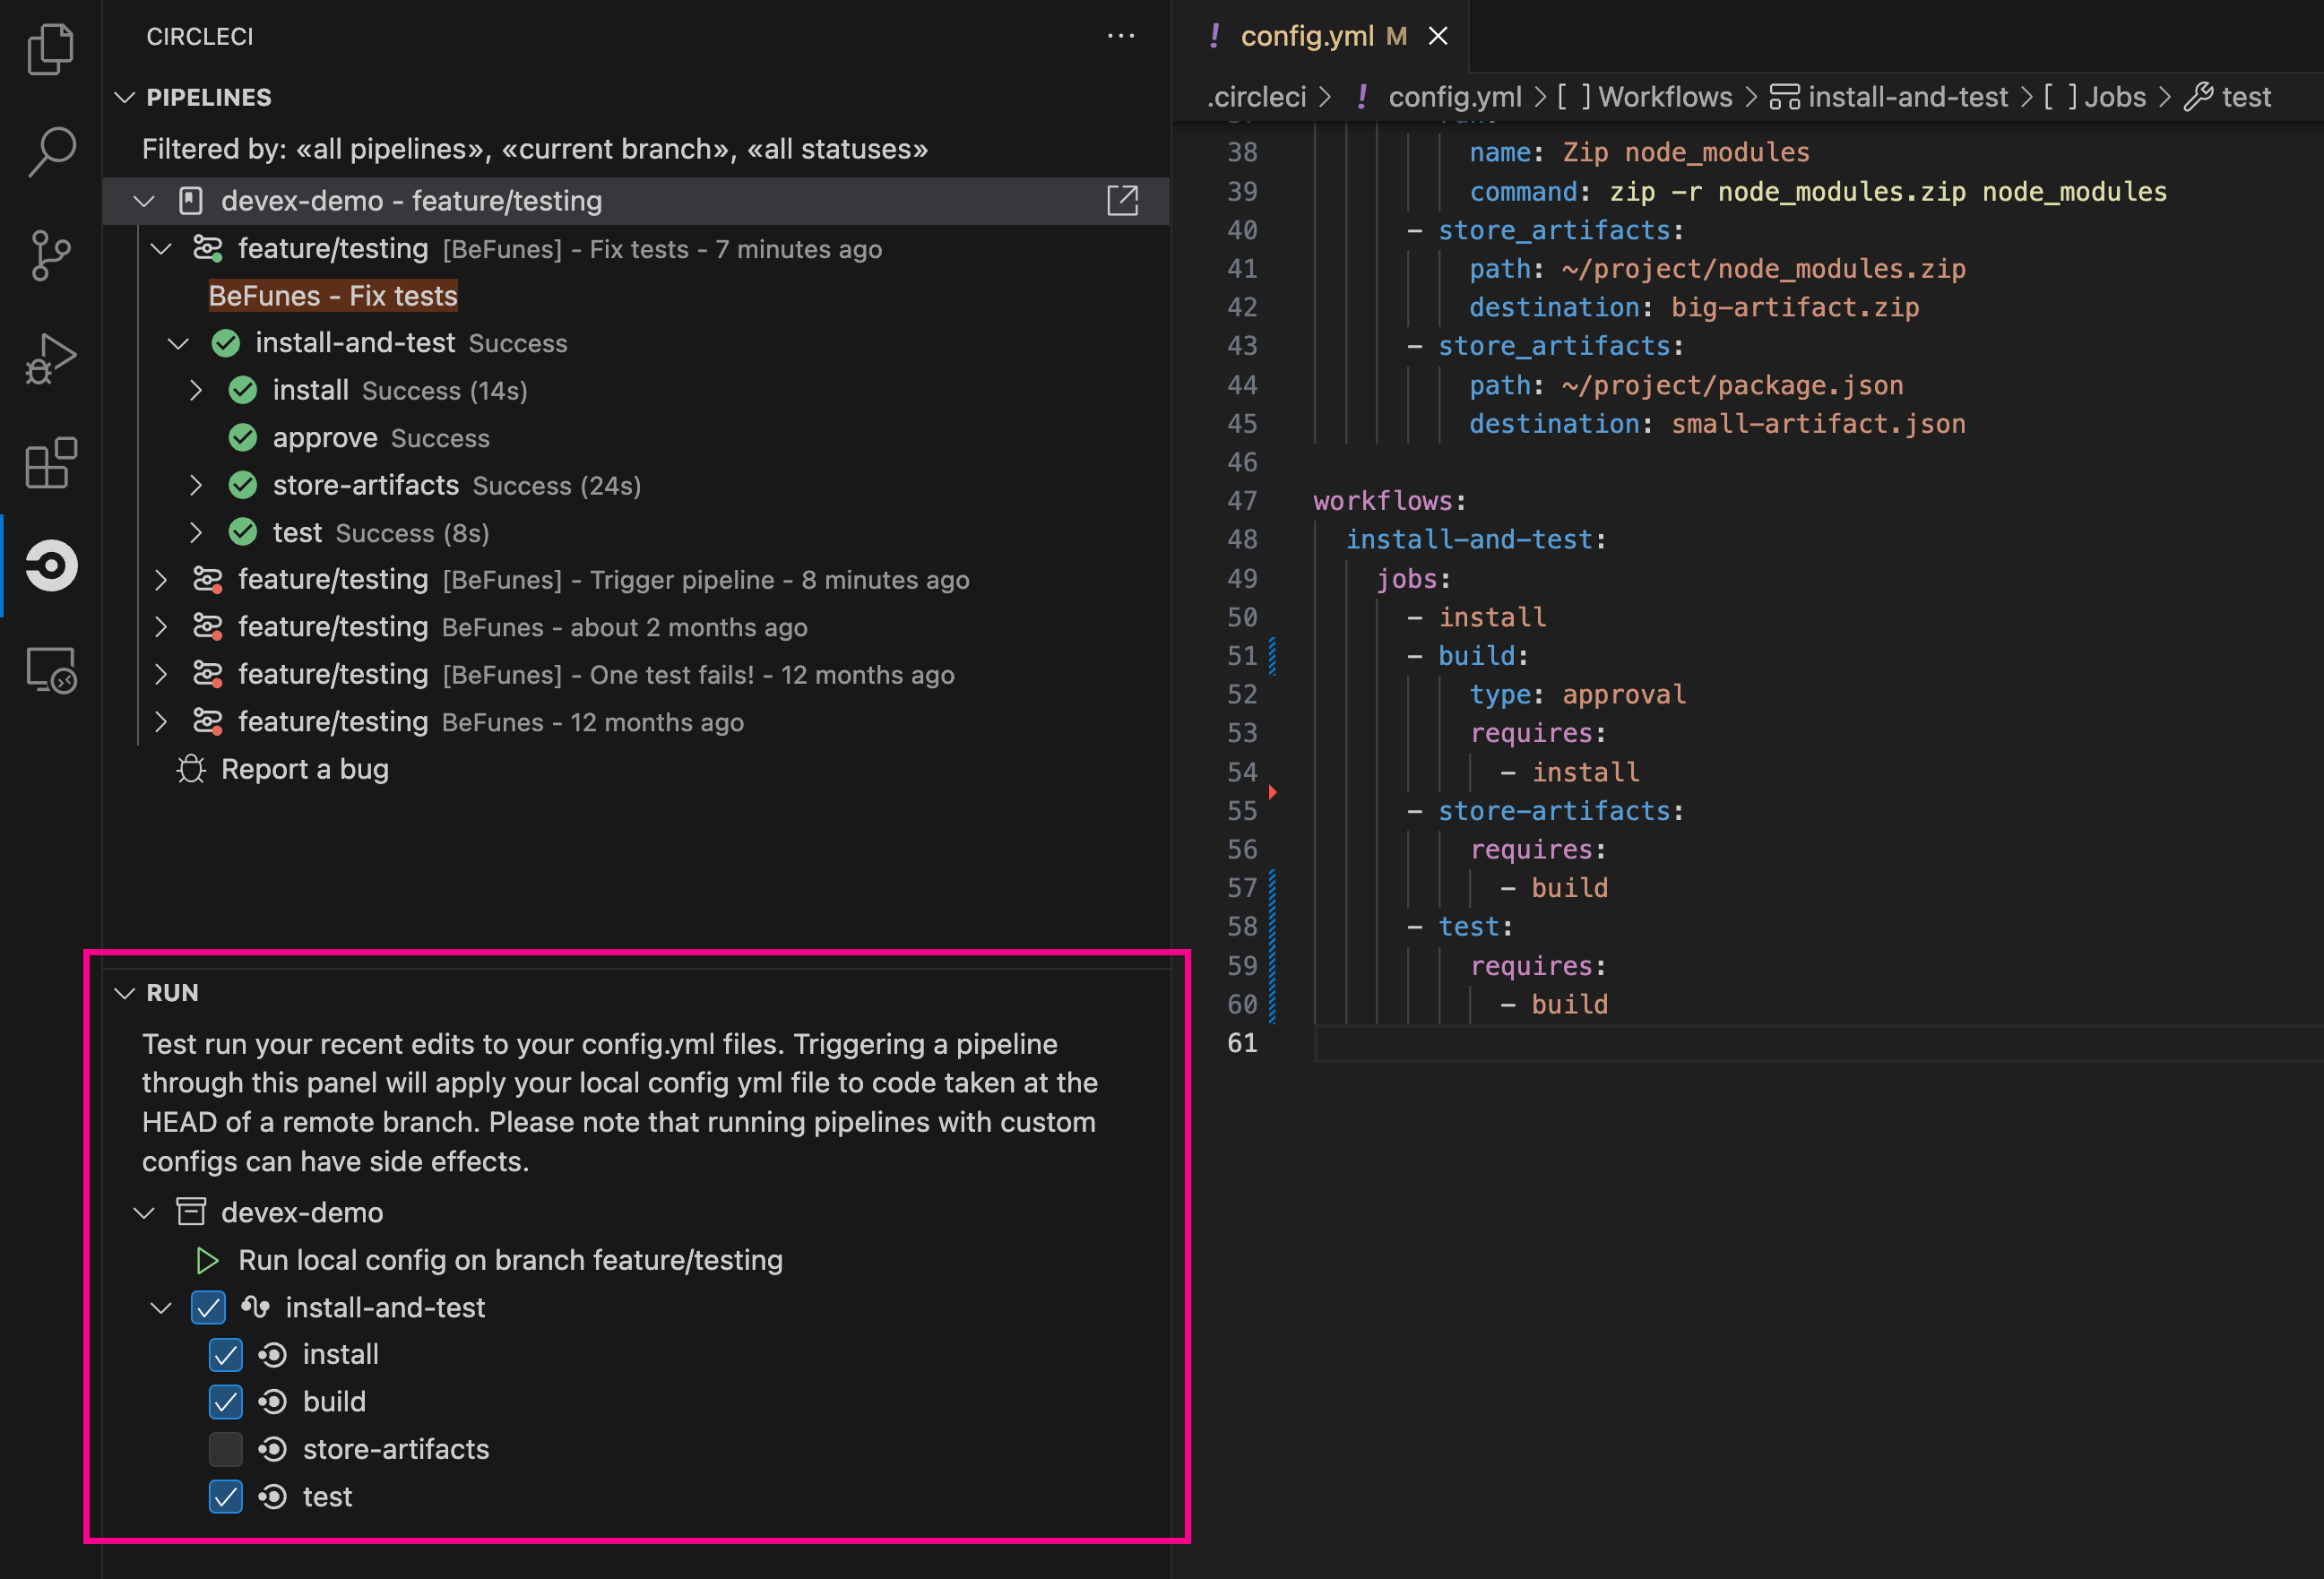
Trigger a pipeline from VS Code with unversioned config
| The ability to trigger a pipeline from VS Code with an unversioned config is currently in Open Preview. |
Trigger pipelines from VS Code to iterate on your CircleCI config without committing your trial and error changes to your version control system. Run and validate your full pipeline, or select jobs and workflows to validate individually. View the results of your test runs in the extension pipelines panel or in the CircleCI web app, just the same as any other pipeline.
For full details, see the VS Code extension overview.
Schedule a pipeline
| This feature is supported for orgs that use OAuth authentication. Check your Organization slug at . OAuth authenticated orgs are structured as follows:
This feature is not supported if your organization slug is in the following format:
For an overview of feature support, see the VCS integration overview page. |
For non GitLab/GitHub App/Bitbucket Data Center projects, scheduled pipelines allow you to trigger pipelines periodically based on a schedule. To get this set up for a project you can either use the CircleCI web app or use the API v2. For full details of both methods see the Scheduled Pipelines docs.
Next steps
Read about orchestrating elements of work within pipelines on the Using Workflows to Orchestrate Jobs page.