Config policies for self-hosted runner
| The config policies feature is available on the Scale Plan and from CircleCI server v4.2. |
Follow this how-to guide to learn how to create a config policy to restrict which projects can run jobs on a self-hosted runner resource class. For more information about config policies, see the Config policies overview.
Using server? When using the |
Prerequisites
-
Install/update the CircleCI CLI, and ensure you have authenticated with a token before attempting to use the CLI with config policies. See the Installing the Local CLI page for more information.
-
Set up a self-hosted runner. See the Getting started section of the Self-hosted runners overview.
-
Ensure you have enabled config policy evaluation for your organization so that project configurations will be evaluated against your organization’s policies when pipelines are triggered:
circleci policy settings --enabled=true --owner-id <your-organization-ID>Example output:
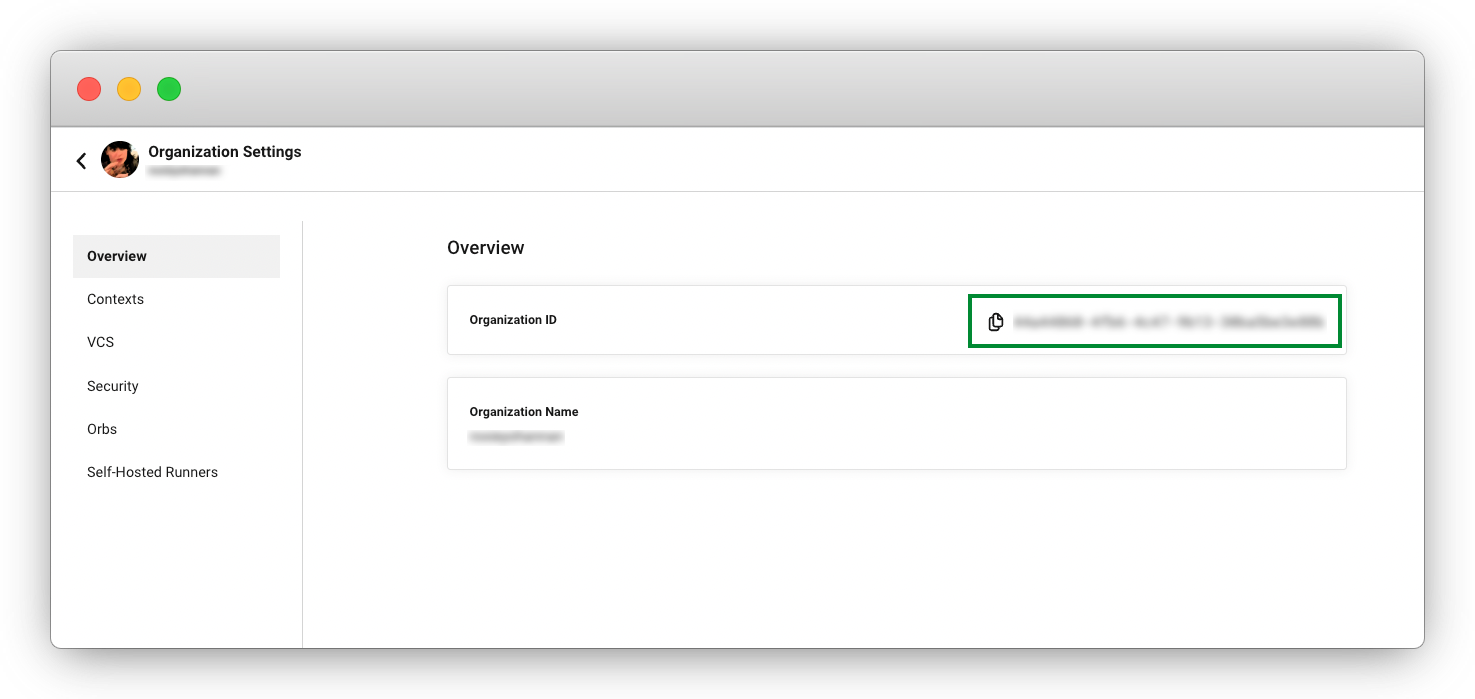
{
  "enabled": true
}
To find your organization/user ID, select Organization Settings in the CircleCI web app side bar.
1. Create your policy
-
If you have not already done so, create an empty directory to store your policies. For example:
mkdir ./config-policies -
Create a new file in this directory for your new policy. Name the file
runner.rego. -
Copy the following snippet into the
runner.regofile you just made:package org import data.circleci.config policy_name["runner_policies"] enable_hard["resource_class_check"] resource_class_check = config.resource_class_by_project({ "namespace/resource_class": {"project_UUIDs"}})In the following steps you will replace
namespace/resource_classandproject_UUIDswith one of your self-hosted runner resource classes, and one of your existing projects. Therunner.regopolicy, once uploaded, will then restrict your specified self-hosted runner to only run jobs from your specified project.
2. Update policy with your details
-
Replace
namespace/resource_classwith one of your runner resource classes:-
In the CircleCI web app, go to your self-hosted runner’s inventory page by selecting Self-Hosted Runners in the sidebar. If you do not see this option, check that you have accepted the CircleCI Runner Terms and created a namespace and resource class, as outlined in the runner installation guides. Here you will see all your available self-hosted runner resource classes.
-
Replace
namespace/resource_classin therunner.regofile with the name of the resource class that you would like to restrict.
-
-
Replace
project_UUIDswith a project ID:-
In the CircleCI web app, navigate to your projects dashboard by selecting Projects in the sidebar. Find the project you want to allow to build on your self-hosted runner, and then click the ellipsis (
…) next to that project and select Project Settings. -
Copy the Project ID from the overview page and replace
project_UUIDswith this project ID.
-
3. Push up your policy bundle
You can now push your new policy to your organization for it to take effect. You have two options:
-
Push the policy manually using the CLI from your local environment
-
Push your changes to your config policy repository if you are managing policies via your VCS.
A more complex example
Once you have this runner restriction policy up and running, you can quickly add more runner resource class/project pairings, and allow multiple projects per runner. To do this you will expand the resource_class_check rule.
The following snippet shows two separate runner resource classes (my-namespace/runner-test1 and my-namespace/runner-test2) with allowed projects, the first has two projects in its allowed list.
package org
import data.circleci.config

policy_name["runner_policies"]

enable_hard["resource_class_check"]

resource_class_check = config.resource_class_by_project({
  "my-namespace/runner-test1": {
    "a20ae1c6-d723-4c03-9bb6-01d5b3594e02",
    "2accadd0-c832-489e-b837-4de03def0d35"
  },
  "my-namespace/runner-test2": {
    "637f9136-694e-4105-bb43-1028ffb9043e"
  }
})