How to test a MongoDB NoSQL database

Fullstack Developer and Tech Author

Most development teams know that testing the application layer of a system (a.k.a the codebase) is of vital importance. Testing the data layer (the database) is just as important. To perform database testing, you construct queries to assert and validate the database operations, structures, and attributes required by the application connecting to the database. These queries may include validating the schema, testing CRUD operations, and transactions to ensure that the database is set up properly to serve the application.
For more on database testing and the strategies to go about performing it, you can check out our introduction to database testing tutorial.
In this tutorial, you will learn how to test a NoSQL MongoDB database. You will then learn to set up a continuous integration pipeline to automate the testing process.
Prerequisites
To follow along, a few things are required:
- Basic knowledge of JavaScript
- Node.js installed on your system (version >= 12)
- A CircleCI account
- A GitHub account
- Basic knowledge of MongoDB query syntax.
Our tutorials are platform-agnostic, but use CircleCI as an example. If you don’t have a CircleCI account, sign up for a free one here.
With all these installed and set up, you can begin.
Getting a remote MongoDB instance
Do not run database tests on a production database. Instead, make sure that the database resembles the one in production as closely as possible.
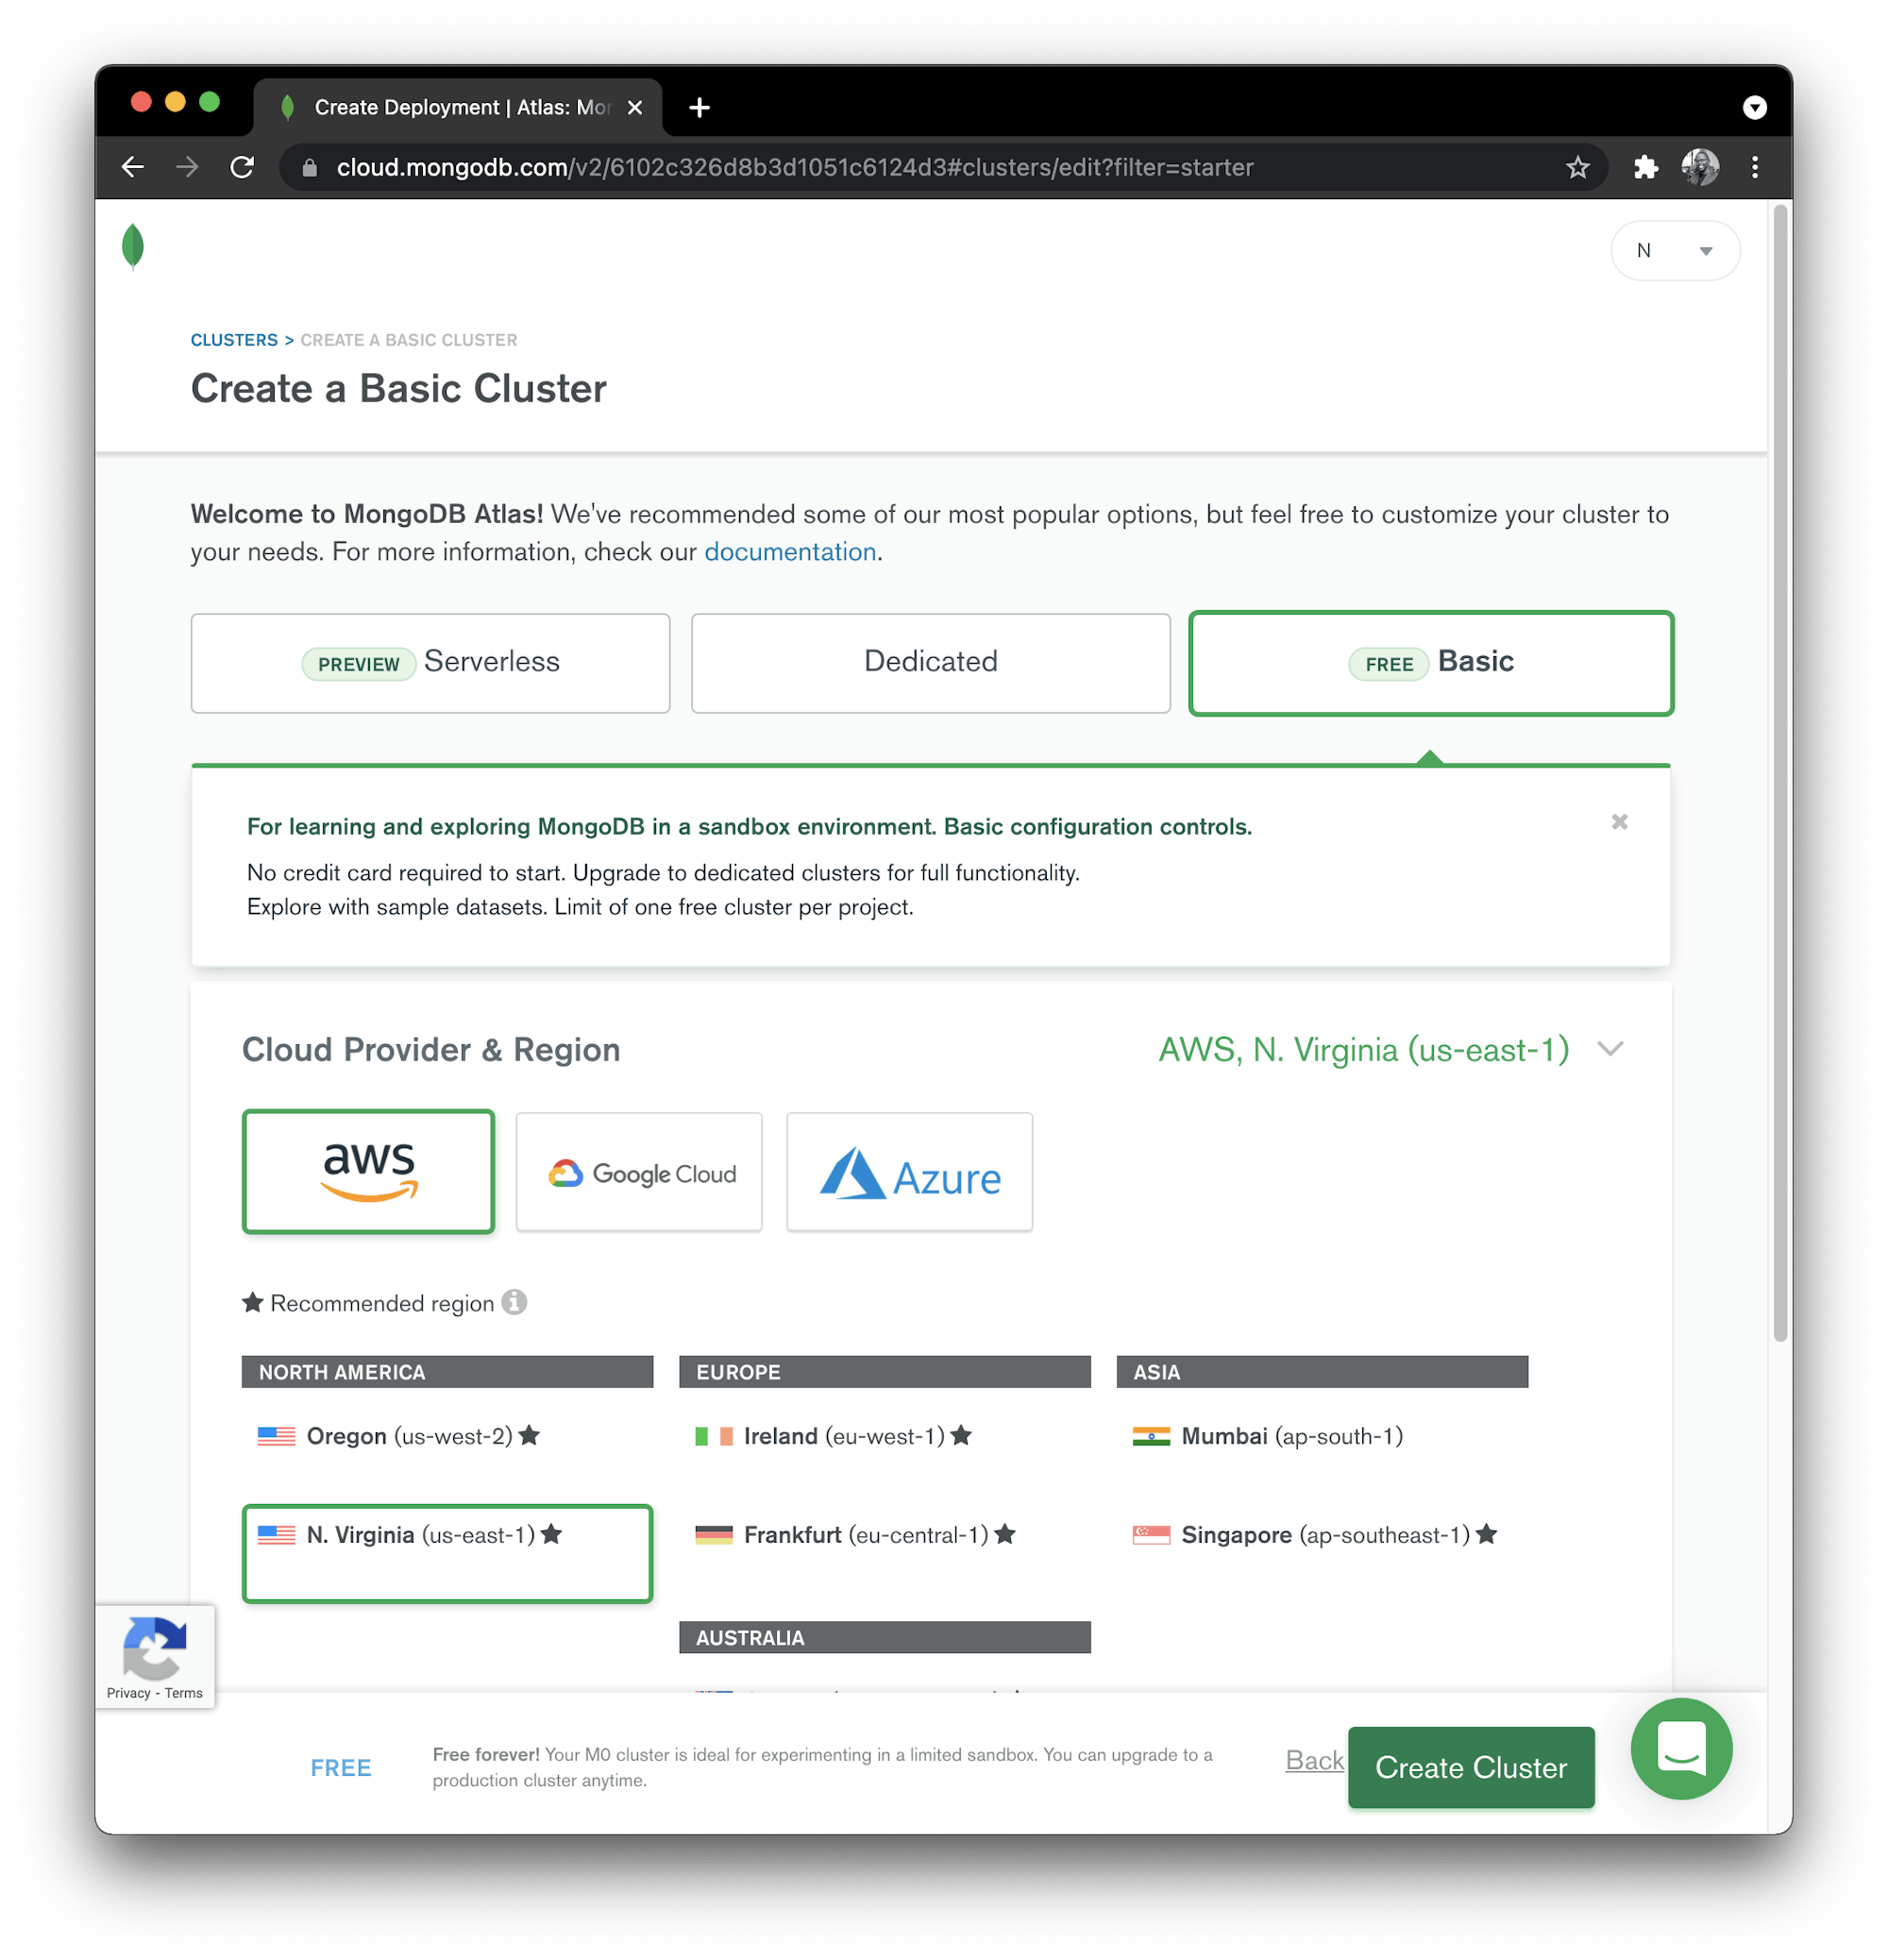
For this exercise, you will need a remote MongoDB database to run your tests. Many cloud providers offer free MongoDB databases that you can use. You are free to get your MongoDB database from any service you choose, as long have you have the connection details. For this tutorial, I am using a free instance from the official MongoDB site. This demo video from MongoDB will give you a quick rundown on how to create a cluster.
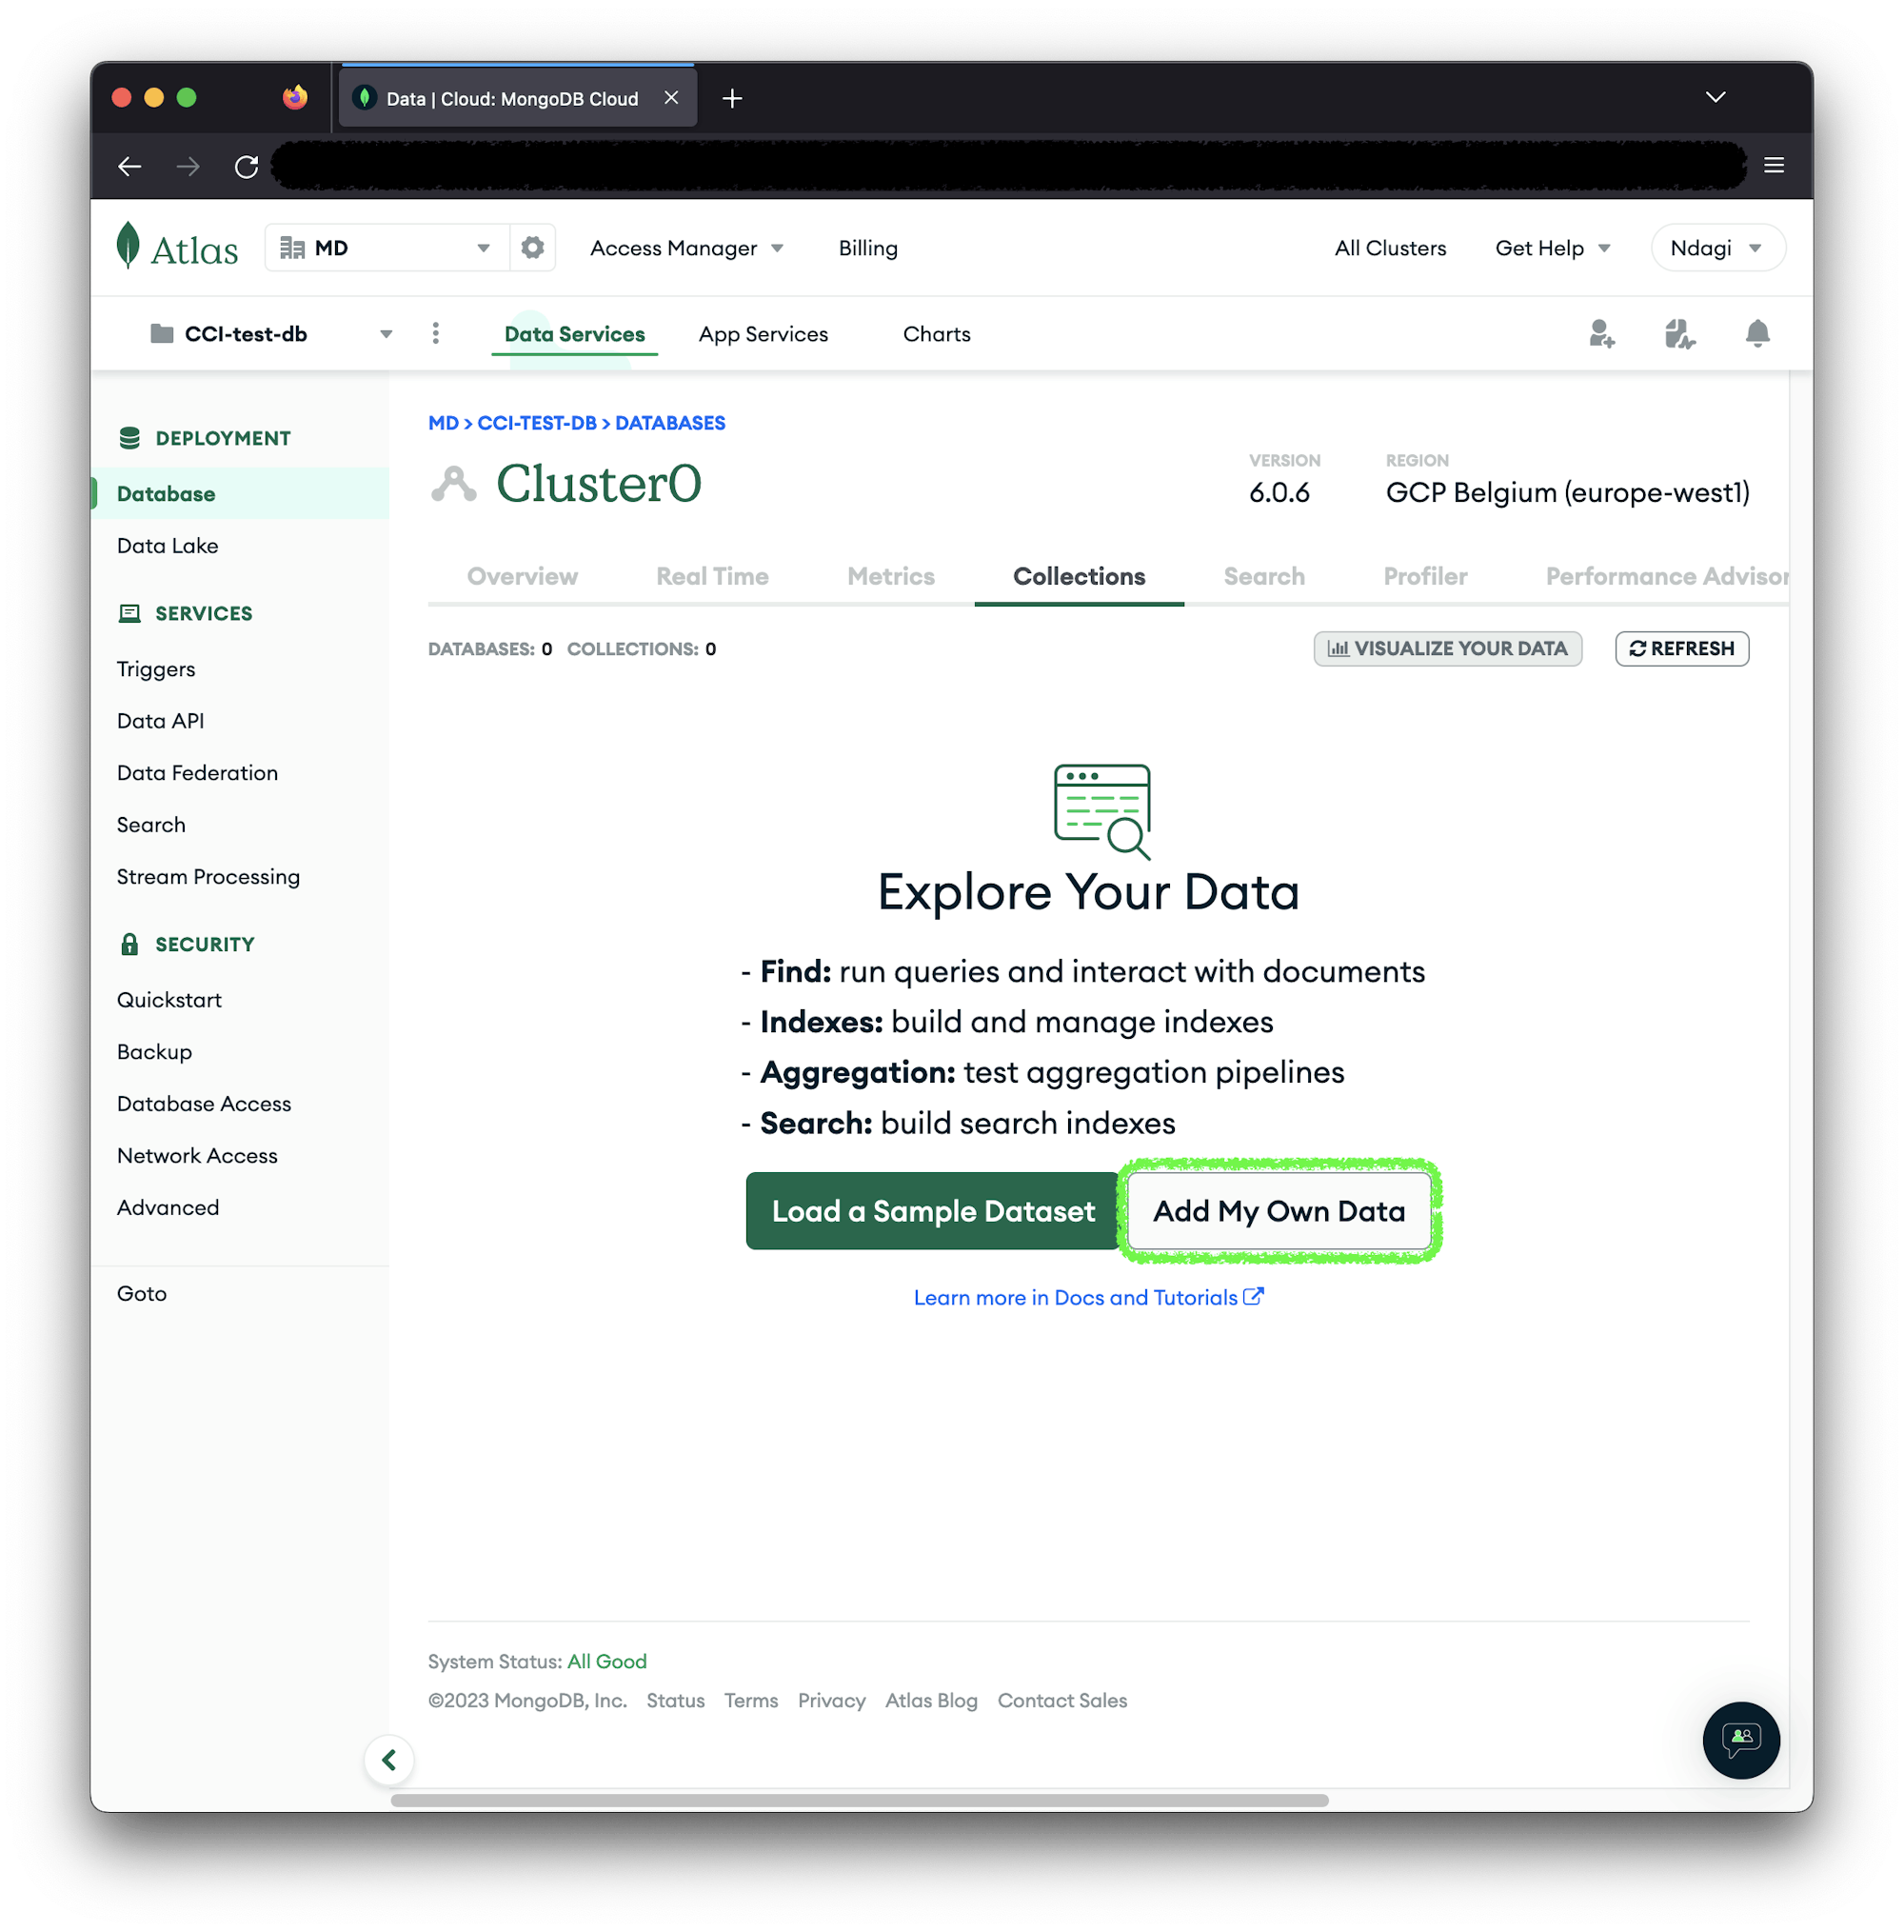
Once you have your instance created, click on Browser collections.

Click Add My Own Data (or Create Database, if you had another database already).
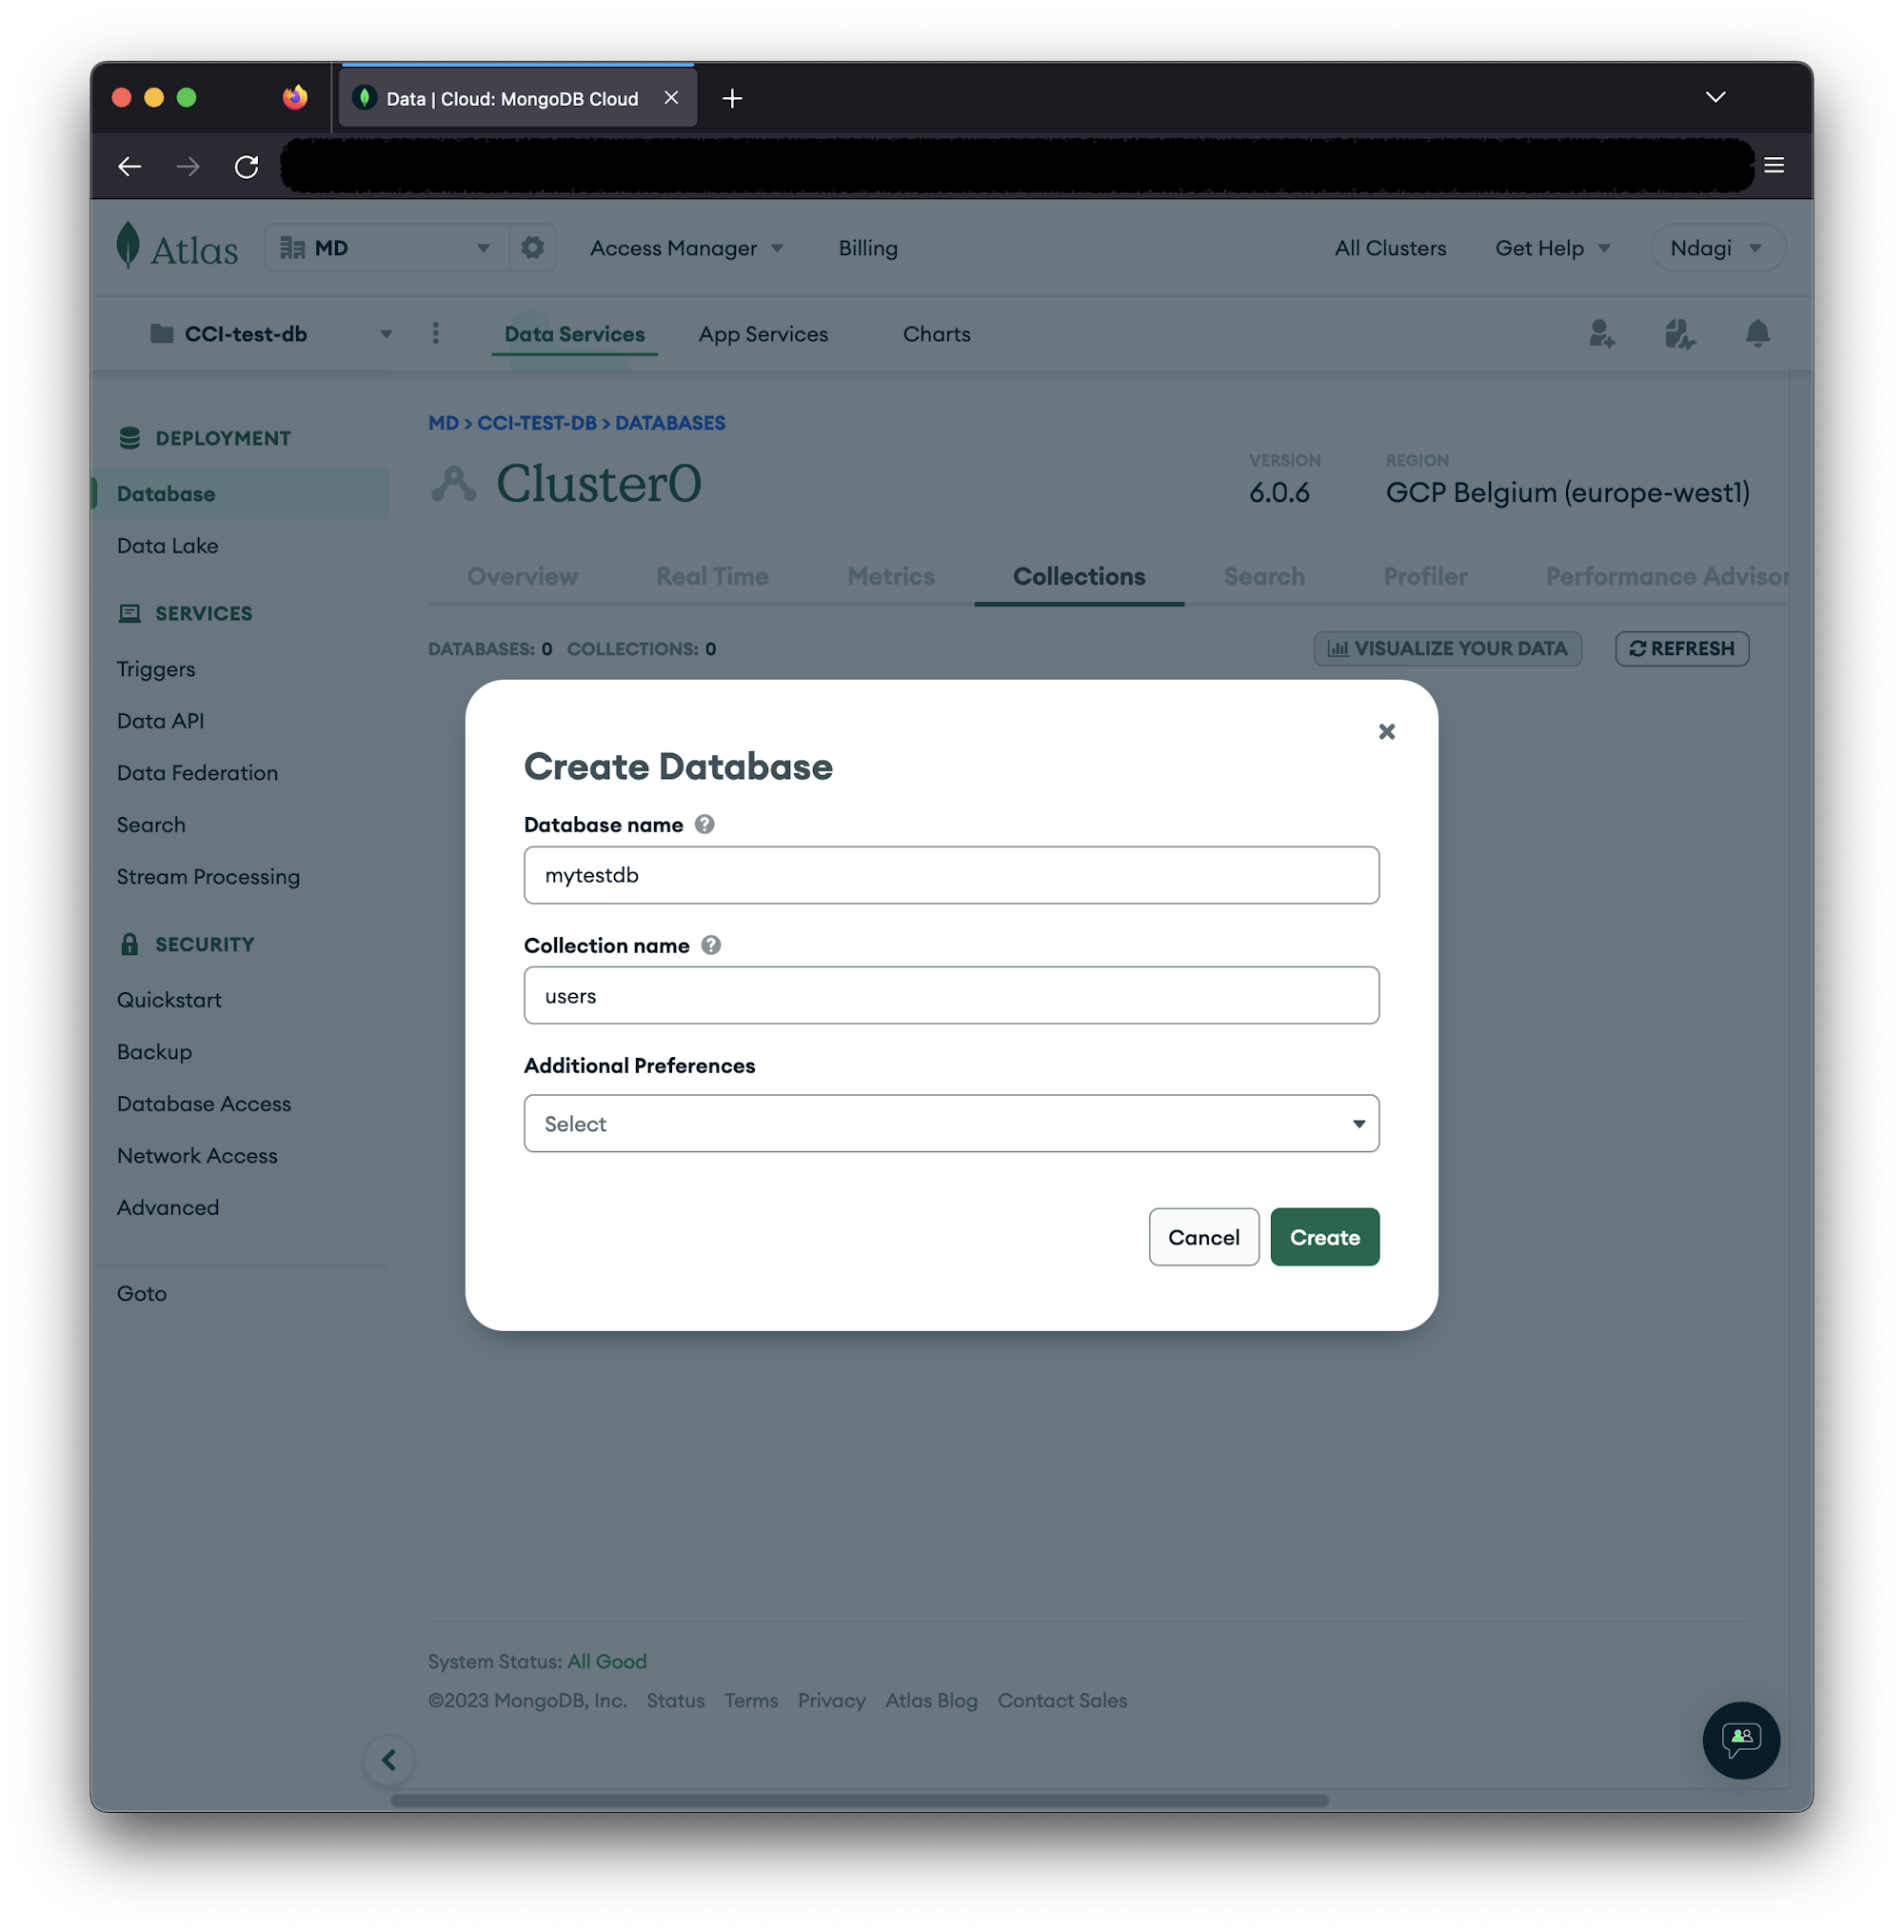
Name the database mytestdb and create a users collection in it.
Network access
Note: For MongoDB Atlas, connections are limited to current IP address by default. You will be using a CircleCI pipeline, so enable connection from anywhere using the Network Access item on the left menu.
Click Network Access, then Add IP address, then Allow access from Anywhere. Click Confirm.

Setting up the test project with Jest and MongoDB SDK
Once you have your remote MongoDB set up, you can start setting up the test environment. Different codebases have different runners for performing tests. For this tutorial, you are using a JavaScript project, so you will use the Jest testing framework and MongoDB Node.js SDK to perform the database tests.
To start a new Node.js project, create the folder, then move into the root of the folder. Use this command:
mkdir nosql-db-testing
cd nosql-db-testing
Run this command to initialize a Node.js project and scaffold a basic package.json file:
npm init -y
Next, install Jest as a development dependency:
npm install --save-dev jest
Then install the mongodb and faker package to connect to your MongoDB instance and generate fake test data:
npm install mongodb @faker-js/faker
Now that you have the project setup and all the packages in, it’s time to start writing tests.
Data integrity with CRUD tests
For this tutorial, you will be running simple CRUD (Create-Read-Update-Delete) tests to validate the data integrity in your CRUD operations.
Create a new file called users.test.js at the root of the project. Inside this file, you will be testing the users collection by adding users and reading user data.
Add this code to the file to test for the CREATE operation:
const { MongoClient } = require("mongodb");
const { faker } = require("@faker-js/faker");

jest.setTimeout(30000);

const uri =
  "mongodb+srv://YOUR_DB_USER:YOUR_DB_PASSWORD@YOUR_DB_HOST/?retryWrites=true&w=majority";

const client = new MongoClient(uri, {
  useNewUrlParser: true,
  useUnifiedTopology: true
});

describe("Database Tests", () => {
  let usersCollection;

  beforeAll(async () => {
    try {
      await client.connect();
      const db = client.db("mytestdb");
      usersCollection = db.collection("users");
    } catch (err) {
      console.error("Error connecting to the database:", err);
    }
  });

  test("Test CREATE", async () => {
    let newUsers = [];
    let total_users_to_add = 3;

    for (let i = 0; i < total_users_to_add; i++) {
      newUsers.push({
        name: faker.person.firstName(),
        email: faker.internet.email(),
      });
    }

    const result = await usersCollection.insertMany(newUsers);
    expect(result.insertedCount).toBe(total_users_to_add);
  }, 30000);

  afterEach(async () => {
    await usersCollection.deleteMany({});
  });

  afterAll(async () => {
    await client.close();
  });
});
In this test, a connection is made to the database instance and a reference to the users collection is created in the beforeAll block. Remember to replace YOUR_DB_USER, YOUR_DB_PASSWORD and YOUR_DB_HOST with the information for your remote MongoDB instance.
In the afterEach block, the users collection is emptied to ensure that each test starts off with a clean state and there is no data collision between tests.
In the afterAll block, we clean up by closing the connection to the database after all tests have finished running.
In the Test CREATE test case, the faker library is used to add 3 (three) users to the users collection. The result of this operation is then checked to ensure that it contains the exact number of users just added.
To run this test, update the test script in your package.json file:
...
  "scripts" : {
    "test" : "jest"
  }
...
In your terminal, run the test by using this command:
npm run test
This output is displayed in your terminal once the test completes:
> nosql-db-testing@1.0.0 test
> jest

 PASS  ./users.test.js
  Database Tests
    ✓ Test CREATE (397 ms)

Test Suites: 1 passed, 1 total
Tests:       1 passed, 1 total
Snapshots:   0 total
Time:        4.26 s
Ran all test suites.
As seen from the output, the test for CREATE passed, indicating that the write operation is successful. For NoSQL database tests, you can add other tests to check the format of the data returned or the speed of the write operation.
For a READ operation, add this test case just underneath the test block for the first test:
test("Test READ", async () => {
  let sampleUser = { name: "Test User", email: "test@user.com" };

  await usersCollection.insertOne(sampleUser);

  const findUser = await usersCollection.findOne({ email: sampleUser.email });

  expect(findUser.name).toBe(sampleUser.name);
}, 30000);
In this test, a new user named sampleUser is added to the users collection. The collection is then queried to fetch the user associated with the user’s email. We then test if the user returned is the user we expected. You can also test if the user is returned in the right data format. Or you can check whether any of the user fields is returned in the expected data format of a different NoSQL database vendor. Vendors like MongoDB, CouchDB, and Cassandra have varying formats with which they handle different data structures.
Save this file. Run the test command again: npm run test. This time, you will have this output in your terminal:
> nosql-db-testing@1.0.0 test
> jest

 PASS  ./users.test.js
  Database Tests
    ✓ Test CREATE (410 ms)
    ✓ Test READ (684 ms)

Test Suites: 1 passed, 1 total
Tests:       2 passed, 2 total
Snapshots:   0 total
Time:        4.758 s, estimated 5 s
Ran all test suites.
Automating the testing process
Now that you have your tests running well manually, it’s time to automate the testing process. First, save all changes to the test file and push to GitHub.
Next, go to the Projects page on the CircleCI dashboard to add the project.
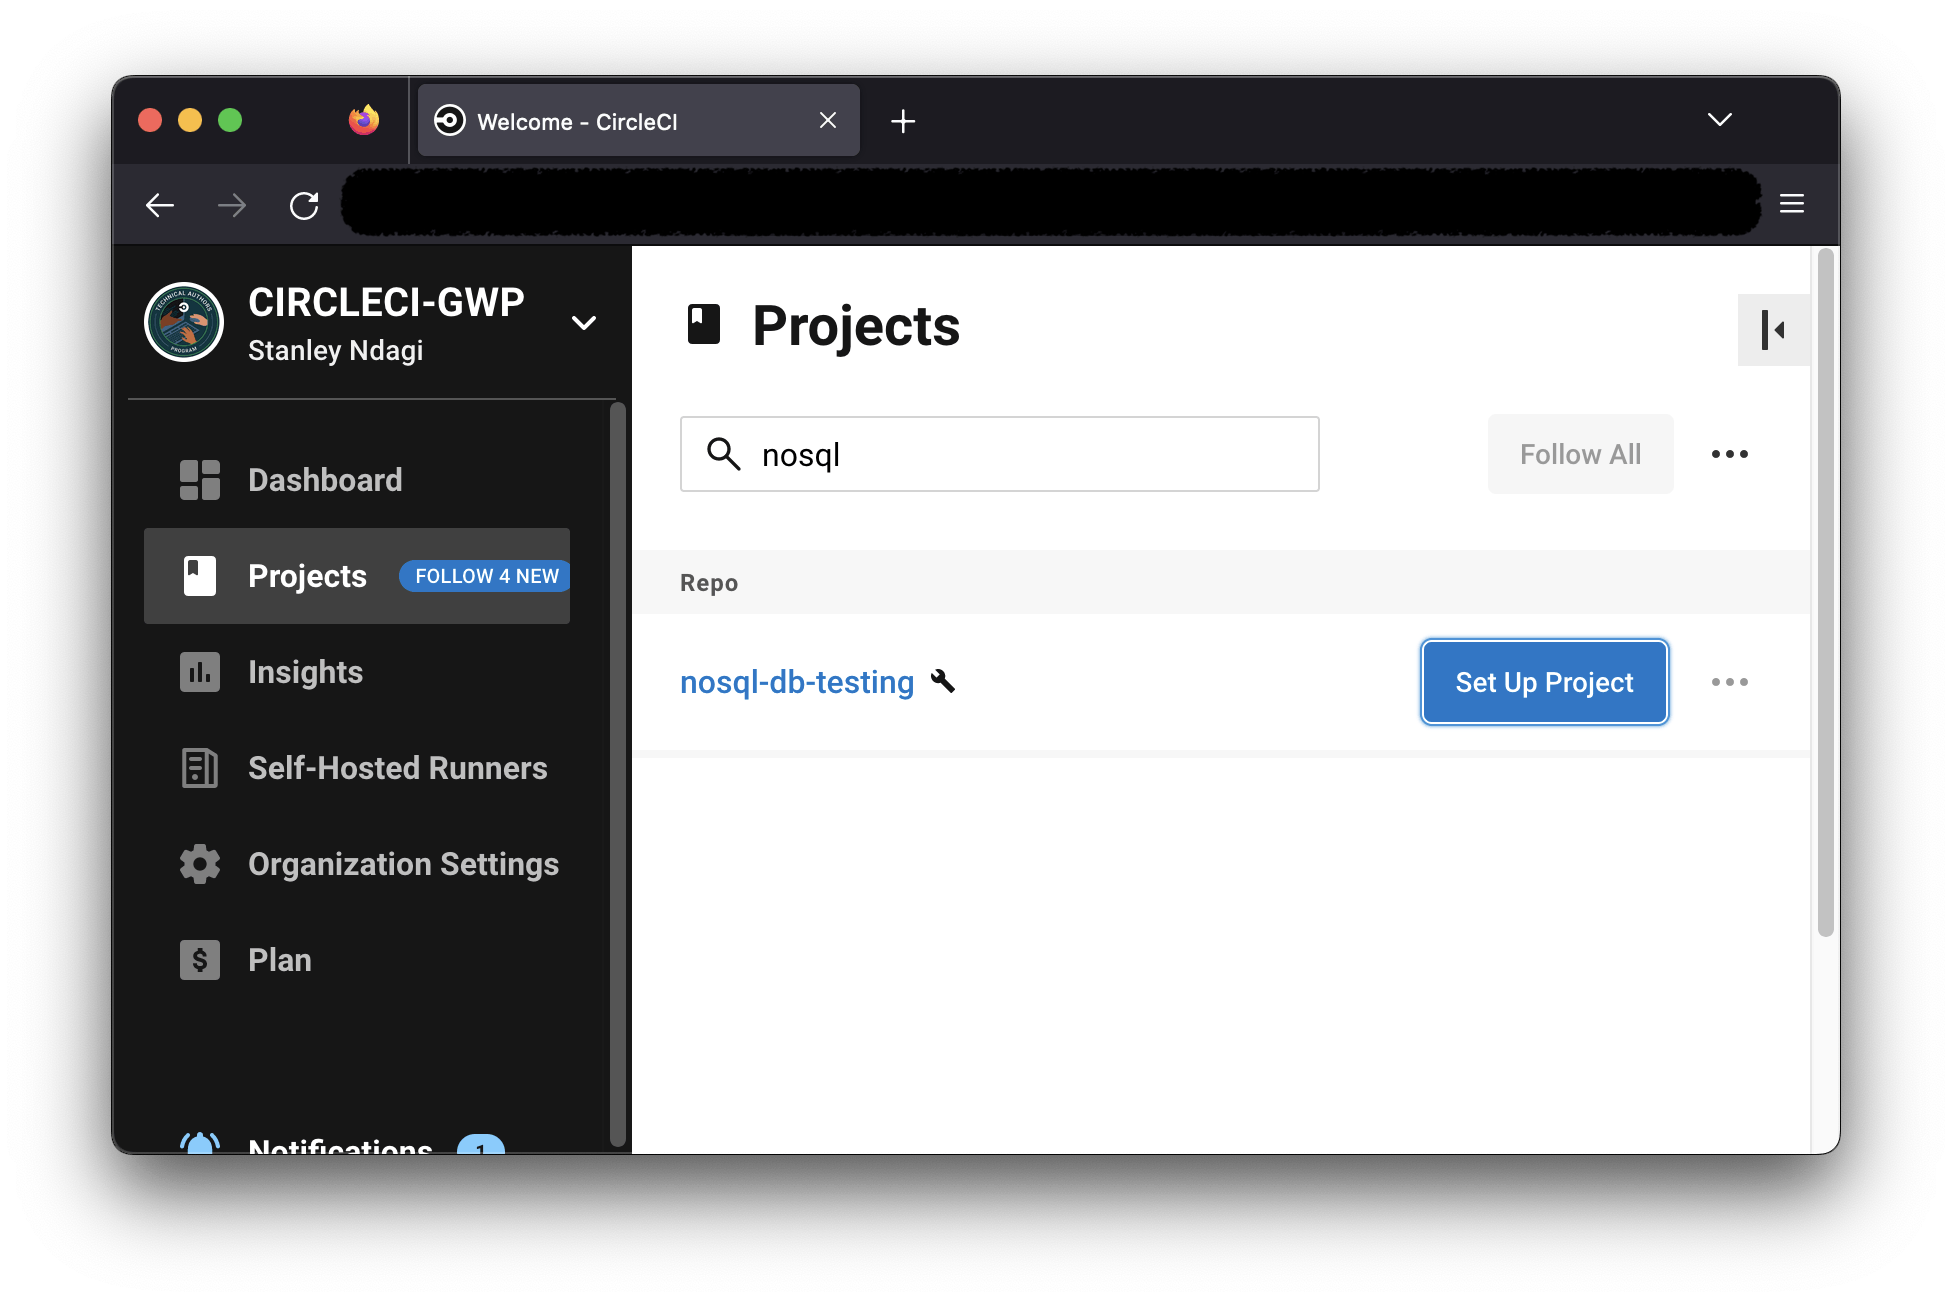
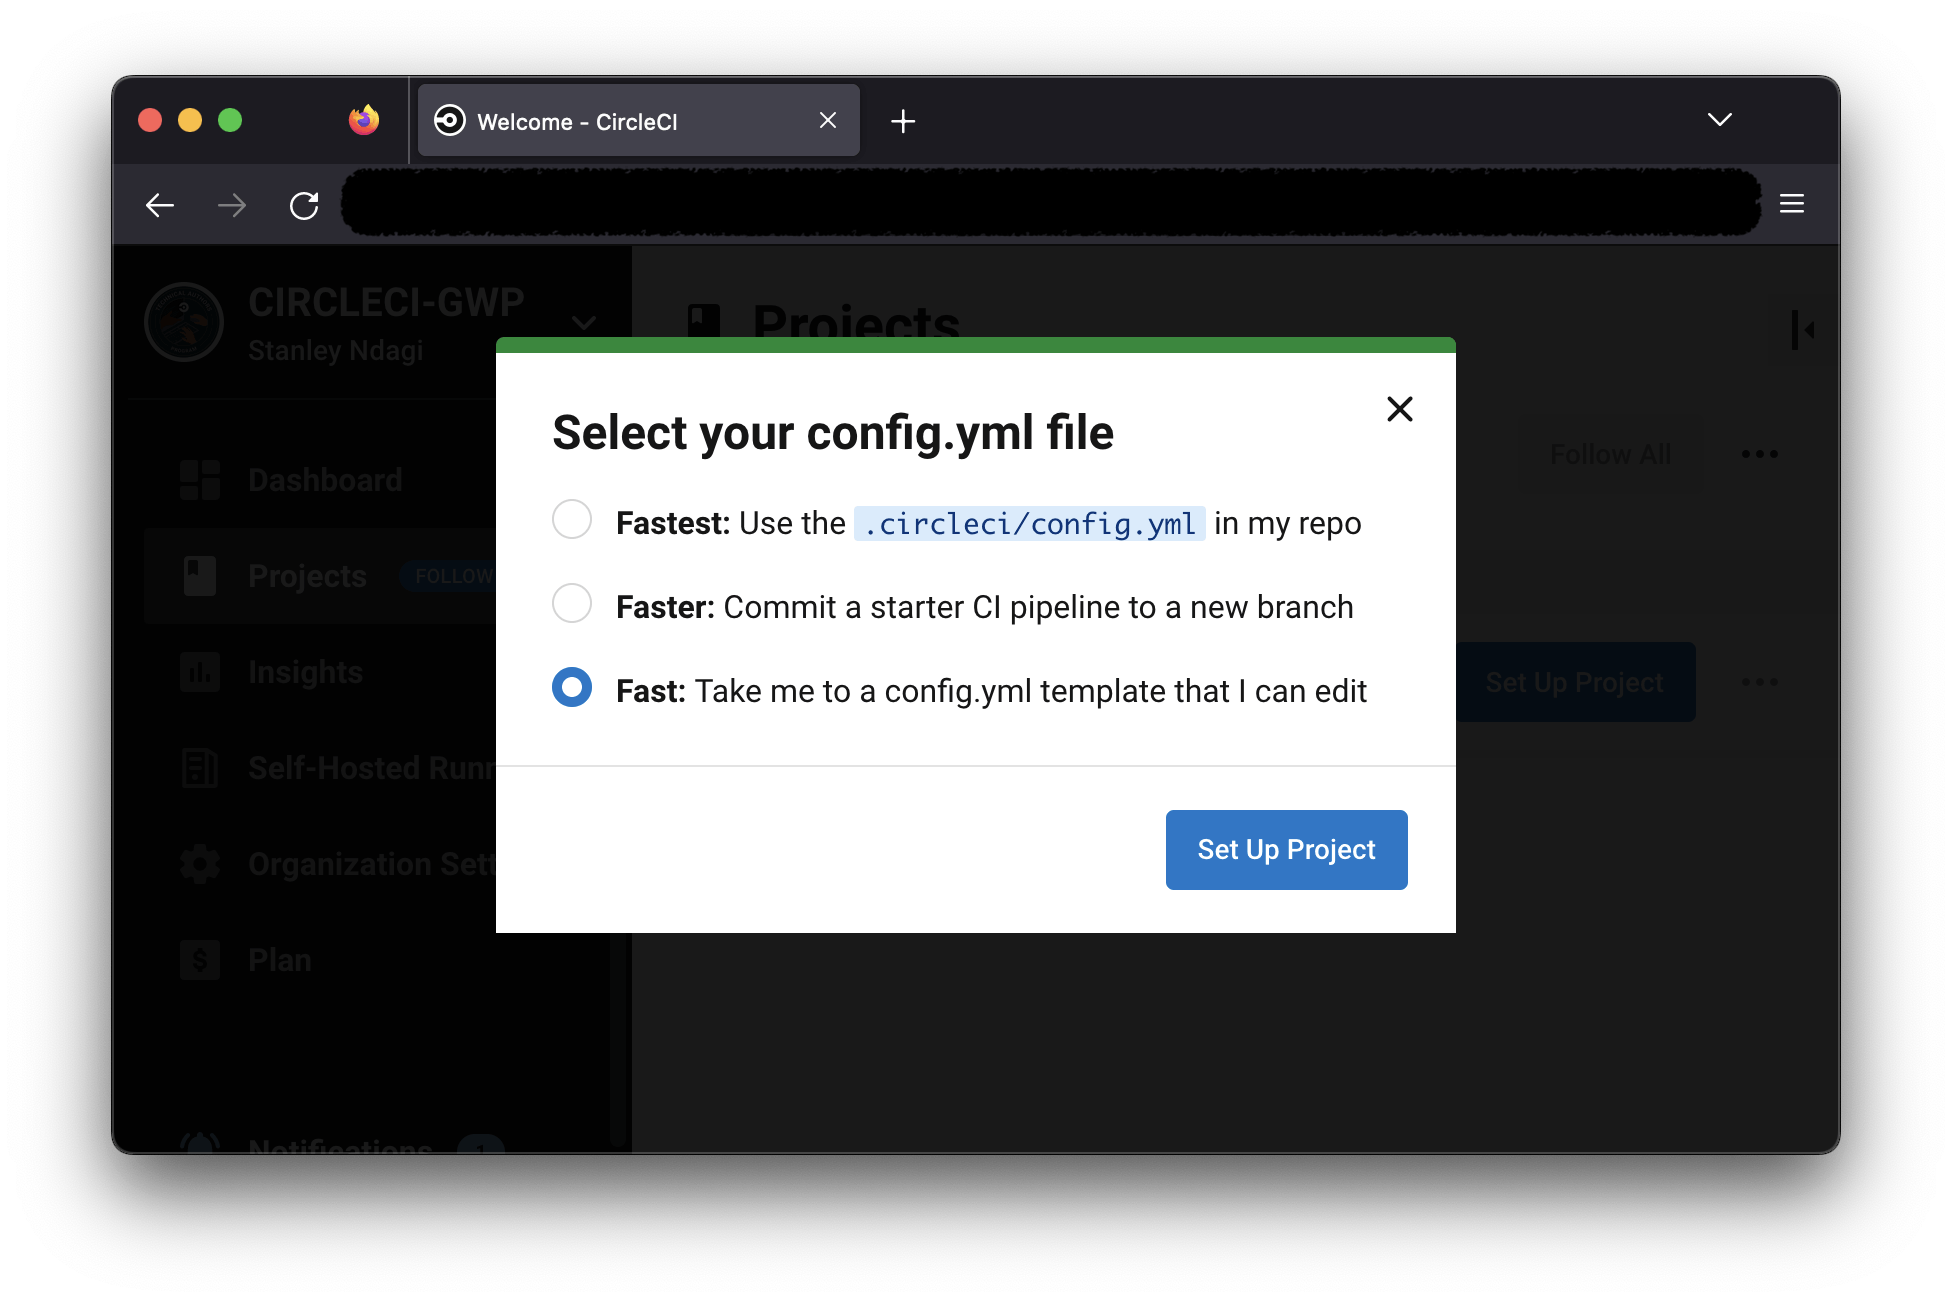
Select Fast, then click Set Up Project.
Click Skip this step because we don’t intend to use the samples shown.

On the setup page, click Use Existing Config to instruct CircleCI that you are adding a configuration file manually. Next, you get a prompt to either download a configuration file for the pipeline or start building.
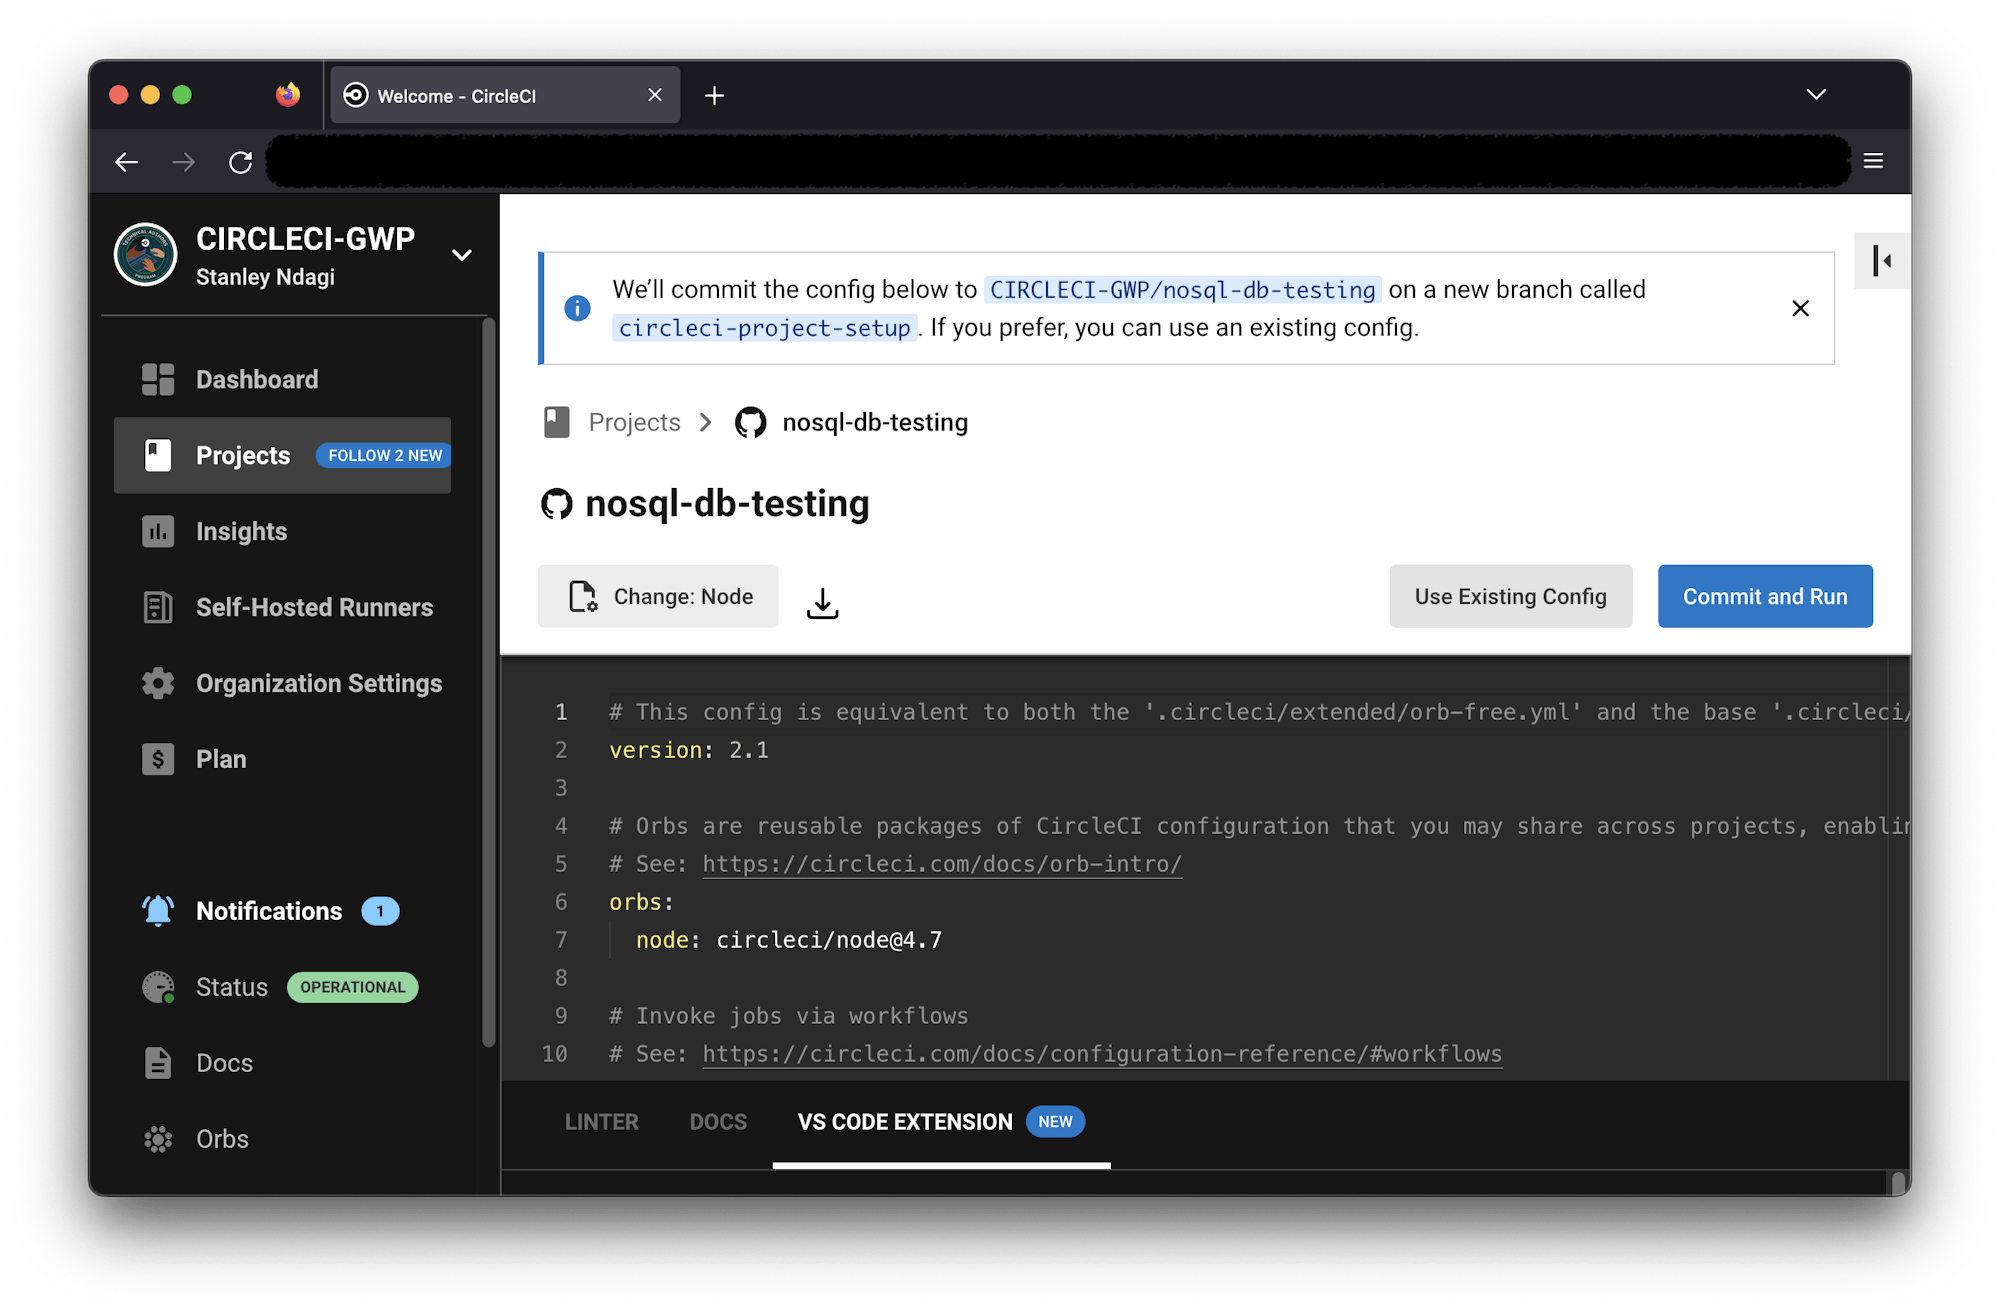
Click Start building. You will be manually adding your CircleCI config later in this tutorial.

This loads the next screen.
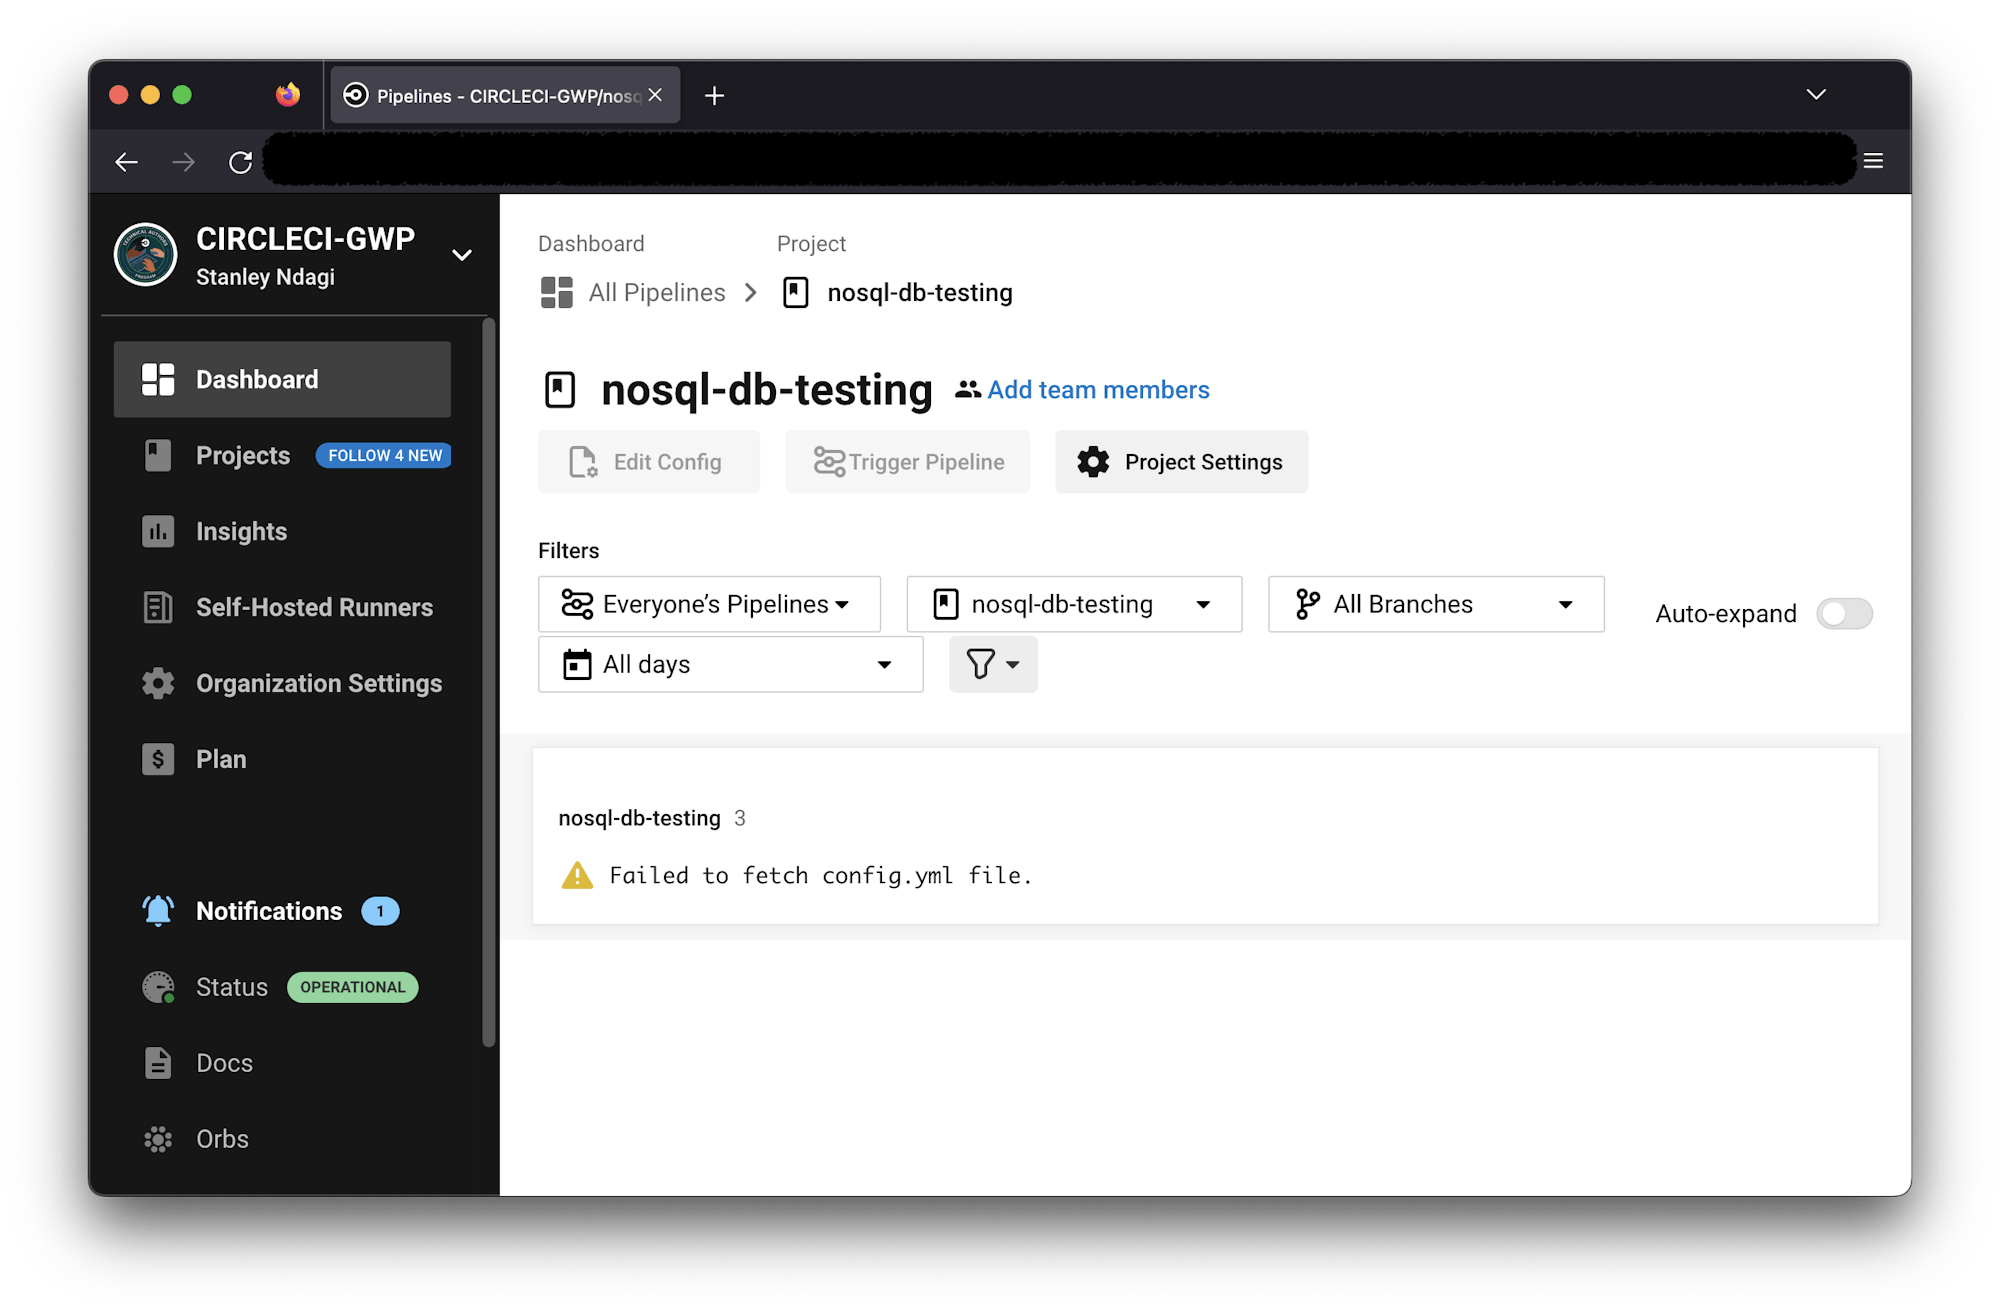
The build will not run because we have not set up our configuration file yet.
To add your continuous integration pipeline script, go back to your project and create a folder named .circleci at the root of the project folder, Add a file named config.yml inside it. Inside config.yml, enter this code:
version: 2.1
jobs:
  build:
    working_directory: ~/repo
    docker:
      - image: cimg/node:20.4.0
    steps:
      - checkout
      - run:
          name: Update NPM
          command: "sudo npm install -g npm"
      - restore_cache:
          key: dependency-cache-{{ checksum "package-lock.json" }}
      - run:
          name: Install Dependencies
          command: npm install
      - save_cache:
          key: dependency-cache-{{ checksum "package-lock.json" }}
          paths:
            - ./node_modules
      - run:
          name: Run tests
          command: npm run test
In this file, the appropriate Node.js image is pulled in and npm updated within it. Dependencies are then installed and cached to make subsequent builds faster. Finally, the tests are run using the npm run test command.
Commit all changes to the project and push to your remote GitHub repository. This triggers the build pipeline and if all instructions have been properly followed, you will have a successful build.
Note: If your build fails, make sure that your DB allows connection from anywhere. See the Network access section for details. My first build (below) failed because I forgot to set this up!

Click the build to review the details of the test.

Conclusion
In this tutorial, you have learned how to test a NoSQL database (MongoDB) and how to automate the process using CircleCI.
Data is at the core of almost every application today. A fault, corruption, or breach of data can lead to customers losing trust in a product and its company. Lost credibility leads to lost revenue. Database testing should not be an afterthought but rather given top priority in your software development operations.
Happy Coding


