Manage roles and permissions
| If you authenticated your CircleCI account with GitLab or the CircleCI GitHub App, the content on this page applies to you. |
Manage user access to organizations and projects with CircleCI roles and associated permissions. The guides on this page show how to add people to your organization, update permissions, and assign specific project roles to people in your organization. You can also manage roles for groups of users with groups.For an overview of roles and permissions in CircleCI, see the Roles and permissions overview page.
Prerequisites
-
A CircleCI account connected to your code. You can sign up for free.
-
At least one project created in your organization. See the Create a project page for instructions.
Add people to your organization
| To do this, you must have the Organization Admin role. |
-
In the CircleCI web app, click on Organization Settings in the sidebar
-
Click on People
-
Click Invite
-
Enter the person’s email address. You can add multiple people separated by a space too
-
Select a role from the dropdown menu to be applied to the people you are inviting
-
Click Send Invite(s)
An invited user will receive an email notification (sent from noreply@circleci.com), containing a link to accept the invite.
If they do not have a CircleCI account, they will need to sign up. If they already have a CircleCI account, they are added to the organization, and if they are logged in, they will see the organization as an option in the organization switcher in the top left corner of the web app.
Change a person’s org-level permissions
| To do this, you must have the Organization Admin role. |
-
In the CircleCI web app, click on Organization Settings in the sidebar
-
Click on People
-
Scroll to locate the person you want to update permissions for
-
Use the dropdown menu next to their name to select a new role
Remove people from your organization
| You must have at least one org administrator. If you try to remove the last org administrator, you will get an error. |
| To do this, you must have the Organization Admin role. |
-
In the CircleCI web app, click on Organization Settings in the sidebar
-
Click on People
-
Scroll to locate the person you want to remove
-
Click the ellipsis (…) button next to their name and select Remove from organization
Assign a project role

-
In the CircleCI web app, click on Dashboard in the sidebar
-
Select your project using the filter dropdown menu
-
Click Project Settings
-
Click People in the sidebar menu
-
Click Assign Project Roles
-
Select the username of the person you want to assign a role to
-
Use the Project Role dropdown menu to select the role you want to assign
-
Click Assign Role
Change a person’s project-level permissions
-
In the CircleCI web app, click on Dashboard in the sidebar
-
Select your project using the filter dropdown menu
-
Click Project Settings
-
Click People in the sidebar menu
-
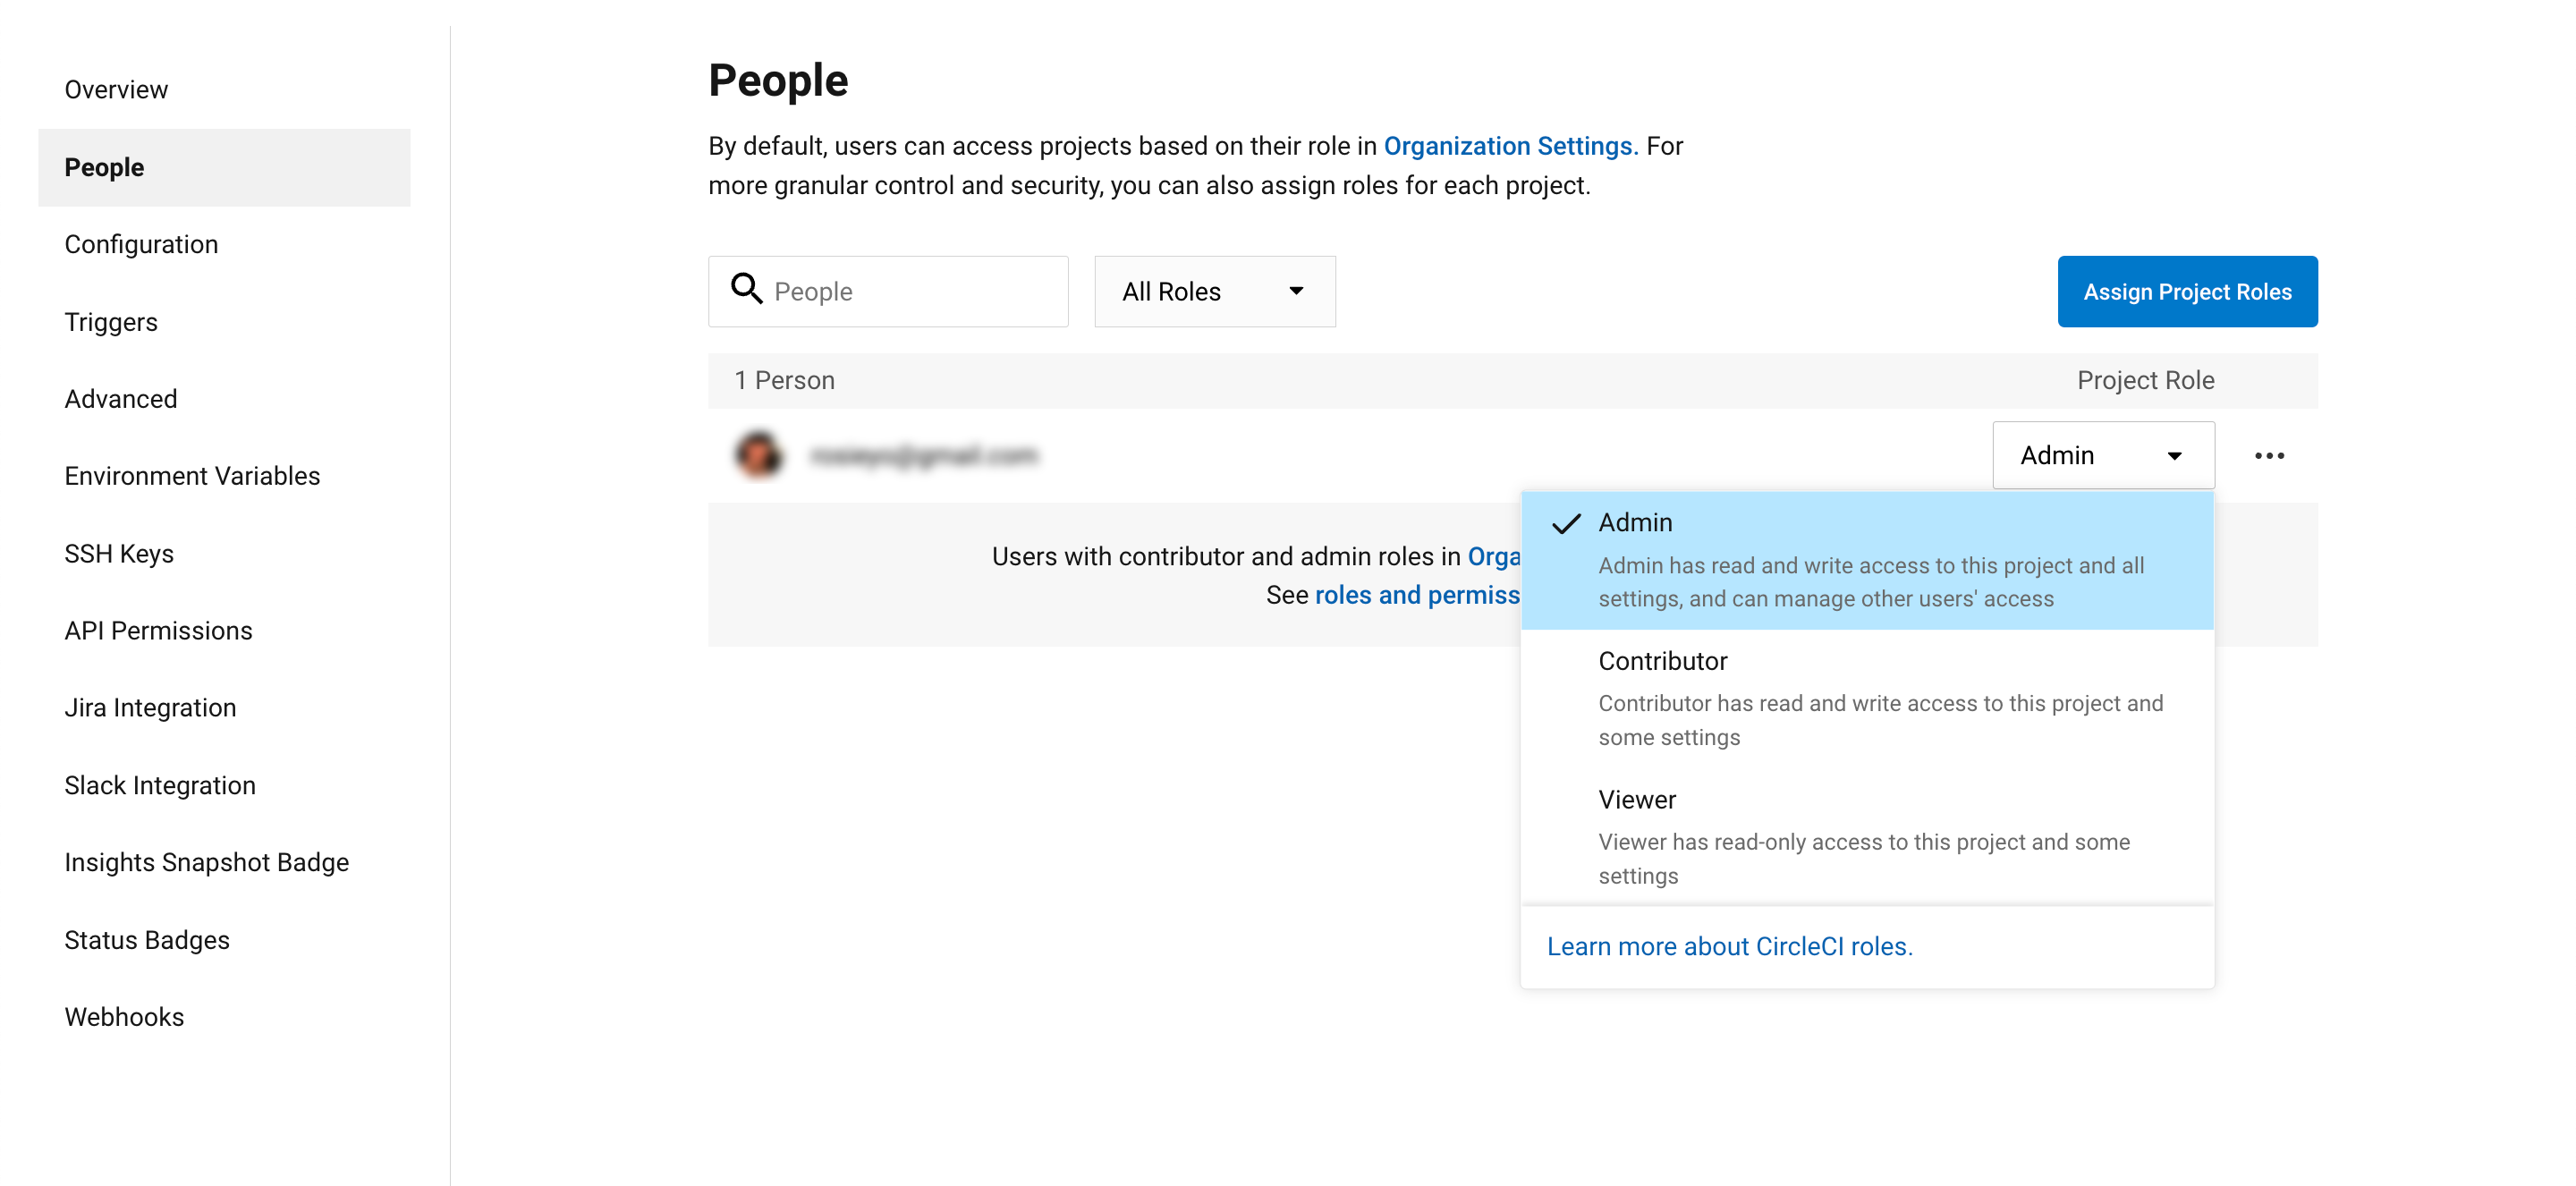
Use the dropdown menu next to the person’s name to select a new project role
Remove people from your project
-
In the CircleCI web app, click on Dashboard in the sidebar
-
Select your project using the filter dropdown menu
-
Click Project Settings
-
Click People in the sidebar menu
-
Click the ellipsis (…) button next to their name and select Remove project role