Security is a never-ending battle on the web. You can have a server up in just a few minutes, and the next minute, someone is already trying to hack into it. These attacks could be automated using malicious bots or launched manually. Websites can be targeted by a malicious user trying to compromise your web presence or data. Cross-site scripting (XSS) is just one type of attack your site may be vulnerable to.
In an XSS attack, a user exploits loopholes in data entry points in your applications. The attack injects scripted code into form fields or the address bar and forces it to run the malicious scripts. These attacks can cause sensitive cookie information to be leaked or they can run a script on your webpage that injects foreign elements into your page.
In this tutorial, you will learn how to prevent XSS attacks on your web pages using browser security testing and continuous integration.
Prerequisites
To follow along with this tutorial a few things are required:
- Basic knowledge of JavaScript
- Node.js installed on your system (version >= 11)
- A CircleCI account
- A GitHub account
Our tutorials are platform-agnostic, but use CircleCI as an example. If you don’t have a CircleCI account, sign up for a free one here.
Cloning and running the sample application
To begin, you will need to clone the demo application that will be tested for XSS attacks. Run the following command to get the code on your system:
git clone --single-branch --branch base-project https://github.com/coderonfleek/xss-attacks.git prevent-xss-attacks
Once the app is cloned, go into the root of the project (cd prevent-xss-attacks) and install dependencies by running:
npm install
With the dependencies fully installed, run the application:
node server
This will boot up the application server at http://localhost:5000. Navigate to this URL on your browser.
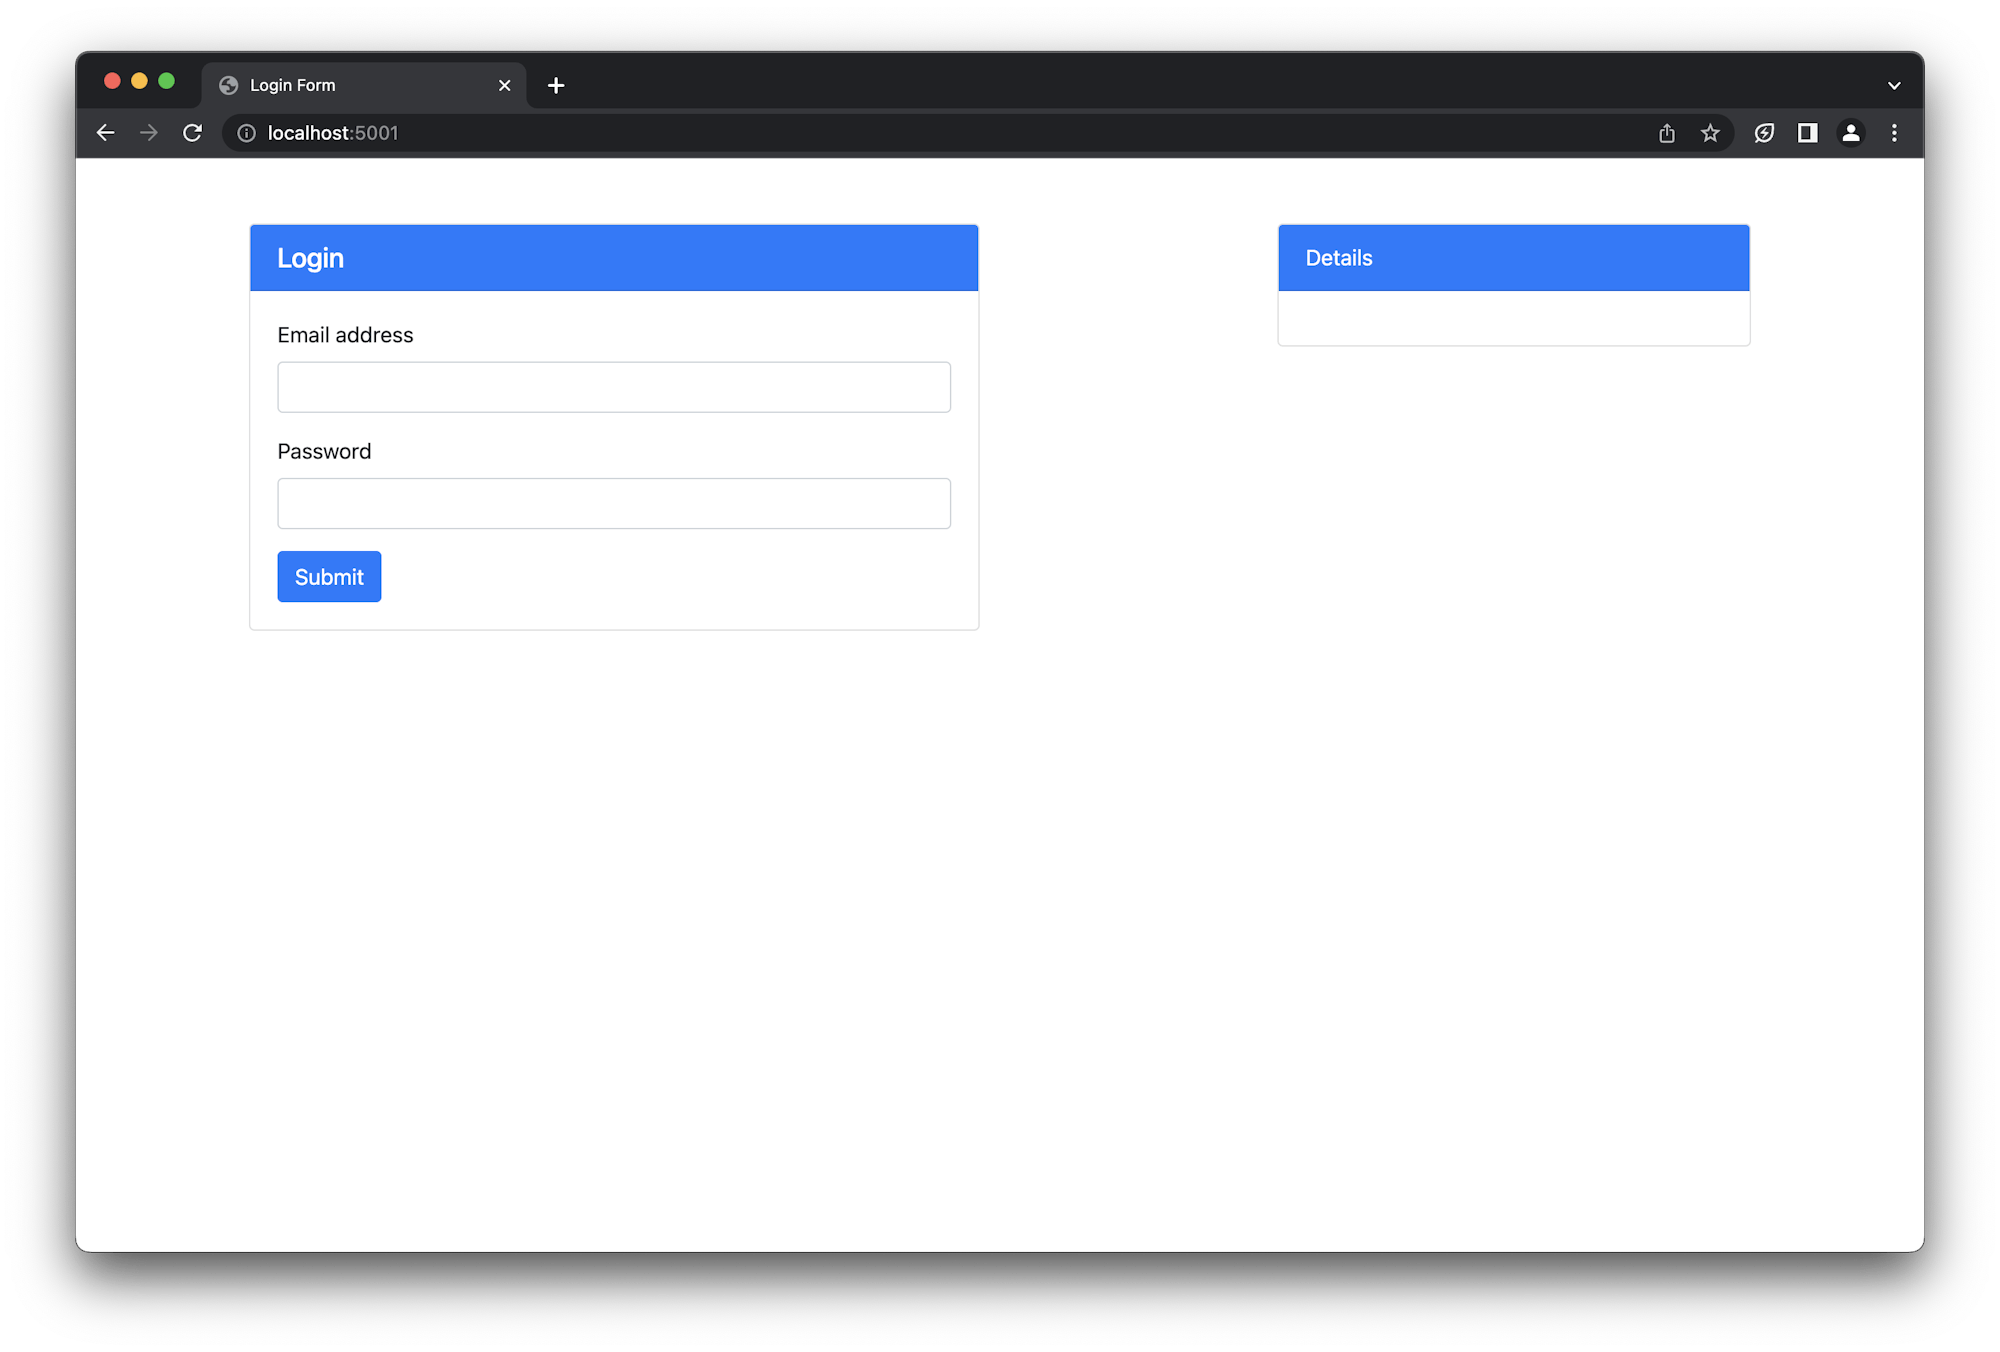
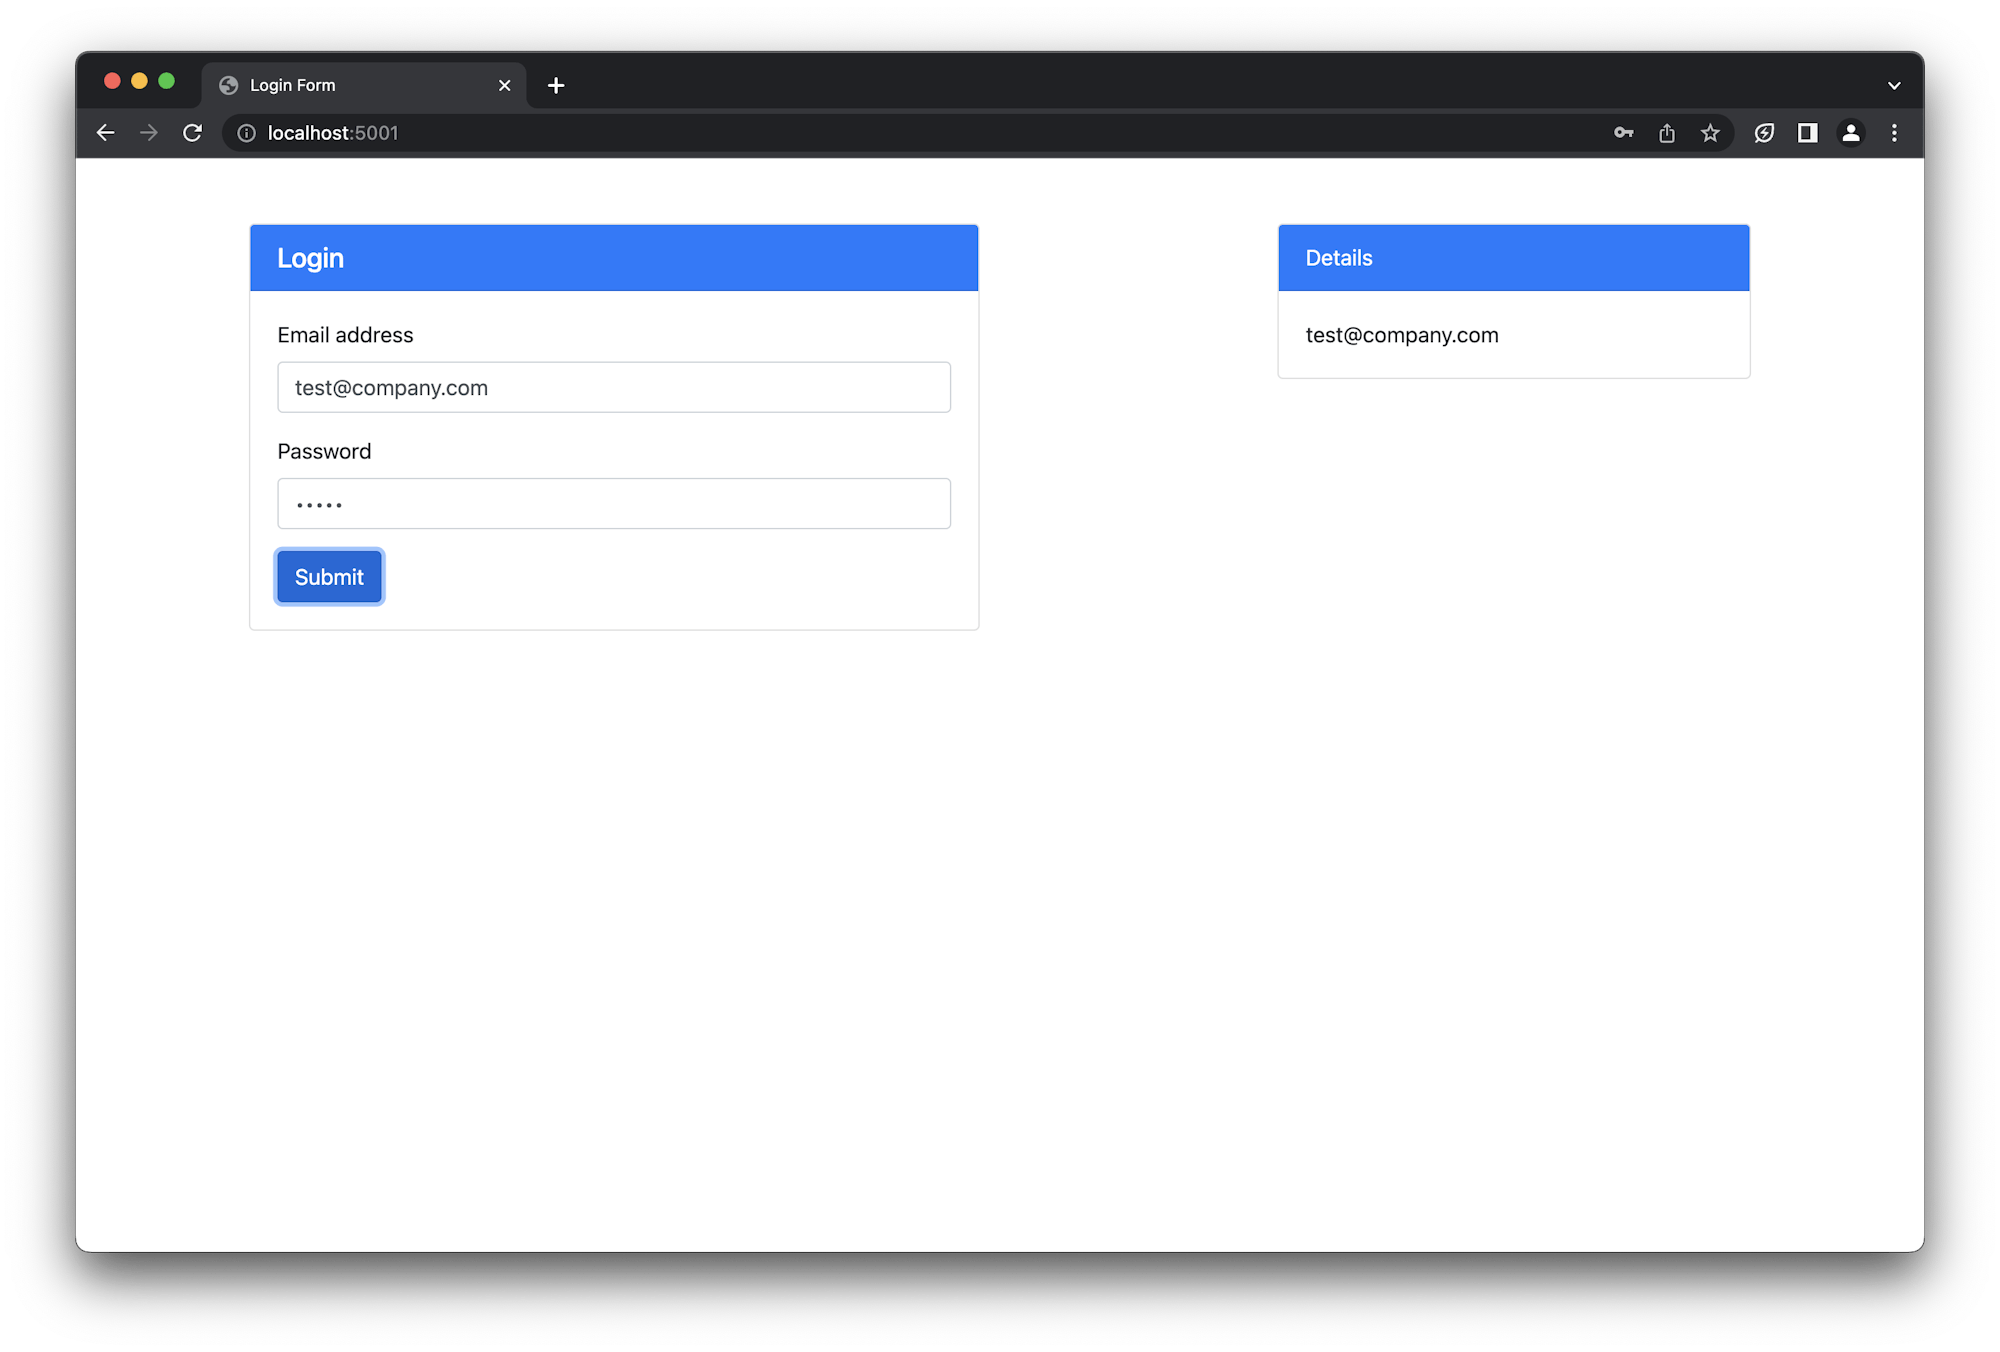
This page consists of a form and column for information display on the right side. When you fill in the form and press Enter, your email appears in the Details box.
Manually testing for XSS attacks
When the form is submitted, the information is submitted to an endpoint (/sendinfo) on the server behind the scenes. This endpoint sends the email back in a json response body which is then picked up by the page and displayed in the Details section. Displaying the email shows that data entered in the form made it to the backend and has been returned back to the page. A malicious user can easily take advantage of this process by entering corrupt data into the email field. For example, instead of entering a valid email into the email field, enter the HTML markup for a file field:
<input type="file" />
Fill the password field and click Submit. The details section looks much different.
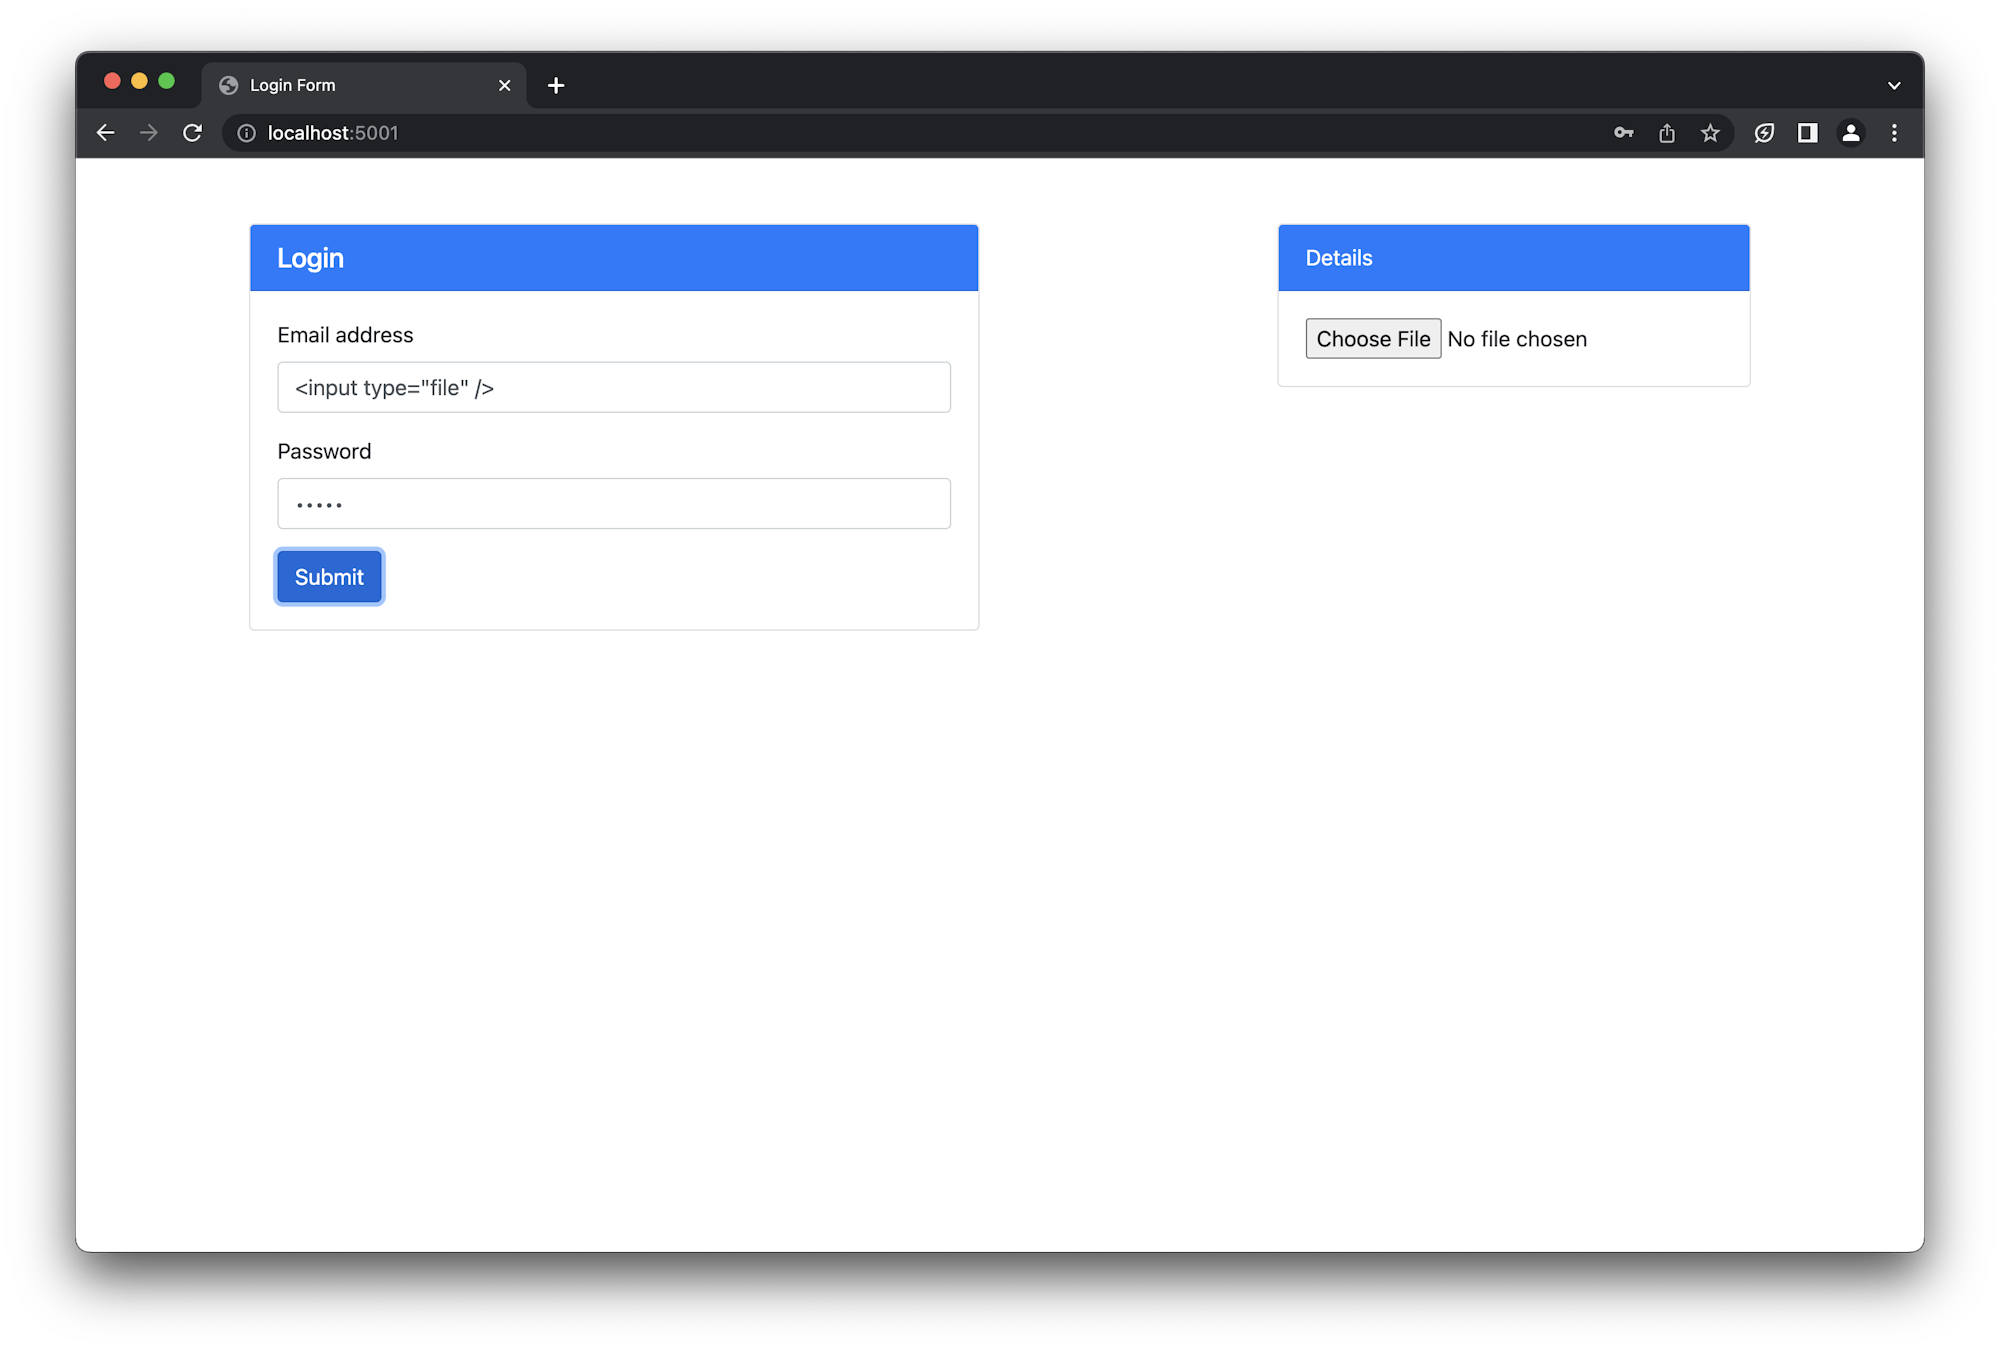
The data that has been input has caused a new HTML element, a file input field, to be displayed on the page. This is definitely unwanted and could be dangerous if it is well positioned. An attacker could use this strategy to embed malicious data (or scripts) in your forms. Placing a hidden input field within your form could cause the form to submit the compromising data, along with its payload, to your server. This can lead to serious damage and compromise data integrity. You will want to catch such a vulnerability before someone takes advantage. One effective way of doing that is through browser testing.
Installing Jest and Puppeteer
Browser testing lets you run tests against web pages by interacting with them just like a regular user would. This allows you test different data entry scenarios to find and fix any vulnerabilities a hacker might try to explore.
To set up automated browser tests, you will need two packages.
- Jest will be used as the test runner for the test suites.
- Puppeteer would be used to write the browser tests.
Install these packages by running this command:
npm install --save-dev jest puppeteer
With these packages installed, you can now begin writing tests for your browser.
Adding XSS tests for the browser
In this section, you will write a test suite to test your browser to detect the email input vulnerability. If the vulnerability is found, the test will fail. A failed XXS test indicates that there is a loophole in your email field that needs to be addressed to avoid attacks.
The test you will write will perform the same attack you performed manually in the previous section. Create the test file login.test.js and enter this code:
const puppeteer = require("puppeteer");

test("Check for XSS attack on email field", async () => {
    const browser = await puppeteer.launch({ headless: 'new'});
    try {
        const page = await browser.newPage();

        await page.goto("http://localhost:5000");

        await page.type("#userEmail", '<input type="file" />');
        await page.type("#userPassword", "password");
        await page.click("#submitButton");

        let emailContainer = await page.$("#infoDisplay");
        let value = await emailContainer.evaluate((el) => el.textContent);

        expect(value.length).toBeGreaterThan(0);
    } finally {
        await browser.close();
    }
}, 120000);
In the test file above, the Check for XSS attack on email field test case uses Puppeteer to launch a headless browser instance which then loads the application at the URL http://localhost:5000. Once the app is running, the email field is filled using the input file markup. The password field is also filled. The Submit button is clicked, and once the form is submitted, the display section is checked for a string with length greater than zero (non-text HTML elements will return a string with a length of zero). Once the test is done running, close the browser.
Now you have the XSS test in place to check for an attack. To complete the test setup, add a test script to the package.json file:
...
"scripts" : {
    "test" : "jest"
}
Make sure that your app is currently running using node server.js and run the test file:
npm run test
This test will fail because, as we already know, the vulnerability does exist. Here is what the CLI output shows.
 FAIL  ./login.test.js
  ✕ Check for XSS attack on email field (1179 ms)

  ● Check for XSS attack on email field

    expect(received).toBeGreaterThan(expected)

    Expected: > 0
    Received:   0

      16 |         console.log(value)
      17 |
    > 18 |         expect(value.length).toBeGreaterThan(0);
         |                              ^
      19 |     } finally {
      20 |         await browser.close();
      21 |     }

      at Object.toBeGreaterThan (login.test.js:18:30)

Test Suites: 1 failed, 1 total
Tests:       1 failed, 1 total
Snapshots:   0 total
Time:        1.595 s, estimated 2 s
Ran all test suites.
Fixing the XSS vulnerability
One effective fix to XSS vulnerability is to make sure that data being entered into the application is validated before any form of processing is done with it. Data validation can be done on both the client and server ends of the application. For this application, you will be validating the email received on the server side to ensure that only safe text is returned back to the client.
Locate the server.js. The /sendinfo endpoint shows that the email is returned to the client without validation:
app.post("/sendinfo", (req, res) => {
  const email = req.body.email;

  res.send({ email });
});
Now, replace this endpoint with this code:
app.post("/sendinfo", (req, res) => {
  let email = req.body.email;

  if (!validEmail(email)) {
    email = "Enter a Valid Email e.g test@company.com";
  }

  res.send({ email });
});

function validEmail(mail) {
  return /^[a-zA-Z0-9.!#$%&'*+/=?^_`{|}~-]+@[a-zA-Z0-9-]+(?:\.[a-zA-Z0-9-]+)*$/.test(
    mail
  );
}
In the new code, a validEmail function takes in a string and returns a boolean based on the string being a valid email or not. This function is then used in the /sendinfo to validate the email sent by the client. If the email is valid, it is returned back to the client. If it is not valid, a message is sent instead that prompts the user to enter a valid email.
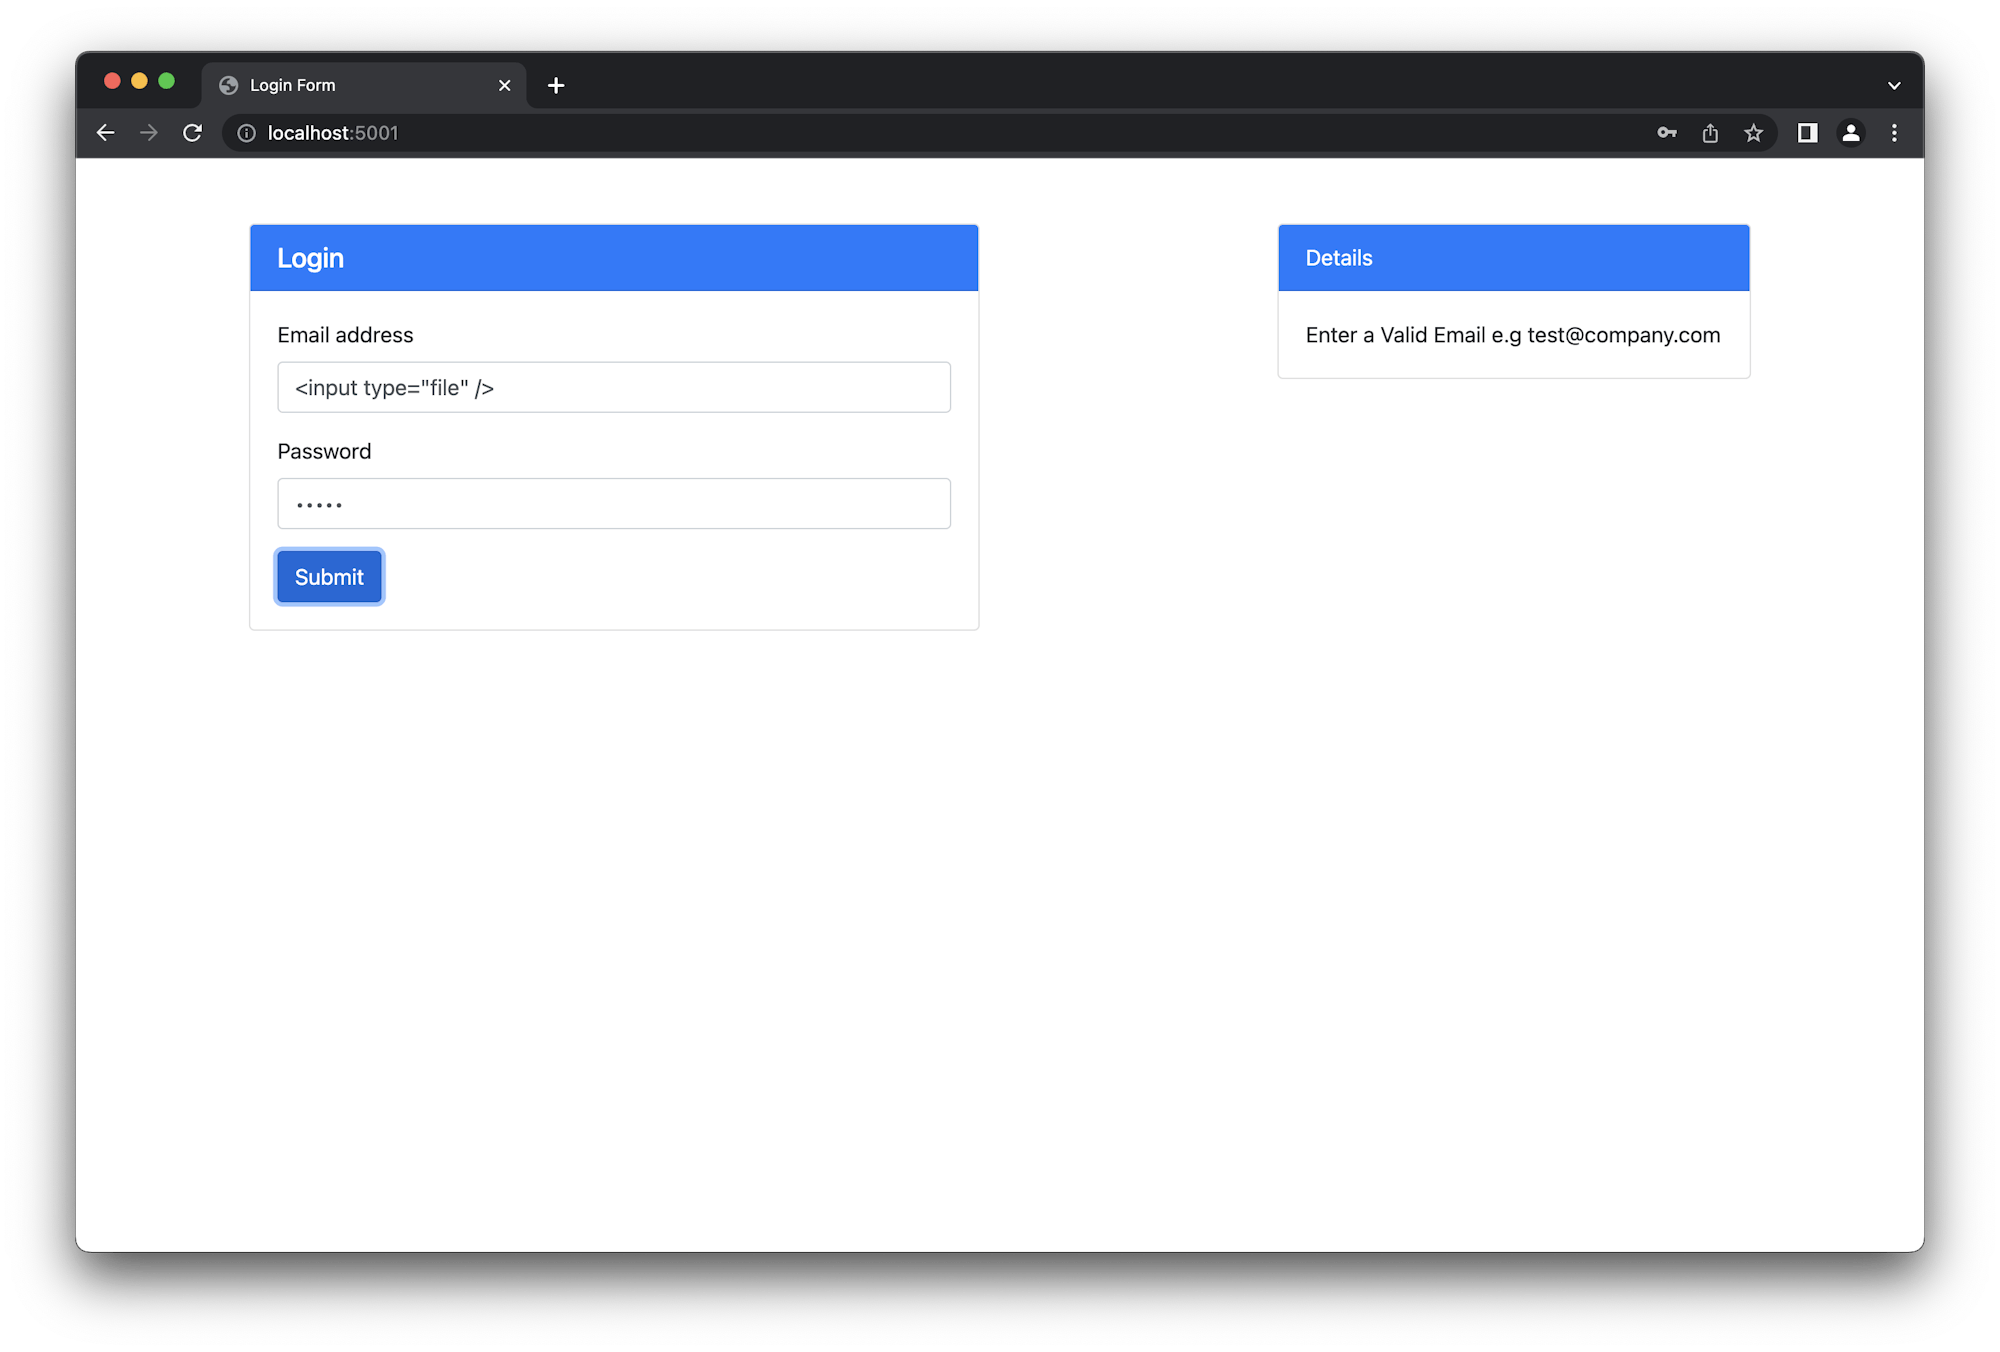
With the server.js code changed, restart the application again by killing it (Ctrl + C) and restarting it using node server.js. You can do a manual test first by refreshing the browser and retrying the attack. This displays a validation message instead of the input field.
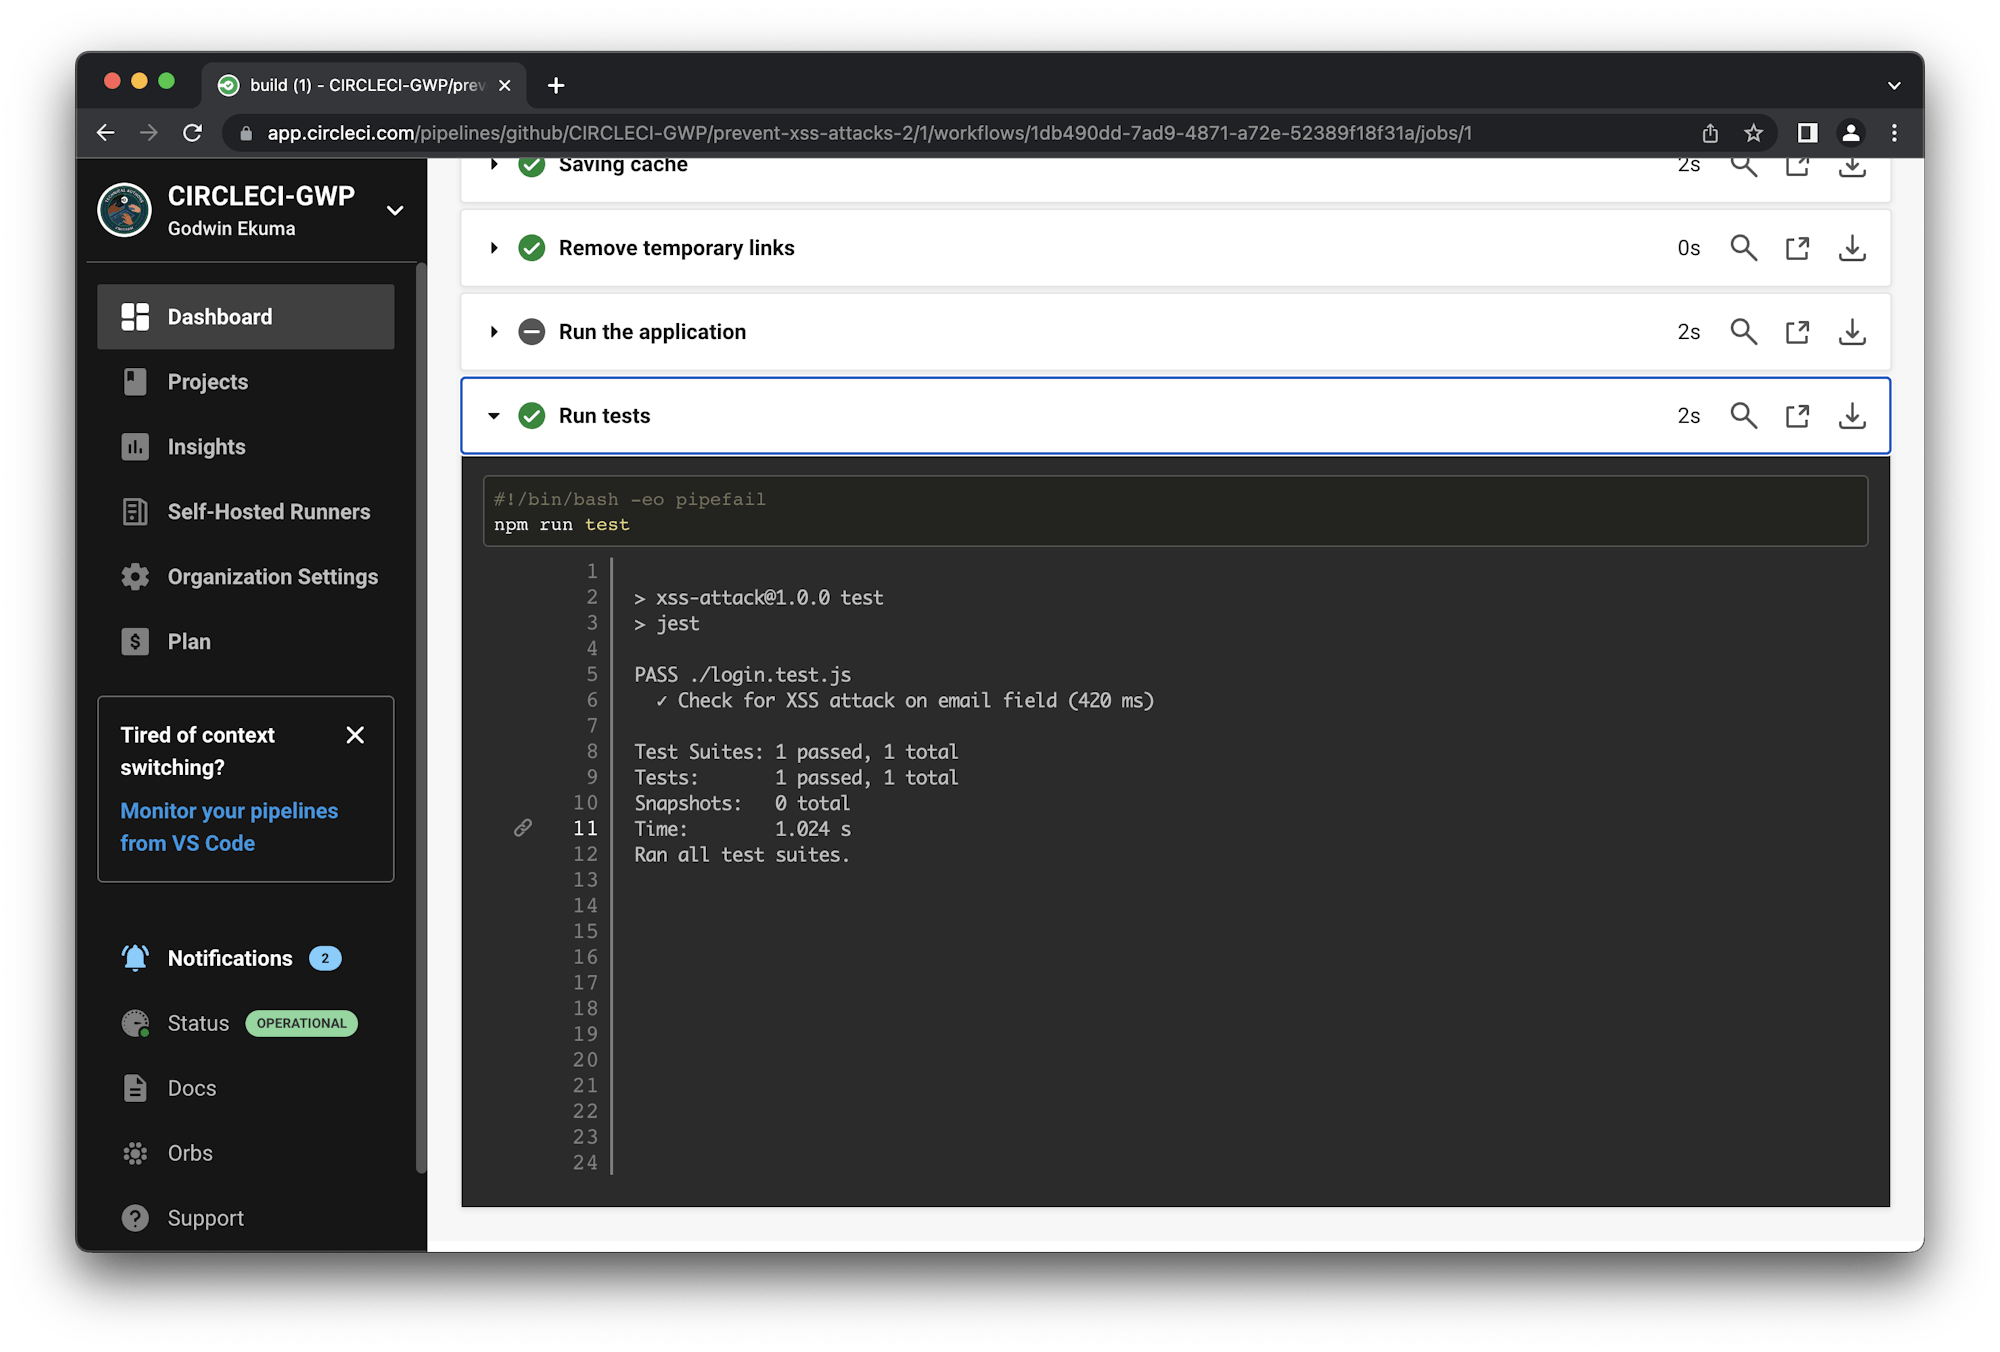
Now run the test suite with the command npm run test. The test will pass as shown by the console output.
 PASS  ./login.test.js
  ✓ Check for XSS attack on email field (1009 ms)

Test Suites: 1 passed, 1 total
Tests:       1 passed, 1 total
Snapshots:   0 total
Time:        1.374 s, estimated 2 s
Ran all test suites.
Automating the security testing process
The main aim of this exercise is to automate the browser testing process so that the XSS vulnerabilities can be caught before they make their way into your production code.
To begin the process, navigate to the root of your project and create a new folder named .circleci. Next, create a new config.yml file within it. Open the newly created file and use the following content for it:
version: 2.1
orbs:
  node: circleci/node@5.1.0
jobs:
  build:
    docker:
      - image: cimg/node:20.4.0-browsers
    steps:
      - checkout
      - node/install-packages:
          cache-path: ~/project/node_modules
          override-ci-command: npm install
      - run:
          name: Run the application
          command: node server.js
          background: true
      - run:
          name: Run tests
          command: npm run test
The script pulls in the Node.js Orb to install Node and its package managers. It then pulls in the required image, installs and cache dependecies. To ensure that the browser tests run, the application is started in a background process. Once the app is up and running, the test script is run to test it.
Commit all changes to the project and push to your remote GitHub repository.
Next, go to the Projects page on the CircleCI dashboard to add the project.
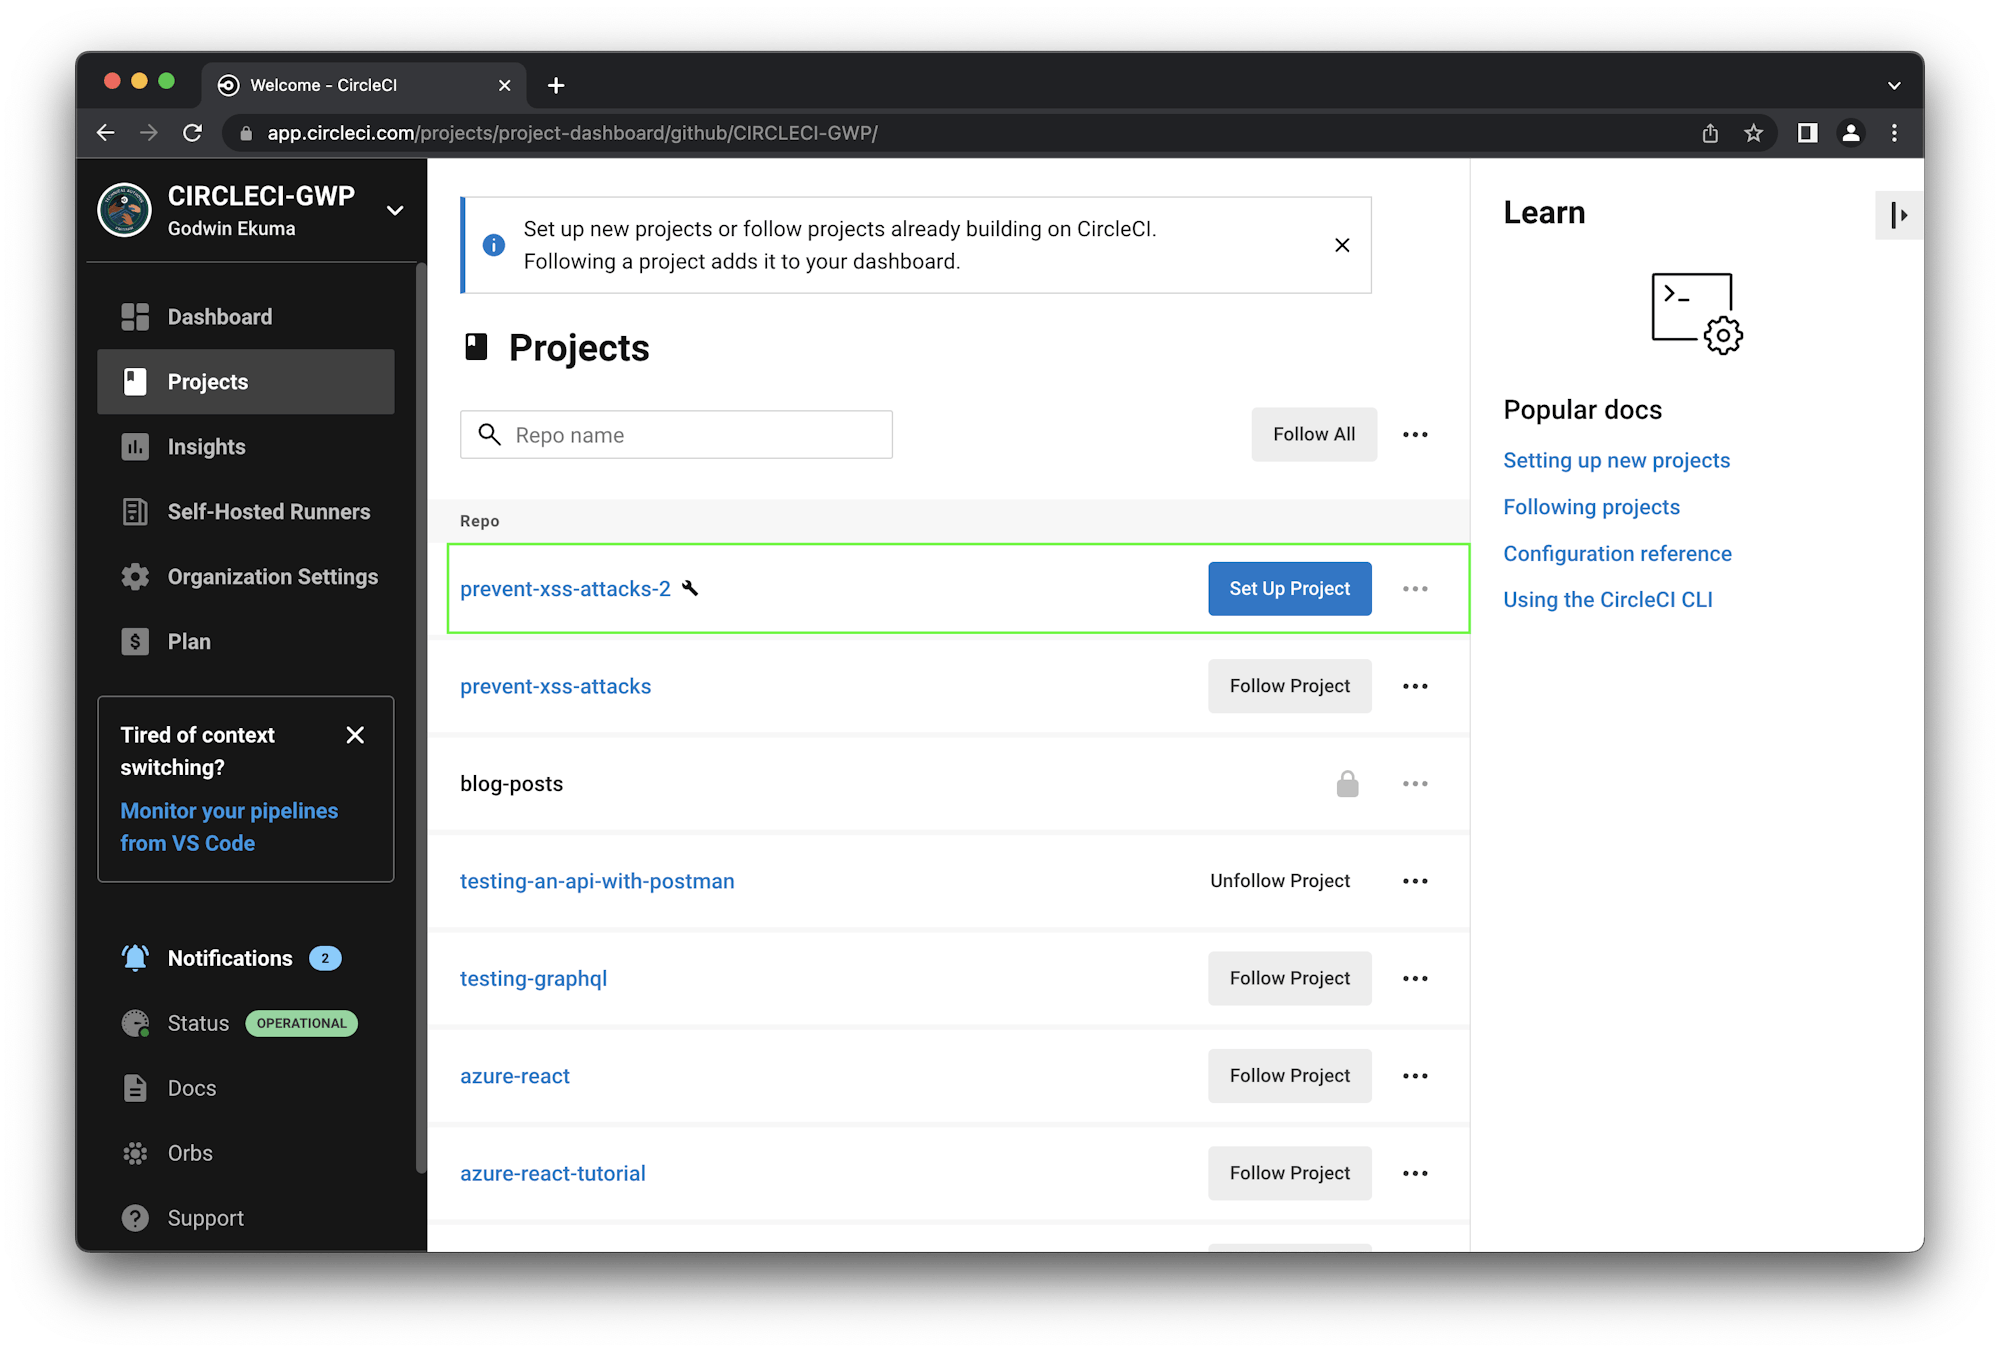
Click Set Up Project to begin setting up the project. CircleCI will detect the configuration file within your project. Feel free to review and ensure that the branch where your configuration file resides is selected.
Now, click Set Up Project to proceed. This will automatically trigger the build pipeline and a successful build.
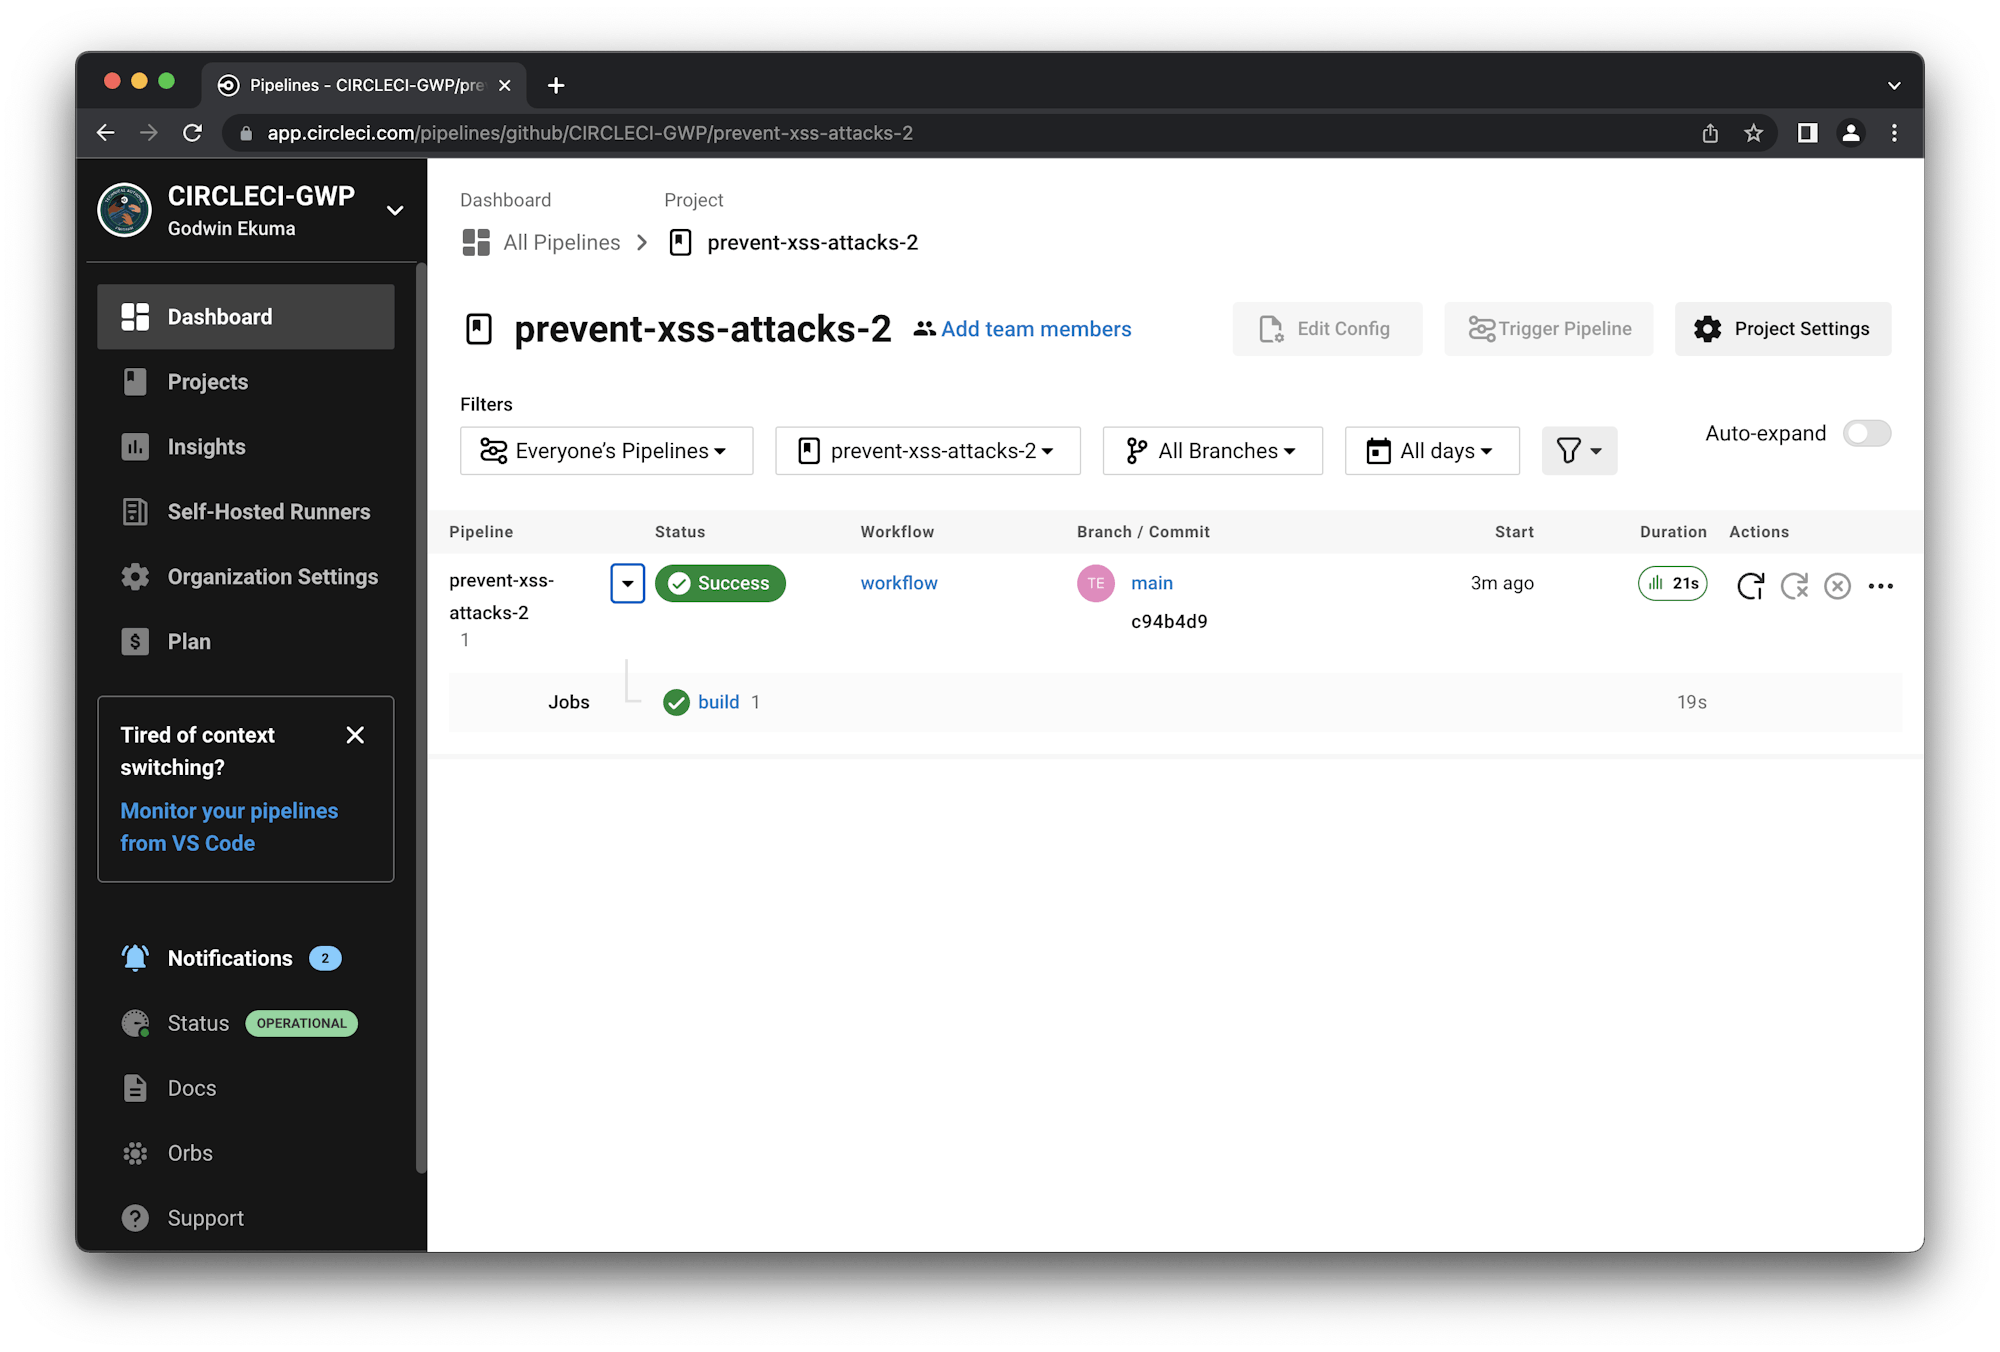
Click build to review the test details.
Conclusion
Having security checks built into your build process adds so much value to your code. It is not enough that code works and is not buggy; you must also make sure that it cannot be compromised. A security-driven development process like this can be extended to other parts of your code that involve user interaction to prevent malicious users from taking advantage of vulnerabilities in your code. Encourage your team members to use these steps to prevent XSS attacks in their code, too.
Happy coding!
Fikayo Adepoju is a LinkedIn Learning (Lynda.com) Author, Full-stack developer, technical writer, and tech content creator proficient in Web and Mobile technologies and DevOps with over 10 years experience developing scalable distributed applications. With over 40 articles written for CircleCI, Twilio, Auth0, and The New Stack blogs, and also on his personal Medium page, he loves to share his knowledge to as many developers as would benefit from it. You can also check out his video courses on Udemy.


