Quickstart guide
2 weeks ago3 min read
Cloud
This quickstart guide takes you through connecting an existing project to CircleCI, using the in-app config editor, and inviting team members to collaborate on your new project.
If you would rather jump to a full list of CircleCI config.yml options, see the Configuration reference.
Prerequisites
-
A CircleCI account connected to your code. You can sign up for free.
-
A code repository you want to build on CircleCI.
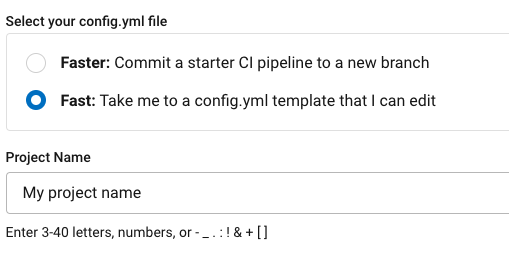
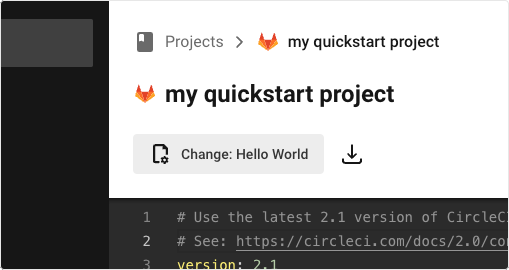
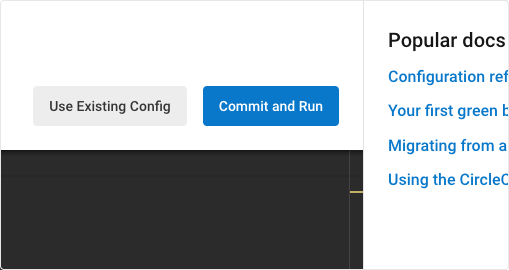
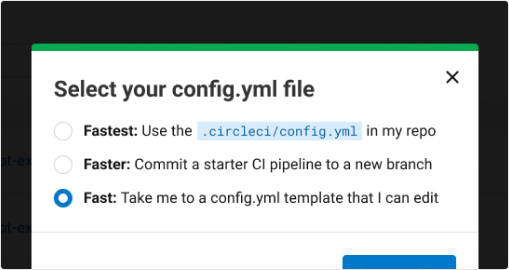
1. Connect your code

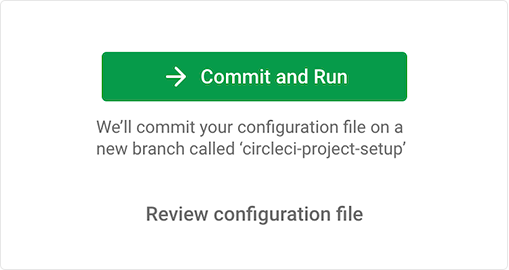
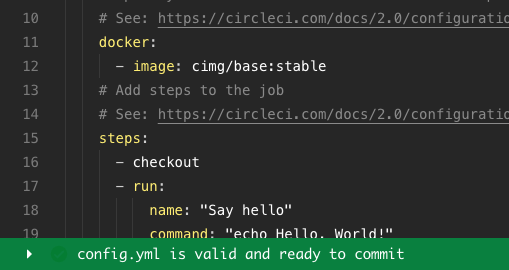
Connect your new code repository, commit a CircleCI configuration file to a new branch, view the pipeline, and see it pass.
This guide assumes you have signed up and connected to GitHub, Bitbucket or GitLab
Check your account type
GitHub authorization with CircleCI is changing. To find out if you authorized through the GitHub OAuth app or the CircleCI GitHub App, see the GitHub App integration page.

2. Dig into your first pipeline

Explore your passing pipeline and invite your teammates to join you, for free. By collaborating, you can troubleshoot, get pull requests approved, and build and test faster.
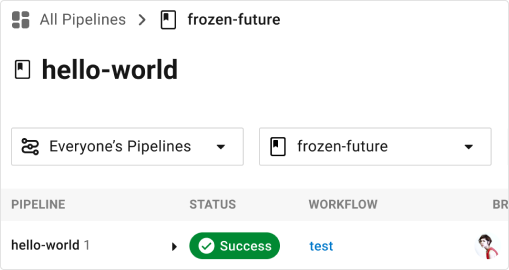
1. So, what just happened?
Click on the green Success button to see details about a workflow. The workflow expands to show all jobs that ran. 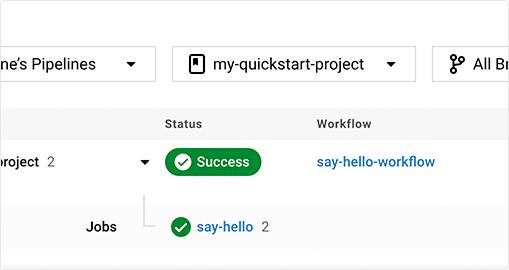
2. View your results
Click on a job to enter the job view and see all the steps that ran. 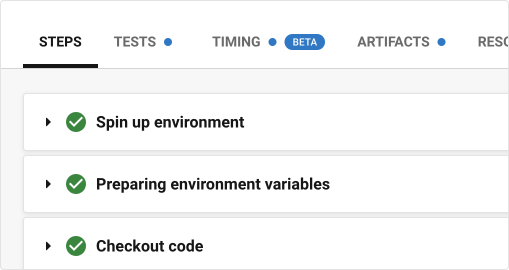
3. Collaborate with teammates
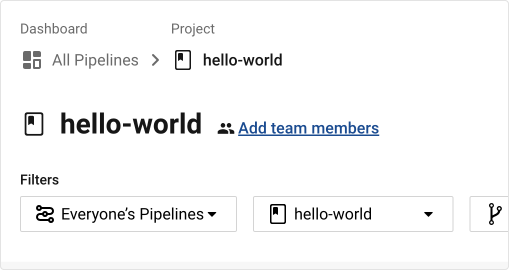
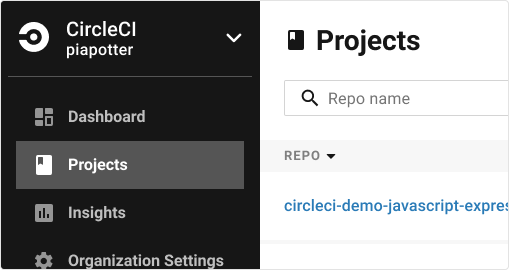
Collaborators can view and follow your projects. Teammates can make a free CircleCI account at any time to view your pipelines, even if they are not committing any code. Invite team members using the Add team members link next to your project name on the dashboard. If you do not see this option, ensure you have a project selected.