Machine runner 3.0 manual installation
On This Page
- Prerequisites
- Self-hosted runner terms agreement
- 1. Create namespace and resource class
- 2. Download the CircleCI machine runner
- 3. Mark the CircleCI machine runner as executable
- 4. Create the CircleCI machine runner configuration and working directory
- 5. Start the CircleCI machine runner
- Additional resources
This page describes how to manually start CircleCI’s machine runner 3.0 on macOS and Linux.
| We recommend installing and using CircleCI machine runner 3.0 with the Homebrew package on macOS and the Linux packages on Linux. The manual method described on this page is an optional alternative. |
| If you follow this manual installation method, CircleCI machine runner 3.0 will not automatically update. |
Prerequisites
To install machine runners and run jobs, you will need to have root access, and have the following utilities and tools installed on your system:
-
Coreutils - Linux only
-
Homebrew - macOS only
-
curl (installed by default on macOS)
-
sha256sum (if not pre-installed):
-
brew install coreutils -
sudo apt install coreutilsfor Ubuntu/Debain -
sudo yum install coreutilsfor Red Hat
-
-
Gzip - Linux only
-
sepolicy( RHEL 8 only) - Linux only -
rpmbuild( RHEL 8 only) - Linux only -
The CircleCI CLI if you wish to install runners from the command line
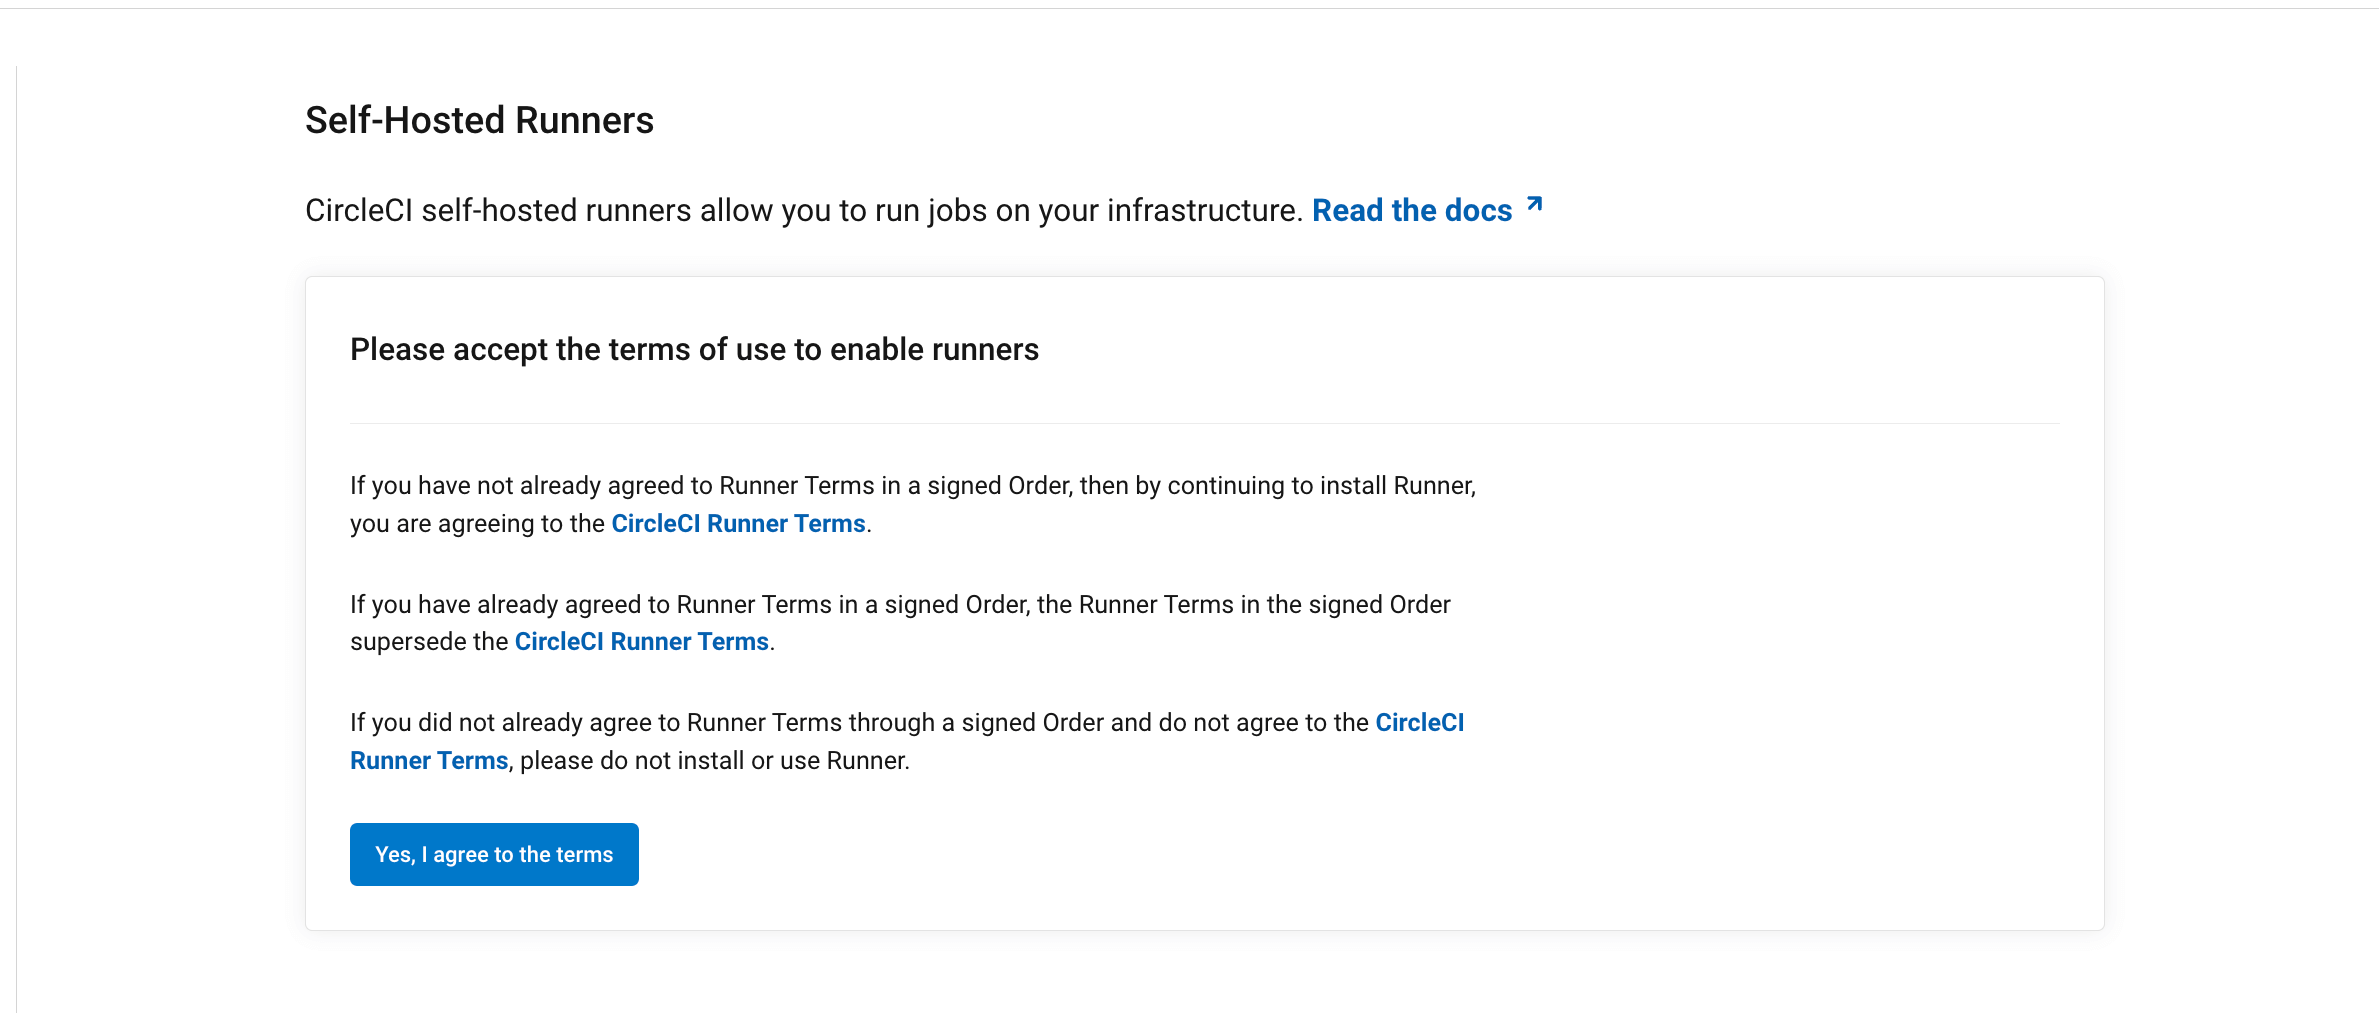
Self-hosted runner terms agreement
1. Create namespace and resource class
If you are installing self-hosted runners for server, the CircleCI CLI needs to be configured using your server API key. Run circleci setup to configure the CLI and access the option to supply a new API token if required. |
In order to install self-hosted runners, you will need to create a namespace and authentication token by performing the steps listed below. Please note that to create resource classes and tokens you need to be an organization administrator in the VCS provider.
You can view your installed runners on the inventory page in the web app or your CircleCI server app, by clicking Self-Hosted Runners on the left navigation.
-
Create a namespace for your organization’s self-hosted runners. Each organization can only create a single namespace. We suggest using a lowercase representation of your CircleCI organization’s account name. If you already use orbs, this namespace should be the same namespace orbs use.
Use the following command to create a namespace:
circleci namespace create <name> --org-id <your-organization-id>If your organization already has a namespace, you will receive an error if you run the above command to create a different namespace. The error message returns the name of the existing namespace. In this case, move on to step 2 below, using your existing namespace. -
Create a resource class for your self-hosted runner’s namespace using the following command:
circleci runner resource-class create <namespace>/<resource-class> <description> --generate-tokenMake sure to replace
<namespace>and<resource-class>with your org namespace and desired resource class name, respectively. You may optionally add a description.Example:
circleci runner resource-class create my-namespace/my-resource-class my-description --generate-token.The resource class token is returned after the runner resource class is successfully created.
The token cannot be retrieved again, so be sure to store it safely.
2. Download the CircleCI machine runner
The current CircleCI machine runner binary can always be found by using current as the version. To install a specific previous version of the CircleCI runner the $RUNNER_VERSION environment variable can be changed from the value of current to the specific preferred version. |
export RUNNERVERSION='current'
export CPUARCH=$(/usr/bin/arch | grep 'x86_64' >/dev/null 2>/dev/null && echo 'amd64' || echo 'arm64')
export OSTARGET=$(uname -s | tr '[:upper:]' '[:lower:]')
curl -s -L "https://circleci-binary-releases.s3.amazonaws.com/circleci-runner/${RUNNERVERSION}/circleci-runner_${OSTARGET}_${CPUARCH}.tar.gz" -o $HOME/circleci-runner.tar.gz && tar -zxvf $HOME/circleci-runner.tar.gz
3. Mark the CircleCI machine runner as executable
Update permissions for your CircleCI machine runner to enable running its binary:
chmod +x $HOME/circleci-runner4. Create the CircleCI machine runner configuration and working directory
-
Create the directory in which CircleCI machine runner jobs will start:
mkdir $HOME/circleci -
Create a CircleCI runner configuration file:
touch $HOME/circleci-runner-config.yaml -
Populate the newly created file with the configuration for your runner. An example can be seen below.
You will need to change the auth_tokenvalue from"your-auth-token"to the resource class token created in step 1.nano $HOME/circleci-runner-config.yamlrunner: name: "my-macos-runner" working_directory: "$HOME/circleci" cleanup_working_directory: true api: auth_token: "your-auth-token" -
If you are using CircleCI server you will need to provide the URL for your install. You can do this by adding the URL to
$HOME/circleci-runner-config.yamlusing text editor of your choice.api: auth_token: "your-auth-token" # On server, set url to the hostname of your server installation. url: https://runner.circleci.com
5. Start the CircleCI machine runner
$HOME/circleci-runner machine --config $HOME/circleci-runner-config.yaml