Machine runner installation on macOS
On This Page
- Prerequisites
- Self-hosted runner terms agreement
- 1. Create namespace and resource class
- 2. Download launch-agent script and install binary
- 3. Create self-hosted runner configuration
- 4. Update working directory permission
- 5. Install the self-hosted runner configuration
- 6. Create and install launchd .plist
- 7. Enable launchd service
- 8. Verify the service is running
- Machine runner configuration example
- Troubleshooting
| This installation method is deprecated for CircleCI cloud customers. Refer to the machine runner 3.0 installation guide for the recommended steps to set up macOS self-hosted runners on CircleCI cloud. |
This page describes how to install CircleCI’s machine runner on macOS for CircleCI server customers.
Prerequisites
To install machine runners and run jobs, you will need to have root access, and have the following utilities and tools installed on your system:
-
curl (installed by default on macOS)
-
sha256sum (if not pre-installed):
-
brew install coreutils
-
-
The CircleCI CLI if you wish to install runners from the command line
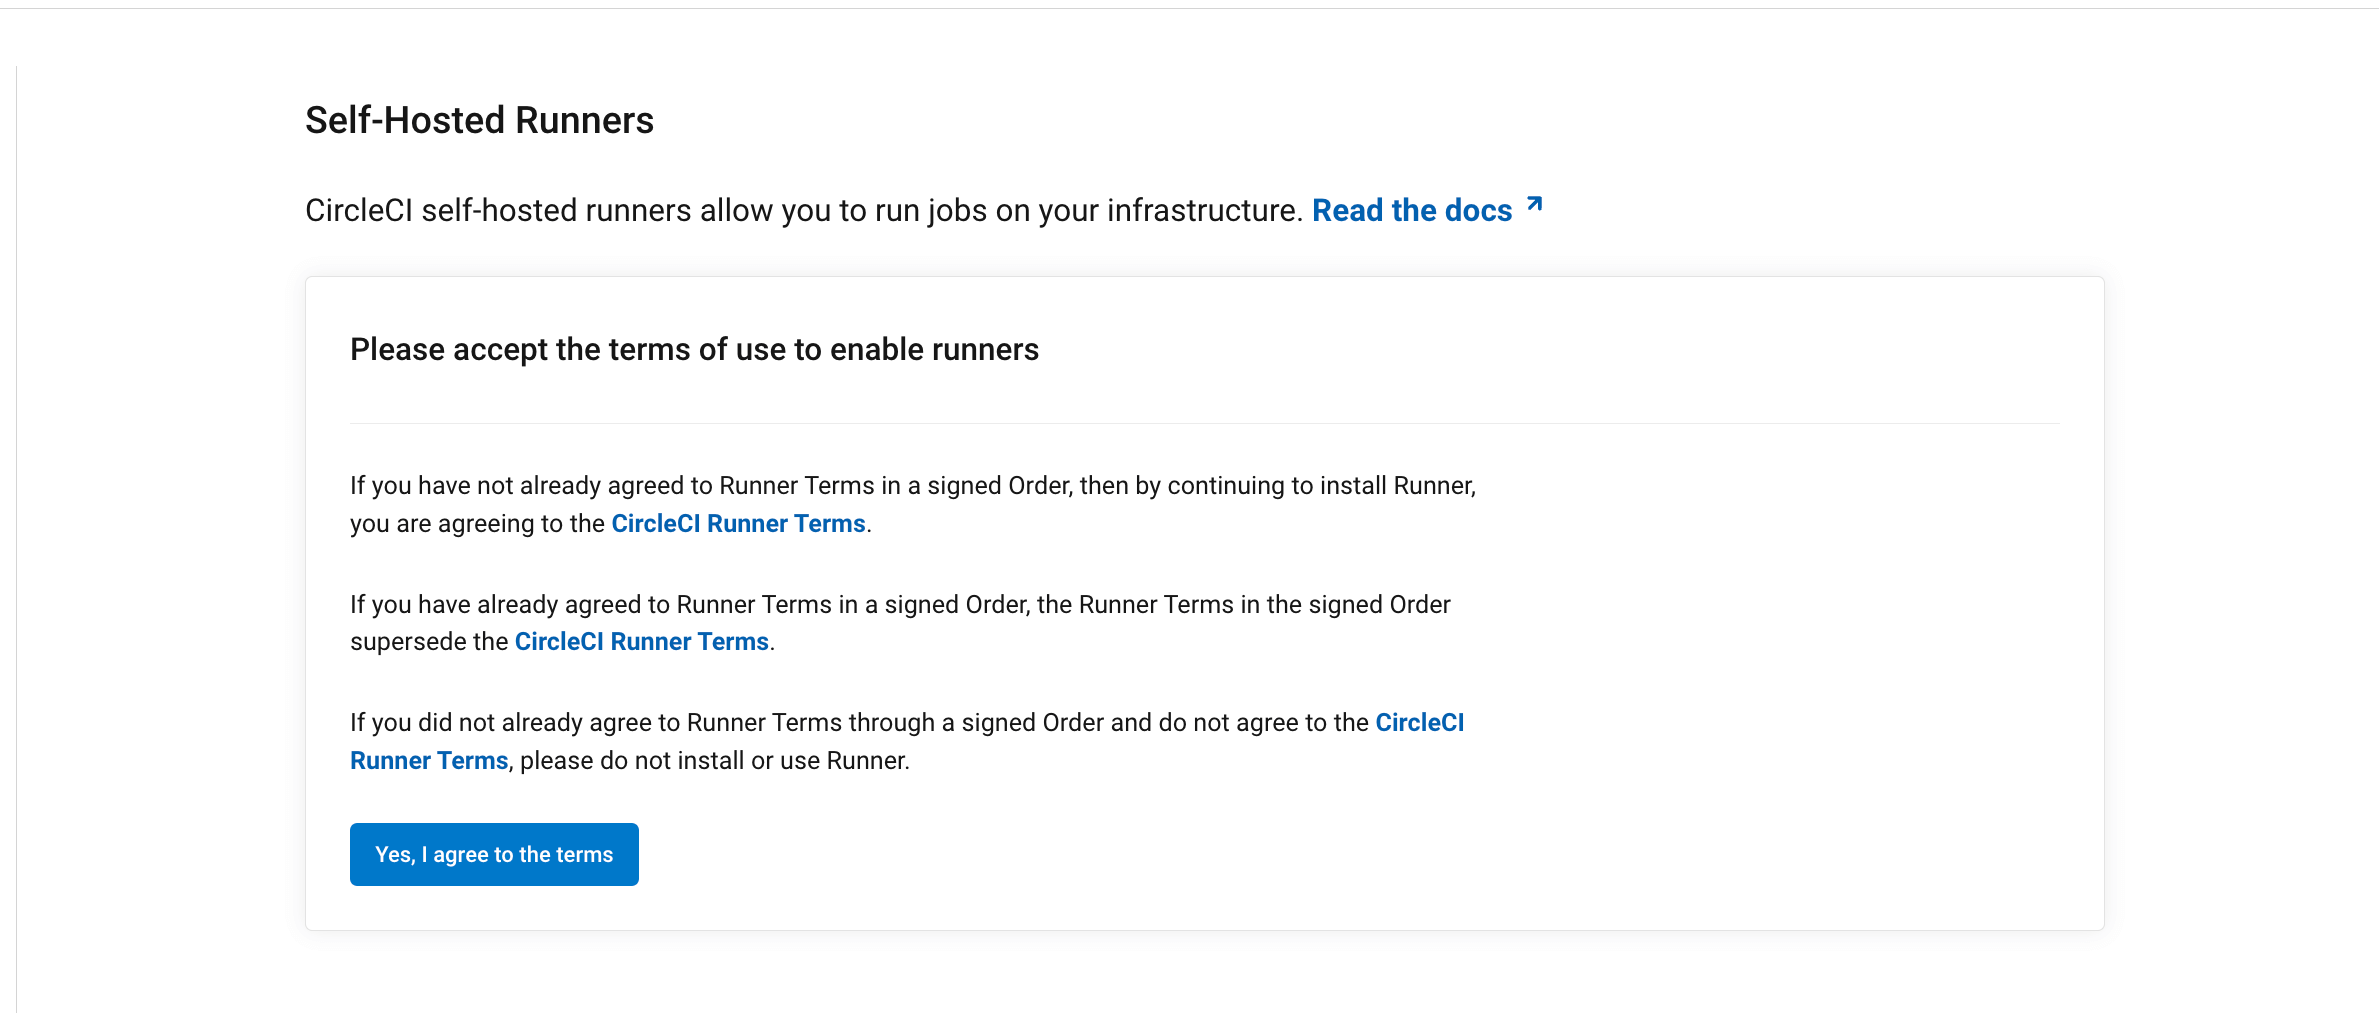
Self-hosted runner terms agreement
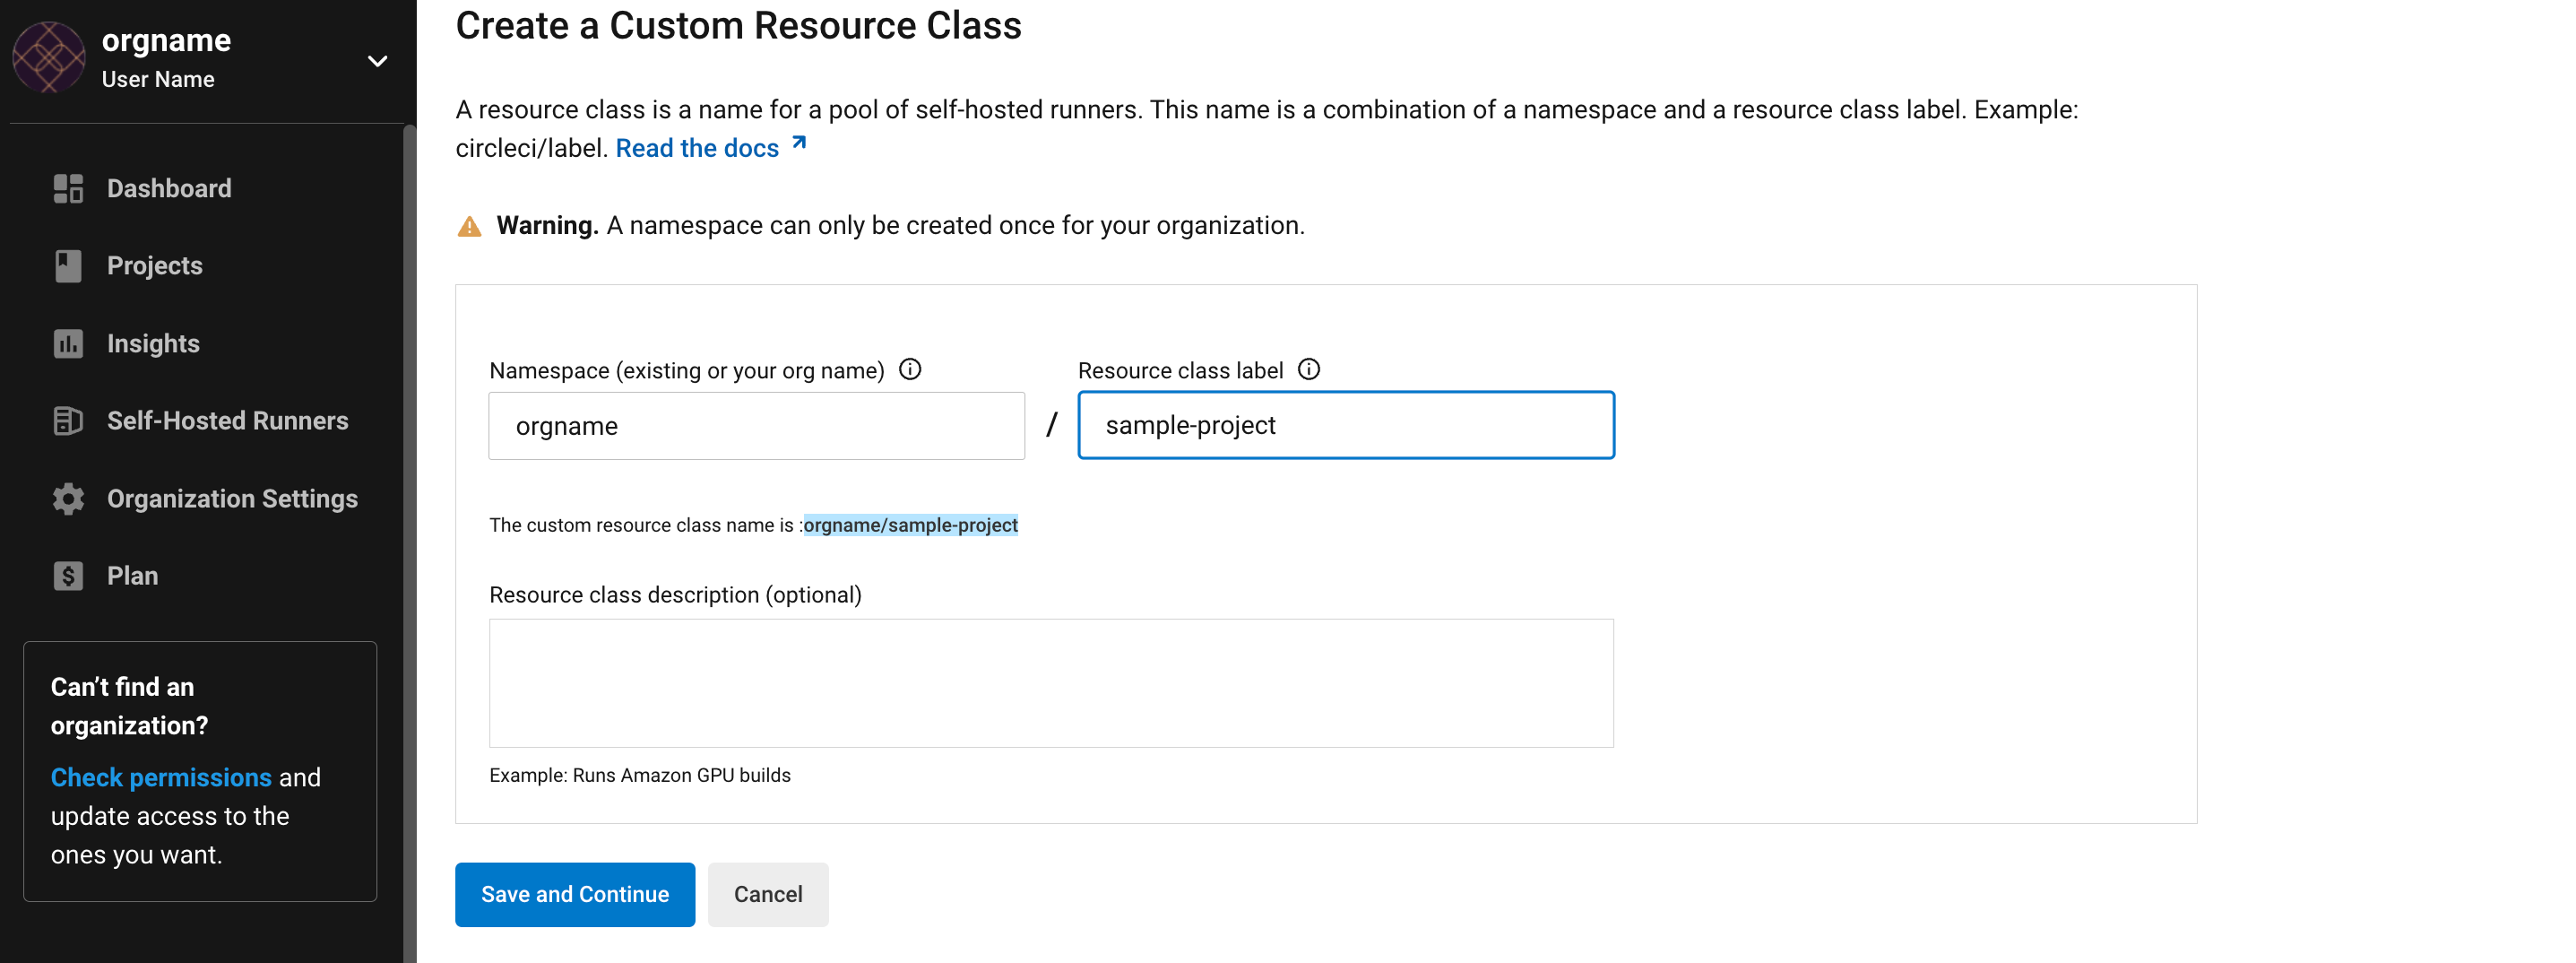
1. Create namespace and resource class


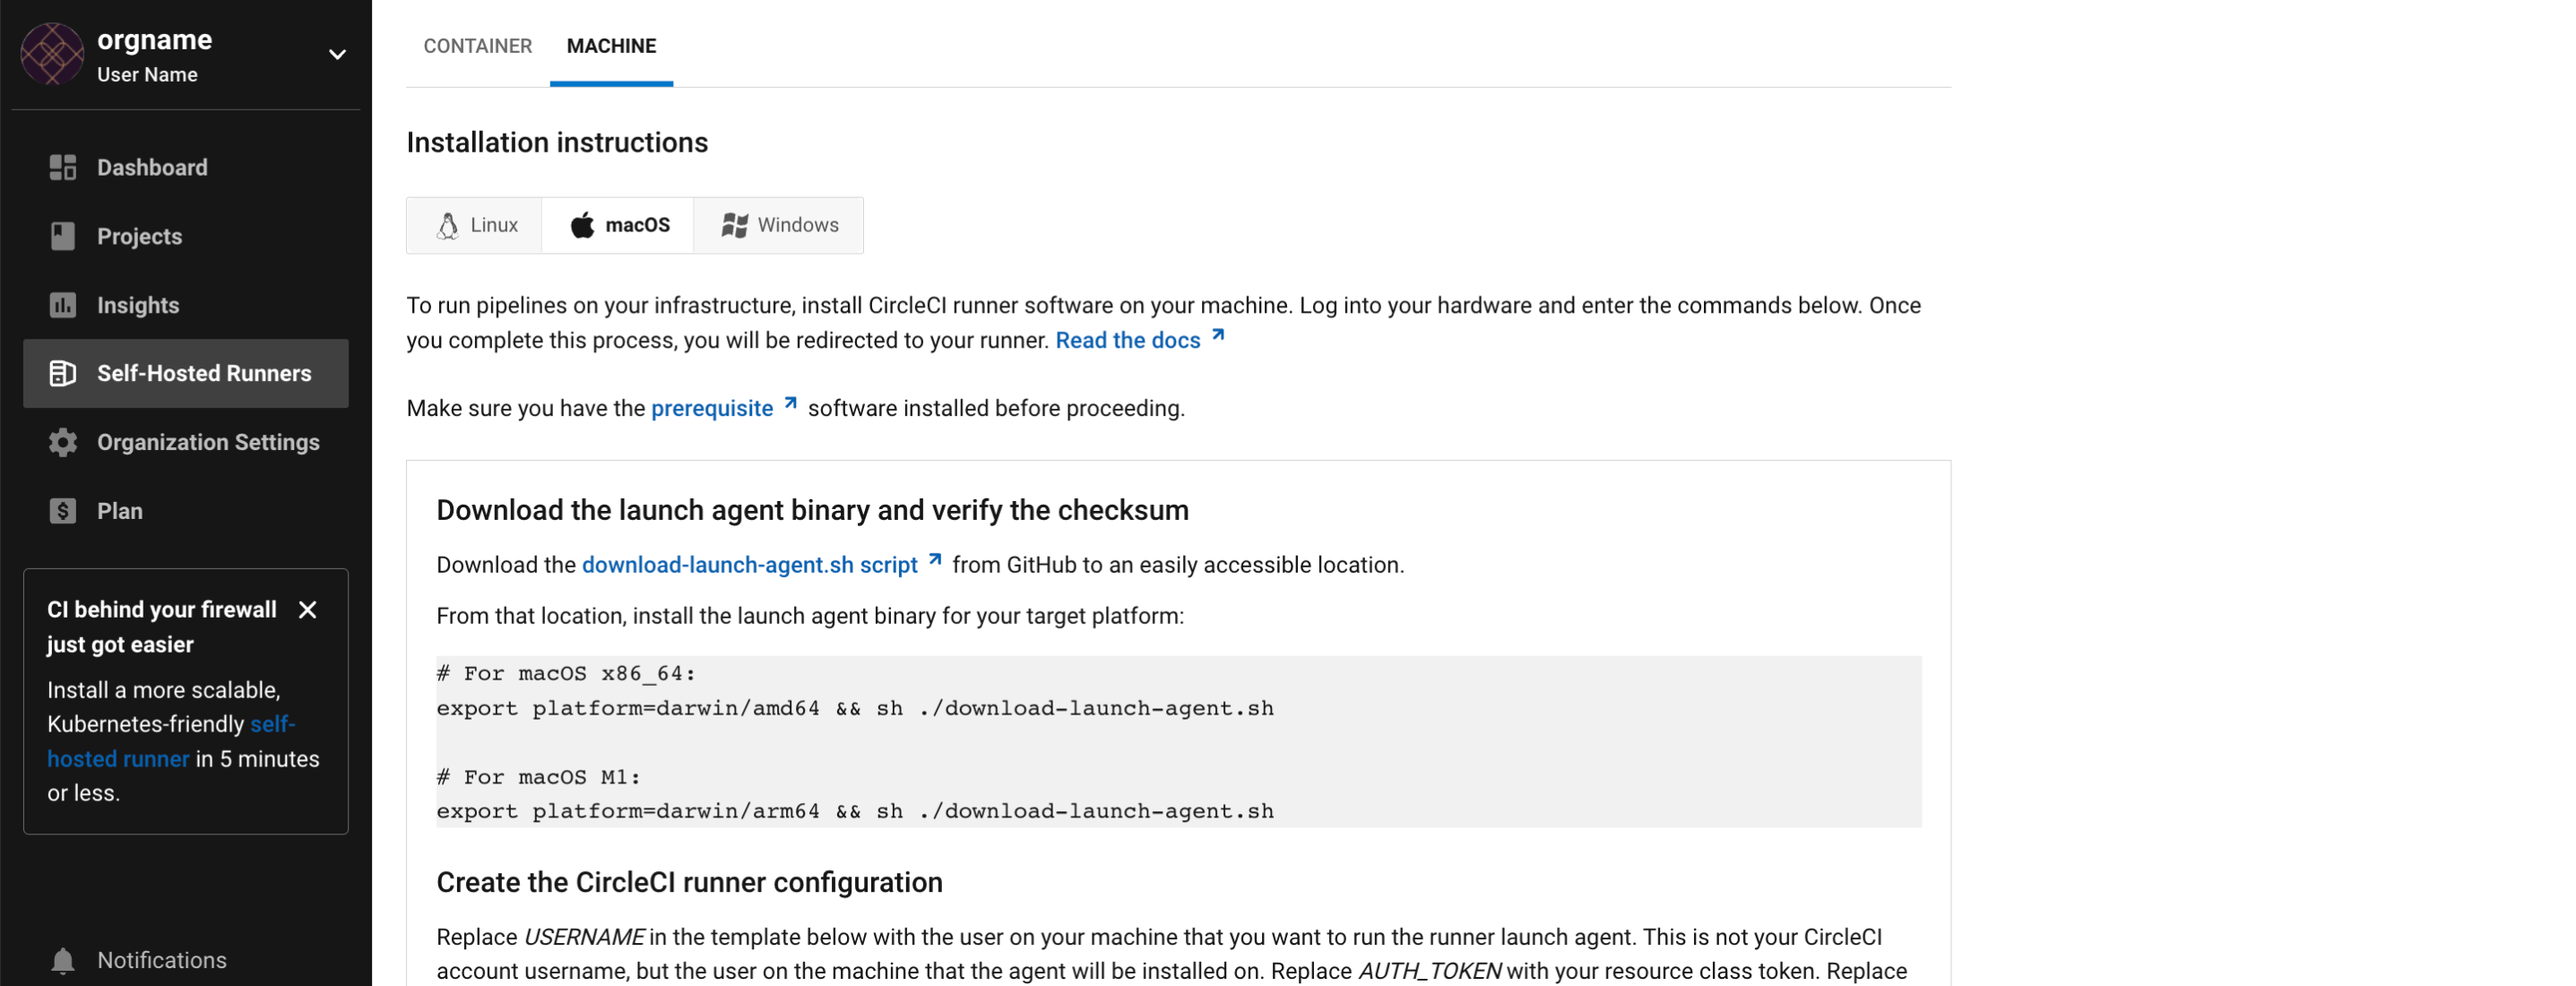
2. Download launch-agent script and install binary
-
Save the download-launch-agent script in the root of your project. When run (see the next step) the script will download the launch-agent binary, verify the checksum, and set the launch agent version.
Self-hosted runners on cloud auto-update to the latest supported versions. For server, specific self-hosted runner versions are validated for interoperability, and self-hosted runners do not auto-update.
-
Set your target platform and run the
download-launch-agent.shscript to download, verify, and install the binary.-
If you are using cloud, use the table below to find your platform variable:
Installation Target Variable macOS x86_64
platform=darwin/amd64macOS M1
platform=darwin/arm64For example, on cloud, to set your platform for macOS M1 and run the
download-launch-agent.shscript, run the following:export platform=darwin/arm64 && sh ./download-launch-agent.sh -
For server v3.1.0 and up, use the table below to find the compatible machine runner launch-agent version for the version of server you are running:
Server version Launch agent version 3.0
Runner not supported
3.1
1.0.11147-881b608
3.2
1.0.19813-e9e1cd9
3.3
1.0.29477-605777e
3.4
1.1.73695-40bf772
4.0
1.1.73695-40bf772
4.1
1.1.73695-40bf772
4.2
1.1.73695-40bf772
4.3
1.1.73189-8792751
Substitute
<launch-agent-version>with your launch-agent version for server and run the following:export agent_version="<launch-agent-version>" && sh ./download-launch-agent.shOnce your runner is successfully set up, you can delete the download-launch-agent.shfile.
-
3. Create self-hosted runner configuration
You will need to choose a user to run the CircleCI agent. These instructions refer to the selected user as USERNAME. The USERNAME refers to the user on the machine that the agent will be installed on, not the CircleCI account username.
Complete the template shown below, with the various capitalized parameters filled in. When complete, save the template as launch-agent-config.yaml.
api:
  auth_token: AUTH_TOKEN
  # On server, set url to the hostname of your server installation. For example,
  # url: https://circleci.example.com

runner:
  name: RUNNER_NAME
  command_prefix : ["sudo", "-niHu", "USERNAME", "--"]
  working_directory: /var/opt/circleci/workdir
  cleanup_working_directory: true

logging:
file: /Library/Logs/com.circleci.runner.log-
Replace
AUTH_TOKENwith the resource class token created in the set up process. -
Replace
RUNNER_NAMEwith the name you would like for your self-hosted runner.RUNNER_NAMEis unique to the machine that is installing the runner.RUNNER_NAMEcan be any value you would like, and it does not need to include any part of your namespace or resource class name. However, it is recommended to use the hostname of the machine so that it can be used to identify the agent when viewing statuses and job results in the CircleCI web app. The only special characters accepted in RUNNER_NAME are. () - _.
4. Update working directory permission
The CircleCI agent requires write permission to the directory containing the working directory. Change the ownership of that directory to USERNAME:
sudo chown USERNAME /var/opt/circleci5. Install the self-hosted runner configuration
Create a directory as root to hold the CircleCI’s self-hosted runner configuration:
sudo mkdir -p '/Library/Preferences/com.circleci.runner'Copy the previously created launch-agent-config.yaml into the directory and change its permissions to 600:
sudo cp "launch-agent-config.yaml" "/Library/Preferences/com.circleci.runner/launch-agent-config.yaml"sudo chmod 600 "/Library/Preferences/com.circleci.runner/launch-agent-config.yaml"6. Create and install launchd .plist
Create a com.circleci.runner.plist file with a path of /Library/LaunchDaemons/com.circleci.runner.plist, owned by root, with permissions 644. Use the following commands:
sudo touch /Library/LaunchDaemons/com.circleci.runner.plistsudo chown root: /Library/LaunchDaemons/com.circleci.runner.plistsudo chmod 644 /Library/LaunchDaemons/com.circleci.runner.plistCopy the following to the new /Library/LaunchDaemons/com.circleci.runner.plist file:
<?xml version="1.0" encoding="UTF-8"?>
<!DOCTYPE plist PUBLIC "-//Apple Computer//DTD PLIST 1.0//EN" "http://www.apple.com/DTDs/PropertyList-1.0.dtd">
<plist version="1.0">
    <dict>
        <key>Label</key>
        <string>com.circleci.runner</string>

        <key>Program</key>
        <string>/opt/circleci/circleci-launch-agent</string>

        <key>ProgramArguments</key>
        <array>
            <string>circleci-launch-agent</string>
            <string>--config</string>
            <string>/Library/Preferences/com.circleci.runner/launch-agent-config.yaml</string>
        </array>

        <key>RunAtLoad</key>
        <true/>

        <!-- The agent needs to run at all times -->
        <key>KeepAlive</key>
        <true/>

        <!-- This prevents macOS from limiting the resource usage of the agent -->
        <key>ProcessType</key>
        <string>Interactive</string>

        <!-- Increase the frequency of restarting the agent on failure, or post-update -->
        <key>ThrottleInterval</key>
        <integer>3</integer>

        <!-- Wait for 10 minutes for the agent to shut down (the agent itself waits for tasks to complete) -->
        <key>ExitTimeOut</key>
        <integer>600</integer>

        <!-- The agent uses its own logging and rotation to file -->
        <key>StandardOutPath</key>
        <string>/dev/null</string>
        <key>StandardErrorPath</key>
        <string>/dev/null</string>
    </dict>
</plist>
7. Enable launchd service
Now you can load the service:
sudo launchctl load '/Library/LaunchDaemons/com.circleci.runner.plist'| If you are following these instructions for a second time, use the command below to unload the existing service. Once the existing service is unloaded, you can load the new service with the command above. |
sudo launchctl unload '/Library/LaunchDaemons/com.circleci.runner.plist'8. Verify the service is running
Open the pre-installed macOS application Console. In this application, you can view the logs for the CircleCI agent under Log Reports. Look for the logs called com.circleci.runner.log in the list. You can also find this file by navigating to Library > Logs.
Machine runner configuration example
The fields you must set for a specific job to run using your machine runners are:
-
machine: true -
resource_class: <namespace>/<resource-class>
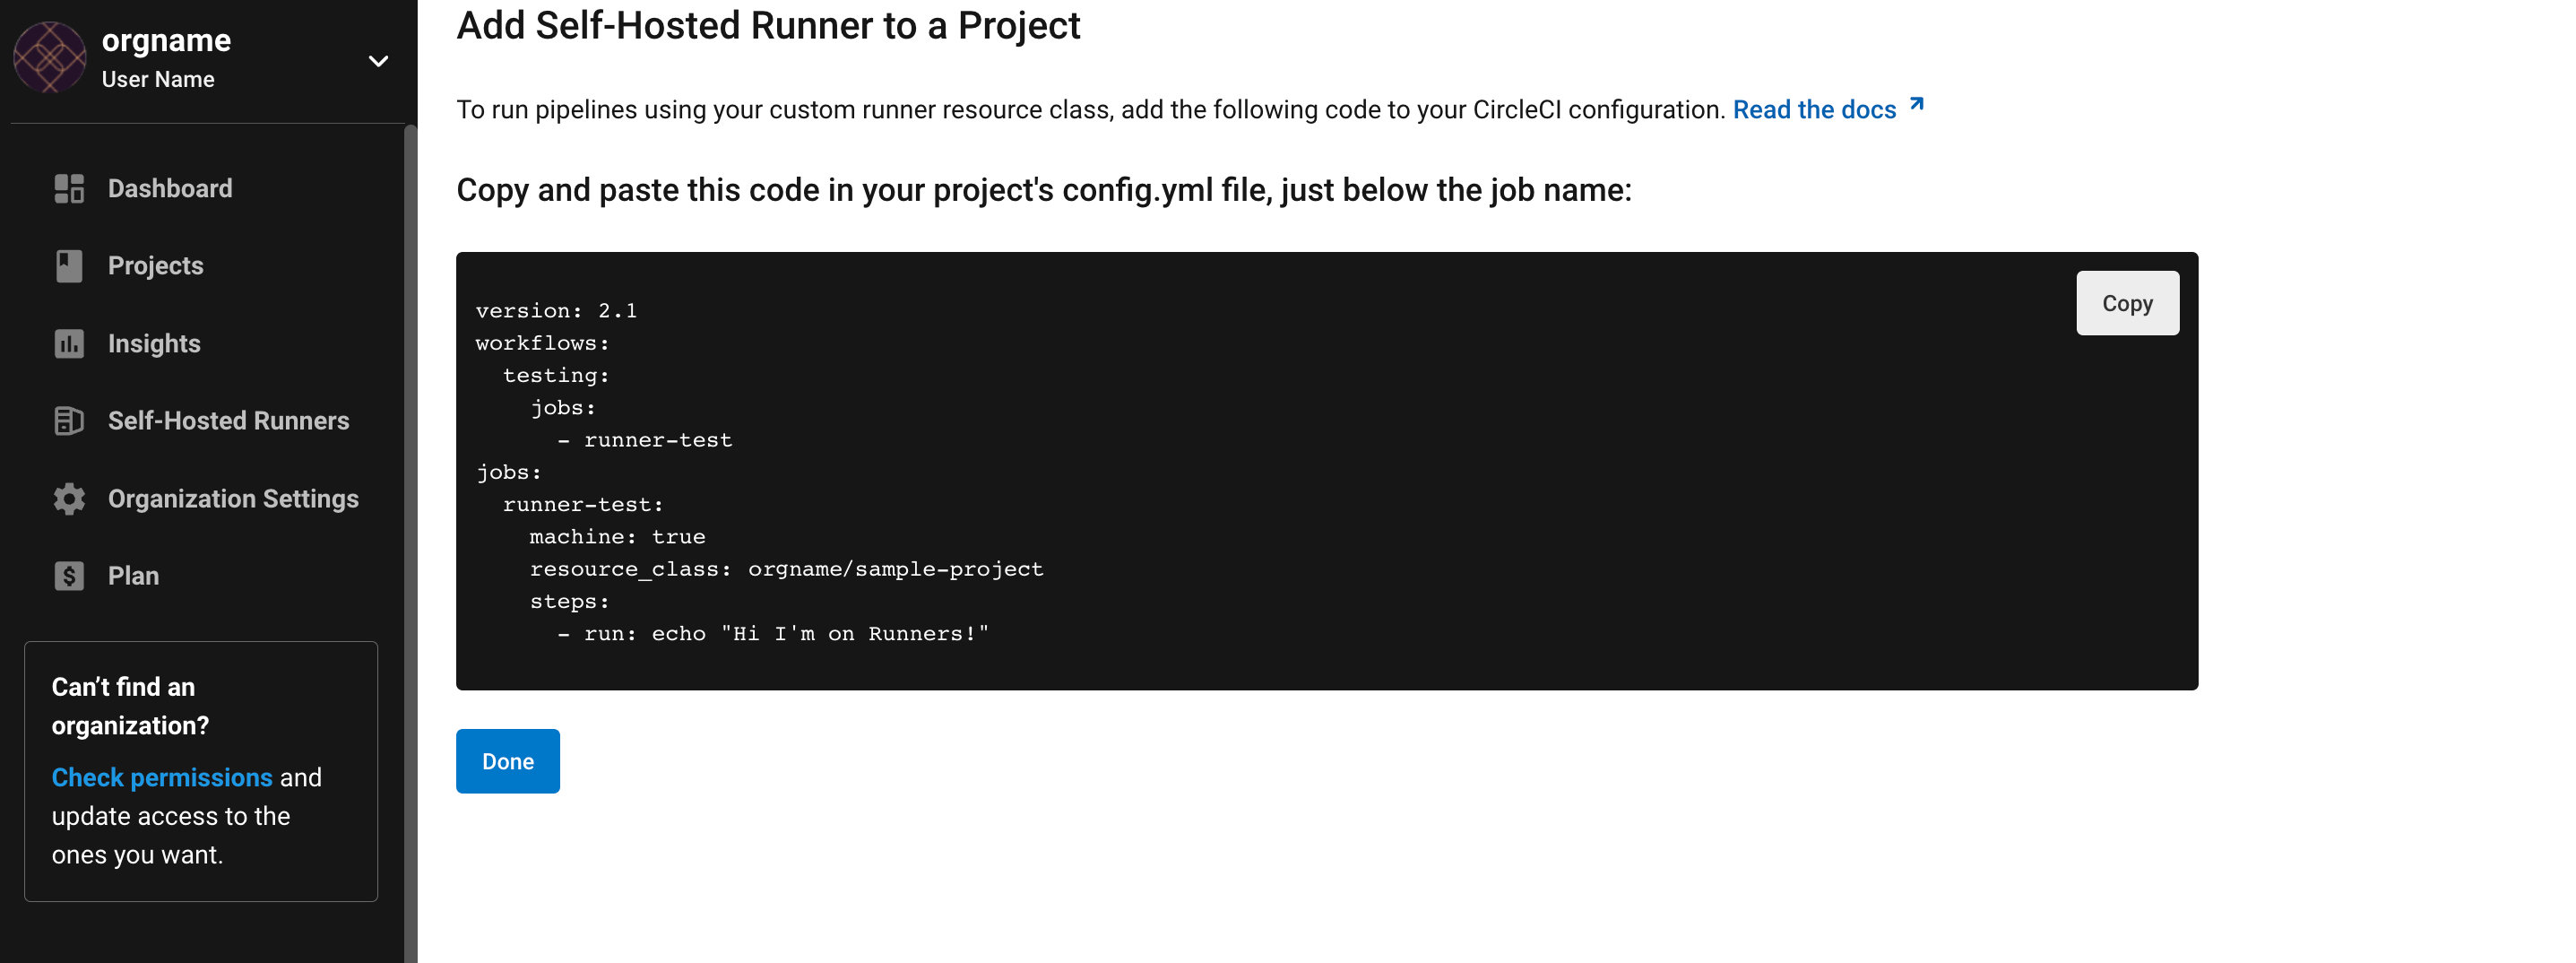
Simple example of how you could set up a job:
version: 2.1

workflows:
  build-workflow:
    jobs:
      - runner
jobs:
  runner:
    machine: true
    resource_class: <namespace>/<resource-class>
    steps:
      - run: echo "Hi I'm on Runners!"
Troubleshooting
Refer to the Troubleshoot Machine Runner section of the Troubleshoot Self-hosted Runner guide if you encounter issues installing or running machine runner on macOS.