Continuous deployment of Node apps to Heroku

Fullstack Developer and Tech Author

CircleCI orbs are reusable packages of YAML configuration that condense repeated pieces of config into a single line of code. Since its launch in 2018, the CircleCI orbs registry has been used by developers, development teams, and by companies who want to help developers integrate their services seamlessly into continuous integration pipelines.
In this tutorial, we will show how to use CircleCI orbs to continuously deploy a Node.js application to Heroku, one of the most popular hosting platforms.
Prerequisites
To follow along with this tutorial, you will need a few things first:
With these, you are ready to follow along.
Cloning a Node.js API project
The application we want to host on Heroku is a simple Node.js API project that consists of a single route that returns a list of “todos”.
As this exercise is focused on deploying an application to the Heroku platform, there is no need to bother with the details of creating a new Node.js application. Just clone a ready-made one from this repo.
To clone the project, run:
git clone https://github.com/coderonfleek/simple-node-api.git
This will clone the Express.js API project onto your system. The entry point for this application is the server.js file, which contains this code:
const express = require("express");
const routes = require("./routes");

const app = express();
const port = process.env.PORT || "1337";
app.set("port", port);

app.use('/', routes);

app.listen(port, () => console.log(`Server running on localhost:${port}`));
This code creates and exposes a new Express.js application at port 1337. The application is then set to use routes defined in the routes.js file.
The routes.js file creates a new Express.js router and exposes a single /todos route which returns an array of to-do items defined in the todo.js file. It then exports the router object. Here is the code:
const express = require('express');
const todos = require("./todos");

const router = express.Router();

router.get("/todos", function(req, res) {
  res.json(todos);
});

module.exports = router;
Give the project a try by first installing the dependencies. In the project’s root, type:
npm install
Then run the application with the command:
node server.js
The application should be up and running at the address http://localhost:1337. Open up your preferred browser and visit the /todos route at http://localhost:1337/todos.
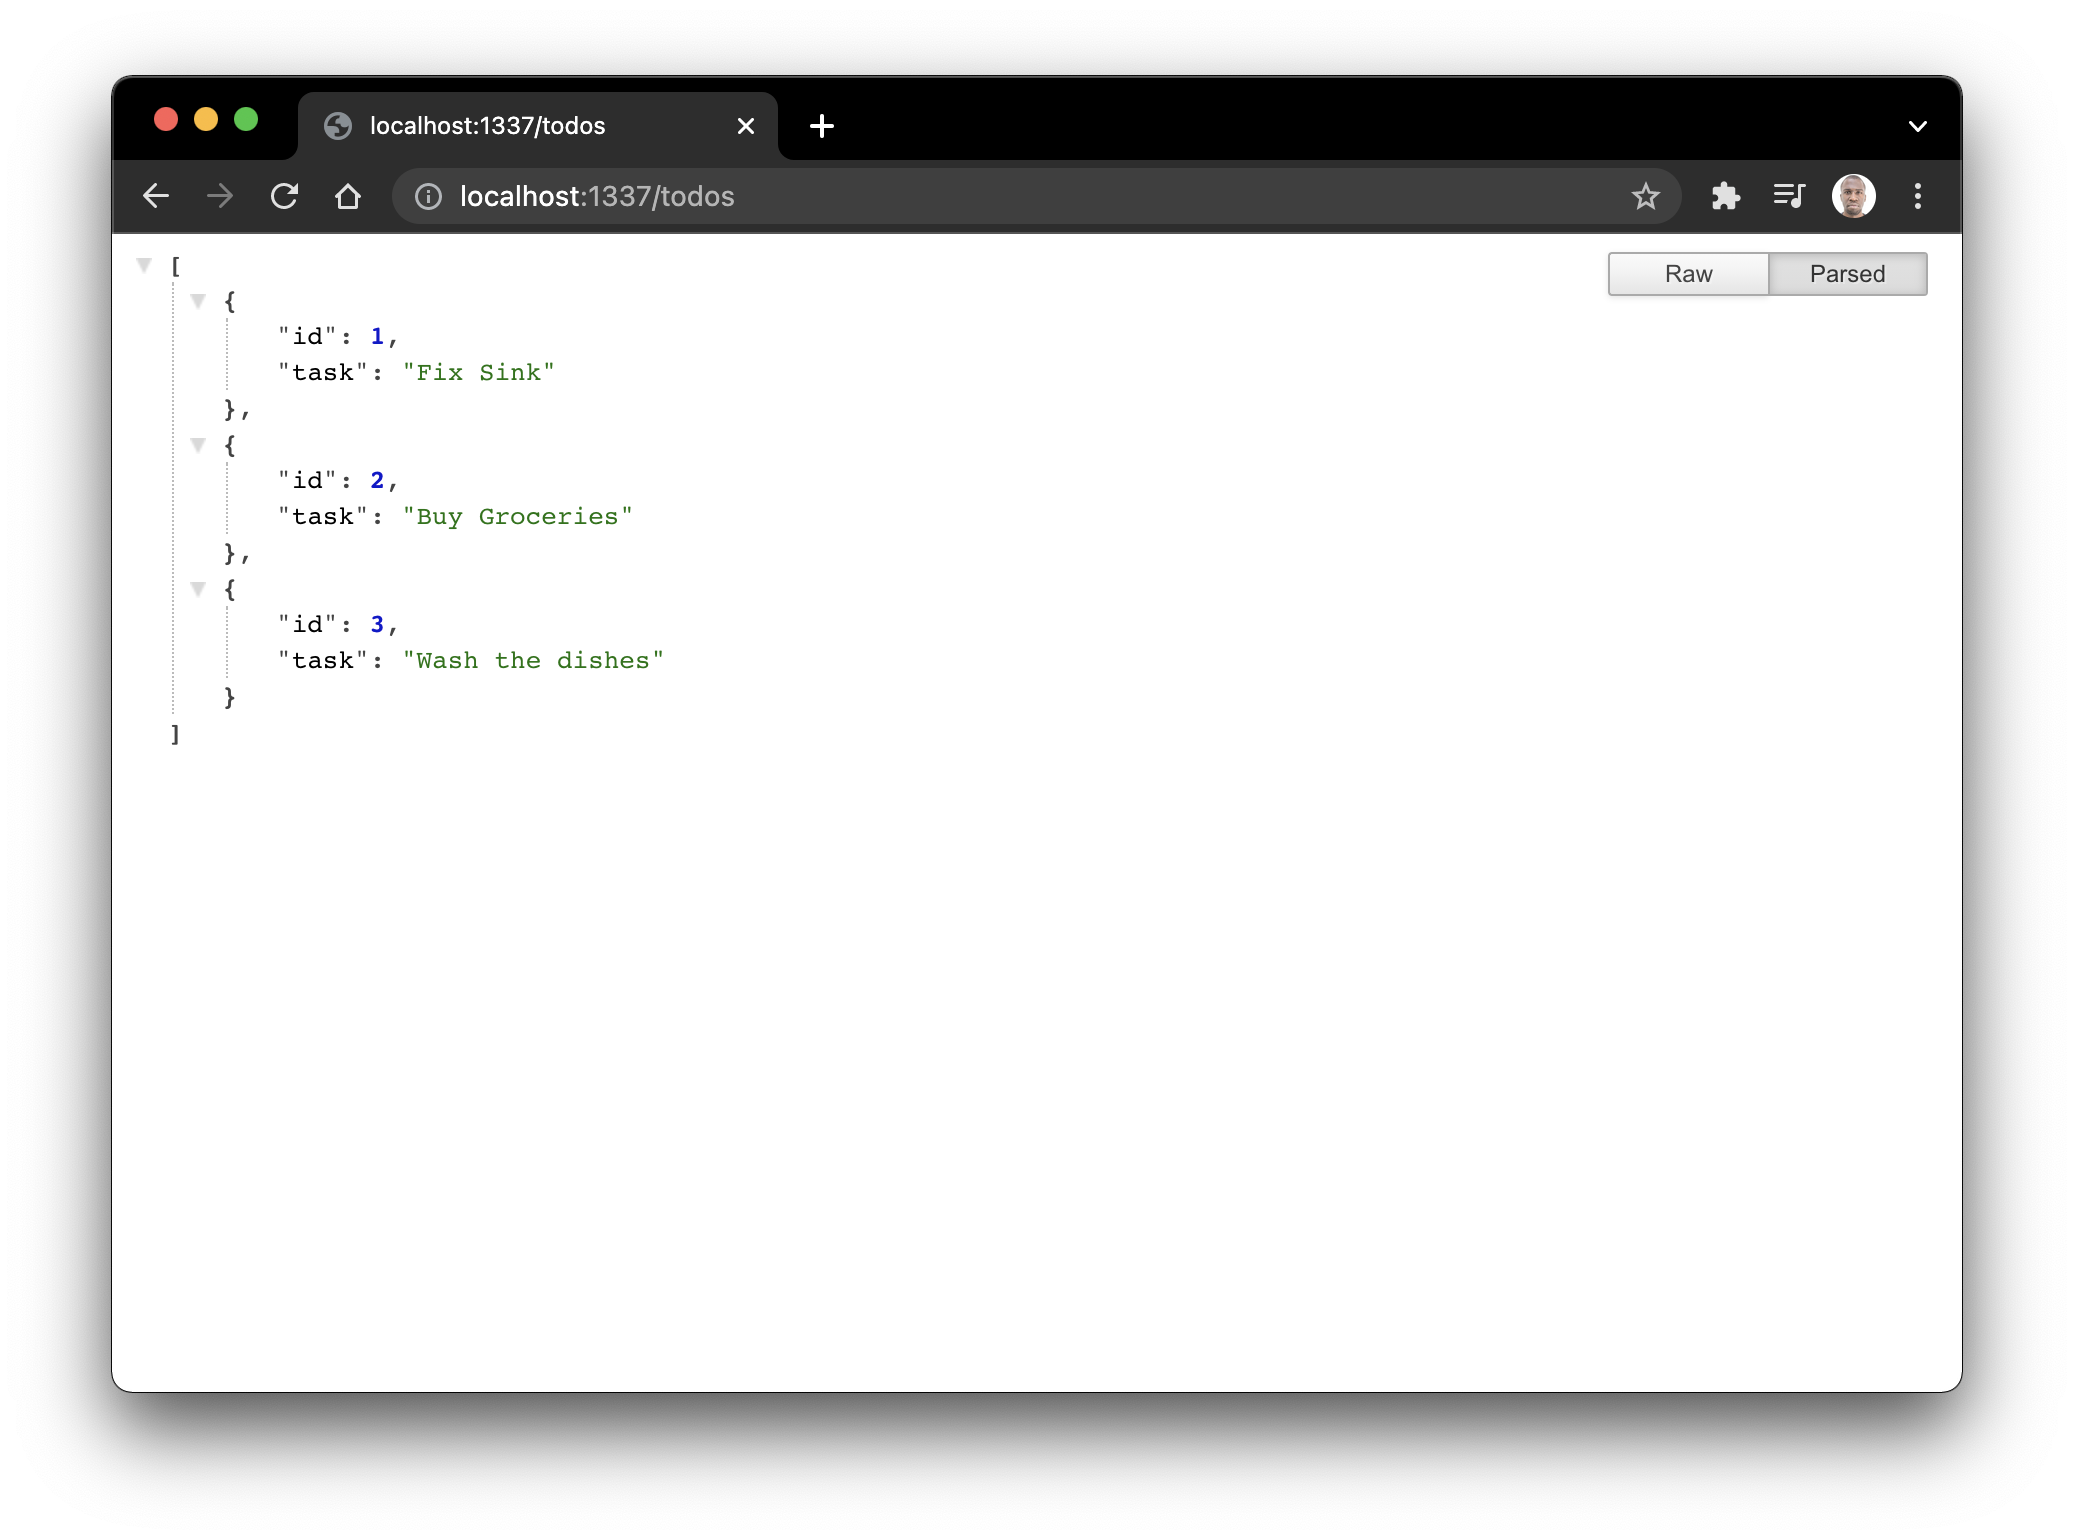
As seen above, the route returns an array of todo objects each with an id and task name.
Now create a new repository for this project on your GitHub account and push the project to the repository you just created.
Preparing the Node.js project for deployment
When there is no Heroku Procfile specified, Heroku starts a Node.js project with the npm start command. This command indicates that Heroku requires a start script in our package.json file for it to start our application.
That means we need to create a start script in our package.json file to instruct Heroku on how to start the application. If you are using the cloned project, you can skip this step. Otherwise, go to the scripts section of package.json (right now it contains only one test script ) and add the start script:
….
“scripts” : {
  ……,
  “start”: “node server.js”

}
With this script in place, Heroku can now start our application successfully.
Creating an application on Heroku
The next step is to create a Heroku application. This application will map to our deployment and help us manage our deployed application. It will provide features like metrics, scaling capabilities, and access to application logs.
Go to your Heroku dashboard and create a new application by clicking New and selecting Create new app.
This opens the app creation form.
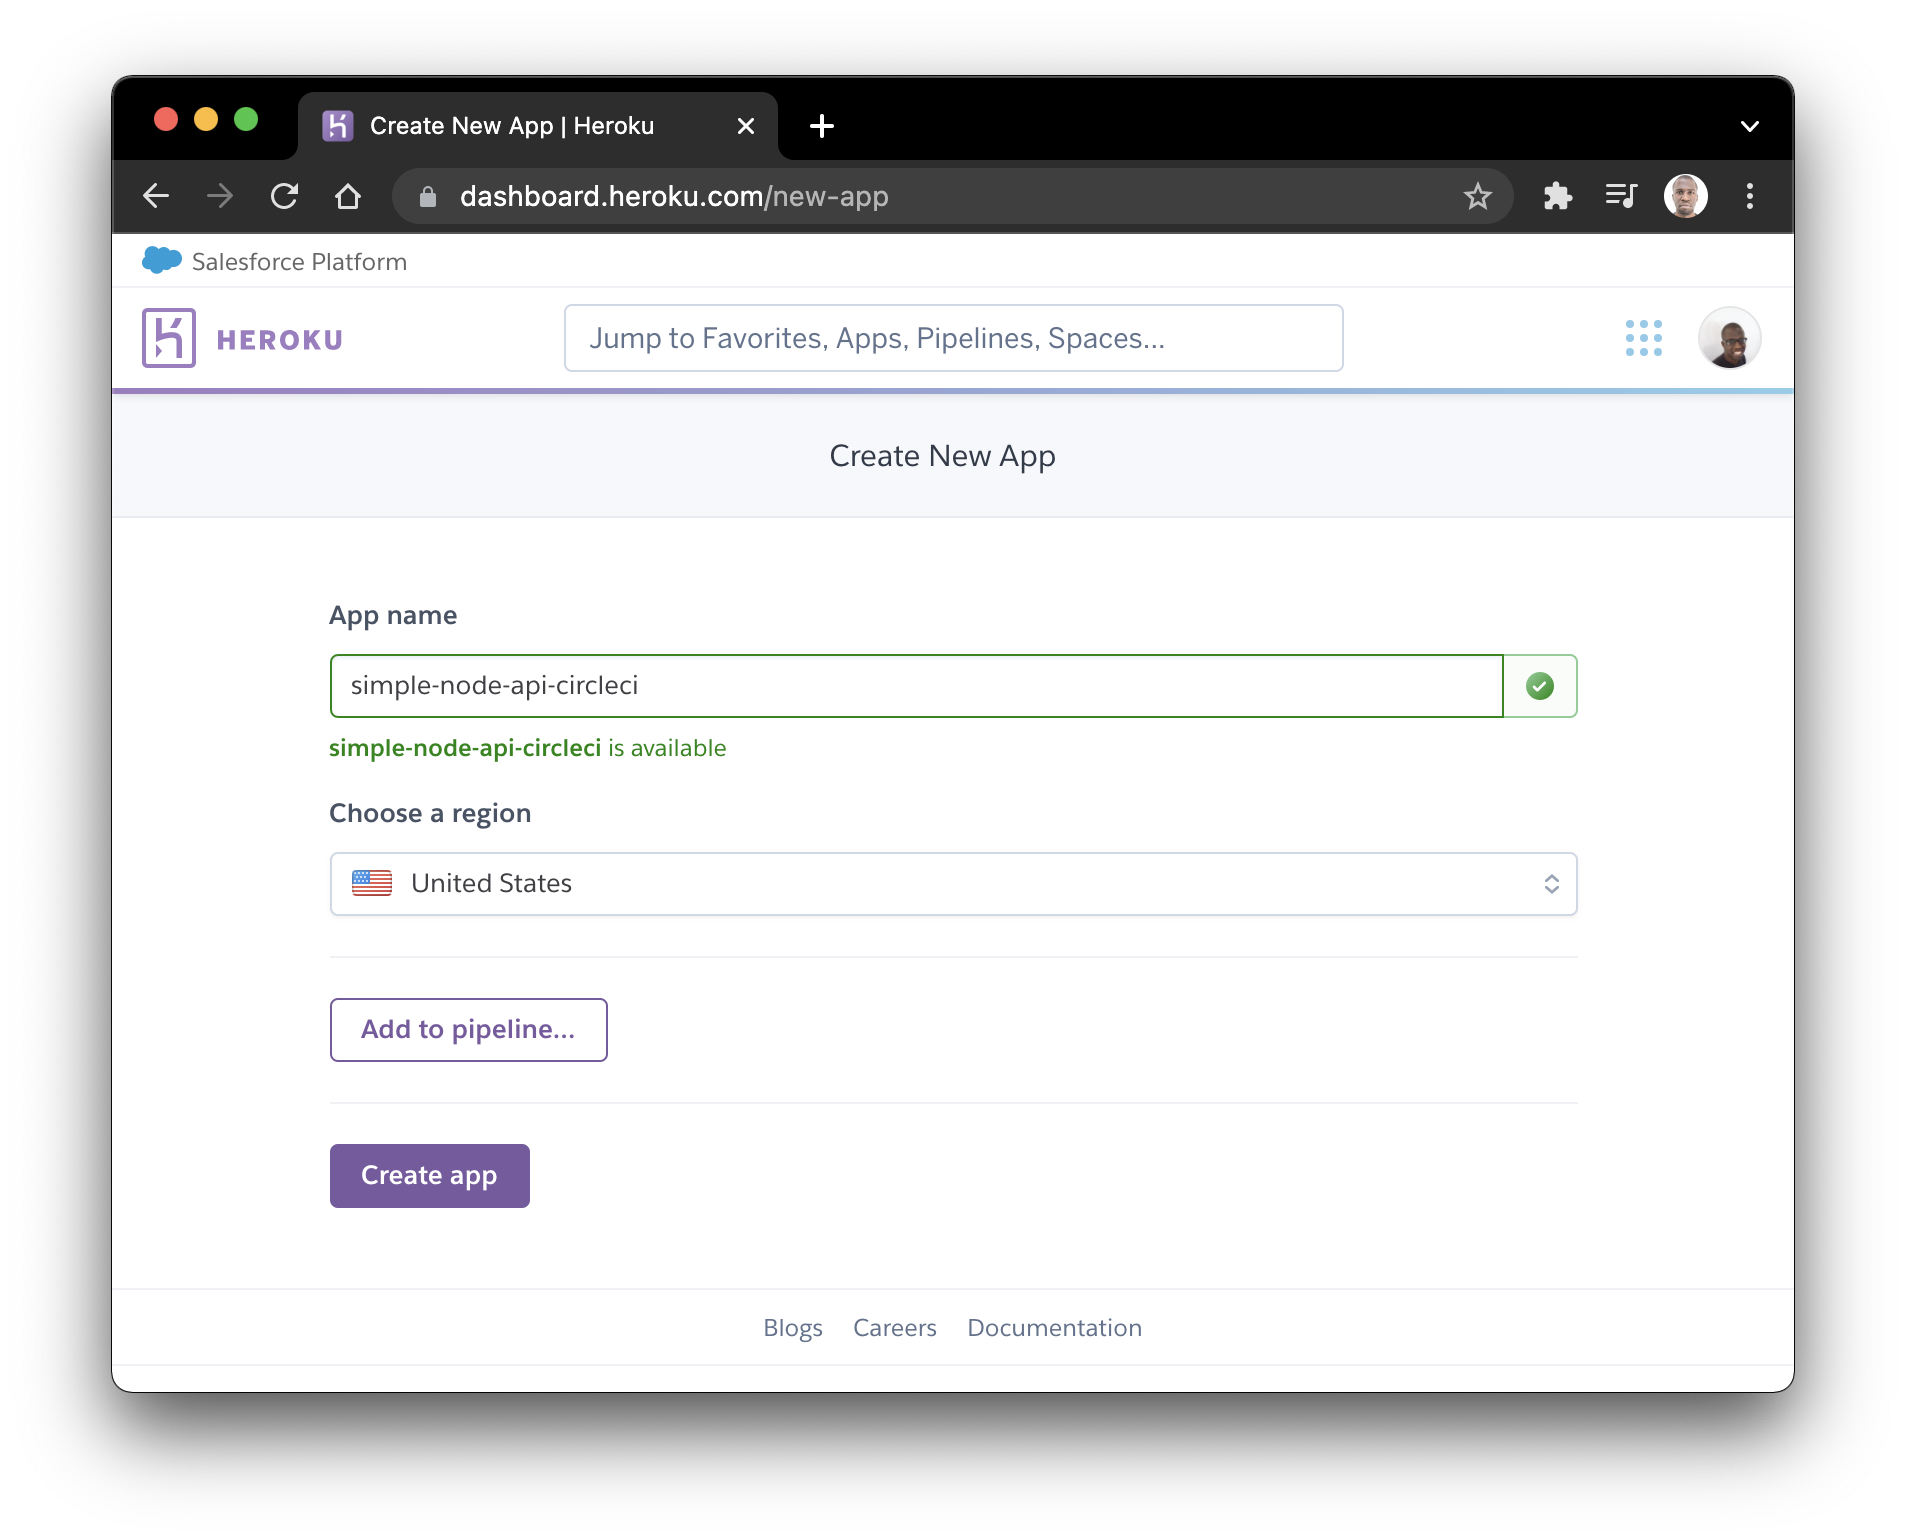
We have named the app simple-node-api-circleci, but feel free to give it any name you prefer. Just make sure the name does not contain spaces or characters that are not URL-friendly.
Click Create app to set up your new application.
Setting up the project on CircleCI
The next step to deploying our application to Heroku is connecting the application in our GitHub repository to CircleCI.
Go to your CircleCI dashboard and add the project in the Add Project section.
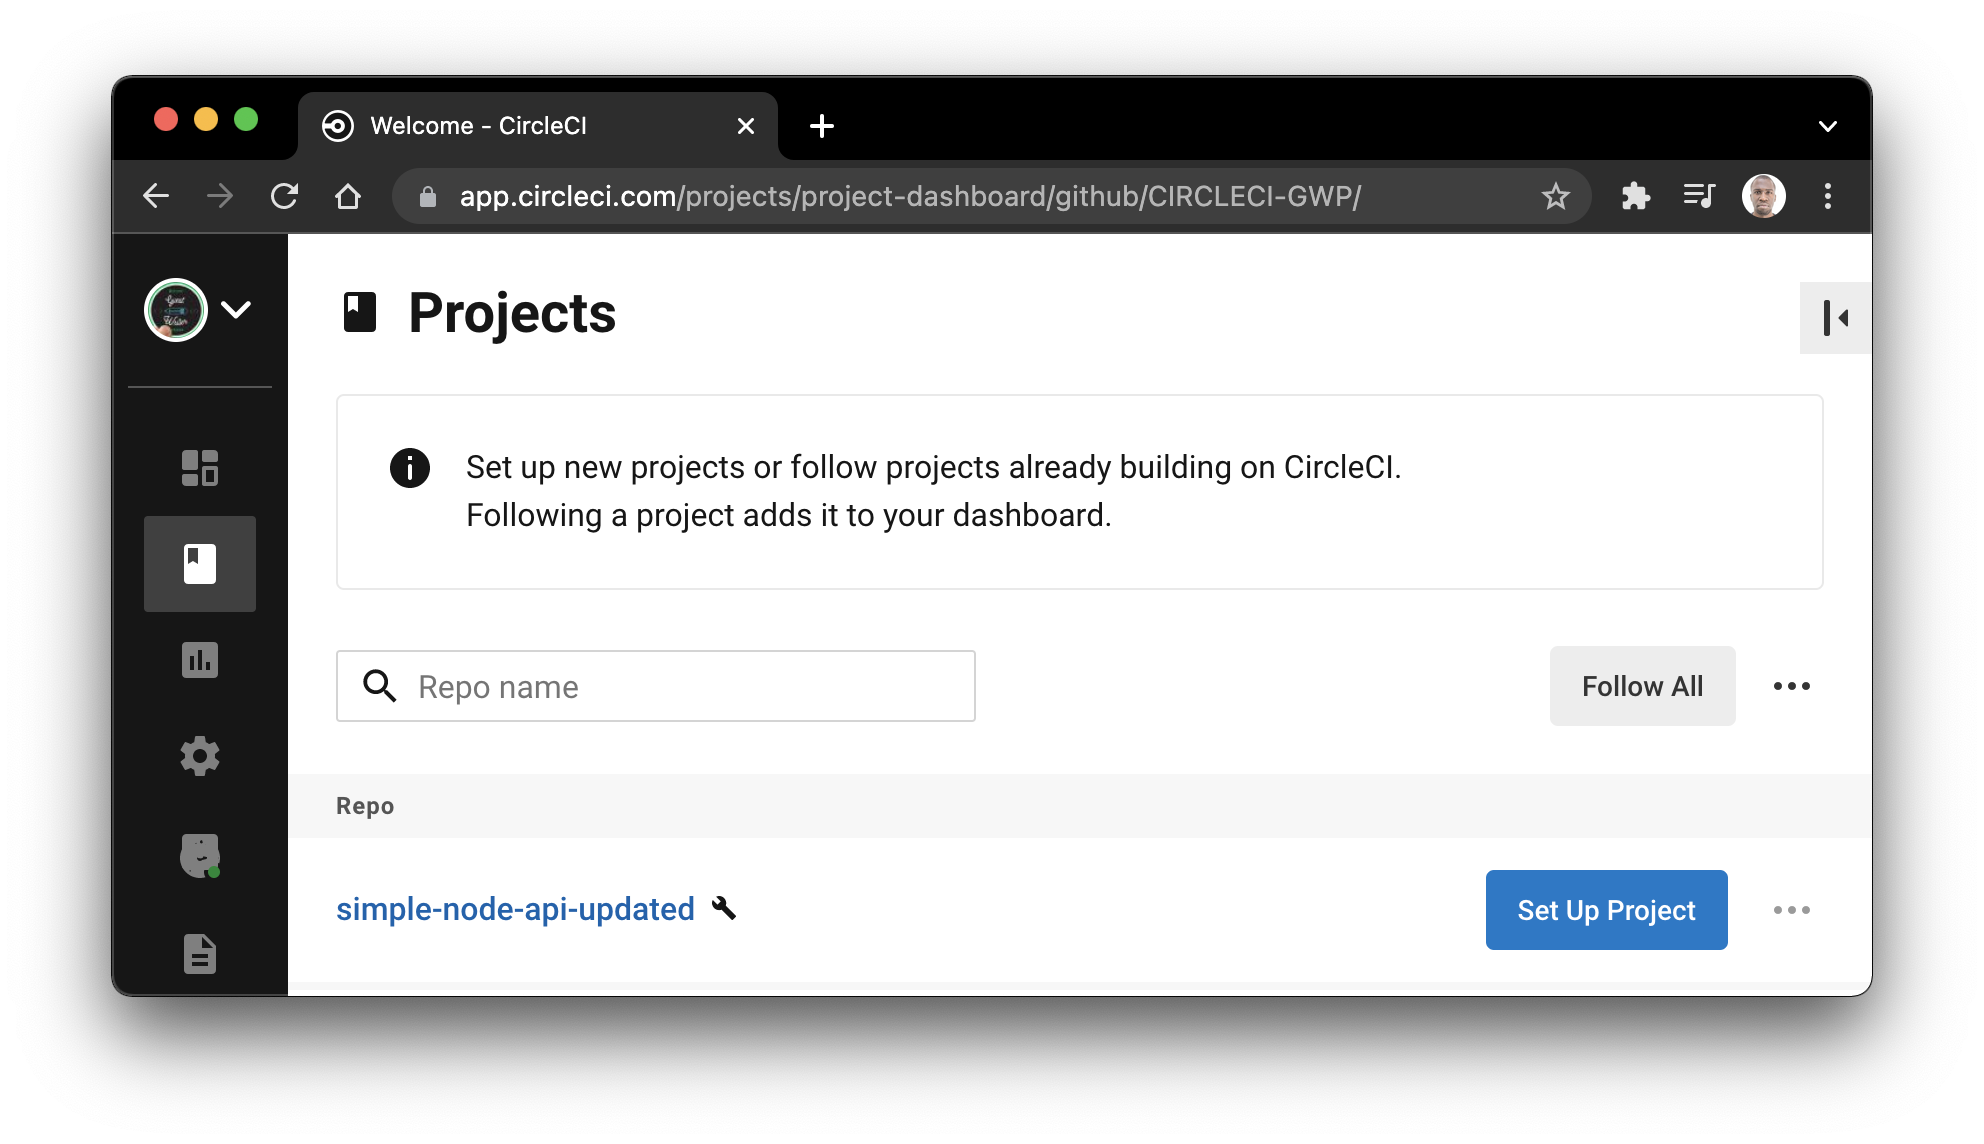
Next to your project (in this case simple-node-api-updated), click the Set Up Project button.
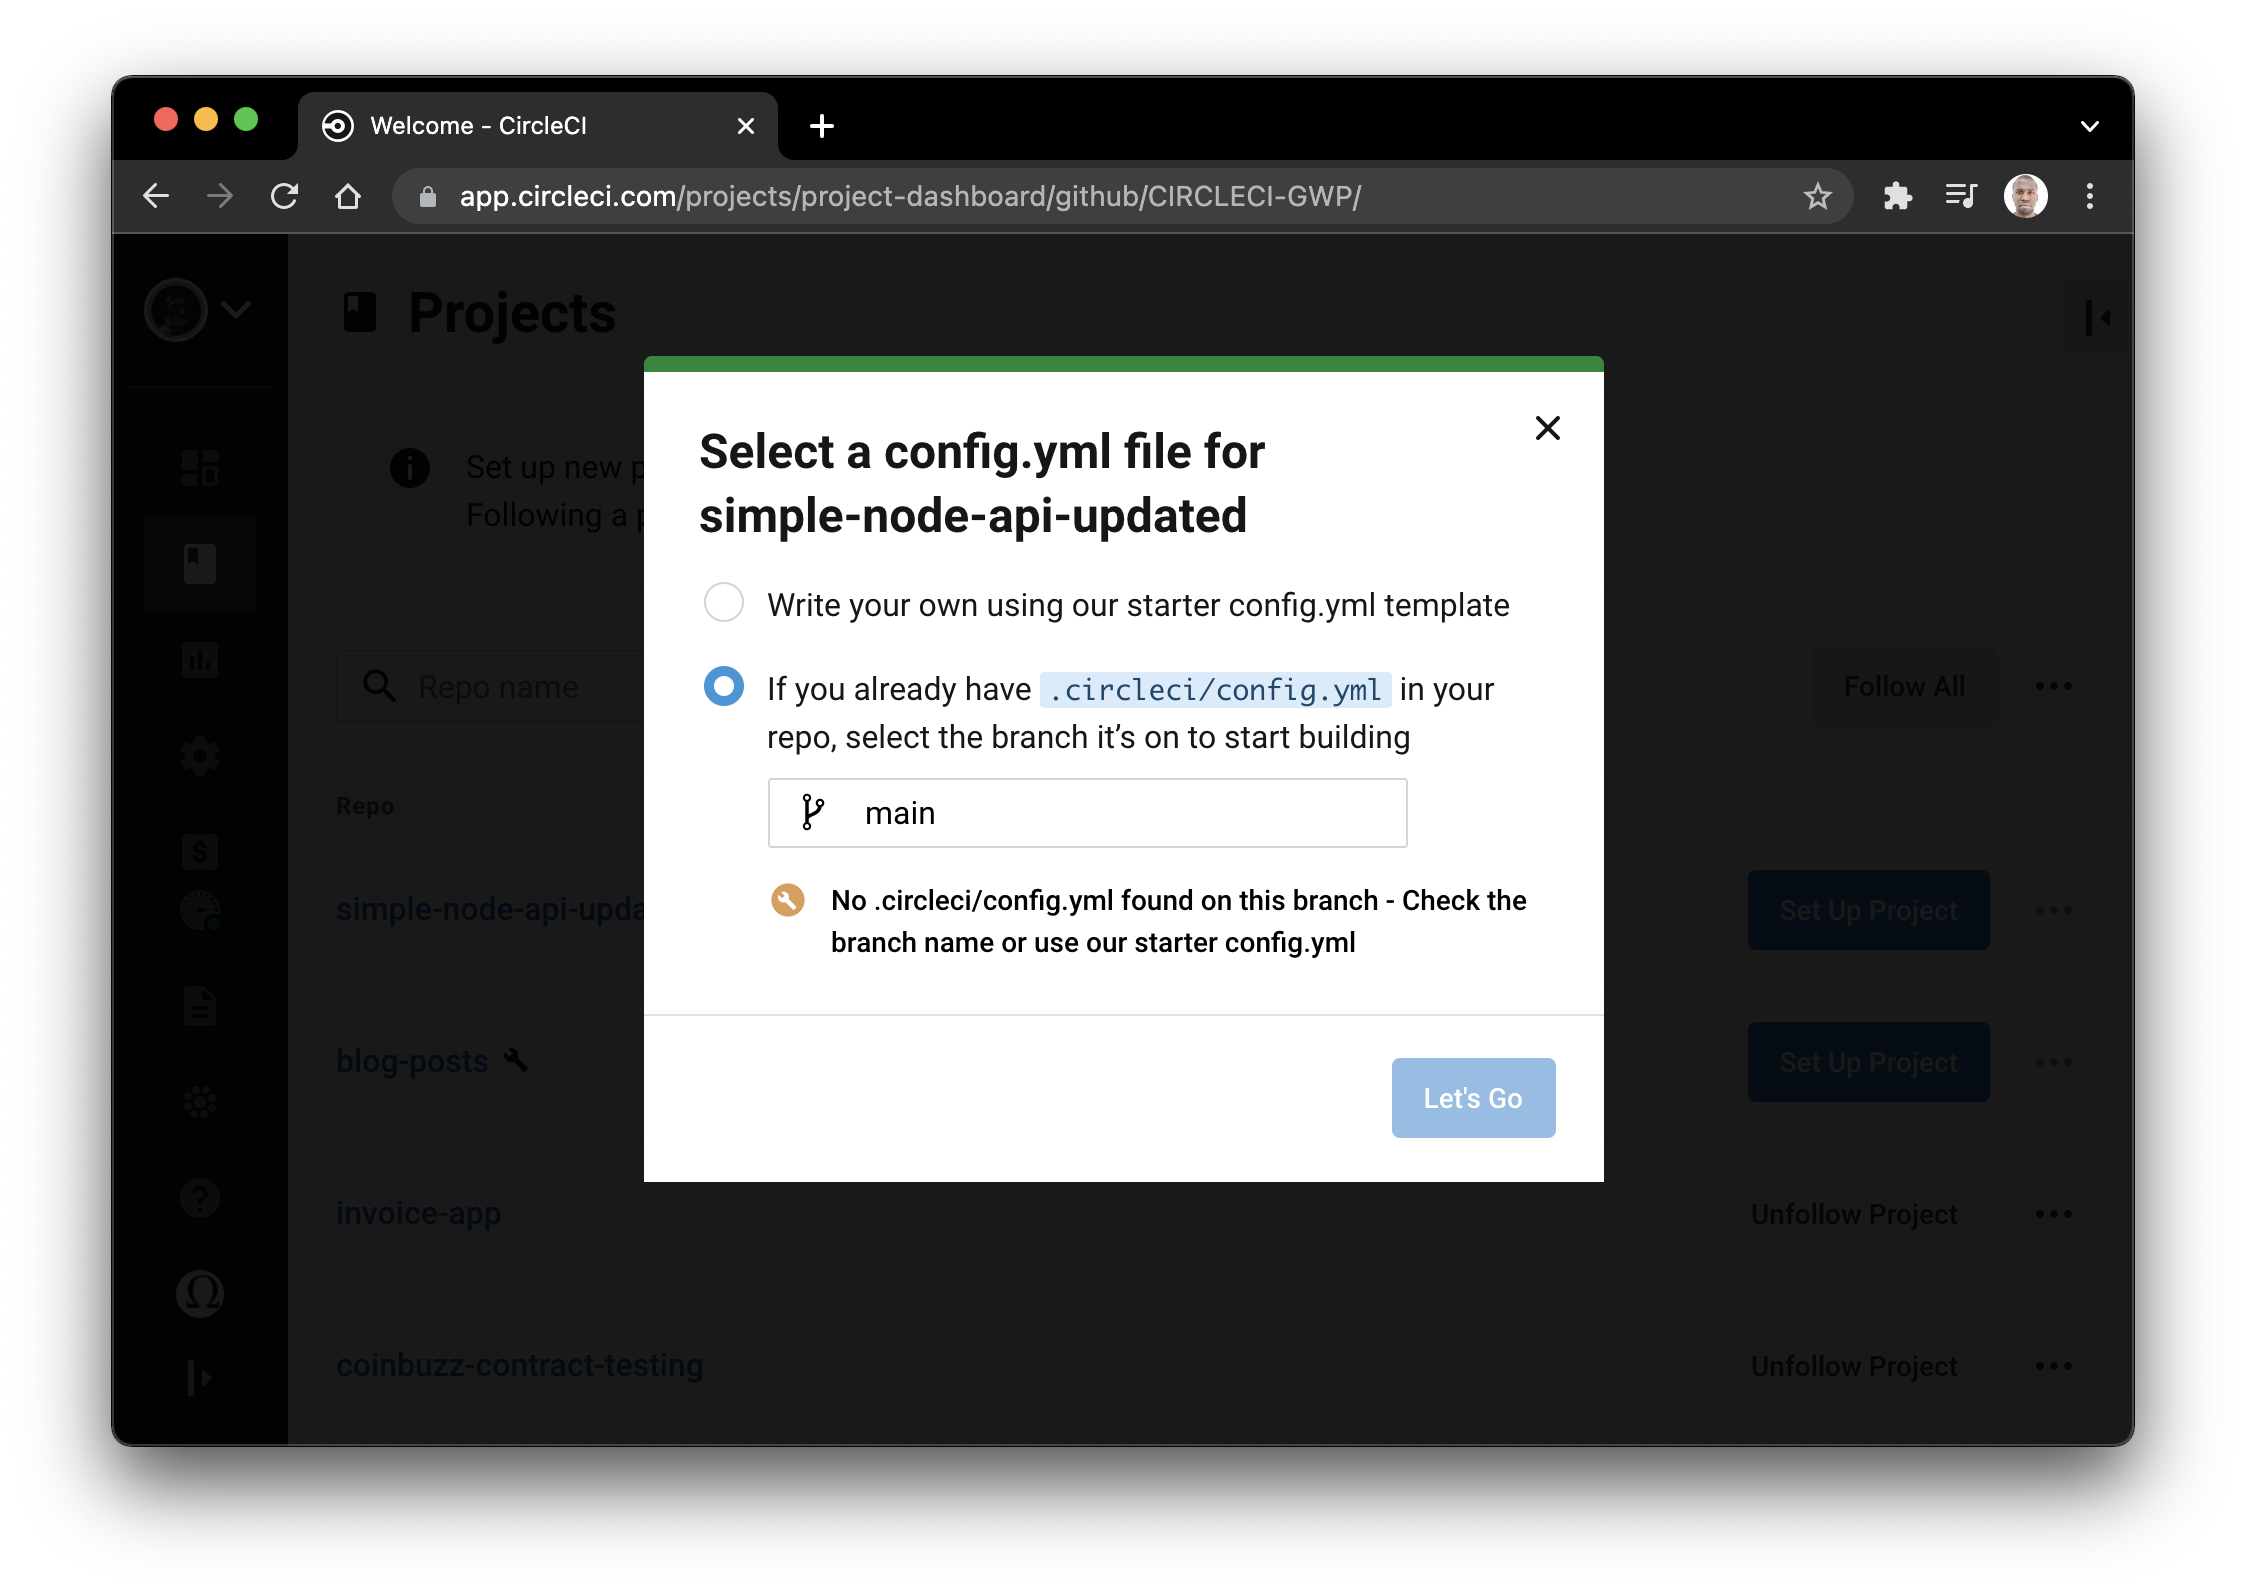 On this screen you will immediately see an error saying a CircleCI configuration file cannot be found in the project.
This is understandable because we have not included our pipeline configuration file yet. We will be doing that later in the tutorial.
For now, select Write your own using our starter config.yml template. On that page, select skip this step then Use existing config. The build will run and fail.
Configuring Heroku access on CircleCI
To push our project to Heroku from CircleCI, we need to configure an authenticated handshake between CircleCI and Heroku. Configure the handshake by creating two environment variables in the settings for your CircleCI project:
HEROKU_APP_NAMEis the name of your Heroku application (in this casesimple-node-api-circleci)HEROKU_API_KEYis your Heroku account API key. This can be found under the Account tab of your Heroku account under Account Settings. Scroll to the API Key section and click Reveal to copy your API key.
Go to your CircleCI dashboard and click Settings for your project.
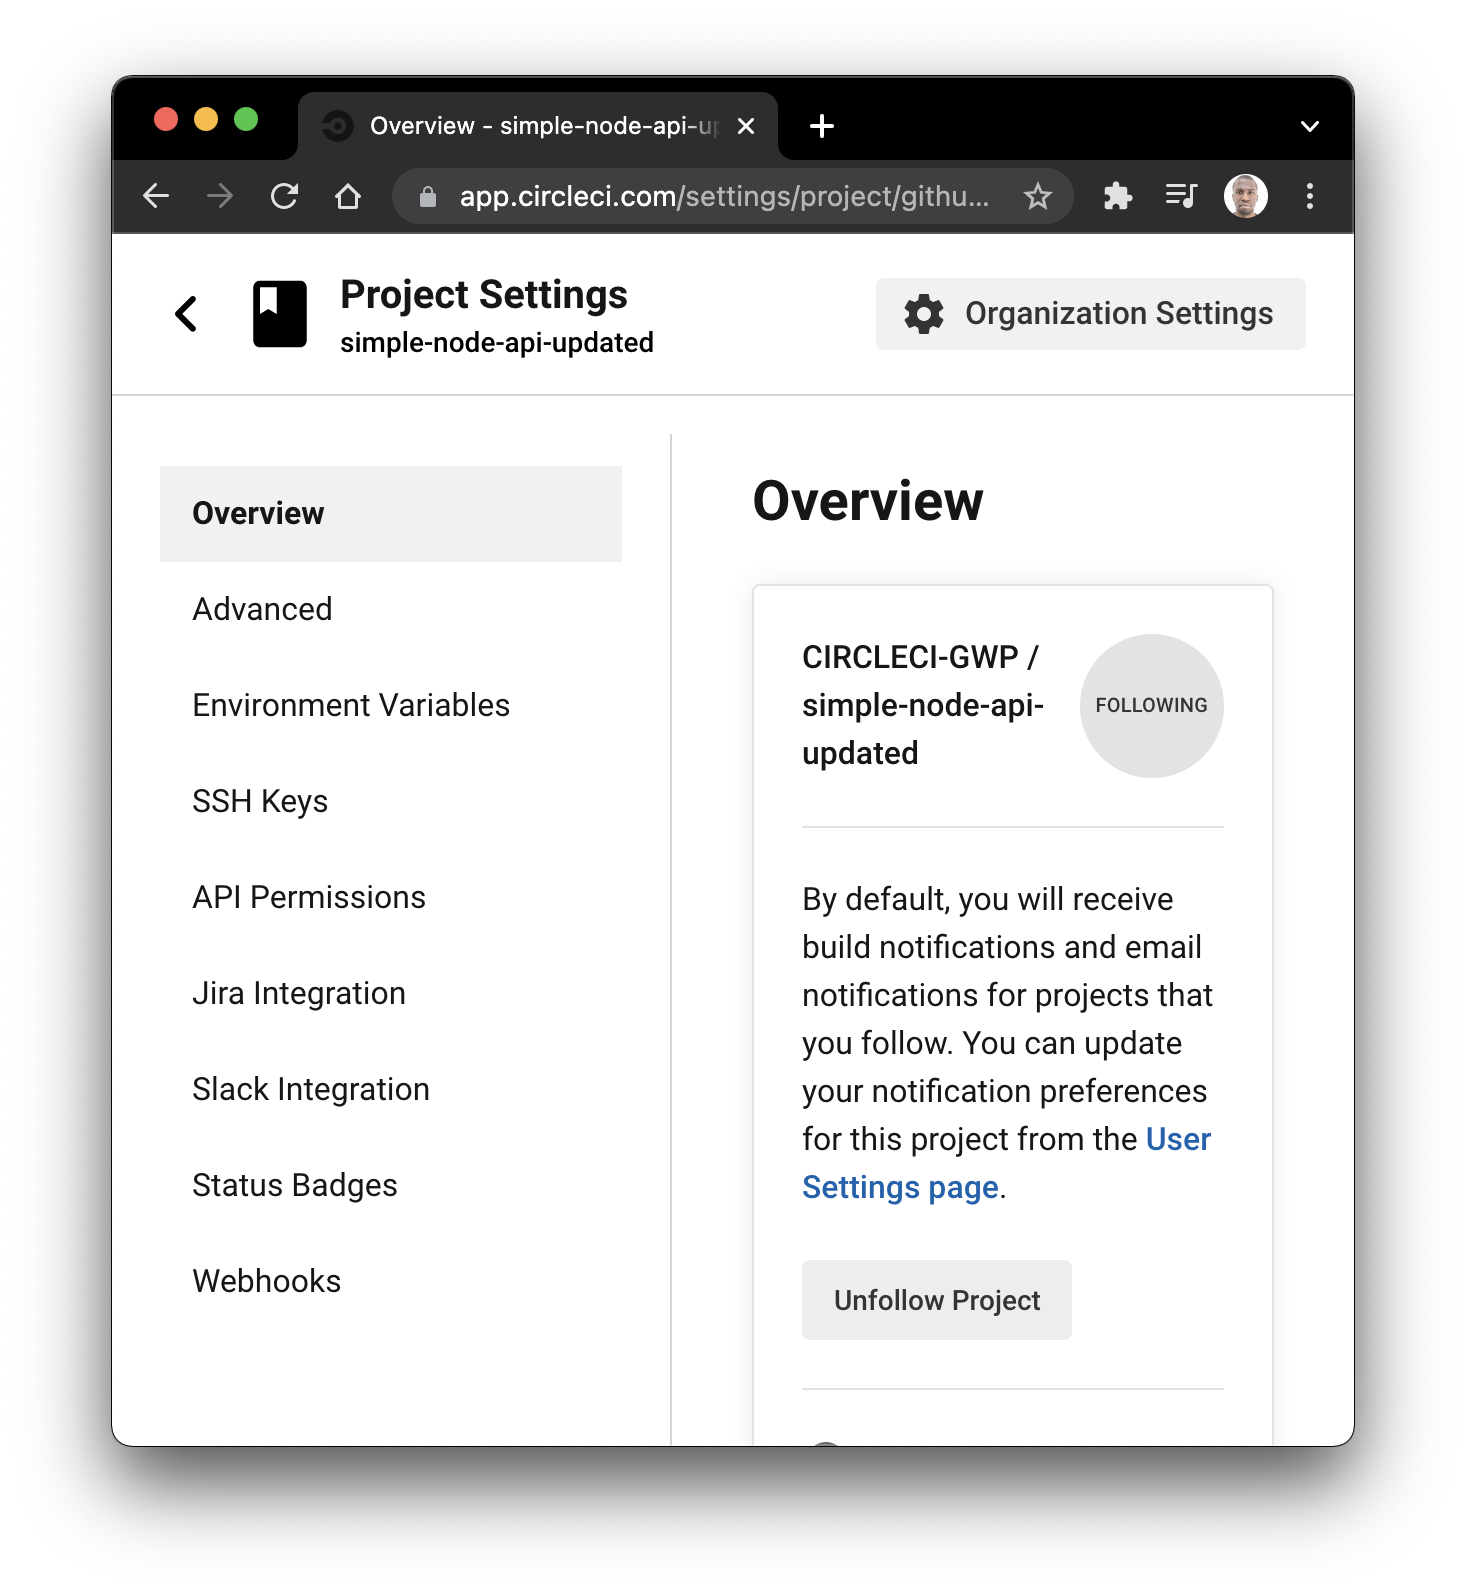
On the sidebar menu of the settings page, click Environment Variables under Build Settings.

On the environment variables page, create two variables named HEROKU_APP_NAME and HEROKU_API_KEY and enter the values for them.
With these in place, our CircleCI configuration will be able to make authenticated deployments to the Heroku platform.
Using the Heroku orb to deploy the app
Now to the main action area: our deploy pipeline. Here is a tip: this is going to be the easiest step. Did that just put a smile on your face? I would like to believe so!
This step is not easy with every CI tool, but with CircleCI orbs, we can work magic. That is because the CircleCI orbs registry has a ready-made orb for deploying applications to Heroku. We will be using the Heroku orb in our CircleCI configuration to deploy our application.
At the root of your project, create a folder named .circleci and within it, create a file named config.yml. Add this configuration:
version: 2.1
orbs:
  heroku: circleci/heroku@1.2.6
workflows:
  heroku_deploy:
    jobs:
      - heroku/deploy-via-git
Is that everything? You bet it is! Remember, I told you we would work magic.
In the configuration above, we pull in the Heroku orb circleci/heroku@1.2.6, which automatically gives us access to a powerful set of Heroku jobs and commands.
One of those jobs is the heroku/deploy-via-git which deploys your application straight from your GitHub repo to your Heroku account.
Right now, you might have a few questions. How was the Heroku CLI installed? When was the code checked out of the repo? How were the authentication credentials accessed? When did Heroku’s deployment command run?
This is where the true power of orbs shines through. All processes in the previous questions have already been abstracted by the Heroku orb. Pulling in the orb ensures that we have an environment set up for deployment to Heroku while the job checks out our code, deploys it to Heroku, and starts the application. It abstracts the nitty-gritty details of the process.
Save the configuration and push your changes to your GitHub repository. This should immediately trigger the deployment process to Heroku via CircleCI.
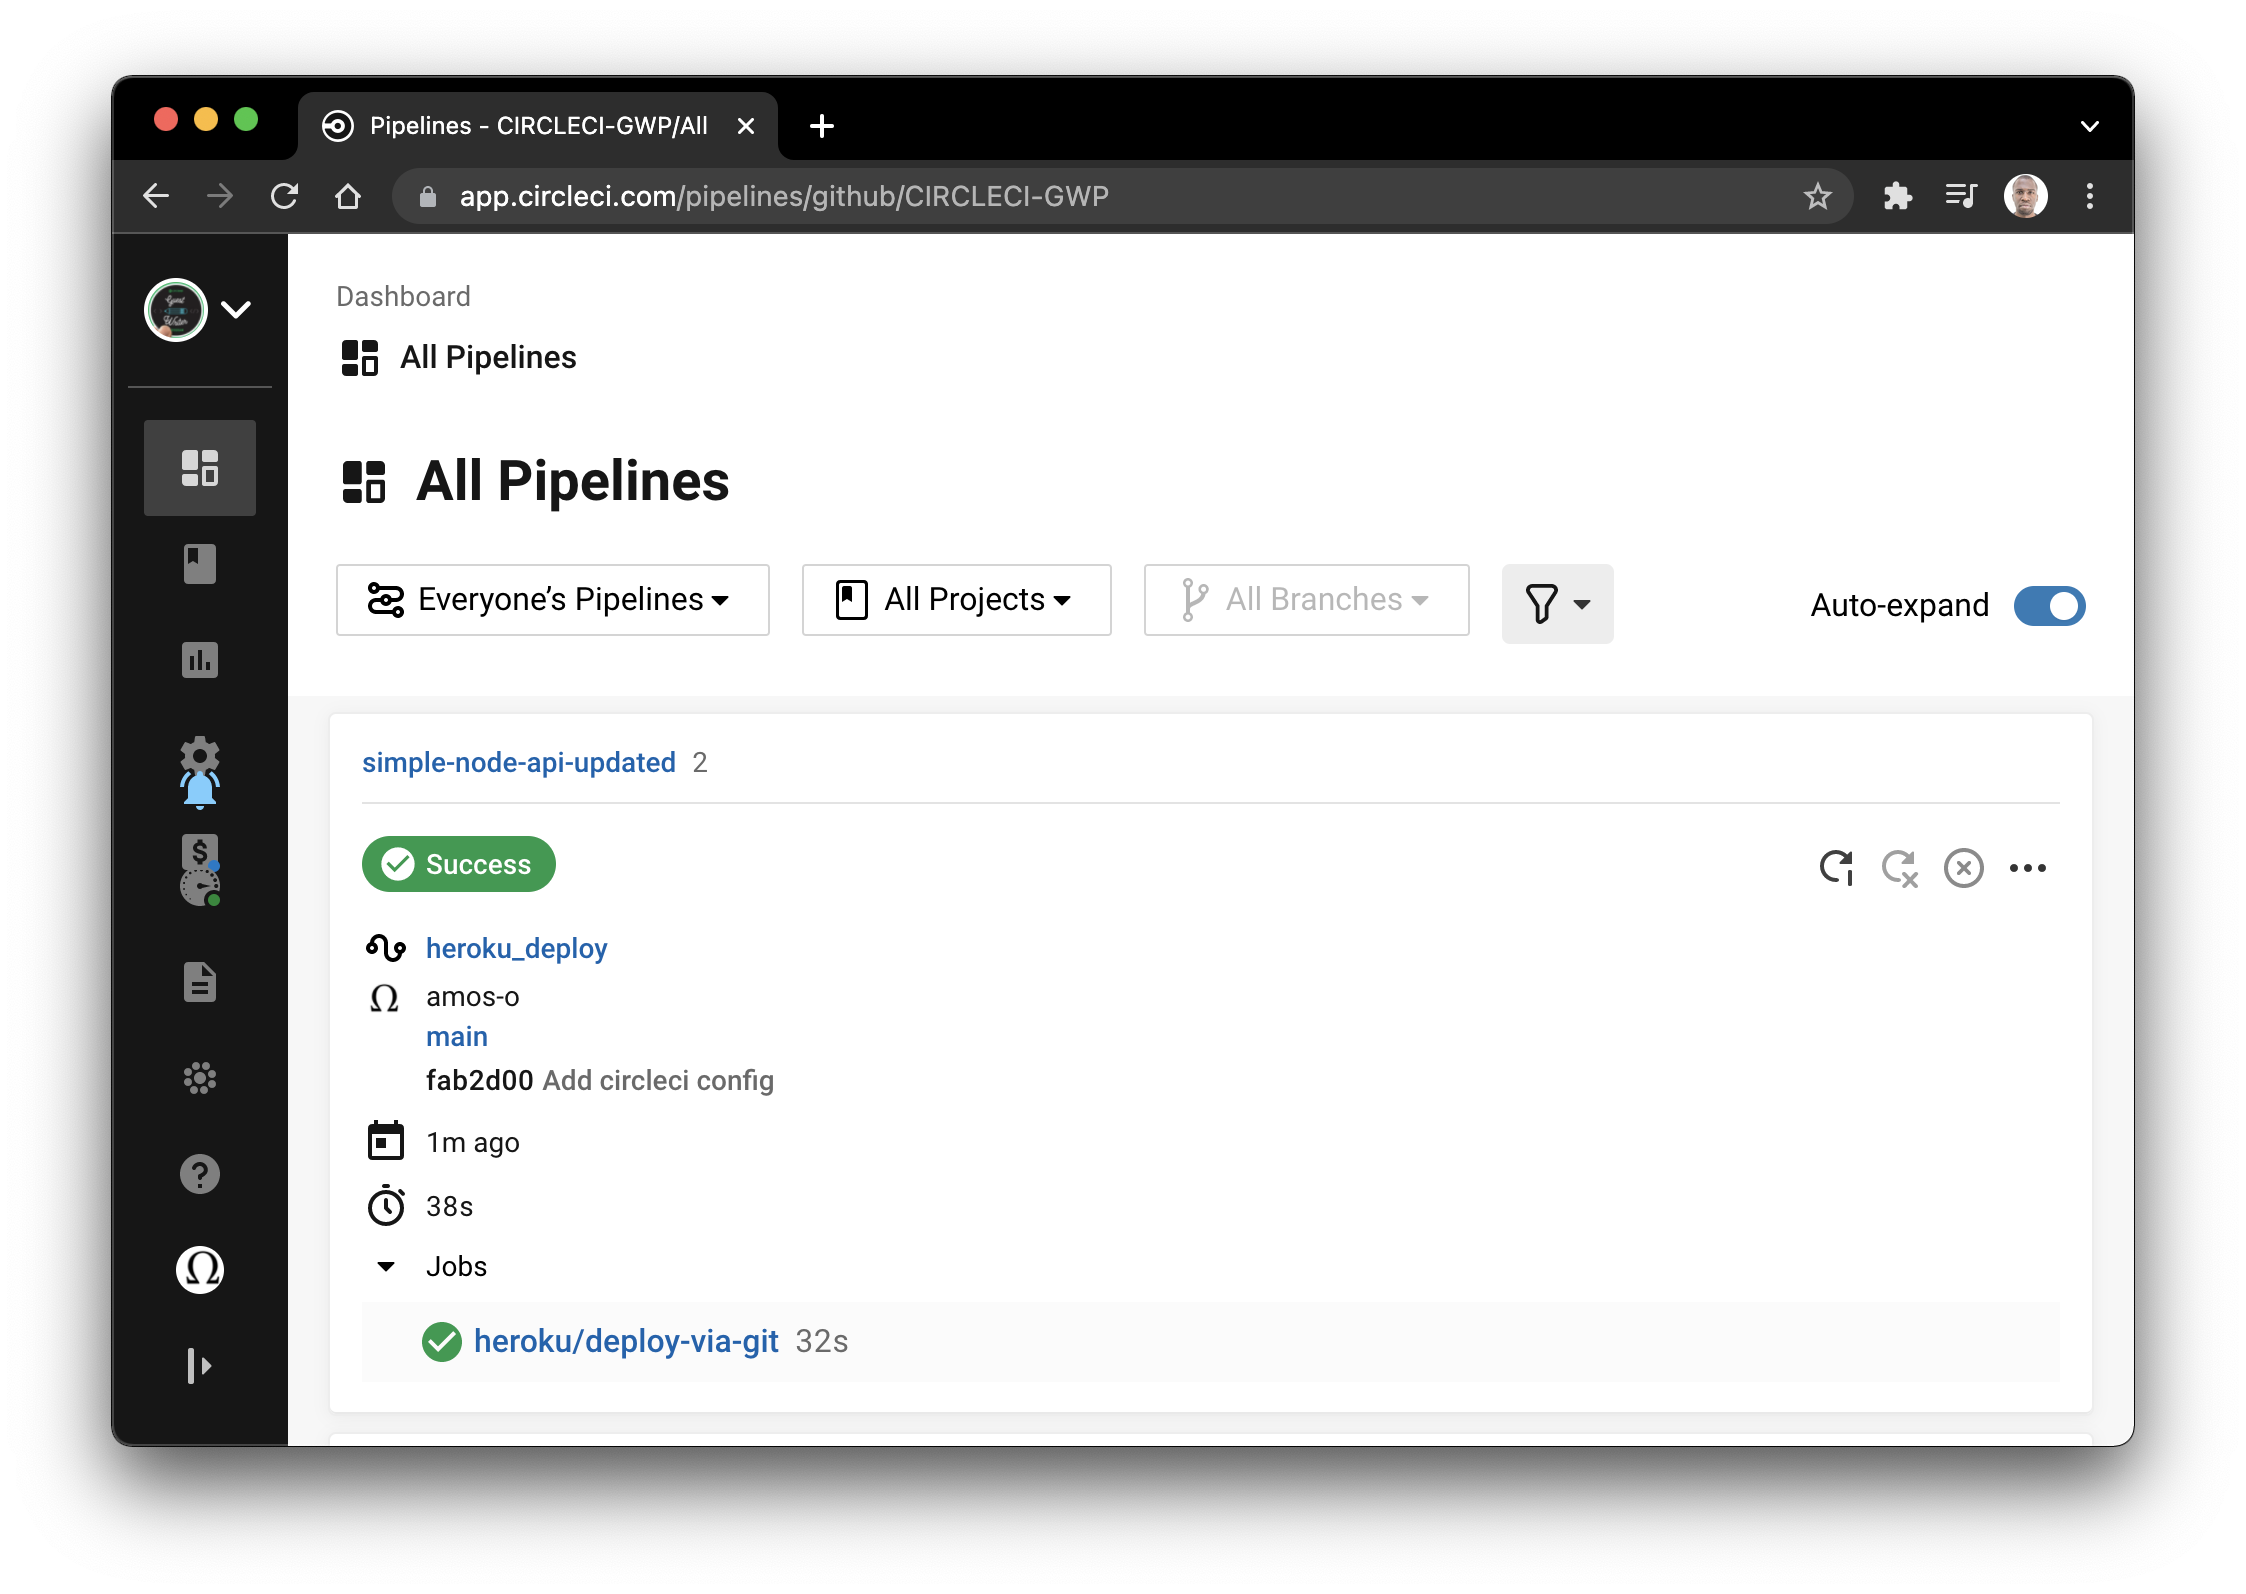
Success! To get a view into what the Heroku orb did behind the scenes, click on the build process.
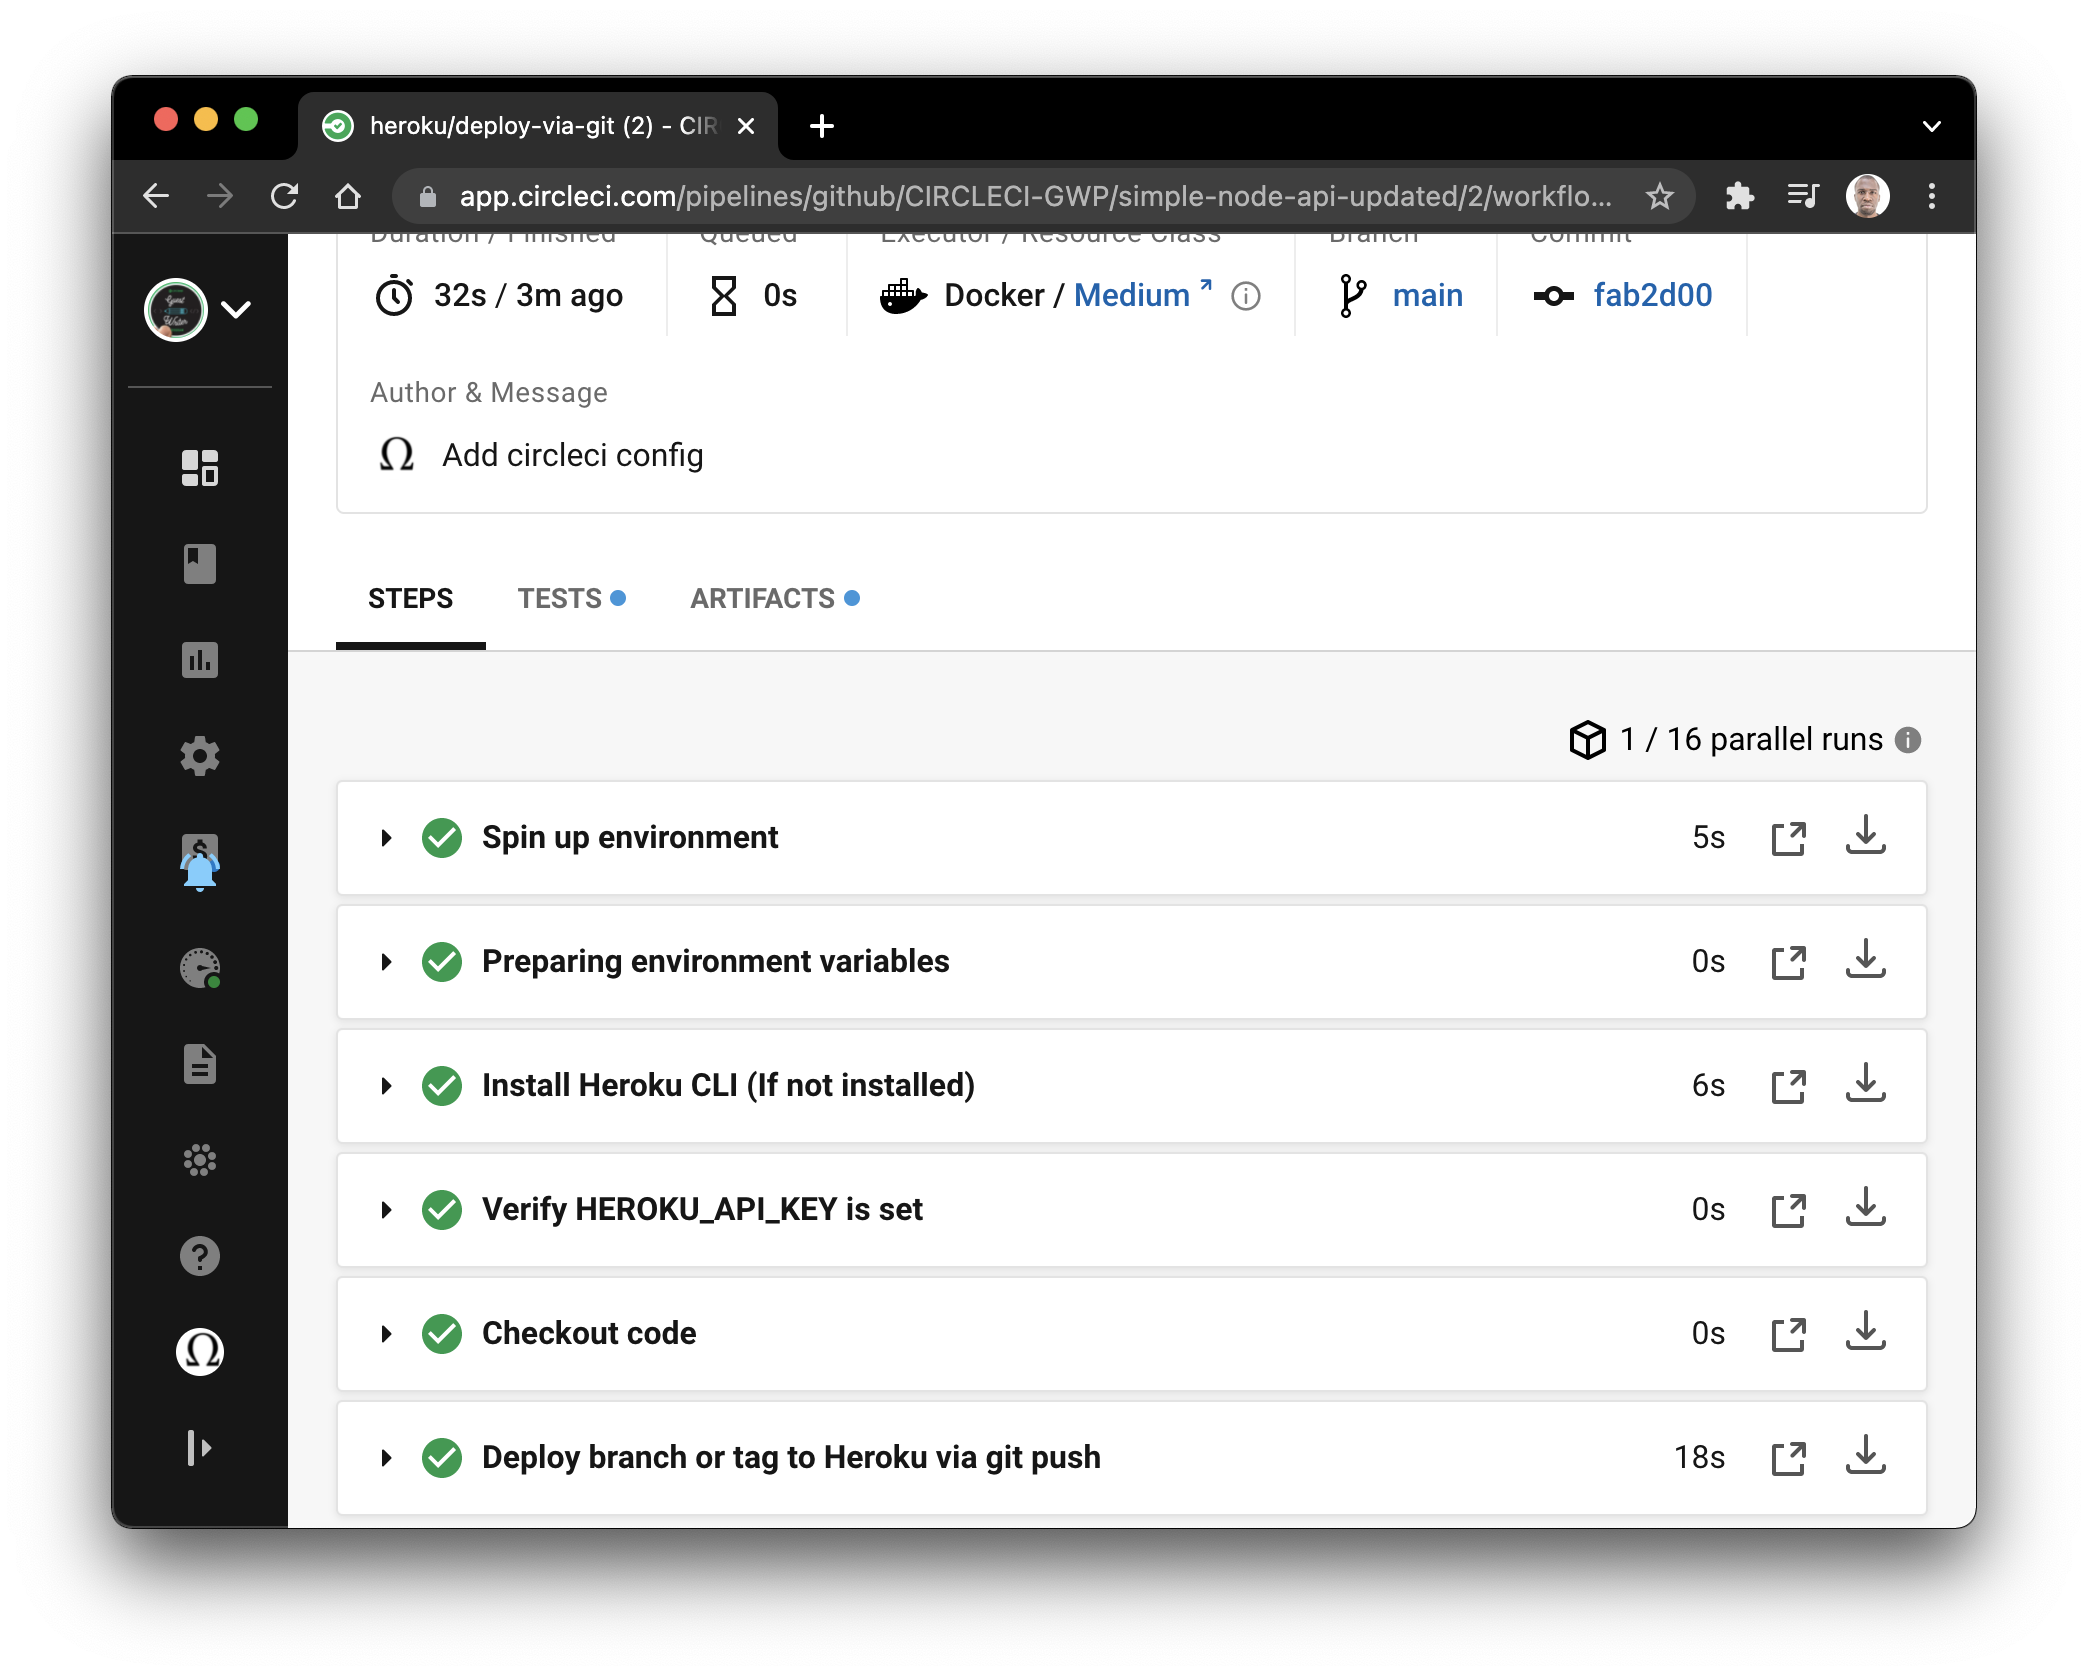
You did not have to define these steps because the orb took care of everything for you.
To confirm that the application has been successfully deployed and is now running, visit the link https://YOUR_HEROKU_APP_NAME.herokuapp.com. For this tutorial, this URL will be https://simple-node-api-circleci.herokuapp.com/todos. This will return our list of todos as expected. I have used a JSON formatter plugin for Chrome for better visibility.

And there you have it. The Node.js API project has been successfully deployed to Heroku in very few steps through the power of CircleCI orbs.
Conclusion
CircleCI orbs are a game-changer in the CI/CD world. Abstracting a lot of tedious, error-prone boilerplate configuration code to provide simple, stable, and powerful abstractions helps developers focus on what they do best: deploying applications successfully.
Be sure to check the CircleCI orbs registry for orbs that suit your programming language and deployment preferences. Share this tutorial with your co-workers. Let them know that, with CircleCI orbs, you do not need to reinvent the wheel.
Happy coding!


