Runner provisioner Preview
|
Runner Provisioner is currently in preview. The product, its configuration schema, and its APIs are subject to change before general availability. It is not recommended for production workloads. If you encounter issues or have feedback, see Feedback and Support. |
Runner Provisioner is a Kubernetes controller that automatically scales CircleCI runner VMs using KubeVirt. Runner Provisioner polls the CircleCI API for pending and running tasks, then adjusts a VirtualMachinePool replica count to match demand.
The current preview version is 0.1.1.
Getting access
The Runner Provisioner image and Helm chart are publicly available. No registry credentials or invitation are required to install and use Runner Provisioner.
Preview participants get access to a dedicated Slack channel for support and feedback during the preview. To request access to the Slack channel, fill out the Runner Provisioner preview access request form.
Feedback and support
Runner Provisioner is preview software. Expect bugs and missing features. Runner Provisioner is early-stage software and sharp edges are normal.
Preview participants get direct access to the CircleCI product and engineering team via the preview Slack channel throughout the preview. In exchange, detailed feedback is expected. Your input directly shapes what gets built before general availability.
Escalate directly via the #runner-provisioner-preview Slack channel for:
-
Troubleshooting issues
-
Bugs and feature requests
-
General questions
Do not open a support ticket for issues with Runner Provisioner. Issues are routed directly to the product team with a 24-hour internal response target.
Prerequisites
-
A Kubernetes cluster with KubeVirt installed. Refer to the KubeVirt compatibility matrix for the appropriate version for your cluster. Runner Provisioner has been tested with v1.8.
-
kubectlconfigured against your cluster. -
helmv3+. -
A CircleCI API token with permission to query runner tasks. This may be a personal API token or a project API token with read-only access. See the Managing API Tokens page for more information.
Cluster requirements
The following sections cover the cluster requirements for running Runner Provisioner on a Kubernetes cluster.
Nested virtualization
KubeVirt runs VMs inside Kubernetes pods. Each node that will host runner VMs must expose /dev/kvm — the node itself must support hardware-accelerated virtualization (either bare metal, or a cloud VM with nested virtualization enabled).
Verify KVM is available on a node by checking the virt-handler pod on that node.
Get a list of virt-handler pods:
$ kubectl get pods -n kubevirt -l kubevirt.io=virt-handlerSelect any of the pods listed in the output to run the following command:
$ kubectl exec -n kubevirt <virt-handler-pod> -- ls /proc/1/root/dev/kvm
Defaulted container "virt-handler" out of: virt-handler, virt-launcher (init)
/proc/1/root/dev/kvm
If the file is absent, VMs cannot be scheduled on that node regardless of how KubeVirt is configured. On cloud providers, nested virtualization is typically disabled by default and must be explicitly enabled on the node pool or instance group before the nodes are created. Nested virtualization cannot be patched onto existing nodes.
Dedicated node pool for VM workloads (optional)
Running runner VMs on a dedicated node pool, separate from the nodes that run KubeVirt’s own control plane components (virt-operator, virt-api, virt-controller), is recommended. This prevents VM workloads from competing with cluster infrastructure for resources.
Nodes in this pool must have nested virtualization enabled. Nested virtualization but be configured at node or instance creation time and cannot be patched onto existing nodes. Details on how to enable nested virtualization for GCP, AKS, and AWS node pools are covered in the following sections.
Tainted nodes (optional)
Taint the nodes to prevent arbitrary workloads from landing on them while still allowing virt-launcher pods through. For information on Taints and Tolerations, see the Kubernetes Documentation.
Then patch the virt-handler so it can run on the tainted nodes. The KubeVirt operator manages the DaemonSet, so this must go through the KubeVirt CR rather than a direct patch. Replace the toleration key with the taint key you applied to your nodes:
$ kubectl patch kubevirt kubevirt -n kubevirt --type=merge -p='{
  "spec": {
    "customizeComponents": {
      "patches": [
        {
          "resourceName": "virt-handler",
          "resourceType": "DaemonSet",
          "patch": "{\"spec\":{\"template\":{\"spec\":{\"tolerations\":[{\"key\":\"CriticalAddonsOnly\",\"operator\":\"Exists\"},{\"key\":\"<your-taint-key>\",\"operator\":\"Exists\",\"effect\":\"NoSchedule\"}]}}}}",
          "type": "merge"
        }
      ]
    }
  }
}'
Use this patch command in the cloud provider examples below.
Example: GKE
On GKE, use gcloud to create the node pool with nested virtualization and the taint applied in one step. GKE requires an n2, n2d, c2, or c2d series machine type. e2 instances do not support nested virtualization. In the command below, the node pool creates nodes with a taint applied using kubevirt as the taint key.
$ gcloud container node-pools create kubevirt-pool \
  --cluster=<your-cluster-name> \
  --zone=<your-zone> \
  --project=<your-project> \
  --machine-type=n2-standard-4 \
  --num-nodes=3 \
  --enable-autoscaling \
  --min-nodes=3 \
  --max-nodes=10 \
  --enable-nested-virtualization \
  --node-labels=kubevirt.io/schedulable=true \
  --node-taints=kubevirt=true:NoSchedule \
  --image-type=cos_containerd \
  --disk-size=100
Then install KubeVirt and apply the virt-handler patch from Tainted Nodes using kubevirt as the taint key.
Example: Azure Kubernetes service (AKS)
On AKS, nested virtualization is determined by the VM SKU, not a flag. Use a Standard_D*s_v3 or newer (v4, v5) series VM, which supports nested virtualization. Standard_B series and older Standard_A series do not. In the command below, the node pool creates nodes with a taint applied using kubevirt as the taint key.
$ az aks nodepool add \
  --cluster-name <your-cluster-name> \
  --resource-group <your-resource-group> \
  --name kubevirtpool \
  --node-count 3 \
  --enable-cluster-autoscaler \
  --min-count 3 \
  --max-count 10 \
  --node-vm-size Standard_D4s_v3 \
  --node-taints kubevirt=true:NoSchedule \
  --labels kubevirt.io/schedulable=true \
  --os-type Linux
Then install KubeVirt and apply the virt-handler patch from Tainted Nodes using kubevirt as the taint key.
Example: AWS EKS
As of February 2026, AWS supports nested virtualization on 8th-generation Intel instances (c8i, m8i, and r8i, including their flex variants), so bare metal instances are no longer required to expose /dev/kvm to pods. See the AWS announcement. Earlier-generation or non-Intel instances do not support nested virtualization; for those you must still use a .metal instance type (for example, m5.metal).
Nested virtualization is enabled through the instance’s CPU options (NestedVirtualization=enabled). eksctl managed node groups do not expose this CPU option directly, so create an EC2 launch template with it set and reference that launch template from the node group. Use a supported instance type and the AL2023 AMI family.
Create the launch template:
$ aws ec2 create-launch-template \
  --launch-template-name kubevirt-nested-virt \
  --launch-template-data '{"InstanceType":"c8i.xlarge","CpuOptions":{"NestedVirtualization":"enabled"}}'
Note the LaunchTemplateId from the output and reference it in the node group config. eksctl does not support taints as CLI flags for clusters it did not create, so use a config file:
kubevirt-nodegroup.yamlapiVersion: eksctl.io/v1alpha5
kind: ClusterConfig
metadata:
name: <your-cluster-name>
region: <your-region>
vpc:
id: <vpc-id>
securityGroup: <cluster-security-group-id>
subnets:
private:
<az-1>:
id: <subnet-id-1>
<az-2>:
id: <subnet-id-2>
managedNodeGroups:
- name: kubevirt-pool
privateNetworking: true
amiFamily: AmazonLinux2023
launchTemplate:
id: <launch-template-id>
minSize: 3
maxSize: 10
desiredCapacity: 3
labels:
kubevirt.io/schedulable: "true"
taints:
- key: kubevirt
value: "true"
effect: NoScheduleFetch the required VPC values from your existing cluster:
$ aws eks describe-cluster --name <your-cluster-name> \
  --query 'cluster.resourcesVpcConfig.{vpcId:vpcId,securityGroupId:clusterSecurityGroupId,subnetIds:subnetIds}'
Then apply the node group config:
$ eksctl create nodegroup -f kubevirt-nodegroup.yamlThen install KubeVirt and apply the virt-handler patch from Tainted Nodes using kubevirt as the taint key.
Configure KubeVirt operator scheduling
By default, KubeVirt’s operator requires nodes with a node-role.kubernetes.io/control-plane label and uses a requiredDuringSchedulingIgnoredDuringExecution affinity. In clusters where this label is not present or the affinity is too restrictive, apply these two fixes after installing KubeVirt.
Remove the hard affinity requirement so the operator can schedule on any node:
$ kubectl patch deployment virt-operator -n kubevirt --type=json \
  -p='[{"op":"remove","path":"/spec/template/spec/affinity/nodeAffinity/requiredDuringSchedulingIgnoredDuringExecution"}]'
Label all nodes so KubeVirt install jobs (generated by the operator) can schedule:
$ kubectl label nodes --all node-role.kubernetes.io/control-plane=| The command above labels all existing nodes. If you have a dedicated VM worker node pool, apply this label to those nodes once they join the cluster. |
To apply the label to nodes in a specific node pool, use the appropriate selector for your cloud provider:
# AWS EKS
$ kubectl label nodes -l eks.amazonaws.com/nodegroup=<nodegroup-name> node-role.kubernetes.io/control-plane=

# GKE
$ kubectl label nodes -l cloud.google.com/gke-nodepool=<pool-name> node-role.kubernetes.io/control-plane=

# AKS
$ kubectl label nodes -l agentpool=<nodepool-name> node-role.kubernetes.io/control-plane=
Quickstart
1. Create CircleCI namespace and resource class
-
Web app installation
-
CLI installation
To install self-hosted runners, you need to create a CircleCI namespace and resource class. Once set up you will receive a resource class token. You must be an organization admin to complete this process. View your installed runners on the inventory page in the web app by selecting Runners from the sidebar.
| If you already create orb in your organization you will already have a namespace configured. You must use this same namespace for runners. Each organization can only create a single namespace. |
-
On the CircleCI web app, navigate to Runners and select Create Resource Class.
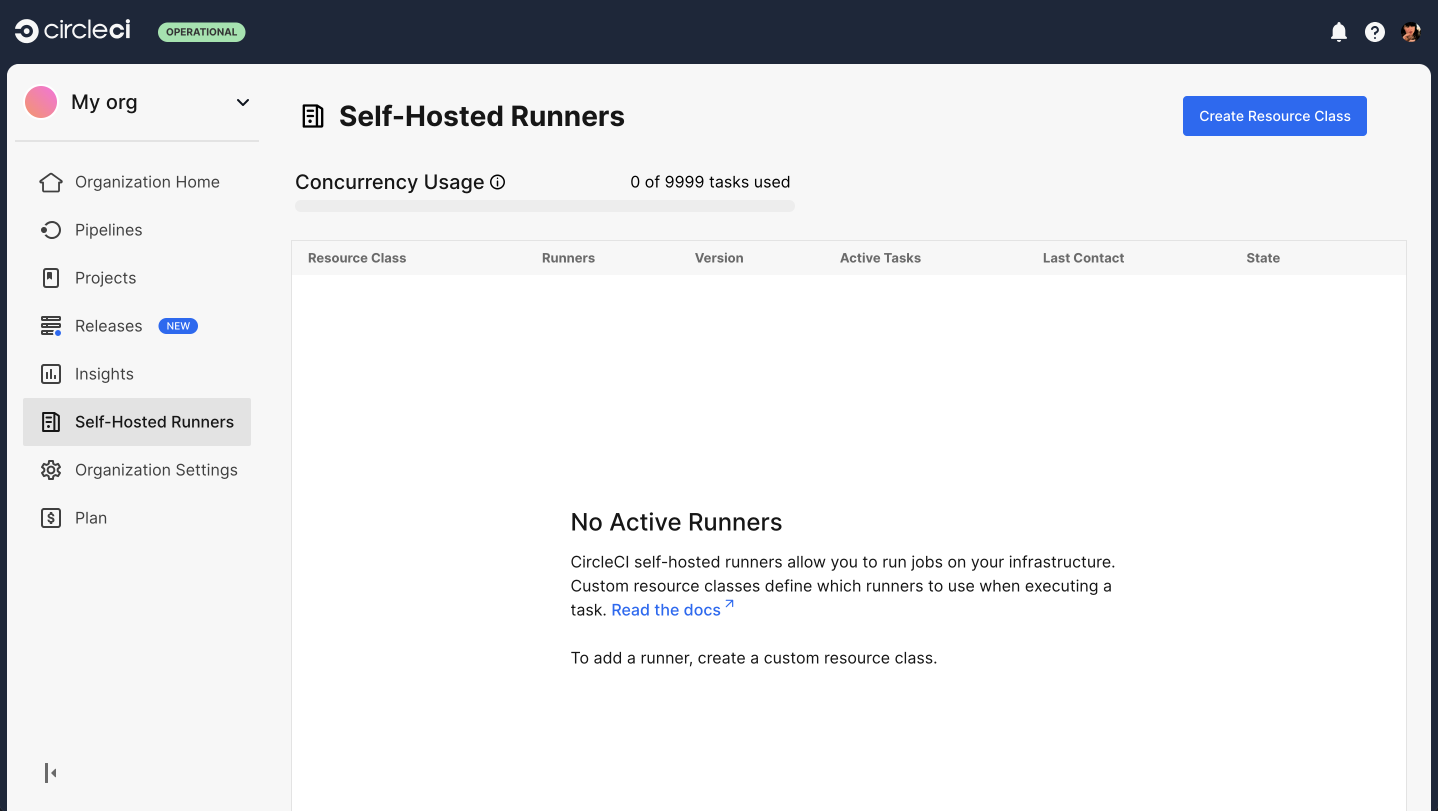 Figure 1. Runner set up, step one - Get started
 -
Create a custom Resource Class. You will configure jobs to use this resource class when you want them to run on your self-hosted runner.
We suggest using a lowercase representation of your CircleCI account name for your namespace. CircleCI will populate your org name as the suggested namespace by default in the UI.
Namespace and resource classes must follow specific naming conventions:
-
The namespace can contain lowercase letters, numbers, underscores, and dashes.
-
The resource class name can contain uppercase and lowercase letters, numbers, colons, underscores, dashes, and plus signs.
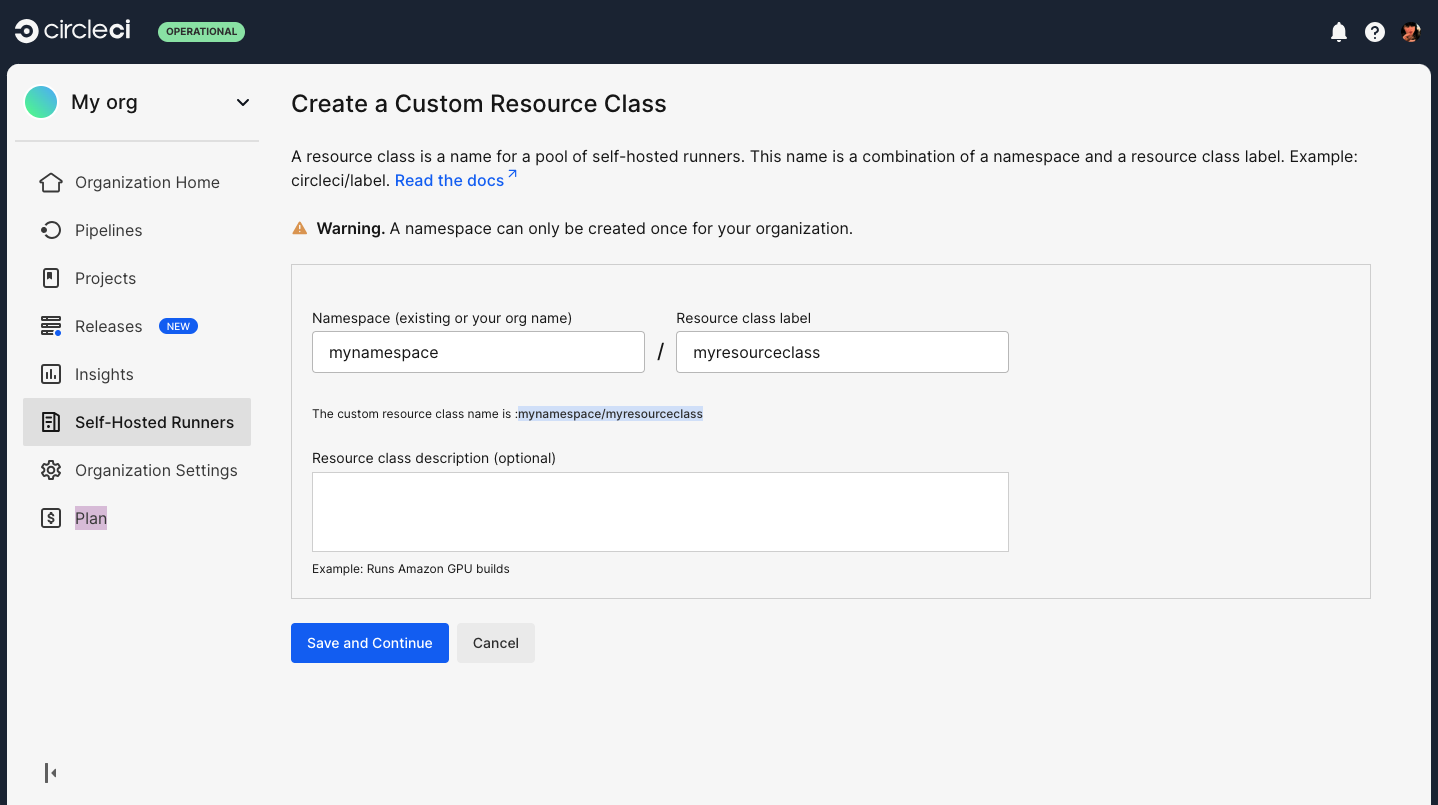 Figure 2. Runner set up, step two - Create a namespace and resource class
-
-
Enter a description for your resource class. This is an optional field.
-
Select Save and continue to save and view your resource class token.
-
Copy and save the resource class token. Self-hosted runners use this token to claim work for the associated resource class.
The token is only displayed once, be sure to store it safely. 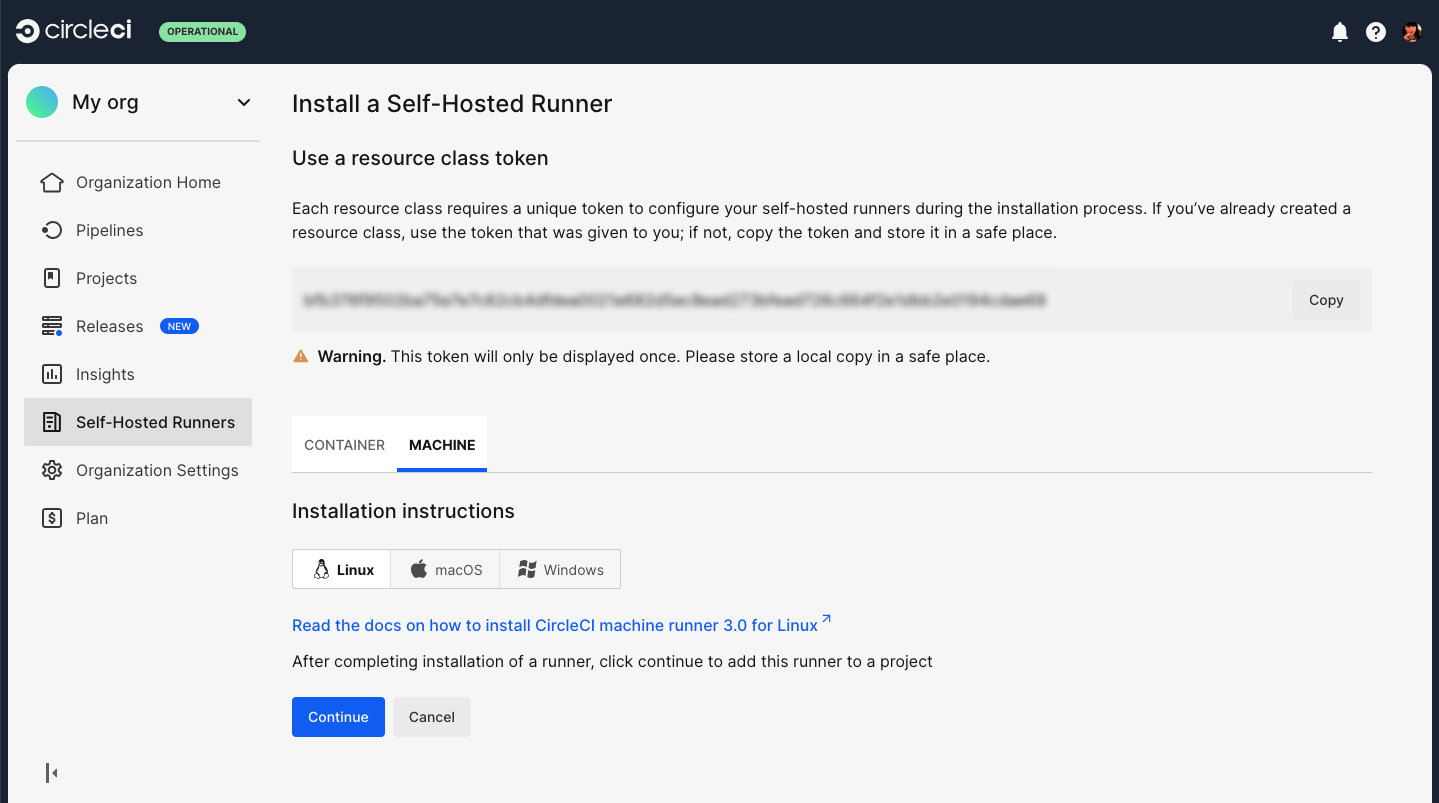 Figure 3. Runner set up, step three - Create a resource class token
To install self-hosted runners, you need to create a CircleCI namespace and resource class. Once set up you will receive a resource class token. You must be an organization admin to complete this process. View your installed runners on the inventory page in the web app by selecting Runners from the sidebar.
| If you already create orb in your organization you will already have a namespace configured. You must use this same namespace for runners. Each organization can only create a single namespace. |
-
Create a namespace for your organization’s self-hosted runners if you do not already have one configured. We suggest using a lowercase representation of your CircleCI organization’s account name.
Use the following command to create your CircleCI organization’s namespace:
$ circleci namespace create <name> --org-id <your-organization-id> -
Create a resource class for your runner using the following command. You will configure jobs to use this resource class when you want them to run on your slef-hosted runner:
$ circleci runner resource-class create <namespace>/<resource-class> <description> --generate-tokenMake sure to replace
<namespace>and<resource-class>with your org namespace and desired resource class name, respectively. You can add a description but this is optional.Resource class names must follow specific naming conventions.
-
The namespace can contain lowercase letters, numbers, underscores, and dashes.
-
The resource class name can contain uppercase and lowercase letters, numbers, colons, underscores, dashes, and plus signs.
The resource class token is returned after the runner resource class is successfully created.
The token is only displayed once, so be sure to store it safely.
-
2. Configure values
Create a my-values.yaml file:
my-values.yamlprovisioner:
# CircleCI API token for querying unclaimed/running tasks
circleToken: "your-circle-api-token"
resourceClass:
# Resource class in the format "namespace/name"
name: "my-org/my-runner"
# Runner token for this resource class
token: "your-runner-token"
# Scaling bounds
minReplicas: 3
maxReplicas: 10
# Optional: idle timeout before a waiting VM shuts itself down (e.g. "10m")
# idleTimeout: ""
# KubeVirt VirtualMachineInstanceSpec for each runner VM
spec:
domain:
resources:
requests:
memory: "2Gi"
cpu: "1"
devices:
disks:
- name: disk
disk:
bus: virtio
volumes:
- name: disk
containerDisk:
image: "quay.io/containerdisks/ubuntu:22.04"The image quay.io/containerdisks/ubuntu:22.04 is an official container disk maintained by the KubeVirt project, providing a pre-built Ubuntu 22.04 OS image for running virtual machines on Kubernetes.
Connecting to a CircleCI Server instance
By default, Runner Provisioner connects to the CircleCI Cloud API at https://runner.circleci.com. If you are running a self-hosted CircleCI Server instance, set provisioner.circleciAPIAddr to your server’s hostname in my-values.yaml:
my-values.yamlprovisioner:
circleciAPIAddr: "https://your-server-hostname"
circleToken: "your-circle-api-token"
resourceClass:
name: "my-org/my-runner"
token: "your-runner-token"This value is injected into each VM’s cloud-init script so the runner agent connects to your server instance rather than CircleCI Cloud. Without it, runners will fail to register.
Configuration reference
Configuration field names and defaults may change before general availability. Pin your my-values.yaml to a specific chart version and review the changelog before upgrading.
|
Top-level values
| Key | Default | Description |
|---|---|---|
|
|
Number of provisioner replicas. Replicas coordinate via a |
|
|
Container image |
|
|
Image pull policy |
|
Chart |
Image tag (overridden by |
|
|
SHA digest; takes precedence over tag when set |
|
|
Image pull secrets for private registries. |
runnerBundle.* values
When enabled, the provisioner attaches a containerDisk that ships the circleci-runner packages so pool VMs install from local block storage instead of downloading from packagecloud.io at boot.
| Key | Default | Description |
|---|---|---|
|
|
Attach the runner bundle containerDisk to each VM |
|
|
Bundle image repository |
|
|
Bundle image pull policy |
|
Chart |
Bundle image tag (overridden by |
|
|
SHA digest; takes precedence over tag when set |
|
|
Pull secrets for the bundle image, falling back to the top-level |
provisioner.* values
| Key | Default | Description |
|---|---|---|
|
CircleCI API base URL |
|
|
|
Namespace where runner VMs are created. |
|
|
CircleCI API token for task polling |
|
|
Name of a pre-existing Secret (see Using an Existing Secret) |
provisioner.resourceClass.* values
| Key | Default | Description |
|---|---|---|
|
|
Resource class in |
|
|
Runner authentication token (required) |
|
|
Optional Bash script run before the runner is installed, for example to install dependencies |
|
|
Duration a VM waits for a job before shutting down (for example, |
|
|
Minimum number of VMs always running |
|
|
Maximum number of VMs allowed |
|
Ubuntu 22.04, 2Gi RAM, 1 CPU |
KubeVirt |
Using an existing secret
If you manage secrets externally (for example, via Vault or Sealed Secrets), set provisioner.existingSecret to the name of a pre-existing Kubernetes Secret. When set, resourceClass.token and circleToken in values are ignored.
The Secret must have two keys:
-
circle-token. The CircleCI API token for task polling. -
config.yaml. The resource class configuration.
config.yamlresourceClass:
"my-org/my-runner":
token: "your-runner-token"
idleTimeout: "10m" # optional
spec:
domain:
resources:
requests:
memory: "2Gi"
cpu: "1"
devices:
disks:
- name: disk
disk:
bus: virtio
volumes:
- name: disk
containerDisk:
image: "quay.io/containerdisks/ubuntu:22.04"Create the secret with:
$ kubectl create secret generic my-secret \
  --namespace runner-provisioner \
  --from-literal=circle-token="your-circleci-api-token" \
  --from-file=config.yaml=./config.yaml
Then reference it in values:
my-values.yamlprovisioner:
existingSecret: "my-secret"VM specification notes
The spec field is a KubeVirt VirtualMachineInstanceSpec. The provisioner always appends a cloud-init disk and volume automatically, so do not add one yourself. When runnerBundle.enabled is true (the default), the provisioner also appends a containerDisk shipping the circleci-runner packages, so do not add one yourself either.
When no interfaces or networks are set in spec, the provisioner defaults the VM to masquerade binding on the pod network. Set both to override (for example, bridge for a routable pod IP). See the KubeVirt networking documentation.
VM OS support is limited to Debian/Ubuntu and RHEL/CentOS based images. Other Linux distributions are not supported.
The startup script performs the following steps on each VM:
-
Detects the OS and installs
circleci-runner. By default (runnerBundle.enabled), packages are installed from the bundled containerDisk attached to the VM. When the bundle is disabled, packages are downloaded from packagecloud.io instead. -
Injects the runner auth token into
/etc/circleci-runner/circleci-runner-config.yaml. -
Configures the runner in single-task mode (one job per VM lifetime).
-
Optionally sets
idle_timeoutin the runner config. -
Configures systemd to power off the VM after the runner process exits.
-
Starts the runner service.
Scaling behavior
Desired replicas are calculated as unclaimed tasks plus running tasks, clamped to [minReplicas, maxReplicas].
-
The scaler polls CircleCI every one second.
-
minReplicasVMs are always kept running as a pre-warmed pool. -
When demand drops, excess VMs drain naturally. That is, they pick up no new jobs and shut down after completing their current job (or after
idleTimeoutif set).
idleTimeout
Without idleTimeout, a pre-warmed VM that never receives a job waits indefinitely. Setting idleTimeout (for example, "10m") causes VMs to shut down after that period of inactivity. An idle timeout is useful for:
-
Draining excess pre-scaled VMs when demand drops.
-
Cycling VMs after a spec or config update (old VMs will eventually time out and be replaced).
Role-based access control
The Helm chart creates a ServiceAccount, Role, and RoleBinding scoped to the target namespace. The provisioner requires the following permissions:
| Resource | Verbs |
|---|---|
|
|
|
|
|
|
|
|
|
|
|
|
|
|
Observability
| Endpoint | Port | Purpose |
|---|---|---|
|
|
Readiness probe |
|
|
Liveness probe |
Logs are written to stderr in JSON format.
Confirming the scaler is polling
The scaler emits a log entry on every poll cycle (every one second) as part of a span named worker loop scaler. Each entry includes the following fields:
| Field | Description |
|---|---|
|
Number of queued jobs waiting to be claimed |
|
Number of jobs currently running on runner VMs |
|
Replica count the scaler calculated (unclaimed + running, clamped to |
|
Always |
A healthy idle state (no jobs queued, pool at minReplicas) looks like:
{"loop_name":"scaler","unclaimed_tasks":0,"running_tasks":0,"desired_vms":3}A healthy active state (jobs queued, scaler responding):
{"loop_name":"scaler","unclaimed_tasks":4,"running_tasks":2,"desired_vms":6}If desired_vms is not changing in response to queued jobs, check the following:
-
If
unclaimed_tasksis always 0, theCIRCLE_TOKENmay be invalid or pointing at the wrong resource class. -
If
desired_vmsis not increasing past a fixed number, the scaler is hittingmaxReplicas.
Scaler errors appear as log entries with messages like failed to get unclaimed tasks or failed to get running tasks, indicating the provisioner cannot reach the CircleCI API.
Upgrading
Update your my-values.yaml and run:
$ helm upgrade runner-provisioner ./chart \
  --namespace runner-provisioner \
  --values my-values.yaml
The deployment pod annotation checksum/config is derived from the Secret contents, so a config-only change (for example, a new token or VM spec) triggers a pod deployment automatically.
Configuration changes (tokens, API address, VM spec) are injected into VMs at first boot via cloud-init and are not re-applied to running VMs. After a helm upgrade, existing VMs continue using their original config until they are recreated. Two deployment options are available:
- Graceful deployment — no job interruption
-
Set
idleTimeoutin your values before upgrading. VMs will shut down on their own once they finish their current job and go idle. The pool recreates the VMs with the updated config. Graceful deployment is the right choice when:-
You cannot interrupt in-progress jobs.
-
The deployment is slow and completes only once every existing VM has either run a job to completion or timed out.
-
- Immediate deployment — jobs will be interrupted
-
Delete all VMs after upgrading. The pool recreates them immediately with the updated config. Any jobs running on deleted VMs will fail and must be rerun.
$ kubectl delete vm -n runner-provisioner --all
Uninstalling
Uninstall the Helm release with:
$ helm uninstall runner-provisioner --namespace runner-provisionerUninstalling scales the VM pool down to zero before deleting the release, so runner VMs are cleaned up automatically.
Troubleshooting
Provisioner pod is not starting
Check the deployment status and pod logs:
$ kubectl get pods -n runner-provisioner
$ kubectl describe pod -n runner-provisioner <pod-name>
$ kubectl logs -n runner-provisioner deployment/runner-provisioner
Common causes:
-
Missing secret keys: If using
existingSecret, confirm the secret contains bothcircle-tokenandconfig.yamlkeys. -
Invalid config: A malformed
config.yamlor missing required fields (resourceClass.name,resourceClass.token) will cause the provisioner to exit on startup.
VMs are not being created
If the provisioner is running but no VMs appear:
$ kubectl get virtualmachinepool -n runner-provisioner
$ kubectl describe virtualmachinepool -n runner-provisioner <pool-name>
$ kubectl get vm -n runner-provisioner
Common causes:
-
minReplicasis 0: The pool will have 0 VMs unless there are pending tasks. SetminReplicasto at least 1 to confirm the pool is functional. -
KubeVirt not installed or not ready: Check that KubeVirt components are running:
kubectl get pods -n kubevirt. -
Role-based access control misconfiguration: The provisioner
ServiceAccountmay lack permission to create or updateVirtualMachinePoolresources. Check events on the provisioner pod.
VMs are stuck in pending or never reach running
$ kubectl get vmi -n runner-provisioner
$ kubectl describe vmi -n runner-provisioner <vmi-name>
Common causes:
-
No schedulable nodes: Confirm nodes in the VM worker pool have the label
kubevirt.io/schedulable=trueand thatvirt-handleris running on those nodes:kubectl get pods -n kubevirt -o wide. -
/dev/kvmnot available: Run the KVM check described in Nested Virtualization. If absent, nested virtualization is not enabled on that node. -
Insufficient resources: The VM spec requests more CPU or memory than any single node can provide. Check node capacity:
kubectl describe nodes. -
Taint or toleration mismatch: If nodes are tainted, verify
virt-launcherpods have the matching toleration (configured via thevirt-handlerpatch in Tainted Nodes).
Runner VMs boot but do not claim jobs
Runner logs are forwarded to each VM’s serial console, so runner output is visible through the virtualization layer without logging into the VM. KubeVirt exposes the serial console output on the VM’s virt-launcher pod in the guest-console-log container. Find the pod and tail its console log:
$ kubectl get pods -n runner-provisioner -l kubevirt.io=virt-launcher
$ kubectl logs <virt-launcher-pod> -c guest-console-log -n runner-provisioner -f
To inspect the runner service directly, connect to the VM console instead:
$ kubectl get vmi -n runner-provisioner
$ virtctl console -n runner-provisioner <vmi-name>
Then, inside the VM:
$ sudo systemctl status circleci-runner
$ sudo journalctl -u circleci-runner -n 50
Common causes:
-
Wrong runner token: The resource class token in your values does not match the token in CircleCI. Regenerate the token in the CircleCI web app under Self-Hosted Runners and update your Helm values.
-
Wrong resource class name: The
resourceClass.namein values must match the resource class your jobs target, innamespace/nameformat. -
CircleCI Server not reachable: If using a self-hosted server, confirm
circleciAPIAddris set and that the VM can reach that address. Check runner agent logs for connection errors. -
Cloud-init did not run: If the VM booted from a cached image state, cloud-init may have been skipped. Delete the VM and let the pool recreate it:
kubectl delete vm -n runner-provisioner <vm-name>.
Scaling is not responding to job demand
Check what the provisioner sees from the CircleCI API:
$ kubectl logs -n runner-provisioner deployment/runner-provisioner -fThe provisioner logs the unclaimed and running task counts each poll cycle. If counts are always 0 when jobs are queued:
-
Wrong
CIRCLE_TOKEN: The API token does not have permission to query runner tasks for the configured resource class, or it belongs to the wrong org. -
Wrong
circleciAPIAddr: For CircleCI Server, confirm the API address points to your instance. -
Resource class name mismatch: The provisioner queries tasks for
resourceClass.name. Confirm this matches the resource class your jobs target exactly.
Config changes are not reflected in running VMs
Cloud-init runs only once at first boot. After a helm upgrade that changes tokens, API address, or VM spec, existing VMs will not pick up the new config. Delete them so the pool recreates them:
$ kubectl delete vm -n runner-provisioner --allNew VMs created by the pool will use the updated cloud-init script.
KubeVirt operator pods are not scheduling
If virt-operator, virt-api, or virt-controller pods are stuck in Pending, see the KubeVirt Operator Scheduling section. The most common fix is removing the hard node affinity requirement and labeling nodes:
$ kubectl patch deployment virt-operator -n kubevirt --type=json \
  -p='[{"op":"remove","path":"/spec/template/spec/affinity/nodeAffinity/requiredDuringSchedulingIgnoredDuringExecution"}]'

$ kubectl label nodes --all node-role.kubernetes.io/control-plane=
Limitations
Current architectural limits
-
Only one resource class is supported per provisioner deployment. Run multiple deployments for multiple resource classes.
-
VM OS must be Debian/Ubuntu or RHEL/CentOS based.
-
The provisioner requires KubeVirt’s
VirtualMachinePoolAPI (pool.kubevirt.io).
Preview-stage gaps
The following capabilities are not yet available and are planned before general availability:
-
Multi-resource-class support in a single deployment.
-
Metrics endpoint (Prometheus-compatible).
-
Windows guest OS support for runner VMs (the cloud-init startup script is Linux-only).
If any of these are blocking your use case, post in the #runner-provisioner-preview Slack channel.
VM startup latency
When a new VM needs to be provisioned from scratch, expect two to five minutes before a runner is ready to claim a job. This includes scheduling the VM, booting the OS, and running the cloud-init script that downloads and installs the runner agent.
The primary mitigation is minReplicas. Pre-warmed VMs have already completed startup and can claim jobs in seconds. Startup latency only affects jobs that arrive when demand exceeds the pre-warmed pool.
Two factors can push latency toward the higher end or cause provisioning to fail silently:
-
Package downloads: With the runner bundle enabled (the default),
circleci-runneris installed from the bundled containerDisk and there is no boot-time download from packagecloud.io. If you disablerunnerBundle, the cloud-init script downloadscircleci-runnerfrom packagecloud.io at boot, and slow or unavailable package repositories will delay or prevent the runner from starting. -
Cold image pulls: The first time a VM is scheduled on a node, KubeVirt must pull the full container disk image. Subsequent VMs on the same node use the cached image and are significantly faster.